tslib时一个触摸屏的开源库,可以使用它来访问触摸屏设备,可以输入给设备添加各种"filter",地址这里
编译tslib后,可以得到libts库,还可以得到各种工具:校准工具、测试工具
一、tslib框架分析
tslib主要代码如下:
├── src					# src/  接口函数
│   ├── ts_setup.c
│   ├── ts_open.c
│   ├── ts_config.c
├── plugins			# plugins/ 插件/module
│   ├── linear.c
│   ├── dejitter.c
│   ├── pthres.c
│   ├── input-raw.c
├── tests				# tests/ 测试程序
│   ├── ts_test.c
│   ├── ts_test_mt.c
│   ├── ts_print.c
│   ├── ts_print_mt.c
核心在于"plugins"目录里的"插件",或称为“module”。这个目录下的每个文件都是一个module,每个module都提供2个函数
read、read_mt函数,前者用于读取单点触摸屏的数据,后者用于读取多点触摸屏的数据。
1.1 tslib框架分析
要分析tslib的框架,先看看示例程序怎么使用,我们参考ts_test.c和ts_test_mt.c,前者用于一般触摸屏(比如电阻屏、单点电容屏),后者用于多点触摸屏。

- 学习ts_setup.c的源码
struct tsdev *ts_setup(const char *dev_name, int nonblock)					//dev_name指定设备,nonblock指定是否阻塞模式
{const char * const *defname;struct tsdev *ts = NULL;
#if defined (__linux__)char *fname = NULL;
#endif /* __linux__ *//* 判断dev_name是否为空,空的话从系统环境中的TSLIB_TSDEVICE中指定设备名 */dev_name = dev_name ? dev_name : getenv("TSLIB_TSDEVICE");if (dev_name != NULL) {ts = ts_open(dev_name, nonblock);			//如果非空就打开} else {defname = &ts_name_default[0];					//从ts_name_default中查找while (*defname != NULL) {ts = ts_open(*defname, nonblock);if (ts != NULL)break;++defname;}}#if defined (__linux__)if (!ts) {fname = scan_devices();								//如果上面的方法还是找不到,就只能调用搜索函数去找if (!fname)return NULL;ts = ts_open(fname, nonblock);free(fname);}
#endif /* __linux__ *//* if detected try to configure it */if (ts && ts_config(ts) != 0) {					//如果打开了,就调用ts_config做配置ts_error("ts_config: %s\n", strerror(errno));ts_close(ts);return NULL;}return ts;
}static const char * const ts_name_default[] = {				//默认的ts_name_default有这些"/dev/input/ts","/dev/input/touchscreen","/dev/touchscreen/ucb1x00",NULL
};
如果传入的dev_name和ts_name_default都无法打开,那就调用scan_devices()
static char *scan_devices(void)
{//...ndev = scandir(DEV_INPUT_EVENT, &namelist, is_event_device, alphasort);if (ndev <= 0)return NULL;for (i = 0; i < ndev; i++) {//...fd = open(fname, O_RDONLY);if (fd < 0)continue;if ((ioctl(fd, EVIOCGPROP(sizeof(propbit)), propbit) < 0) ||			//获取设备属性!(propbit[BIT_WORD(INPUT_PROP_DIRECT)] &			//如果属性是INPUT_PROP_DIRECT的话,就找到了BIT_MASK(INPUT_PROP_DIRECT))) {close(fd);continue;} else {close(fd);filename = malloc(strlen(DEV_INPUT_EVENT) +strlen(EVENT_DEV_NAME) +12);if (!filename)break;//....}}//...return filename;
}
- 调用ts_open后,可以打开某个设备节点,构造出一个tsdev结构体。
struct tsdev *ts_open(const char *name, int nonblock)
{struct tsdev *ts;int flags = O_RDWR;//....if (nonblock) {#ifndef WIN32flags |= O_NONBLOCK;										//加上文件标志符#endif}ts = malloc(sizeof(struct tsdev));if (!ts)return NULL;memset(ts, 0, sizeof(struct tsdev));				//构造一个tsdev结构体ts->eventpath = strdup(name);							//应该是保存文件名if (!ts->eventpath)goto free;//....ts->fd = open(name, flags);								//打开设备//....return ts;//....
}
- 再ts_setup里,当执行ts_open成功后,还会执行ts_config
int ts_config(struct tsdev *ts)
{return __ts_config(ts, NULL, NULL, NULL);
}static int __ts_config(struct tsdev *ts, char **conffile_modules,char **conffile_params, int *raw)
{char buf[BUF_SIZE], *p;FILE *f;int line = 0;int ret = 0;short strdup_allocated = 0;char *conffile;if ((conffile = getenv("TSLIB_CONFFILE")) == NULL) {					//获得环境变量值conffile = strdup(TS_CONF);						//如果没有设置环境变量,就使用默认值。TS_CONF是/etc/ts.conf//错误处理....}f = fopen(conffile, "r");//...错误处理buf[BUF_SIZE - 2] = '\0';while ((p = fgets(buf, BUF_SIZE, f)) != NULL) {			//读取一行//这里省略了读取配置的内容的代码/* Search for the option. */if (strcasecmp(tok, "module") == 0) {				//module开头#if !defined HAVE_STRSEPmodule_name = ts_strsep(&p, " \t");#elsemodule_name = strsep(&p, " \t");#endifdiscard_null_tokens(&p, &module_name);if (!conffile_modules) {ret = ts_load_module(ts, module_name, p);			//调用ts_load_module去加载模块} else {#ifdef DEBUGprintf("TSLIB_CONFFILE: module %s %s\n",module_name, p);#endifsprintf(conffile_modules[line], "%s", module_name);if (conffile_params)sprintf(conffile_params[line], "%s", p);}} else if (strcasecmp(tok, "module_raw") == 0) {			//module_raw开头#if !defined HAVE_STRSEPmodule_name = ts_strsep(&p, " \t");#elsemodule_name = strsep(&p, " \t");#endifdiscard_null_tokens(&p, &module_name);if (!conffile_modules) {ret = ts_load_module_raw(ts, module_name, p);			//调用ts_load_module_raw加载module_raw模块} else {#ifdef DEBUGprintf("TSLIB_CONFFILE: module_raw %s %s\n",module_name, p);#endifsprintf(conffile_modules[line], "%s", module_name);if (conffile_params)sprintf(conffile_params[line], "%s", p);if (raw)raw[line] = 1;}} else {ts_error("%s: Unrecognised option %s:%d:%s\n",conffile, line, tok);break;}if (ret != 0) {ts_error("Couldn't load module %s\n", module_name);break;}}//...错误处理return ret;
}
ts_config的配置文件在源码里也有, etc/ts.conf
module_raw input
module pthres pmin=1
module dejitter delta=100
module linear
- ts_config会调用
ts_load_module或者ts_load_module_raw
int ts_load_module(struct tsdev *ts, const char *module, const char *params)
{return __ts_load_module(ts, module, params, 0);							//最后都是调用__ts_load_module
}int ts_load_module_raw(struct tsdev *ts, const char *module, const char *params)
{return __ts_load_module(ts, module, params, 1);							//只是参数不一样,一个是1,一个是0
}static int __ts_load_module(struct tsdev *ts, const char *module,const char *params, int raw)
{struct tslib_module_info *info;void *handle;int ret;//...info = __ts_load_module_static(ts, module, params);			//加载静态库
#ifdef HAVE_LIBDLif (!info)info = __ts_load_module_shared(ts, module, params);			//没有的话加载动态库
#endifif (!info)return -1;if (raw)ret = __ts_attach_raw(ts, info);				//把info附在ts结构体里elseret = __ts_attach(ts, info);if (ret) {//....handle = info->handle;if (info->ops->fini)info->ops->fini(info);//....close}return ret;
}int __ts_attach(struct tsdev *ts, struct tslib_module_info *info)
{info->dev = ts;info->next = ts->list;						//info->next执行指向ts->list的内容ts->list = info;							//ts->list指向最新的inforeturn 0;
}int __ts_attach_raw(struct tsdev *ts, struct tslib_module_info *info)
{struct tslib_module_info *next, *prev, *prev_list = ts->list_raw;info->dev = ts;info->next = prev_list;			//info->next指向prev_listts->list_raw = info;					//ts->list_raw指向最想的info/** ensure the last item in the normal list now points to the* top of the raw list.*/if (ts->list == NULL || ts->list == prev_list) {/* main list is empty, ensure it points here */ts->list = info;									//ts->list指向ts->list_raw,如果ts_list是空的话return 0;}for (next = ts->list, prev = next;next != NULL && next != prev_list;next = prev->next, prev = next);prev->next = info;return 0;
}
总结就是ts->list_raw指向module_raw的最新插入的module_raw模块
ts->list指向最新插入的module
- ts_read依次处理module
int ts_read(struct tsdev *ts, struct ts_sample *samp, int nr)
{int result;//....result = ts->list->ops->read(ts->list, samp, nr);			//从ts-list开始调用ops里的read函数来读取//....return result;
}//第一个模块是linear模块,再plugins/linear.c中有
static const struct tslib_ops linear_ops = {.read       = linear_read,.read_mt    = linear_read_mt,.fini       = linear_fini,
};static int linear_read(struct tslib_module_info *info, struct ts_sample *samp,int nr_samples)
{struct tslib_linear *lin = (struct tslib_linear *)info;int ret;int xtemp, ytemp;ret = info->next->ops->read(info->next, samp, nr_samples);		//继续递归调用下一个moduleif (ret >= 0) {//...做一些自己的处理}return ret;
}
所以模块的read顺序虽然是从最后开始read,但是是一种递归的方式read的,
最先被处理的应该是ts.conf文件里的第一个模块。
二、交叉编译、测试tslib
- 配置工具链
export ARCH=arm
export CROSS_COMPILE=arm-linux-gnueabihf-
export PATH=$PATH:/home/book/100ask_imx6ull-sdk/ToolChain/gcc-linaro-6.2.1-2016.11-x86_64_arm-linux-gnueabihf/bin
- 交叉编译
./configure --host=arm-linux-gnueabihf  --prefix=/
make
make install DESTDIR=$PWD/tmp
- 确定工具链中头文件、库文件目录
echo 'main(){}'| arm-linux-gnueabihf-gcc -E -v -
- 把头文件、库文件放到工具链目录下
cd tslib-1.21/tmp/
cp include/* /home/book/100ask_imx6ull-sdk/ToolChain/gcc-linaro-6.2.1-2016.11-x86_64_arm-linux-gnueabihf/bin/../arm-linux-gnueabihf/libc/usr/include
cp -d lib/*so*  /home/book/100ask_imx6ull-sdk/ToolChain/gcc-linaro-6.2.1-2016.11-x86_64_arm-linux-gnueabihf/bin/../arm-linux-gnueabihf/libc/usr/lib/
- 把库文件复制到开发板
cp  /mnt/tslib-1.21/tmp/lib/*  -drf     /lib
cp  /mnt/tslib-1.21/tmp/bin/*            /bin
cp  /mnt/tslib-1.21/tmp/etc/ts.conf  -d  /etc
- 执行测试程序
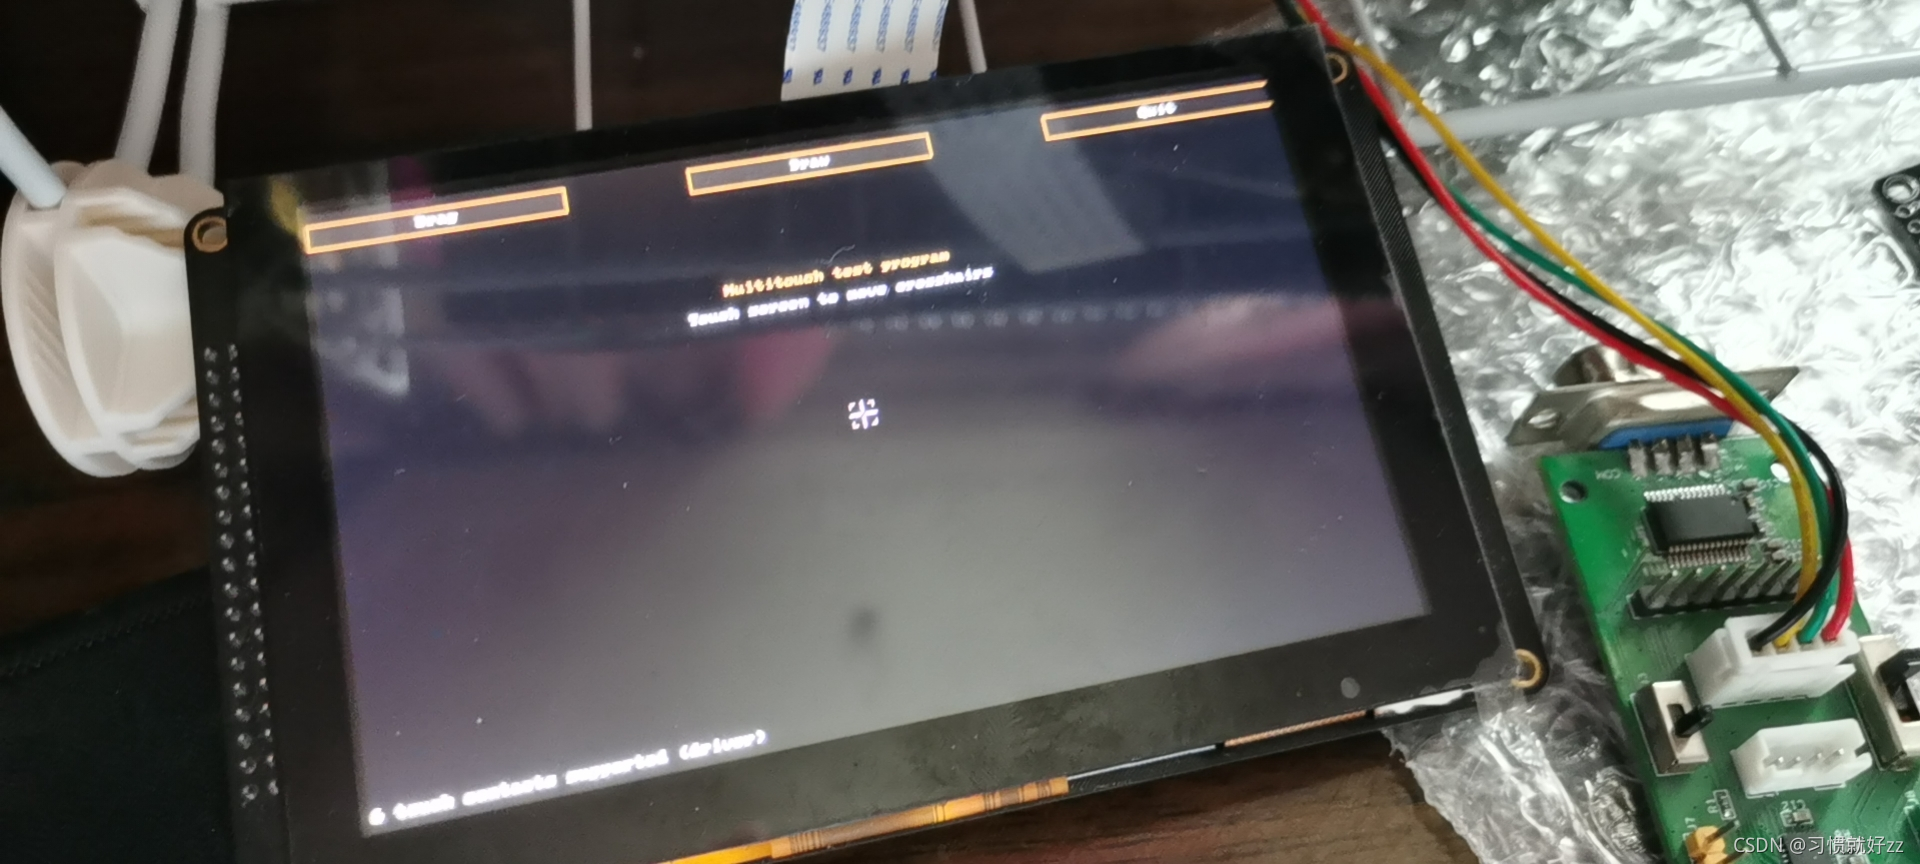
ts_test_mt

三、ts_read_mt学习
- tslib接口函数分析
当两个手指点击屏幕时,用hexdump /dev/input/event2可以得到数据。
驱动程序使用slot和tracking_id来标识一个触点,当tracking_id等于-1时,标识触点被松开了。
触摸屏可以支持多个触点,比如5个:tslib为了简化处理,即使只有2个触点,ts_read_mt函数也会返回5个触点数据,可以根据标志位判断数据是否有效。
ts_read_mt函数原型如下:
//ts是打开的设备,ts_sample_mt是读取数据的存放处,max_slots是最大触点数,nr是读多少组数据
int ts_read_mt(struct tsdev *ts, struct ts_sample_mt **samp, int max_slots, int nr)
//比如nr是1,max_slots是5,那么数据保存在samp[0][0]~samp[0][4]中
//如果nr是2,max_slots是5,那么数据保存在samp[0][0]~samp[0][4]中,samp[1][0]~samp[1][4]
学习一下ts_sample_mt结构体:
struct ts_sample_mt {/* ABS_MT_* event codes. linux/include/uapi/linux/input-event-codes.h* has the definitions.*/int		x;					//x坐标值int		y;					//y坐标值unsigned int	pressure;int		slot;				int		tracking_id;		//触摸点的需要int		tool_type;int		tool_x;int		tool_y;unsigned int	touch_major;unsigned int	width_major;unsigned int	touch_minor;unsigned int	width_minor;int		orientation;int		distance;int		blob_id;struct timeval	tv;/* BTN_TOUCH state */short		pen_down;/* valid is set != 0 if this sample* contains new data; see below for the* bits that get set.* valid is set to 0 otherwise*/short		valid;					//vaild非0是,说明含有新数据
};
四、编写代码
编写思路:不断打印2个触点的距离,每次读取5个新数据,如果其中2个数据有触点,就打印出触点距离。
因为我们之前已经把文件放到编译器目录下了,所以直接用头文件就行。
编译命令是这个:rm-linux-gnueabihf-gcc touch_distance.c -o touch_distance -lts
#include <stdio.h>
#include <tslib.h>
#include <sys/ioctl.h>
#include <linux/input.h>
#include <stdlib.h>
#include <string.h>int distance(struct ts_sample_mt *point1, struct ts_sample_mt *point2)
{int x = point1->x - point2->x;int y = point1->y - point2->y;return x*x+y*y;
}int main(int argc, char *argv[])
{int touch_cnt = 0;int i = 0;int ret = 0;struct tsdev *ts = NULL;int max_slots = 0;struct ts_sample_mt **samp_mt = NULL;struct ts_sample_mt **pre_samp_mt = NULL;struct input_absinfo slot;int point_pressed[20];ts = ts_setup("/dev/input/event2", 0);if(!ts) {printf("ts_setup err\n");return -1;}if (ioctl(ts_fd(ts), EVIOCGABS(ABS_MT_SLOT), &slot) < 0) {printf("ioctl EVIOGABS\n");ts_close(ts);return -1;}max_slots = slot.maximum + 1 - slot.minimum;samp_mt = malloc(sizeof(struct ts_sample_mt *));if (!samp_mt) {ts_close(ts);return -1;}samp_mt[0] = calloc(max_slots, sizeof(struct ts_sample_mt));if (!samp_mt[0]) {free(samp_mt);ts_close(ts);return -1;}pre_samp_mt = malloc(sizeof(struct ts_sample_mt *));if (!pre_samp_mt) {ts_close(ts);return -1;}pre_samp_mt[0] = calloc(max_slots, sizeof(struct ts_sample_mt));if (!pre_samp_mt[0]) {free(pre_samp_mt);ts_close(ts);return -1;}for(i=0;i<max_slots;i++) {pre_samp_mt[0][i].valid = 0;}while(1) {ret = ts_read_mt(ts, samp_mt, max_slots, 1);if(ret < 0) {printf("ts_read_mt err\n");ts_close(ts);return -1;}for(i=0;i<max_slots;i++) {if(samp_mt[0][i].valid) {memcpy(&pre_samp_mt[0][i], &samp_mt[0][i], sizeof(struct ts_sample_mt));}}touch_cnt = 0;for(i=0;i<max_slots;i++) {if(pre_samp_mt[0][i].valid && pre_samp_mt[0][i].tracking_id != -1)point_pressed[touch_cnt++] = i;}if(touch_cnt == 2) {printf("distance: %08d\n", distance(&pre_samp_mt[0][point_pressed[0]],&pre_samp_mt[0][point_pressed[1]]));}}return 0;
}


