一、Nacos Config 事件监听
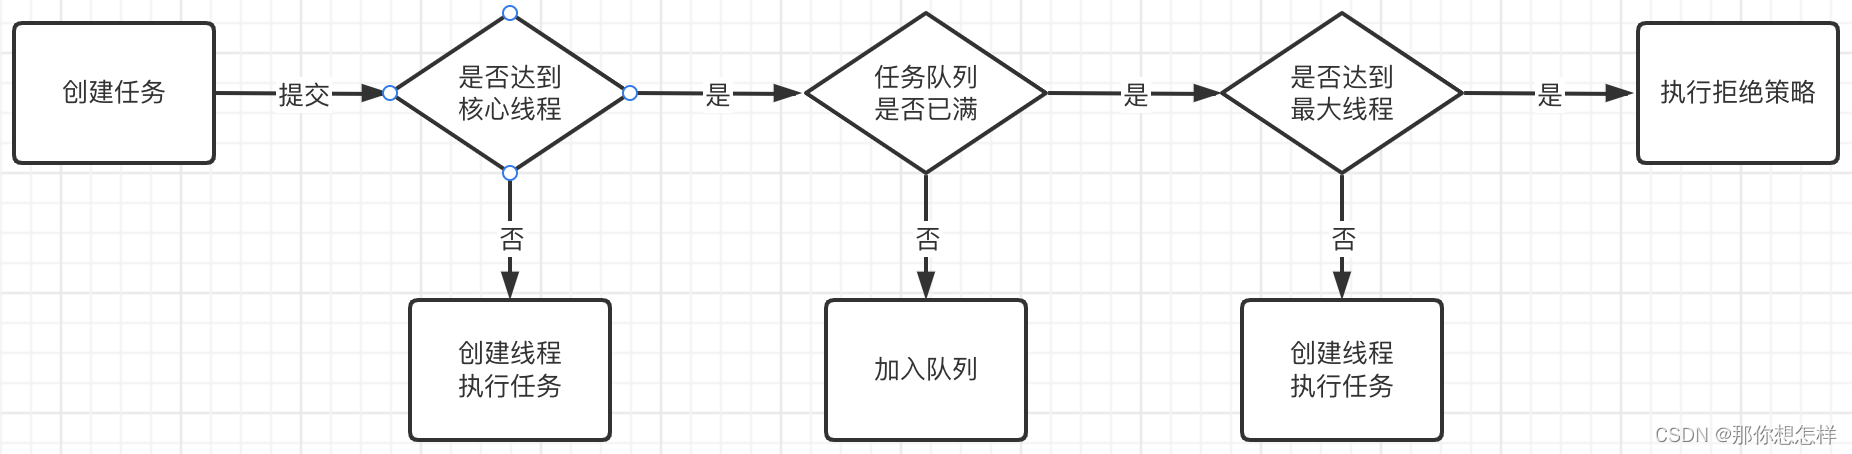
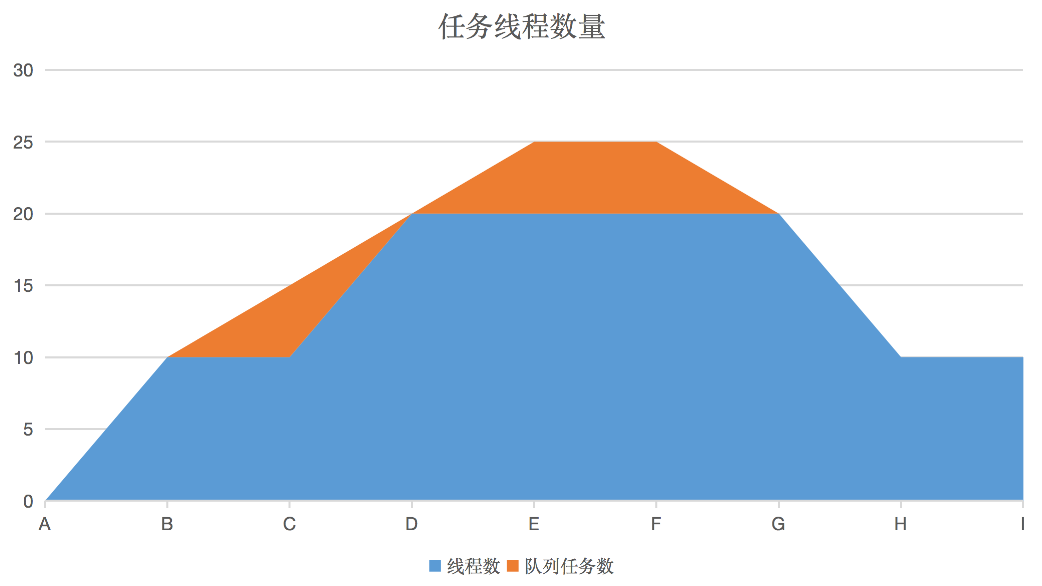
在实际项目中一般都会使用线程池解决一些异步并发问题,不过线程池核心参数很大程度上一次性进行设置,但系统运行起来总有可能出现各种各样的问题,如果修改线程池的参数则一般需要重启项目,对于生产环境而言有时无法进行重启,这种情况下就需要我们做成可动态调节的线程池。以应对突发情况。
在微服务项目中,目前使用 Nacos 作为配置中心已经是非常普遍的现象,得益于 Nacos 的灵活性以及稳定性,本文我们基于 Nacos Config 配置能力,将线程池的核心参数配置到 Nacos 中,并通过Nacos Config 的事件监听机制,触发动态参数调节。
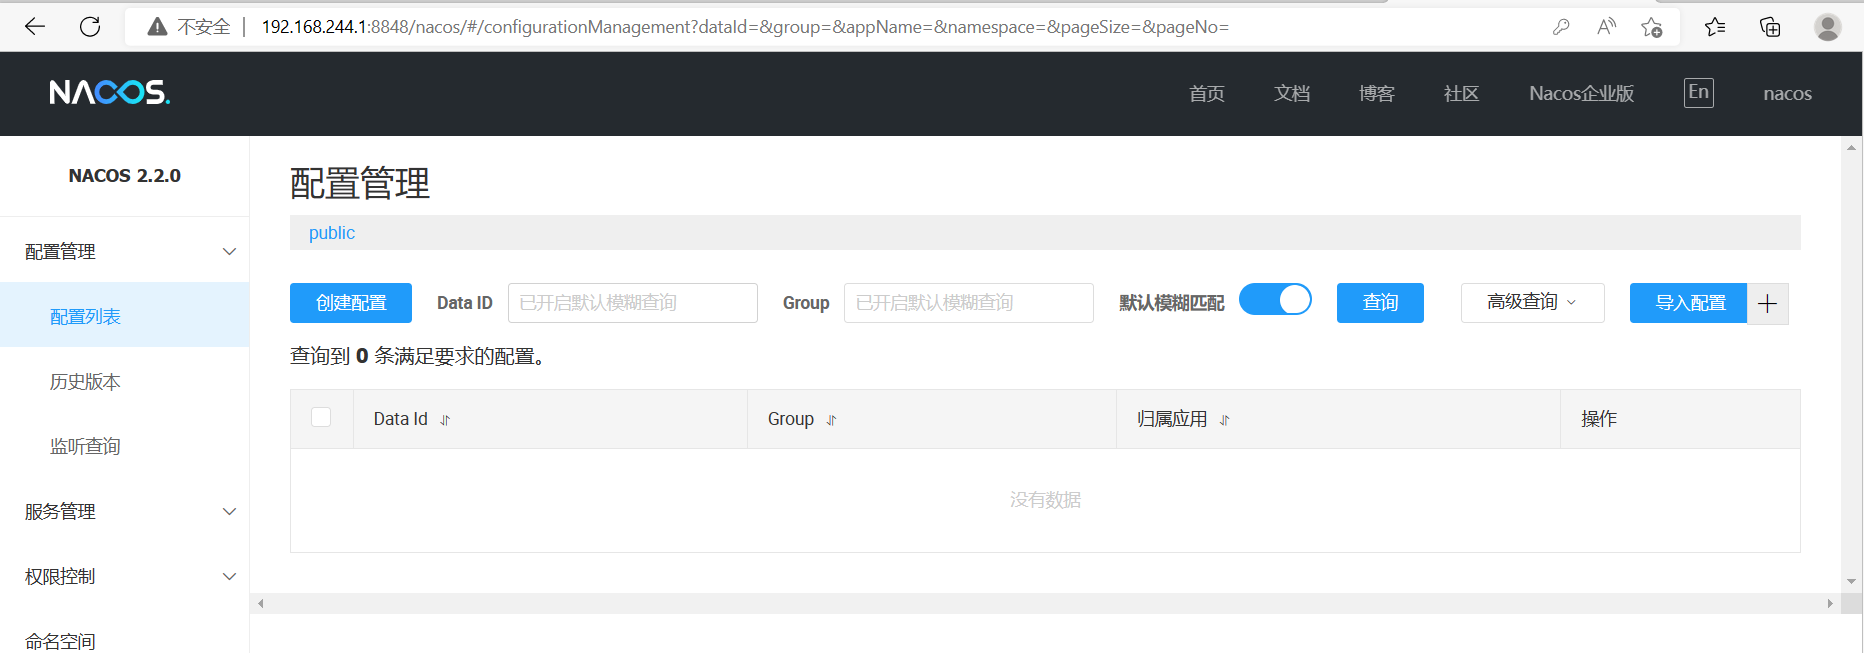
实验开始前,需要安装好 Nacos 服务:
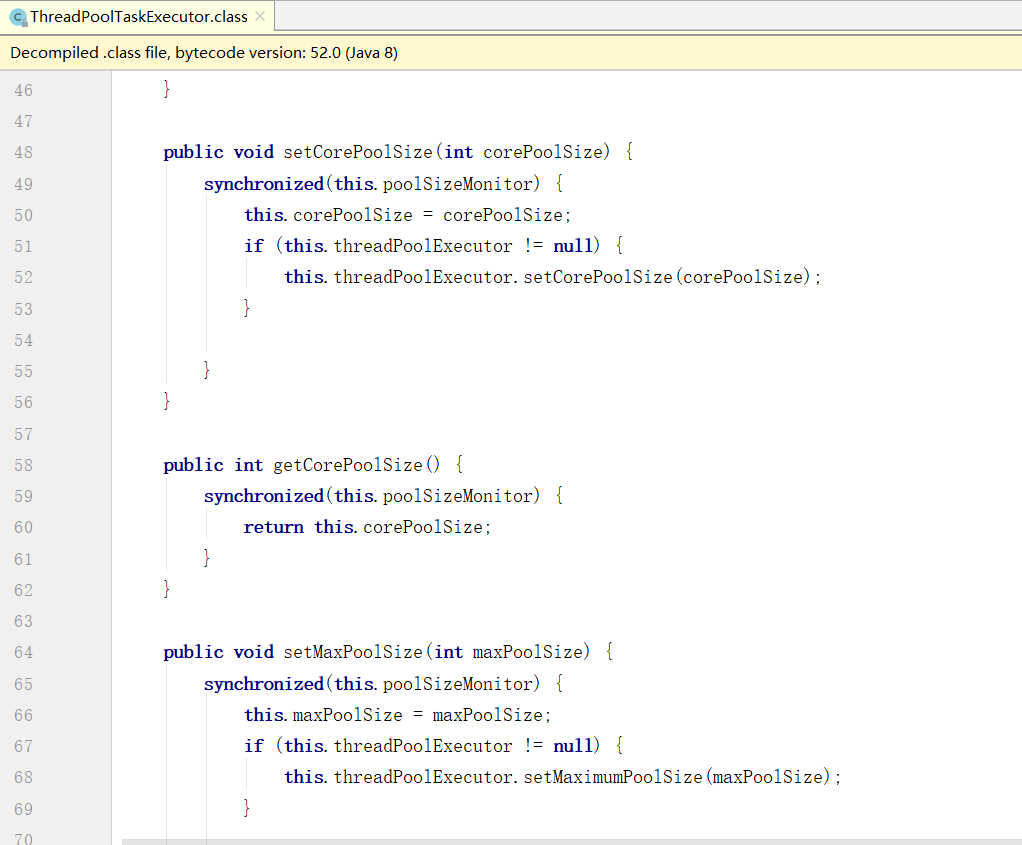
线程池这里使用 springframework 提供的 ThreadPoolTaskExecutor ,并通过其自带的方法进行动态调节:
二、准备测试项目并创建配置文件
首先创建一个 SpringBoot 项目,并引入 nacos config 的依赖,这里为了方便操作属性 ,同时引入 lombok,Spring Cloud Alibaba 版本使用的 2.2.6.RELEASE:
<dependencies><dependency><groupId>org.springframework.boot</groupId><artifactId>spring-boot-starter-web</artifactId></dependency><dependency><groupId>com.alibaba.cloud</groupId><artifactId>spring-cloud-starter-alibaba-nacos-config</artifactId></dependency><dependency><groupId>org.springframework.boot</groupId><artifactId>spring-boot-starter-actuator</artifactId></dependency><dependency><groupId>org.projectlombok</groupId><artifactId>lombok</artifactId></dependency></dependencies><dependencyManagement><dependencies><dependency><groupId>com.alibaba.cloud</groupId><artifactId>spring-cloud-alibaba-dependencies</artifactId><version>2.2.6.RELEASE</version><type>pom</type><scope>import</scope></dependency></dependencies>
</dependencyManagement>
创建 bootstrap.yml 文件增加 nacos config 的配置,注意这里 application.name 为 demo-service ,下面创建配置文件命名时需要注意。
spring:application:name: demo-serviceprofiles:active: thread # 引入thread配置cloud:nacos:discovery:server-addr: 192.168.244.1:8848config:server-addr: 192.168.244.1:8848file-extension: yaml
这里单独引入一个 thread 配置,关于线程的配置都放在这里,文件名应该为 demo-service-thread.yaml
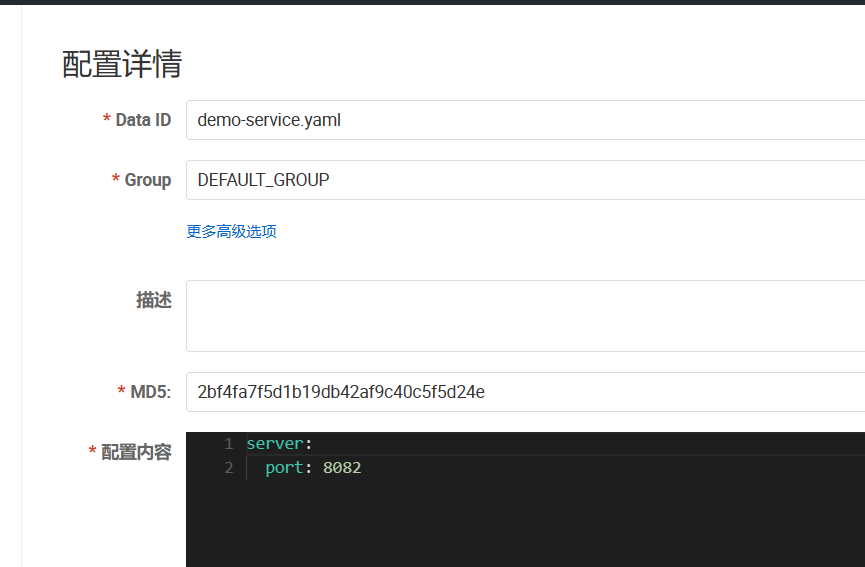
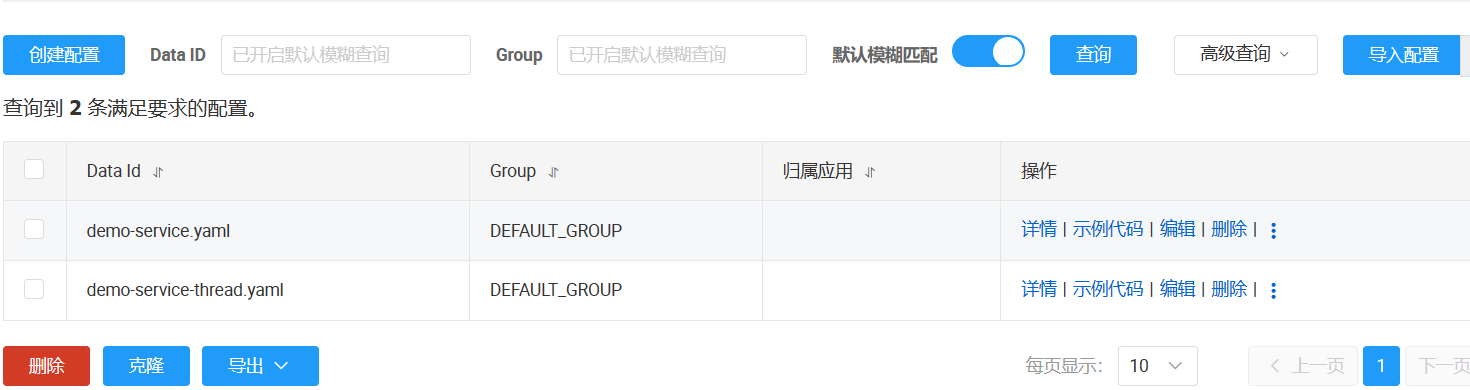
在 Nacos 创建 demo-service.yml 主配置文件,将服务的端口放在这里 :
server:port: 8082
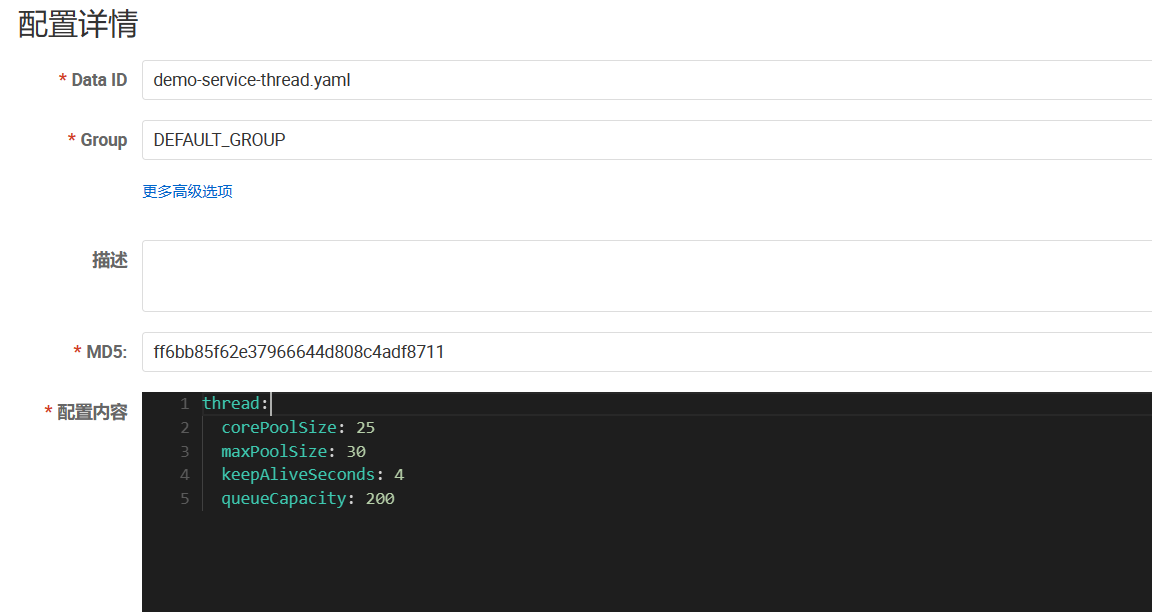
接着创建 demo-service-thread.yaml 文件,声明出核心线程数、最大线程数、线程保持时间、以及队列的存储个数:
thread:corePoolSize: 25maxPoolSize: 30keepAliveSeconds: 4queueCapacity: 200
二、声明线程池
首先对上面的配置文件,声明一个 Properties 接收参数:
@Data
@Configuration
@RefreshScope
@ConfigurationProperties(prefix = "thread")
public class ThreadPoolProperties {/*** 核心线程数*/private Integer corePoolSize;/*** 最大线程数*/private Integer maxPoolSize;/*** 线程保持时间 秒*/private Integer keepAliveSeconds;/*** 队列的存储个数*/private Integer queueCapacity;}
使用参数声明线程池,其中提供出调整线程池参数,和打印当前参数方法:
@Data
@Configuration
public class ThreadPoolConfig {@Resource(name = "dynamic_thread_pool")ThreadPoolTaskExecutor executor;@Bean(value = "dynamic_thread_pool")public ThreadPoolTaskExecutor dynamicThreadPool(ThreadPoolProperties properties) {ThreadPoolTaskExecutor executor = new ThreadPoolTaskExecutor();executor.setCorePoolSize(properties.getCorePoolSize());executor.setMaxPoolSize(properties.getMaxPoolSize());executor.setKeepAliveSeconds(properties.getKeepAliveSeconds());executor.setQueueCapacity(properties.getQueueCapacity());executor.setRejectedExecutionHandler(new ThreadPoolExecutor.CallerRunsPolicy());return executor;}/*** 重新设置参数*/public void restThreadPool(ThreadPoolProperties properties) {executor.setCorePoolSize(properties.getCorePoolSize());executor.setMaxPoolSize(properties.getMaxPoolSize());executor.setKeepAliveSeconds(properties.getKeepAliveSeconds());executor.setQueueCapacity(properties.getQueueCapacity());}/*** 打印线程池参数*/public void printParam() {System.out.println("当前核心线程数:" + executor.getCorePoolSize());System.out.println("当前最大线程数:" + executor.getMaxPoolSize());System.out.println("当前线程保持时间:" + executor.getKeepAliveSeconds());}}
三、添加 demo-service-thread.yaml 文件的监听
添加监听,这里我用的 PropertiesListener ,可以将修改后的配置,映射为 Properties 对象,如果想要拿到修改后配置内容的字符串可以使用 AbstractListener 或 Listener。
@Component
public class NacosListener implements ApplicationRunner {@ResourceNacosConfigManager nacosConfigManager;@ResourceNacosConfigProperties nacosConfigProperties;@ResourceThreadPoolConfig threadPoolConfig;@Overridepublic void run(ApplicationArguments args) throws Exception {System.out.println("初始线程状态:");threadPoolConfig.printParam();//配置修改监听nacosConfigManager.getConfigService().addListener("demo-service-thread.yaml", nacosConfigProperties.getGroup(),new PropertiesListener(){@Overridepublic void innerReceive(Properties properties) {System.out.println("配置被修改,重新调整线程池!");ThreadPoolProperties poolProperties = new ThreadPoolProperties();poolProperties.setCorePoolSize(Integer.parseInt(properties.getProperty("corePoolSize")));poolProperties.setMaxPoolSize(Integer.parseInt(properties.getProperty("maxPoolSize")));poolProperties.setKeepAliveSeconds(Integer.parseInt(properties.getProperty("keepAliveSeconds")));poolProperties.setQueueCapacity(Integer.parseInt(properties.getProperty("queueCapacity")));System.out.println("开始重新调整线程池...");threadPoolConfig.restThreadPool(poolProperties);System.out.println("调整之后线程池的参数:");threadPoolConfig.printParam();}});}
}
这里需要注意下,我在触发监听后,手动获取的参数,上面细心地会发现,其实ThreadPoolProperties 已经加了 @RefreshScope 会自动刷新的,那这里为啥还要手动解析呢,答案就是配置更新后,会首先触发这里的监听,如果在监听中直接调用调整方法,使用 ThreadPoolProperties 的话有可能还是原来的参数,保险起见这里获取一下。
四、测试
启动项目,可以看到初始的参数:

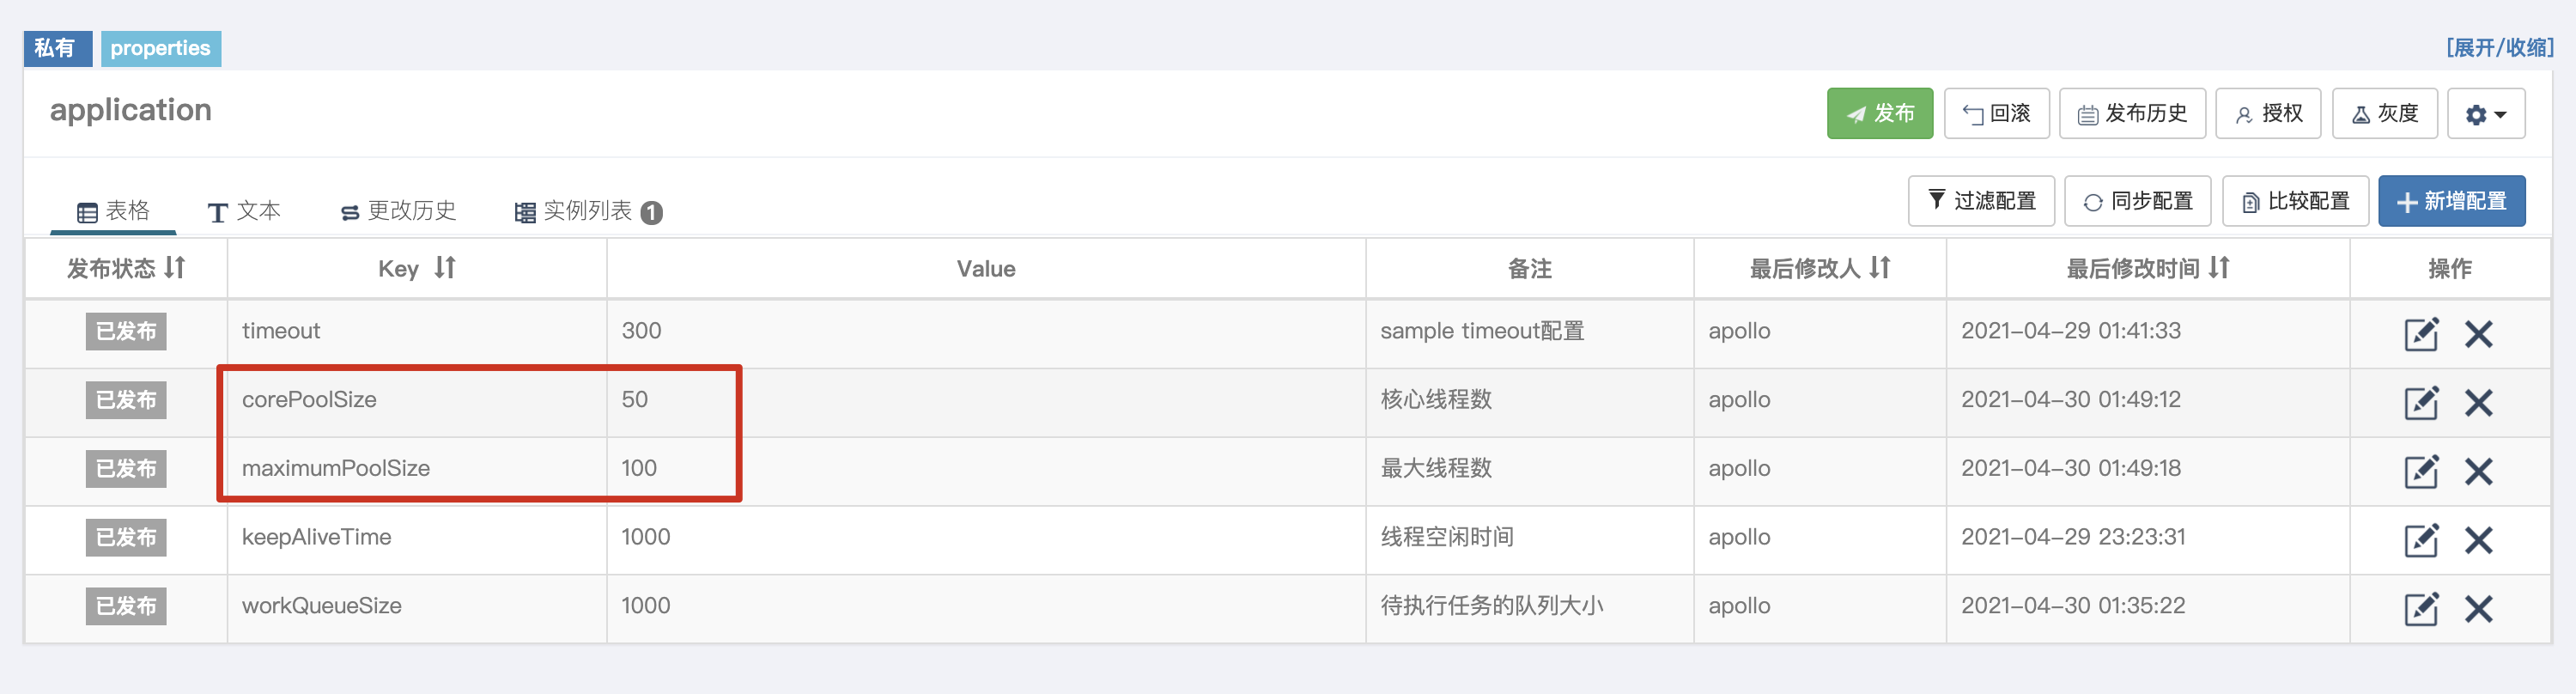
下面修改最大线程数为 50 :
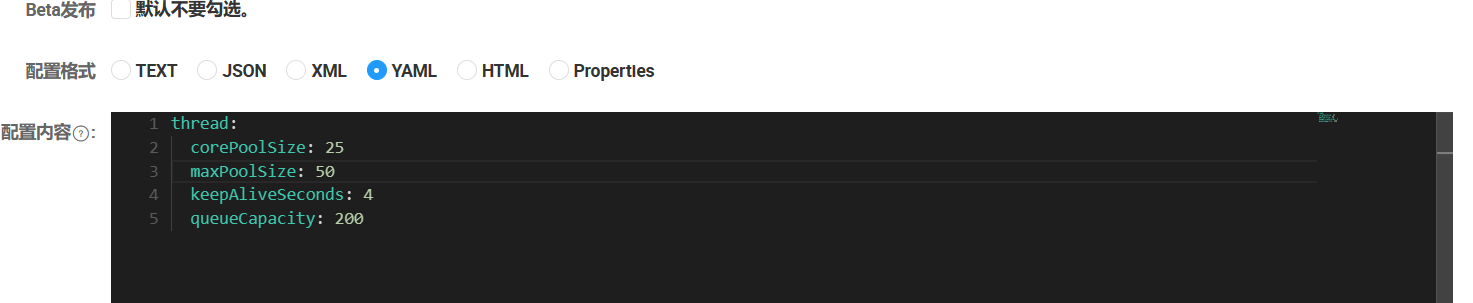
发布后,观察日志:

线程池的最大线程已经被调整为 50 。