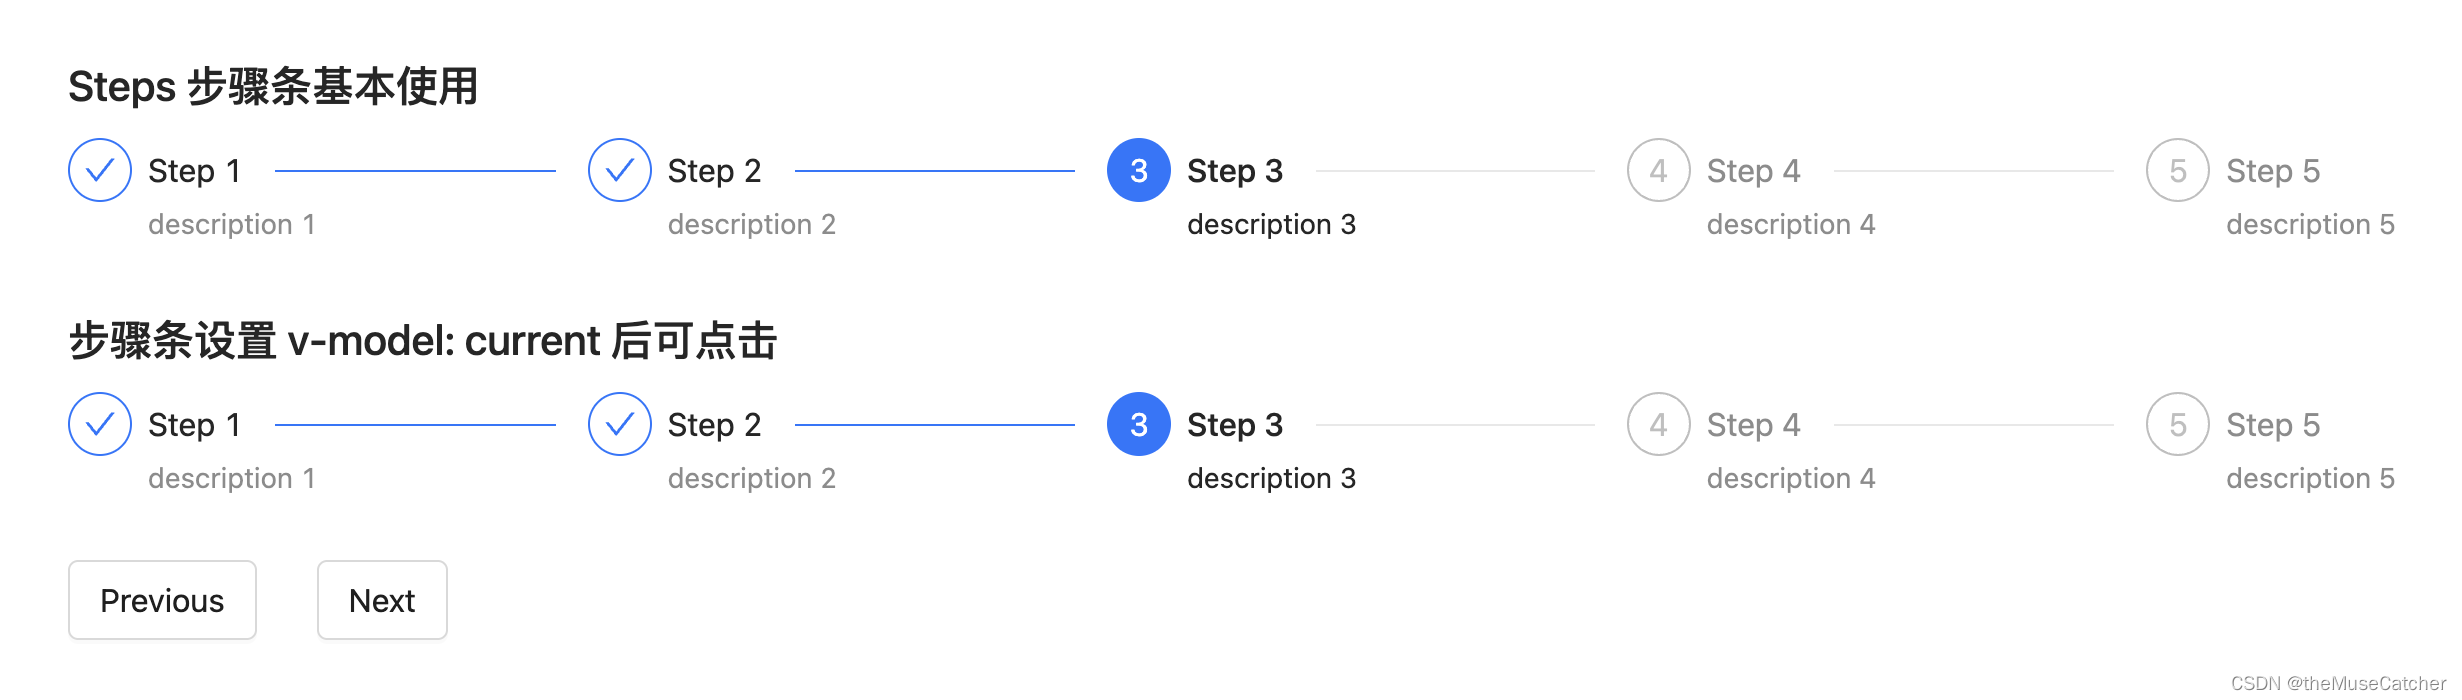
首先, 我先来看看效果

steps 组件的封装和 tabs 组件还是相似的
都会去指定两个组件来完成(仿Element UI), 都会去使用 jsx 的语法
让其中一个组件去规定样式和排版, 另外一个组件去接收父组件传入的动态数据
但和面包屑组件还是有区别的(面包屑组件封装):
相同点都是使用两个组件来完成(一个指定排版, 另外一个指定内容), 都是使用 render 函数来进行渲染
不同点是, bread 组件使用的是 h 函数来创建虚拟节点; 然后使用 render 来进行渲染
而 tabs 和 steps 使用的是 jsx 语法来指定标签(使用 jsx 的原因是, 需要指定两个以上的标签且有嵌套关系, 如果使用 h 函数的话太麻烦了)
第一步:
1. 创建 steps 和 steps-item 组件
2. steps-item 组件接收 title 和 desc 数据
<template><div class="steps"><div class="steps-item active" v-for="i in 5" :key="i"><div class="step"><span>{{i}}</span></div><div class="title">提交订单</div><div class="desc">2021-03-18 02:11:47</div></div></div>
</template><script>
export default {name: 'Steps'
}
</script><style lang="less">
.steps {display: flex;text-align: center;&-item {flex: 1;&:first-child {.step {&::before {display: none;}}}&:last-child {.step {&::after {display: none;}}}&.active {.step {> span {border-color: @xtxColor;background: @xtxColor;color: #fff}&::before,&::after {background: @xtxColor;}}.title {color: @xtxColor;}}.step {position: relative;> span {width: 48px;height: 48px;font-size: 28px;border: 2px solid #e4e4e4;background: #fff;border-radius: 50%;line-height: 44px;color: #ccc;display: inline-block;position: relative;z-index: 1;}&::after,&::before{content: "";position: absolute;top: 23px;width: 50%;height: 2px;background: #e4e4e4;}&::before {left: 0;}&::after {right: 0;}}.title {color: #999;padding-top: 12px;}.desc {font-size: 12px;color: #999;padding-top: 6px;}}
}
</style>
steps-item 主要是去接收外部传入的 title 和 desc 的动态数据, 然后将这些数据直接给到 steps 来进行出来
所以不需要使用 <slot />
<script>
export default {name: 'StepsItem',props: {title: {type: String,default: ''},desc: {type: String,default: ''}}
}
</script>
第二步:
1. 显示 steps 组件数据
也就是在 steps 组件中接收到一个 active 的数据(父组件发送请求获取过来的节点数据)
首先需要拿到所有的 steps-item 组件数据(通过 $slots.default)
然后, 判断 $slots.default 返回的数据中对象中的 type 数据是否为代码片段(这里的详细讲解在 tabs 组件封装时讲过了(tabs 组件封装)
然后指定显示内容
<script>
import { getCurrentInstance } from 'vue'
export default {name: 'Steps',render () {// 这是在proxy的作用相当于vue2中的this// 这里其实也可以直接使用this, 因为不是在setup中; 都无所谓的const { proxy } = getCurrentInstance()const items = proxy.$slots.default()const dynamicItems = []items.forEach(item => {if (item.type.name === 'StepsItem') {dynamicItems.push(item)} else {item.children.forEach(c => {dynamicItems.push(c)})}})const itemsJsx = dynamicItems.map((item, i) => {return <div class="steps-item"><div class="step"><span>{i + 1}</span></div><div class="title">{item.props.title}</div><div class="desc">{item.props.desc}</div></div>})return <div class="steps">{itemsJsx}</div>}
}
</script><style lang="less">
.steps {display: flex;text-align: center;&-item {flex: 1;&:first-child {.step {&::before {display: none;}}}&:last-child {.step {&::after {display: none;}}}&.active {.step {> span {border-color: @xtxColor;background: @xtxColor;color: #fff}&::before,&::after {background: @xtxColor;}}.title {color: @xtxColor;}}.step {position: relative;> span {width: 48px;height: 48px;font-size: 28px;border: 2px solid #e4e4e4;background: #fff;border-radius: 50%;line-height: 44px;color: #ccc;display: inline-block;position: relative;z-index: 1;}&::after,&::before{content: "";position: absolute;top: 23px;width: 50%;height: 2px;background: #e4e4e4;}&::before {left: 0;}&::after {right: 0;}}.title {color: #999;padding-top: 12px;}.desc {font-size: 12px;color: #999;padding-top: 6px;}}
}
</style>
第三步:
1. 在 steps 组件中接收 active 数据, 然后根据 active 数据动态显示 steps 的节点
<script>
import { getCurrentInstance } from 'vue'
export default {name: 'Steps',props: {active: {type: Number,default: 1}},render () {// 这是在proxy的作用相当于vue2中的this// 这里其实也可以直接使用this, 因为不是在setup中; 都无所谓的const { proxy } = getCurrentInstance()const items = proxy.$slots.default()const dynamicItems = []items.forEach(item => {if (item.type.name === 'StepsItem') {dynamicItems.push(item)} else {item.children.forEach(c => {dynamicItems.push(c)})}})const itemsJsx = dynamicItems.map((item, i) => {// 只要是下标值i小于active的div标签都会添加上active类return <div class="xtx-steps-item" class={{ active: i < props.active }}><div class="step"><span>{i + 1}</span></div><div class="title">{item.props.title}</div><div class="desc">{item.props.desc}</div></div>})return <div class="steps">{itemsJsx}</div>}
}
</script><style lang="less">
.steps {display: flex;text-align: center;&-item {flex: 1;&:first-child {.step {&::before {display: none;}}}&:last-child {.step {&::after {display: none;}}}&.active {.step {> span {border-color: @xtxColor;background: @xtxColor;color: #fff}&::before,&::after {background: @xtxColor;}}.title {color: @xtxColor;}}.step {position: relative;> span {width: 48px;height: 48px;font-size: 28px;border: 2px solid #e4e4e4;background: #fff;border-radius: 50%;line-height: 44px;color: #ccc;display: inline-block;position: relative;z-index: 1;}&::after,&::before{content: "";position: absolute;top: 23px;width: 50%;height: 2px;background: #e4e4e4;}&::before {left: 0;}&::after {right: 0;}}.title {color: #999;padding-top: 12px;}.desc {font-size: 12px;color: #999;padding-top: 6px;}}
}
</style>
父组件中使用情况
根据后端的数据来决定 steps 的节点数据
<template><div class="detail-steps"><Steps :active="order.orderState===6 ? 1: order.orderState"><StepsItem title="提交订单" :desc="order.createTime" /><StepsItem title="付款成功" :desc="order.payTime" /><StepsItem title="商品发货" :desc="order.consignTime" /><StepsItem title="确认收货" :desc="order.evaluationTime" /><StepsItem title="订单完成" :desc="order.endTime" /></Steps></div>
</template>