ListView使用方法总结
- 直接使用ListView组件创建列表
- 通过Activity继承ListActivity创建
- 定制ListView界面
直接使用ListView组件创建列表
通过数组资源文件指定列表项
- 先在XML布局文件中添加ListView标志,设置好相关属性;在values下创建数组资源文件arrays.xml,添加字符串数组intype
<resources><string-array name="intype"><item>关机</item><item>飞行模式</item><item>重新启动</item><item>数据网络模式</item></string-array></resources>在ListView布局中使用”android:entries =@arrays/intype”指定列表项
<ListView
    android:layout_width="match_parent"android:layout_height="wrap_content"android:id="@+id/list1"android:entries="@array/intype">
</ListView>
注意:资源数组只能指定纯文字的列表项
效果:

2 . 第二种是使用适配器指定列表项,去掉布局中属性”android:entries =@arrays/intype”,然后在Activity 文件中添加ArrayAdapter (通常用于纯文本列表项) 调用ArrayAdapter.createFromResource()创建适配器
ListView lst=findViewById(R.id.list1);ArrayAdapter <CharSequence> ad = ArrayAdapter.createFromResource(this,R.array.intype,android.R.layout.simple_dropdown_item_1line);lst.setAdapter(ad);其中 android.R.layout.simple_dropdown_item_1line用于指定ListView外观形式
常用的有以下几个:
- simple_list_item_1:普通文本
- simple_list_item_2:普通文本,字体较大
- simple_list_item_checked:带有勾选框的列表项
- simple_list_item_multiple_choice:带有多选框文本
- simple_list_item_single_choice:带有单选按钮的文本
通过Activity继承ListActivity创建
将Activity继承ListActivity,删除默认的布局文件,在onCreate()方法中创建适配器,调用setListAdapter()添加
public class MainActivity extends ListActivity{@Overrideprotected void onCreate(Bundle savedInstanceState) {super.onCreate(savedInstanceState);String[] ctype = new String[]{"新增支出", "新增收入", "我的支出", "我的收入", "数据管理", "系统设置"};ArrayAdapter<String> adapter = new ArrayAdapter<String>(this, android.R.layout.simple_list_item_single_choice, ctype);setListAdapter(adapter);getListView().setChoiceMode(ListView.CHOICE_MODE_SINGLE);}protected void onListItemClick(ListView l, View v, int position, long id) {super.onListItemClick(l, v, position, id);String result=l.getItemAtPosition(position).toString();Toast.makeText(MainActivity.this,result,Toast.LENGTH_SHORT).show();}
}
效果:

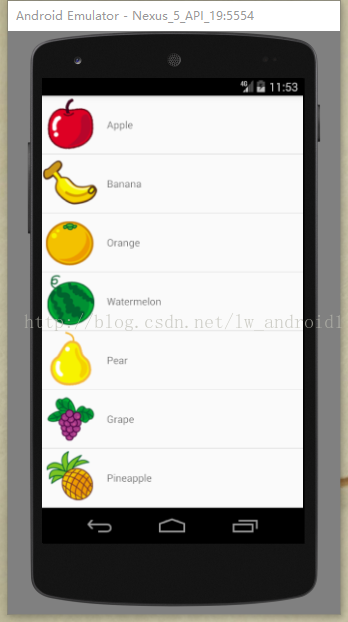
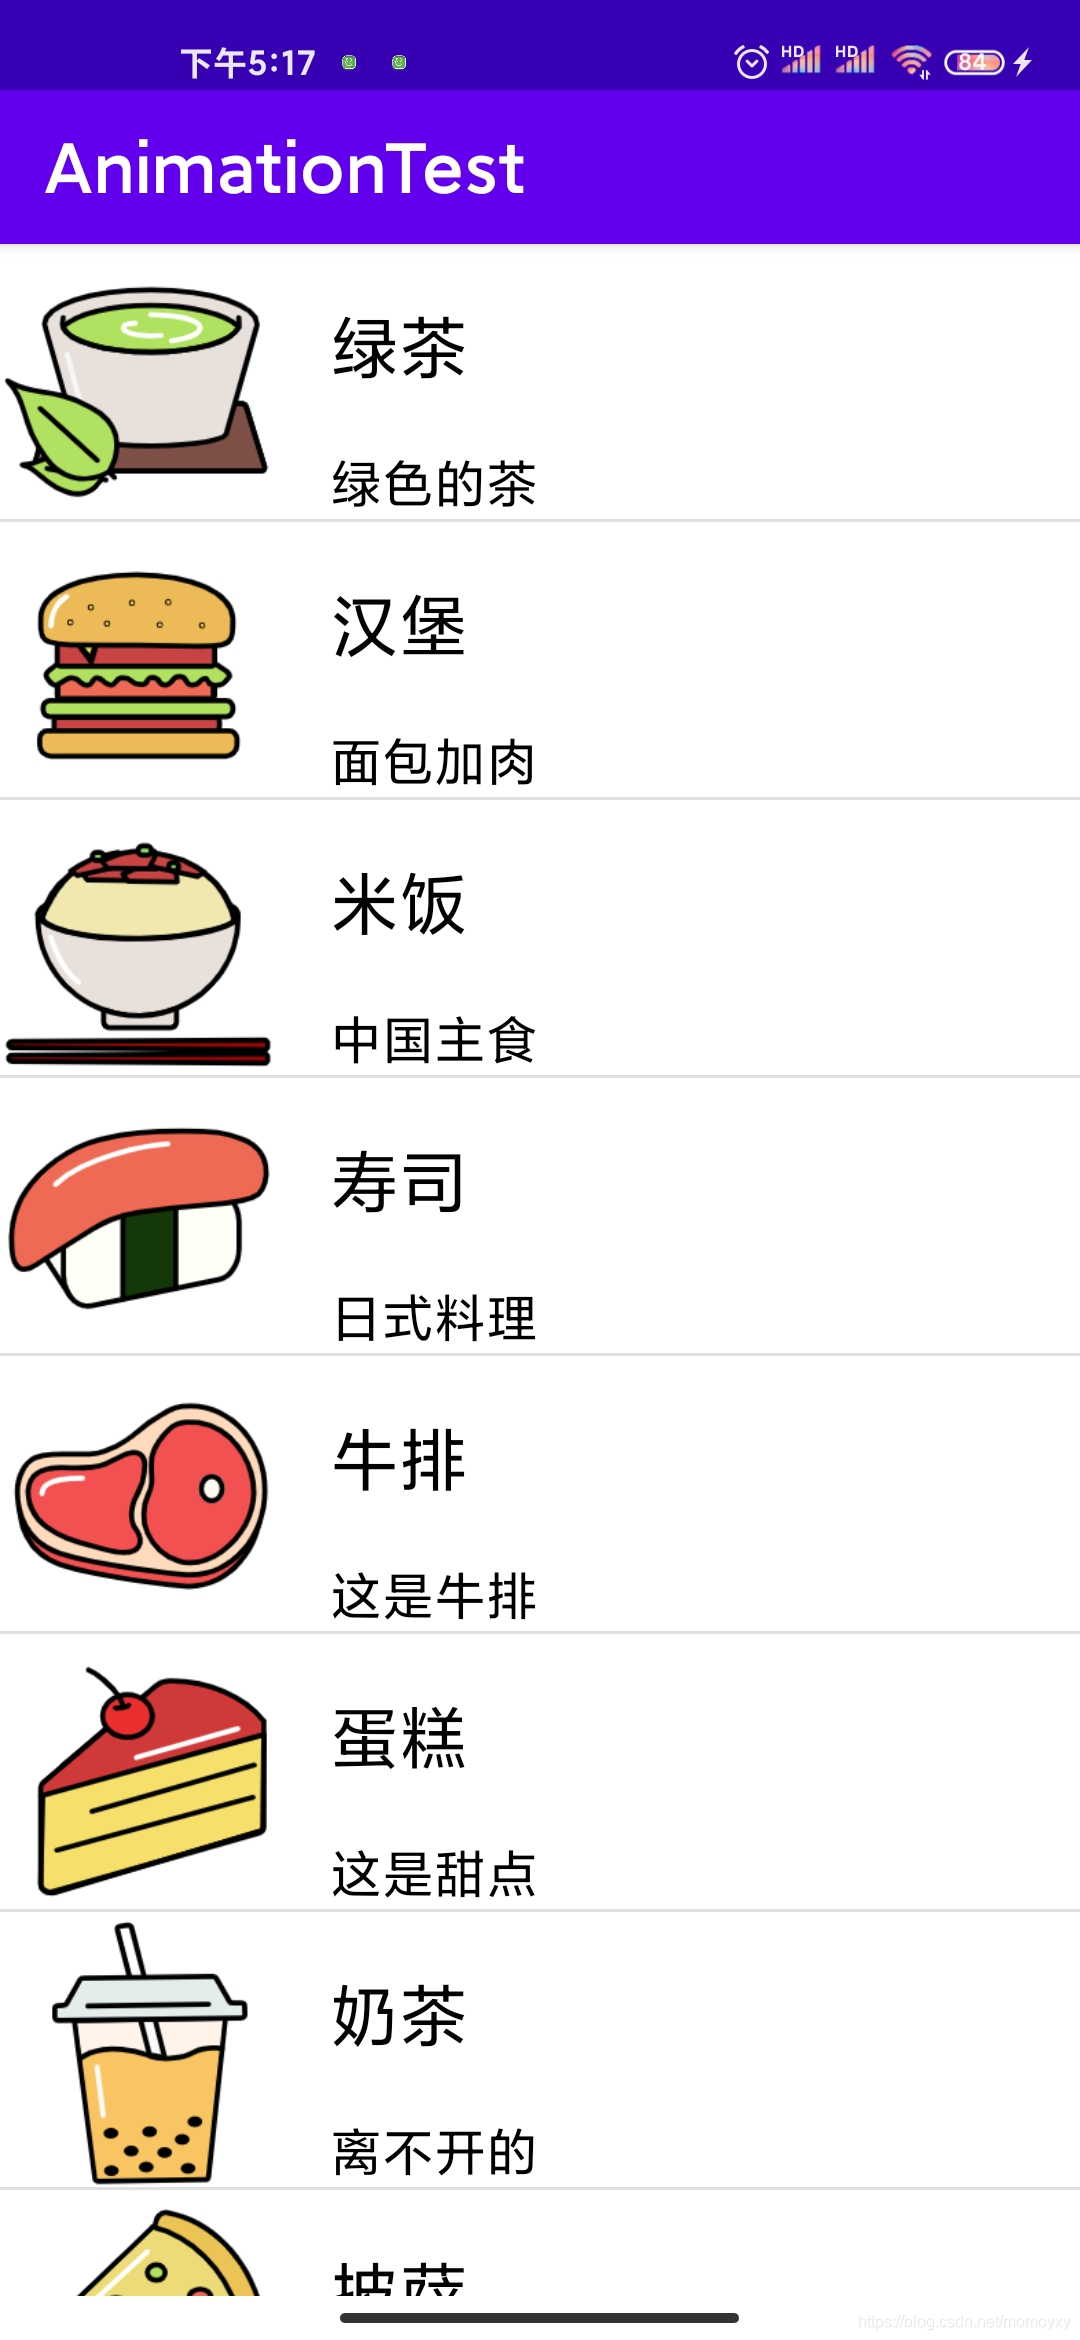
定制ListView界面
1、在默认的布局文件中添加ListView标志
    <ListView
        android:id="@+id/tongxunlu"android:layout_width="match_parent"android:layout_height="match_parent"></ListView>
2、src/layout中新建XML文件gvitem.xml,用于设置每一个列表的布局样式
    <LinearLayout
            android:orientation="horizontal"android:layout_width="match_parent"android:layout_height="match_parent"><ImageView
                android:layout_width="wrap_content"android:layout_height="wrap_content"android:id="@+id/tongxuntu"android:scaleType="centrInside"android:layout_margin="10dp"/><TextView
                android:id="@+id/tonngxuntext"android:layout_width="wrap_content"android:layout_height="wrap_content"android:layout_margin="5dp"android:layout_gravity="center_vertical"android:textSize="13sp"android:textColor="#3b3b3b"/></LinearLayout>
3、在Activity文件中,实例化一个simpleAdapter适配器, List集合类用于添加图标、文本
public void onActivityCreated(@Nullable Bundle savedInstanceState) {super.onActivityCreated(savedInstanceState);list=InitData();simpleAdapter=new SimpleAdapter(getActivity(),list,R.layout.frag2_gvitem,new String[]{"image","title"},new int[]{R.id.tongxuntu,R.id.tonngxuntext});listView.setAdapter(simpleAdapter);}private List<Map<String,Object>> InitData() {String [] name=new String[]{"新的朋友","群聊","标签","公众号"};//图片资源int [] image=new int[]{R.mipmap.friend,R.mipmap.group,R.mipmap.lable,R.mipmap.pub};List<Map<String,Object>> list=new ArrayList<Map<String,Object>>();for (int i=0;i<image.length;i++){Map<String,Object> map=new HashMap<String, Object>();map.put("image",image[i]);map.put("title",name[i]);list.add(map);}return list;}效果: