文章目录
- listView
- demo说明
- demo演示
- model定义
- 委托 QStyledItemDelegate
- 总结
listView
listView 对比 tableView 、 treeView来说,最大的不同就是数据结构的不同。treeView是像树一样的层次结构,而listView则就是像链表一样的结构
跟之前的treeView,tableView一样,使用一个简单的demo来演示一下这个过程,同样的我们使用自定义的model定义。
demo说明
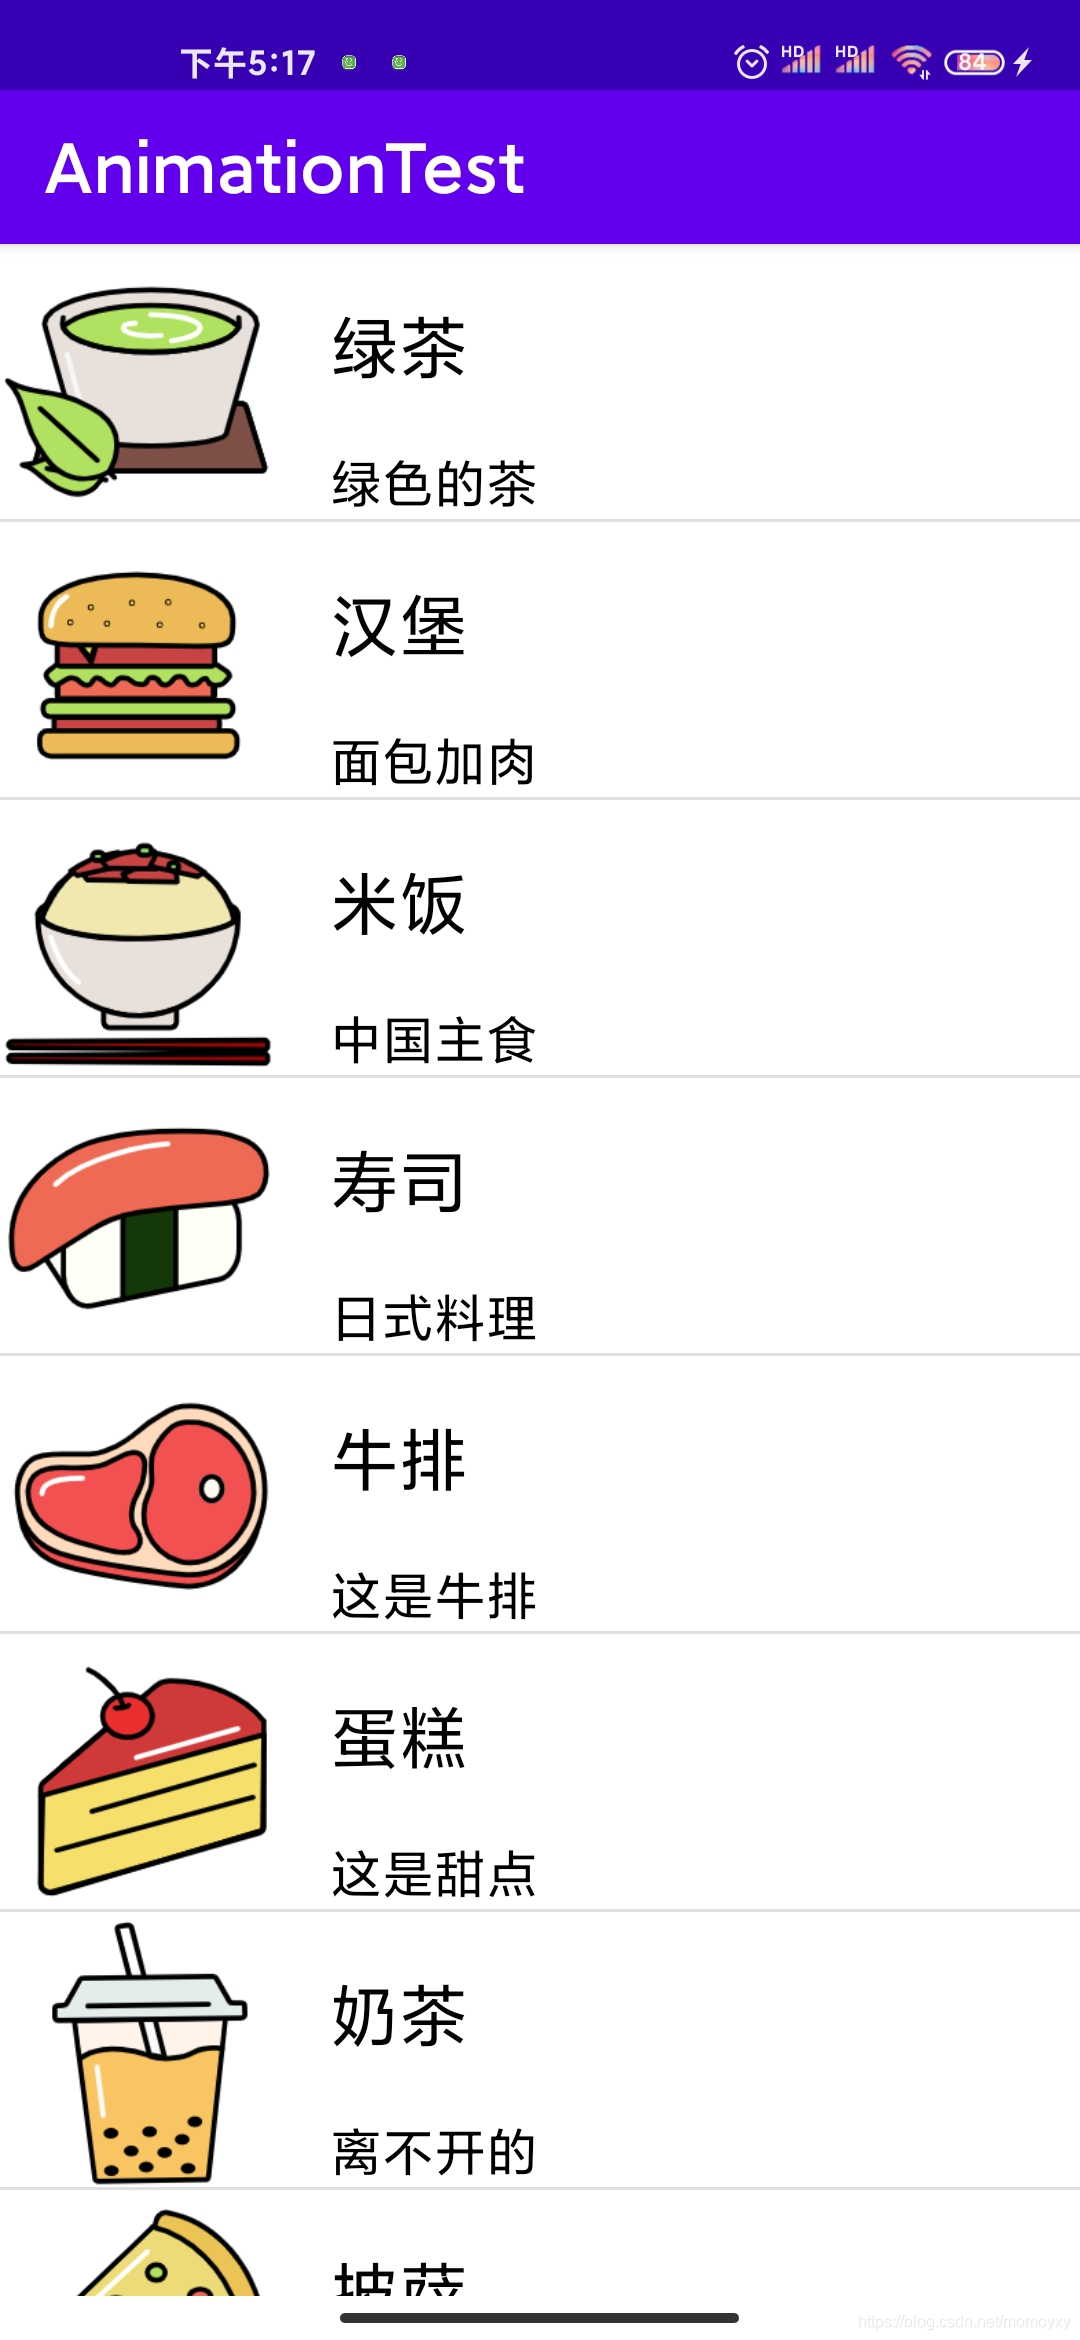
实现一个简单的demo,一个item里有图片、按钮、文字三个部分组成,双击文字出现combobox下拉框。按钮分为选中和非选中,单机修改按钮状态,通过一个额外的按钮将所有按钮为选中的那行item删除
demo演示
listViewDemo
model定义
listView的数据结构似乎比较简单,这里直接用一个List链表来当做数据源了
struct ListData
{bool m_isSelect; QString m_txt;
};class ListModel : public QAbstractListModel
{Q_OBJECTpublic:ListModel();~ListModel();int rowCount(const QModelIndex &parent) const;QVariant data(const QModelIndex &index, int role) const;bool setData(const QModelIndex &index, const QVariant &value, int role);QModelIndex index(int row, int column, const QModelIndex &parent) const;int columnCount(const QModelIndex &parent) const;Qt::ItemFlags flags(const QModelIndex& index) const override;void insertData(const ListData &data);QList<ListData> getData() {return m_listData;}void SetData(const QList<ListData> &data){ beginResetModel();m_listData = data;endResetModel();}private:QList<ListData> m_listData;
};
委托 QStyledItemDelegate
从demo的定义来看,我们需要在一个item上绘制按钮、文本框、图片,这里我们需要使用到委托。
- 委托是视图中处理用户输入的部件。
- 视图可以设置委托对象用于处理用户输入。
- 委托能够提供编辑时需要的上下文环境(编辑器)。
- 不同委托提供的编辑器类型不同(文本框、单选框等)。
- 编辑器从模型中获取数据,并将编辑结果返回模型。
委托中的关键函数:
- createEditor:需要编辑数据时,创建编辑器组件。
- updateEditorGeometry:更新编辑器组件的大小。
- setEditorData:通过索引从模型中获取数据。
- setModelData:将编辑后的新数据返回模型。
- (print: 描绘画面显示)
- (editorEvent: 处理鼠标事件)
class MyDelegate : public QStyledItemDelegate
{Q_OBJECT;public:MyDelegate();~MyDelegate();//描绘画面显示void paint(QPainter *painter, const QStyleOptionViewItem &option, const QModelIndex &index) const;//处理鼠标事件bool editorEvent(QEvent *event, QAbstractItemModel *model, const QStyleOptionViewItem &option, const QModelIndex &index);void updateEditorGeometry(QWidget *editor,const QStyleOptionViewItem &option,const QModelIndex &index) const;virtual QWidget *createEditor(QWidget *parent, const QStyleOptionViewItem &option, const QModelIndex &index) const;void setEditorData(QWidget *editor, const QModelIndex &index) const ;       //为editor提供编辑的原始数据virtual void setModelData(QWidget *editor, QAbstractItemModel *model, const QModelIndex &index) const ;
};
我们需要在paint中绘制我们需要的item
void MyDelegate::paint(QPainter *painter, const QStyleOptionViewItem &option, const QModelIndex &index) const
{QRect retc = option.rect;//这里取的数据 对应model里面的rolebool isSelect = index.data(Qt::UserRole + 1).toBool();QString txt = index.data(Qt::UserRole + 2).toString();{// picture beginQPixmap pix;painter -> save();if (pix.isNull()){	auto success = pix.load("D:/3.ico");}painter->setPen(QColor("#Ff0000"));painter->setPen(Qt::DashDotLine);painter->drawRect(retc);int xoffset = 10;auto szPix = pix.size();auto dy = szPix.height() * 1.0 /  retc.height();auto dx = szPix.width() * 1.0 / retc.width();auto d = std::max(dy, dx);int w = szPix.width() / d;int h = szPix.height() /d;auto x = retc.left() + xoffset;auto y = retc.top() + (retc.height() - h) / 2;painter->drawPixmap(x, y, w, h, pix);// picture end// buttom beging_hight = h;//p11.setX(x);p11 = QPoint(x, (retc.height() - h) / 2);x = x + w + 50;//绘制按钮QRect butRect(x, y, 100, h);p22 = QPoint(x, p11.y());if(isSelect){painter->setPen(QPen(QColor("#8f9ae6")));painter->setBrush(QColor("#8f9ae6"));painter->setPen(QPen(QColor("#000000")));painter->drawRoundedRect(butRect,0,0);painter->drawText(butRect,Qt::AlignCenter,"选中");}else{painter->setPen(QPen(QColor("#FFFFFF")));painter->setBrush(QColor("#FFFFFF"));painter->setPen(QPen(QColor("#000000")));painter->drawRoundedRect(butRect,0,10);painter->drawText(butRect,Qt::AlignCenter,"未选");}//buttom end//text beginbutRect = QRect(w * 3 + 150, y, 200, h);p33 = QPoint(butRect.left(), p11.y());painter->drawRoundedRect(butRect,0,10);painter->drawText(butRect,Qt::AlignCenter,txt);painter->restore();return;}
}
我们需要一个Combobox的Editor来做下拉框
QWidget * MyDelegate::createEditor(QWidget *parent, const QStyleOptionViewItem &option, const QModelIndex &index) const
{QStringList m_ls_itemtext;m_ls_itemtext<<"第一行"<<"第二行"<<"第三行"<<"第四行"<<"第五行"<<"第六行"<<"第七行"<<"第八行"<<"第九行";QComboBox *editor = new QComboBox(parent);editor->setEditable(true);editor->addItems(m_ls_itemtext);return editor;
}void MyDelegate::setEditorData(QWidget *editor, const QModelIndex &index) const
{if (!index.isValid()){return;}QString value = index.model()->data(index, Qt::EditRole).toString();QComboBox *comboBox = static_cast<QComboBox*>(editor);int icurIndex = comboBox->findText(value);if (icurIndex <= -1){icurIndex = 0;}comboBox->setCurrentIndex(icurIndex);
}
双击选中的下拉框应该在此item的那一行位置
void MyDelegate::updateEditorGeometry(QWidget *editor, const QStyleOptionViewItem &option, const QModelIndex &index) const
{auto xx = option.rect;auto yy = editor->rect();auto x = p33.x() + (200 - editor->geometry().width()) / 2;editor->move(x, xx.top());
}
我们需要把选中下拉框的值给到model
void MyDelegate::setModelData(QWidget *editor, QAbstractItemModel *model, const QModelIndex &index) const
{if (dynamic_cast<QComboBox*>(editor)->currentText() == ""){return;}model->setData(index, dynamic_cast<QComboBox*>(editor)->currentText(), Qt::UserRole+2);
}

总结
我们通过直接通过一个 List 实现 model 的数据源,通过 paint 来绘制每一个item(每个item里可以放一些内容如按钮),通过 editorEvent 来处理鼠标的点击事件,通过 updateEditorGeometry 来处理更新编辑器的位置, createEditor、setEditorData 来创建和设置一个需要的Editor(下拉框、文本行等等),通过 setModelData 来将editor修改的值返回给model来交互,model值修改了又会反馈给View,达到修改视图的效果