[img]C:\Documents and Settings\Administrator\桌面\devcppEditor1.gif[/img]Dev-C++ Installation
If you are installing Dev-C++ on your own computer, you should make some changes and additions to the default installation. Here are the details. If you are planning on using GCC, then you're pretty much on your own since I prefer using a development system and will not be much help with the GCC command line parameters.
First of all we are using Dev-C++ 5 beta 9.2 (4.9.9.2) from the Bloodshed website. ( http://www.bloodshed.net/ ). Make sure you choose the installation that includes the minGW compiler.
After installing, you will have a dev-cpp folder on your c: drive. The folder names below refer to folders under the dev-cpp folder which by default is in the c: root folder, i.e. c:\. The following needs to be changed.
1) Change the user default directory changed to the location where you plan to put your projects. This is found in Tools/Environment Options/Files & Dirs.
2) Add the following files to the Templates folder (they can be found in this zip archive file, devcFiles.zip).
CS151.template (new)
ConsoleGDI.template (replacement)
BGI.ico (new)
cs151.ico (new)
CS151App_c.txt (new)
ConsoleGDI.txt (replacement)
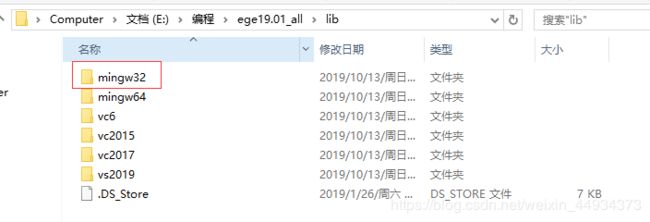
3) Save libbgi.a & libconio.a from the zip archive to the lib directory.
4) Save winbgim.h, conio.h, and conio2.h from the zip archive to the include directory.
Testing Your Installation
To test whether all this has worked OK you can do the following.
1) To test the conio library, create a new cs151 Application project and then try to compile and run the following program.
#include <stdio.h>
#include <conio2.h>
int main(void)
{
gotoxy(30,10);
textcolor(LIGHTRED);
printf("Hello World\n\n");
getchar();
return 0;
}
If you see a red "Hello World" in the middle of the screen, your conio library is working OK.
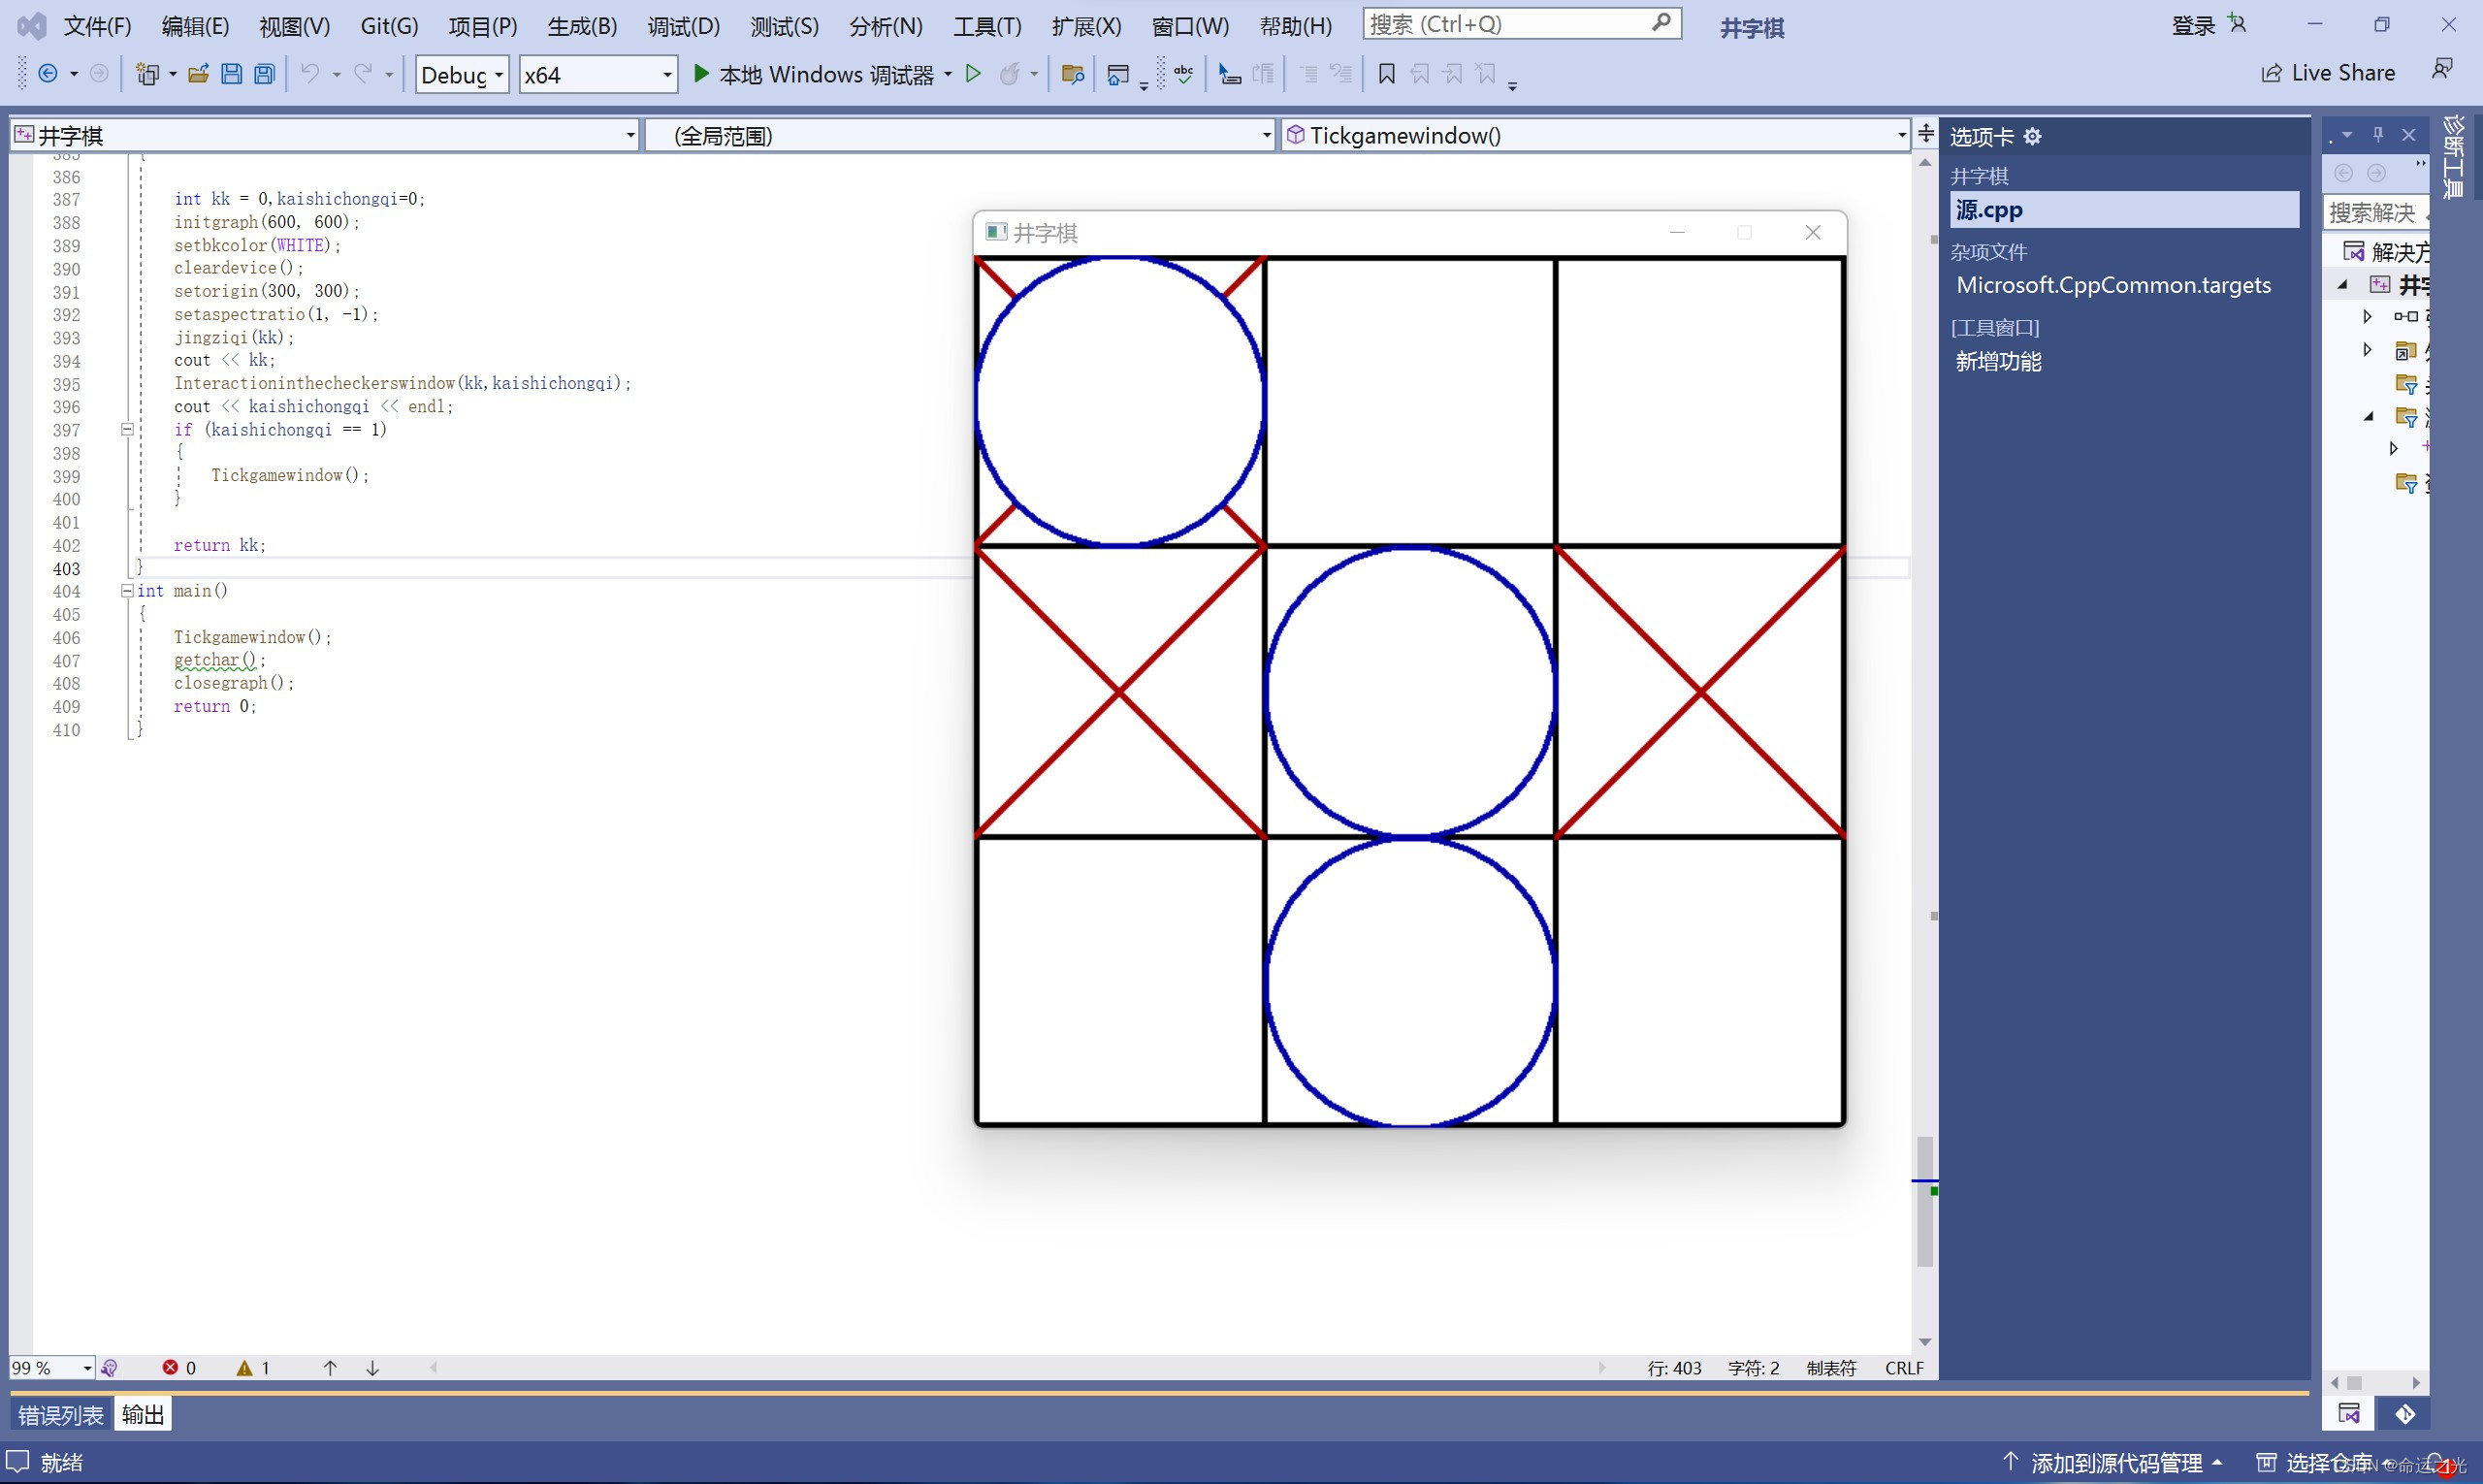
2) To test the graphics library, create a new Console GDI project and compile and run the default program. You should see a window with a white circle in the middle.
Running Lecture Programs
In order to run lecture programs, you must bring them into the proper kind of project folder. It is generally not sufficient to merely open the .c file in Dev-C++. All of the lecture programs were created as either a CS151 Application or a Console GDI project.
To run a nongraphics program create a CS151 Application project. Then copy the lecture source file into this project folder. Now remove the default source using the red X button (or use the green minus button). Then add the lecture source file to your project using the green plus button). You should now be able to compile and run the lecture program.
Follow the same procedure for a graphics program, but bring the source code into a Console GDI project.
Configuring the Dev-C++ Editor
In order to make formatting of you programs easier, I think the following changes to the editor are useful. First start up Dev-C++. Then select Tools/Editor Options and check the boxes on the General tab as shown to the right..
On the Display tab make sure Line Numbers is checked.
With these settings you should use the tab key (not the space bar) for indenting. After doing one indent, further lines will be automatically indented when you use the Enter key.
When you type a Backspace, the cursor will move to the previous tab position ready for further input.
When you get to the end of block of code, press Enter and then the '}' and the '}' will be placed one tab back from the current tab position as required by standard C formatting. This make formatting your C code easy.
Dev-C++ Debugging
The Dev-C++ debugger is a little temperamental. The symptom is the compile keeps asking you if you want to include debugging information and you say yes, but it never happens. Somehow Dev-C++ doesn't want to set the right linker switches to include debugging information in your compiled program. The following recipe has been working for me.
Do the following one time only.
Start up Dev-C++.
Change the linker setting Generate debugging information to the value no. To do this select the Tools/Compiler Options menu, then the Linker option on the Settings tab. Select Generate debugging information and change to no if it is set to yes.
Close Dev-C++.
Now everytime you start Dev-C++, that linker mode will be off. It seems that this must changed from no to yes when you want to debug. This is done following the steps below for each program you want to debug.
When you are ready to debug a program you have been working on do the following.
Change Generate debugging information to yes using the Tools/Compiler Options menu.
Set a break point at the beginning of your program.
Click on the debug tab at the bottom and then click the debug button on this tab.
You will get a message saying there is no debug information in the file, and do you want to generate it:. Answer yes. This will close the tabs at the bottom.
Again click on the debug tab and debug button and you should get a console window up and can now continue stepping through your program. At this point you can also add watch variables. This will allow you to see how your variables are changing as you step through your program.


