文章目录
- 前言
- 一. 反,反反爬虫
- 1.反爬虫
- 2.反反爬虫
- 二,超级鹰
- 三.完整代码
- 1.导包
- 2.超级鹰接口
- 3.连接手动开启的浏览器
- 4.定位文本框标签
- 5.图片文字识别
- 6.文本处理,坐标处理
- 7.导入刚刚py文件中的函数
- 8.按文字顺序点击图片中的坐标
- 9.登陆
- 四.完整代码
- 总结
前言
代码演示传送门
代码演示传送门
代码演示传送门
代码演示传送门
代码演示传送门
代码演示传送门
代码演示传送门
代码演示传送门
--------------------------------------------文章较长
python使用selenium自动化 实现图片文字识别 登陆b站:
一. 反,反反爬虫
1.反爬虫
一般来说使用 Selenium 调用 Chromedriver 来打开网页,还是与正常打开网页有一定的区别的。现在很多网站都加上了对 Selenium 的检测,来防止一些爬虫的恶意爬取。
大多数情况下,检测的基本原理是检测当前浏览器窗口下的 window.navigator 对象是否包含 webdriver 这个属性。在正常使用浏览器的情况下,这个属性是 undefined,然后一旦我们使用了 selenium,这个属性就被初始化为 true,很多网站就通过 Javascript 判断这个属性实现简单的反 selenium爬虫。
这时候我们可能想到通过 Javascript 直接把这个 webdriver 属性置空,比如通过调用 execute_script 方法来执行如下代码:
script = 'Object.defineProperty(navigator, "webdriver", {get: () => false,});'
driver.execute_script(script)
这行 Javascript 的确可以把 webdriver 属性置空,但是 execute_script 调用这行 Javascript 语句实际上是在页面加载完毕之后才执行的,执行得太晚了,大多数网站早在页面渲染之前就已经对 webdriver 属性进行了检测,所以用上述方法并不能达到效果。
其实,不只是 webdriver,selenium打开浏览器后,还会有这些特征码:
webdriver
__driver_evaluate
__webdriver_evaluate
__selenium_evaluate
__fxdriver_evaluate
__driver_unwrapped
__webdriver_unwrapped
__selenium_unwrapped
__fxdriver_unwrapped
_Selenium_IDE_Recorder
_selenium
calledSelenium
_WEBDRIVER_ELEM_CACHE
ChromeDriverw
driver-evaluate
webdriver-evaluate
selenium-evaluate
webdriverCommand
webdriver-evaluate-response
__webdriverFunc
__webdriver_script_fn
__$webdriverAsyncExecutor
__lastWatirAlert
__lastWatirConfirm
__lastWatirPrompt
2.反反爬虫
既然使用 selenium 打开的浏览器存在一些特定参数,那么我们可以另辟蹊径,直接手动打开一个真实的浏览器,然后再使用 selenium 控制不就可以了吗!
利用 Chrome DevTools 协议打开一个浏览器,它允许客户检查和调试 Chrome 浏览器
import ospath = r'C:\Users\HUAWEI\AppData\Local\Google\Chrome\Application\chrome.exe'
ip = 9222
cmd = '{} --remote-debugging-port=9222'.format(path)
res = os.popen(cmd)
若路径正确,此时会打开一个新的 Chrome 窗口
然后使用seleniun连接这个打开的chrome窗口
from selenium import webdriver
from selenium.webdriver.chrome.options import Options
option = Options()
# 此处端口需要与上一步中使用的端口保持一致
# 其它大多博客此处使用 127.0.0.1:9222, 经测试无法连接, 建议采用 localhost:9222
option.add_experimental_option("debuggerAddress", "localhost:9222")
driver = webdriver.Chrome(options=option)
二,超级鹰
超级鹰官网
注册-登陆-个人中心-软件id-生成一个软件id
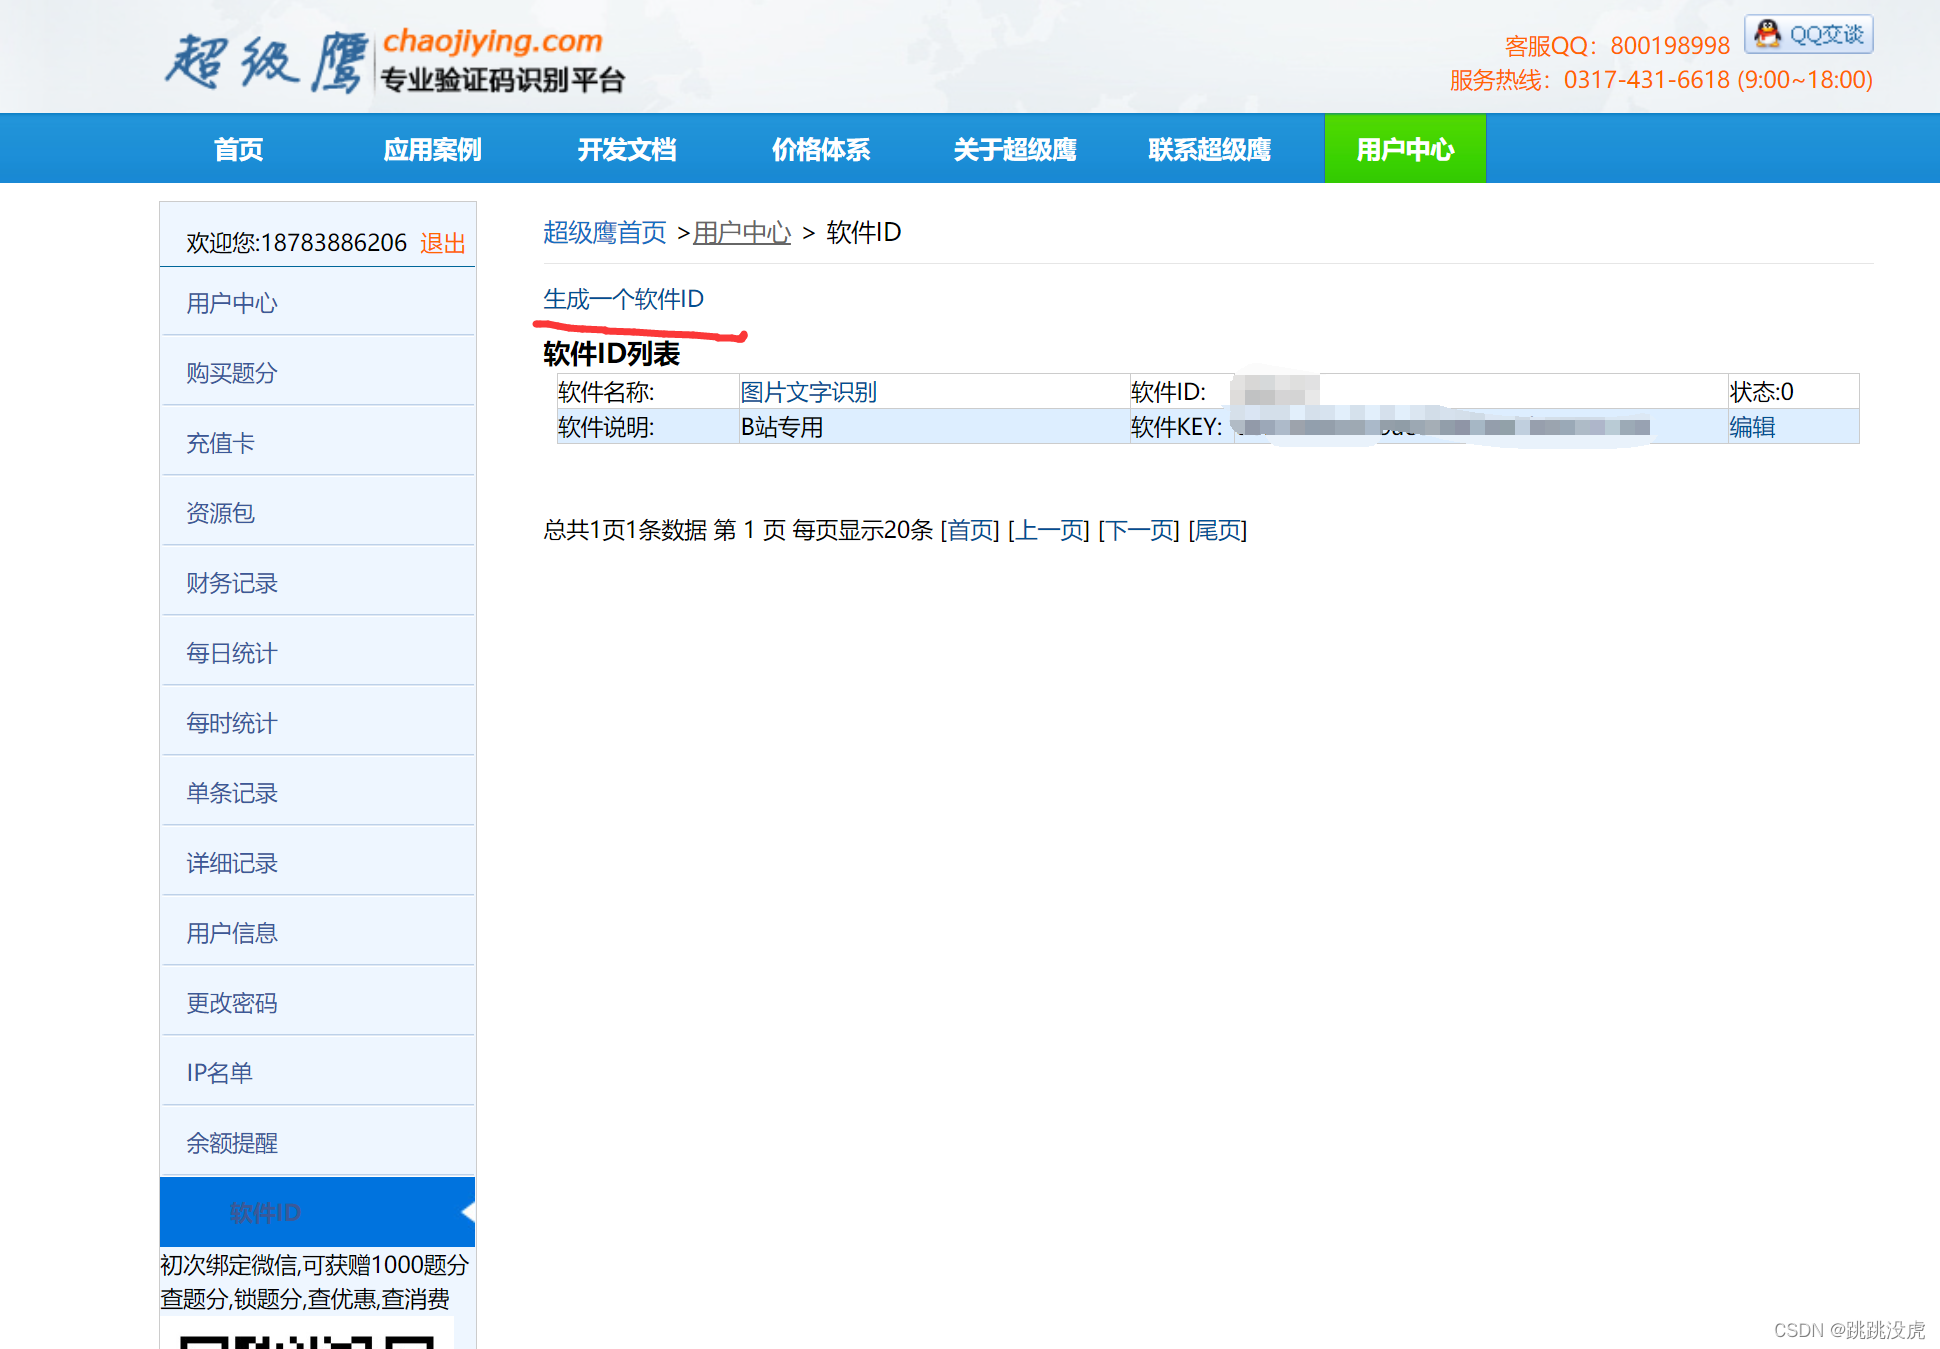
不是免费的要收费
使用超级鹰识别图片中的文字及坐标 使用方法见官网使用文档
简单看下文档接口
#!/usr/bin/env python
# coding:utf-8import requests
from hashlib import md5class Chaojiying_Client(object):def __init__(self, username, password, soft_id):self.username = usernamepassword =  password.encode('utf8')self.password = md5(password).hexdigest()self.soft_id = soft_idself.base_params = {'user': self.username,'pass2': self.password,'softid': self.soft_id,}self.headers = {'Connection': 'Keep-Alive','User-Agent': 'Mozilla/4.0 (compatible; MSIE 8.0; Windows NT 5.1; Trident/4.0)',}def PostPic(self, im, codetype):"""im: 图片字节codetype: 题目类型 参考 http://www.chaojiying.com/price.html"""params = {'codetype': codetype,}params.update(self.base_params)files = {'userfile': ('ccc.jpg', im)}r = requests.post('http://upload.chaojiying.net/Upload/Processing.php', data=params, files=files, headers=self.headers)return r.json()def ReportError(self, im_id):"""im_id:报错题目的图片ID"""params = {'id': im_id,}params.update(self.base_params)r = requests.post('http://upload.chaojiying.net/Upload/ReportError.php', data=params, headers=self.headers)return r.json()if __name__ == '__main__':chaojiying = Chaojiying_Client('超级鹰用户名', '超级鹰用户名的密码', '96001')	 #用户中心>>软件ID 生成一个替换 96001im = open('a.jpg', 'rb').read()													#本地图片文件路径 来替换 a.jpg 有时WIN系统须要//print chaojiying.PostPic(im, 1902)												#1902 验证码类型  官方网站>>价格体系 3.4+版 print 后要加()
三.完整代码
不废话了 上代码
1.导包
用前先退出原B站账号和浏览器自动登陆设置关闭,不然的话就自动登陆了 ‘狗头’
设置 -自动填充-密码-自动登录-关闭
from selenium import webdriver
from selenium.webdriver.common.by import By
from selenium.webdriver import ActionChains
import time
2.超级鹰接口
直接从文档复制过来
import requests
from hashlib import md5class Chaojiying_Client(object):def __init__(self, username, password, soft_id):self.username = usernamepassword =  password.encode('utf8')self.password = md5(password).hexdigest()self.soft_id = soft_idself.base_params = {'user': self.username,'pass2': self.password,'softid': self.soft_id,}self.headers = {'Connection': 'Keep-Alive','User-Agent': 'Mozilla/4.0 (compatible; MSIE 8.0; Windows NT 5.1; Trident/4.0)',}def PostPic(self, im, codetype):"""im: 图片字节codetype: 题目类型 参考 http://www.chaojiying.com/price.html"""params = {'codetype': codetype,}params.update(self.base_params)files = {'userfile': ('ccc.jpg', im)}r = requests.post('http://upload.chaojiying.net/Upload/Processing.php', data=params, files=files, headers=self.headers)return r.json()def ReportError(self, im_id):"""im_id:报错题目的图片ID"""params = {'id': im_id,}params.update(self.base_params)r = requests.post('http://upload.chaojiying.net/Upload/ReportError.php', data=params, headers=self.headers)return r.json()
3.连接手动开启的浏览器
开启之前请关闭所有的浏览器窗口
使用cmd打开一个浏览器并用selenium连接这个浏览器
利用 Chrome DevTools 协议打开一个浏览器,它允许客户检查和调试 Chrome 浏览器
import os
#path是你的浏览器文件位置
path = r'C:\Users\HUAWEI\AppData\Local\Google\Chrome\Application\chrome.exe'
ip = 9222
cmd = '{} --remote-debugging-port=9222'.format(path)
res = os.popen(cmd)driver = webdriver.Chrome(options=option)
driver.get('https://passport.bilibili.com/login') #使用浏览器打开B站登陆地址
4.定位文本框标签
#定位user
user_tag = driver.find_element(By.ID,'login-username')
time.sleep(0.5)#双击输入框 防止有文本
ActionChains(driver).double_click(user_tag).perform()
#此处填写账号
user_tag.send_keys('账号') #定位password
pwd = driver.find_element(By.ID,'login-passwd')
time.sleep(0.5)
ActionChains(driver).double_click(user_tag).perform()
#密码填写
pwd.send_keys('password')
#定位点击登陆标签
login_tag = driver.find_element(By.CLASS_NAME,'btn-login')
login_tag.click()
time.sleep(1)
#网速慢可以等一秒加载验证码图片
5.图片文字识别
#inintial_pic
initname = 'inititem.png'
yanzhen_pic = 'yanzhen.png'#原词语图片
init_word_pic= driver.find_element(By.CLASS_NAME,'geetest_tip_img')
#保存原词语
init_word_pic.screenshot(initname)
#图片地址
pic_tag = driver.find_element(By.CLASS_NAME,'geetest_item_img')
src_url = pic_tag.get_attribute("src")
#保存需验证图片
pic_tag.screenshot(yanzhen_pic)
目录下就会生成刚刚截图的验证码图片


再交给超级鹰识别
顺便检查一下识别的文字是否出错出错的话就再次识别一直到识别成功
#一般两次就成功了
这里有个chack函就是检查文字是否出错写在另一个py文件了
#超级鹰识别文字
#账号密码是注册超级鹰的密码账号
#软件id填写你创建软件的id
chaojiying = Chaojiying_Client('账号', '密码', '软件id')
# 检查识别文字是否出错
chacked = True
while chacked:im = open(initname, 'rb').read()init_word_str = chaojiying.PostPic(im, 2004)['pic_str']im = open(yanzhen_pic, 'rb').read()pic_word_str = chaojiying.PostPic(im, 9004)['pic_str']im = open(yanzhen_pic, 'rb').read()local = chaojiying.PostPic(im, 9004)['pic_str']#文字位置匹配chacked = chack(init_word_str,pic_word_str)if chacked == True:chacked = Falseelse:chacked = chacked
6.文本处理,坐标处理
因为发送给超级鹰识别后返回的字典结果中[’‘pic_str’’]格式是字符串的形式包括坐标

location为字符串 所以我们要处理一下,并且还需要使它的顺序对应到pic_word_str
这样图片中的文字就和坐标一一对应
原文字 ‘你过来啊’
[[1, 1], [2, 2], [3, 3], [4, 4]] -------> ‘啊你来过’
点击顺序应该为[[2, 2], [4, 4], [3, 3], [1, 1]]-------->你过来啊
然后我们在当前目录下另写一个py文件
这是我另一个py文件b_mod.py
#处理xylocation_str
def xy_list(wstr):list1 = wstr.split('|')llist = []for e in list1:inlist = e.split(',')for i in range(len(inlist)):inlist[i] = int(inlist[i])llist.append(inlist)return llist#检查识别文字是否出错
def chack(init,set):Tchack = Trueif len(set) == 0 or len(init) ==0:Tchack = Falsefor e in init:if e in set:continue;else:Tchack = Falsereturn Tchack#根据文字顺序排坐标
def xyfindword(setword,init,llist):xylist = llist[:]for i in range(len(setword)):for j in range(len(init)):if init[j] == setword[i]:xylist[i] = llist[j]else:continuereturn xylist
if __name__ == '__main__':pass
7.导入刚刚py文件中的函数
#讲这个导包放在py文件最前面前面用到了chack函数 如果放到这会报错
b_mod是我另一个py文件名
from b_mod import xy_list, xyfindword, chack#讲这个导包放在py文件最前面前面用到了chack函数  如果放到这会报错xylist = xy_list(local) #strxy ->listxy
word_xy = xyfindword(init_word_str,pic_word_str,xylist)
8.按文字顺序点击图片中的坐标
返回的坐标大多为文字左上角 所以点击位置往右下偏移
for e in word_xy:xx = e[0] + 4yy = e[1] + 8ActionChains(driver).move_to_element_with_offset(pic_tag,xx,yy).click().perform()time.sleep(0.5)#点击间歇0.5秒 防止反应不过来
9.登陆
找到验证标签并点击
driver.find_element(By.CLASS_NAME,'geetest_commit').click()
time.sleep(2)
四.完整代码
主文件
from selenium import webdriver
from selenium.webdriver.common.by import By
from selenium.webdriver import ActionChains
import timefrom b_mod import xy_list, xyfindword, chack
import requests
from hashlib import md5class Chaojiying_Client(object):def __init__(self, username, password, soft_id):self.username = usernamepassword =  password.encode('utf8')self.password = md5(password).hexdigest()self.soft_id = soft_idself.base_params = {'user': self.username,'pass2': self.password,'softid': self.soft_id,}self.headers = {'Connection': 'Keep-Alive','User-Agent': 'Mozilla/4.0 (compatible; MSIE 8.0; Windows NT 5.1; Trident/4.0)',}def PostPic(self, im, codetype):"""im: 图片字节codetype: 题目类型 参考 http://www.chaojiying.com/price.html"""params = {'codetype': codetype,}params.update(self.base_params)files = {'userfile': ('ccc.jpg', im)}r = requests.post('http://upload.chaojiying.net/Upload/Processing.php', data=params, files=files, headers=self.headers)return r.json()def ReportError(self, im_id):"""im_id:报错题目的图片ID"""params = {'id': im_id,}params.update(self.base_params)r = requests.post('http://upload.chaojiying.net/Upload/ReportError.php', data=params, headers=self.headers)return r.json()from selenium.webdriver.chrome.options import Options
import ospath = r'C:\Users\HUAWEI\AppData\Local\Google\Chrome\Application\chrome.exe'
ip = 9222
cmd = '{} --remote-debugging-port=9222'.format(path)
res = os.popen(cmd)option = Options()
# 此处端口需要与上一步中使用的端口保持一致
# 其它大多博客此处使用 127.0.0.1:9222, 经测试无法连接, 建议采用 localhost:9222
# 具体原因参见: https://www.codenong.com/6827310/
option.add_experimental_option("debuggerAddress", "localhost:9222")driver = webdriver.Chrome(options=option)# #实现无可视化界面的操作
# chrome_options = Options()
# chrome_options.add_argument('--headless')
# chrome_options.add_argument('--disable-gpu')driver = webdriver.Chrome(options=option)
driver.get('https://passport.bilibili.com/login')# 解决特征识别
#script = 'Object.defineProperty(navigator, "webdriver", {get: () => false,});'
#driver.execute_script(script)#定位user
user_tag = driver.find_element(By.ID,'login-username')
time.sleep(0.5)
ActionChains(driver).double_click(user_tag).perform() #双击输入框 防止有文本
user_tag.send_keys('B站账号')
#定位password
pwd = driver.find_element(By.ID,'login-passwd')
time.sleep(0.5)
ActionChains(driver).double_click(user_tag).perform()
pwd.send_keys('B站密码')#定位点击登陆标签
login_tag = driver.find_element(By.CLASS_NAME,'btn-login')
login_tag.click()
time.sleep(2)
#图片验证识别
#inintial_pic
initname = 'inititem.png'
yanzhen_pic = 'yanzhen.png'#原词语图片
init_word_pic= driver.find_element(By.CLASS_NAME,'geetest_tip_img')
#保存原词语
init_word_pic.screenshot(initname)
#图片地址
pic_tag = driver.find_element(By.CLASS_NAME,'geetest_item_img')
src_url = pic_tag.get_attribute("src")
#保存需验证图片
pic_tag.screenshot(yanzhen_pic)
#超级鹰识别文字
chaojiying = Chaojiying_Client('账号', '密码', 软件id')# 检查识别文字是否出错
chacked = True
while chacked:im = open(initname, 'rb').read()init_word_str = chaojiying.PostPic(im, 2004)['pic_str']im = open(yanzhen_pic, 'rb').read()pic_word_str = chaojiying.PostPic(im, 9004)['pic_str']im = open(yanzhen_pic, 'rb').read()local = chaojiying.PostPic(im, 9004)['pic_str']#文字位置匹配chacked = chack(init_word_str,pic_word_str)if chacked == True:chacked = Falseelse:chacked = chackedxylist = xy_list(local) #strxy ->listxy
word_xy = xyfindword(init_word_str,pic_word_str,xylist)#确定验证码图片对应的左上角和右下角的坐标(裁剪的区域就确定)
location = init_word_pic.location  # 验证码图片左上角的坐标 x,y
x = location['x']
y = location['y']for e in word_xy:xx = e[0] + 4yy = e[1] + 8ActionChains(driver).move_to_element_with_offset(pic_tag,xx,yy).click().perform()time.sleep(0.5)#print(word_xy)
#print('location:',location)
#size = pic_tag.size  #验证码标签对应的长和宽
#print(size)
driver.find_element(By.CLASS_NAME,'geetest_commit').click()
time.sleep(2)
b_mod.py
location = '1,1|2,2|3,3|4,4'
init_word_sttr = '你过来啊'
pic_word_str = '啊你来过'
#处理xylocation_str
def xy_list(wstr):list1 = wstr.split('|')llist = []for e in list1:inlist = e.split(',')for i in range(len(inlist)):inlist[i] = int(inlist[i])llist.append(inlist)return llist#检查识别文字是否出错
def chack(init,set):Tchack = Trueif len(set) == 0 or len(init) ==0:Tchack = Falsefor e in init:if e in set:continue;else:Tchack = Falsereturn Tchack#根据文字顺序排坐标
def xyfindword(init,setword,llist):xylist = llist[:]for i in range(len(setword)):for j in range(len(init)):if init[j] == setword[i]:xylist[i] = llist[j]else:continuereturn xylist
if __name__ == '__main__':llist = xy_list(location)print(xy_list(location))print(xyfindword(pic_word_str,init_word_sttr,llist))
总结
总的来说吧 ,运行的时候可能会有bug 毕竟这是在我的电脑上运行的 在其他电脑上的话根据个人配置不同 可能会有bug