目录
- 效果
- 实现思路
- 1、新建自己的 my-assignment-popup.html
- 2、修改properties-assignment-controller.js
效果
演示地址
代码地址
前端代码地址


实现思路
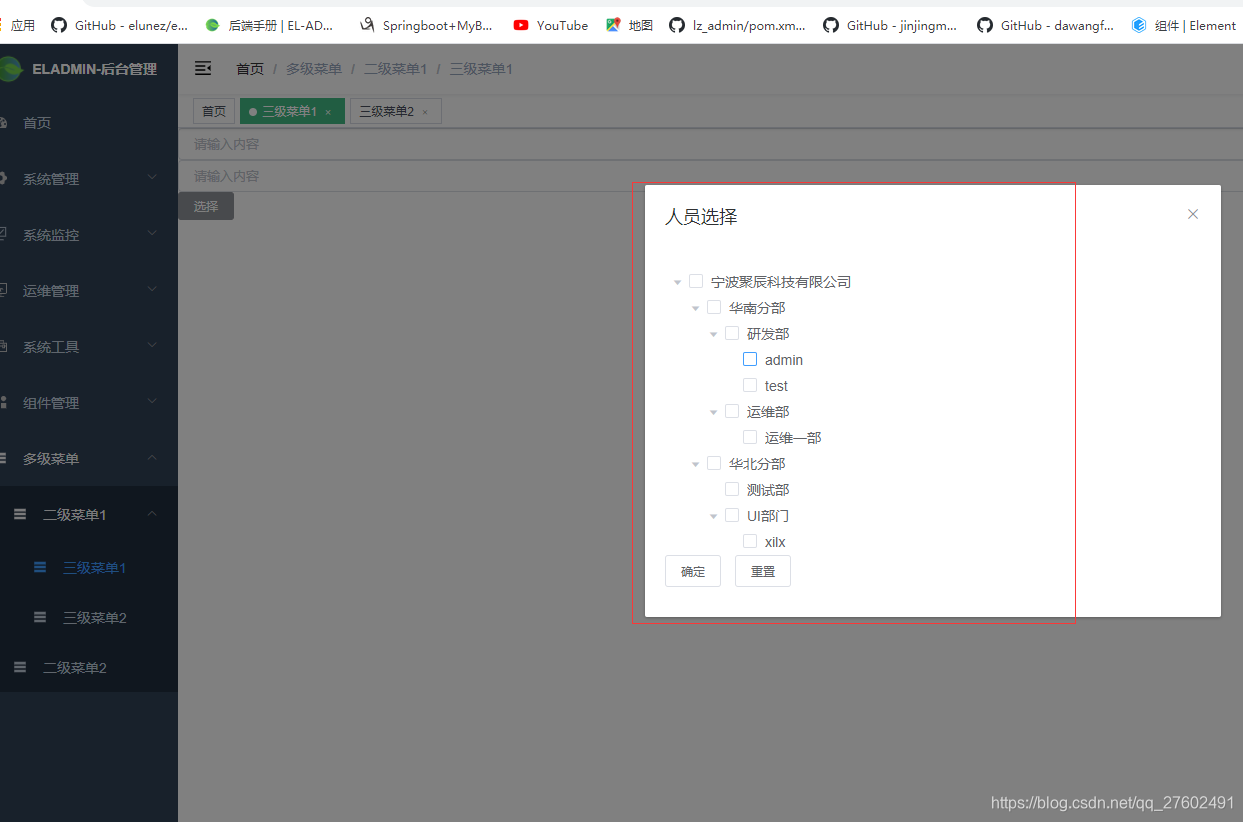
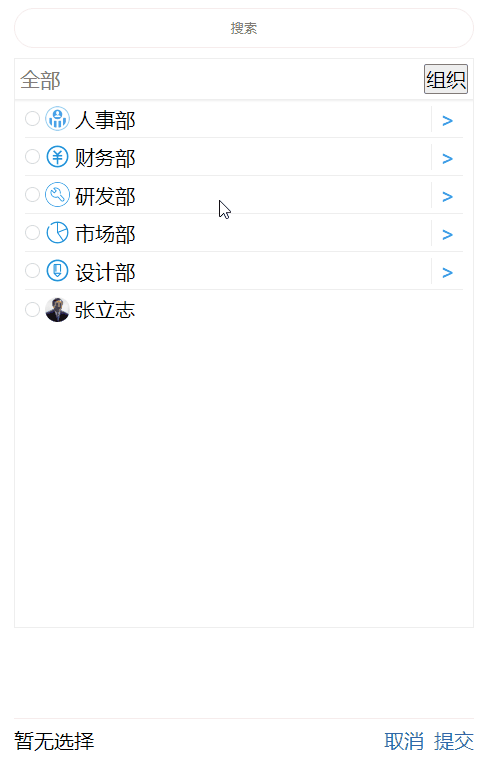
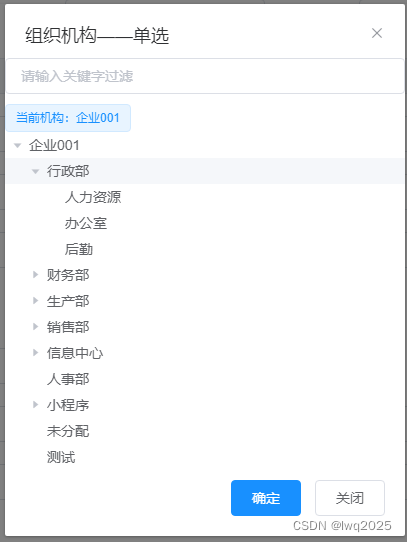
部门是基于bootstrap-treeview插件实现的,表格是自己用div css写的。其实自己了解angular修改这里应该没有问题。
1、新建自己的 my-assignment-popup.html

html 代码连接
2、修改properties-assignment-controller.js

指向自己的的页面。

控制器的基本逻辑就是从后台获取人员数据,这里的部门代码为了演示我是写死的。
$scope.getUserList = function () {$http({ method: 'GET', url: FLOWABLE.CONFIG.contextRoot + '/user/list' }).success(function (data, status, headers, config) {if (data.success) {$scope.userList = data.data$scope.userList.push({id: '${assignee}',nickname: '会签专用',username: '会签专用',})}});}
设置部门的tree,注意我是延迟0.5秒初始化的,这个弹窗后马上获取节点jQuery(’#treeDemo’)是获取不到的,所以要延迟0.5秒
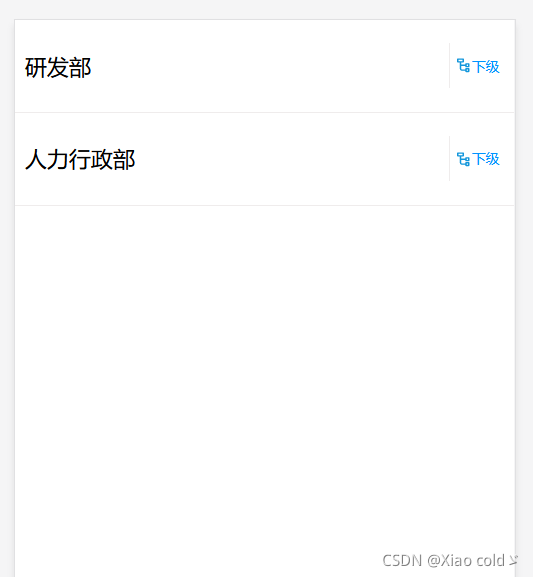
$scope.initTree = function () {jQuery('#treeDemo').treeview({data: [{text: "A部门",nodes: [{text: "开发部"},{text: "测试部"}]},{text: "B部门"},{text: "C部门"},{text: "D部门"}]});}setTimeout(() => {$scope.initTree();}, 500);
下一篇:Flowable审批节点自定义内容