canny算子的python实现以及pytorch实现
- canny的python实现
- canny的pytorch实现
canny的python实现
参考Canny边缘检测算法(python 实现)
import numpy as np
import cv2 as cv
from matplotlib import pyplot as pltdef smooth(image, sigma = 1.4, length = 5) :""" Smooth the imageCompute a gaussian filter with sigma = sigma and kernal_length = length.Each element in the kernal can be computed as below:G[i, j] = (1/(2*pi*sigma**2))*exp(-((i-k-1)**2 + (j-k-1)**2)/2*sigma**2)Then, use the gaussian filter to smooth the input image.Args:image: array of grey imagesigma: the sigma of gaussian filter, default to be 1.4length: the kernal length, default to be 5Returns:the smoothed image"""# Compute gaussian filterk = length // 2gaussian = np.zeros([length, length])for i in range(length) :for j in range(length) :gaussian[i, j] = np.exp(-((i - k) ** 2 + (j - k) ** 2) / (2 * sigma ** 2))gaussian /= 2 * np.pi * sigma ** 2# Batch Normalizationgaussian = gaussian / np.sum(gaussian)# Use Gaussian FilterW, H = image.shapenew_image = np.zeros([W - k * 2, H - k * 2])for i in range(W - 2 * k) :for j in range(H - 2 * k) :# 卷积运算new_image[i, j] = np.sum(image[i :i + length, j :j + length] * gaussian)new_image = np.uint8(new_image)return new_imagedef get_gradient_and_direction(image) :""" Compute gradients and its directionUse Sobel filter to compute gradients and direction.-1 0 1        -1 -2 -1Gx = -2 0 2   Gy =  0  0  0-1 0 1         1  2  1Args:image: array of grey imageReturns:gradients: the gradients of each pixeldirection: the direction of the gradients of each pixel"""Gx = np.array([[-1, 0, 1], [-2, 0, 2], [-1, 0, 1]])Gy = np.array([[-1, -2, -1], [0, 0, 0], [1, 2, 1]])W, H = image.shapegradients = np.zeros([W - 2, H - 2])direction = np.zeros([W - 2, H - 2])for i in range(W - 2) :for j in range(H - 2) :dx = np.sum(image[i :i + 3, j :j + 3] * Gx)dy = np.sum(image[i :i + 3, j :j + 3] * Gy)gradients[i, j] = np.sqrt(dx ** 2 + dy ** 2)if dx == 0 :direction[i, j] = np.pi / 2else :direction[i, j] = np.arctan(dy / dx)# gradients = np.uint8(gradients)return gradients, directiondef NMS(gradients, direction) :""" Non-maxima suppressionArgs:gradients: the gradients of each pixeldirection: the direction of the gradients of each pixelReturns:the output image"""W, H = gradients.shapenms = np.copy(gradients[1 :-1, 1 :-1])for i in range(1, W - 1) :for j in range(1, H - 1) :theta = direction[i, j]weight = np.tan(theta)if theta > np.pi / 4 :d1 = [0, 1]d2 = [1, 1]weight = 1 / weightelif theta >= 0 :d1 = [1, 0]d2 = [1, 1]elif theta >= - np.pi / 4 :d1 = [1, 0]d2 = [1, -1]weight *= -1else :d1 = [0, -1]d2 = [1, -1]weight = -1 / weightg1 = gradients[i + d1[0], j + d1[1]]g2 = gradients[i + d2[0], j + d2[1]]g3 = gradients[i - d1[0], j - d1[1]]g4 = gradients[i - d2[0], j - d2[1]]grade_count1 = g1 * weight + g2 * (1 - weight)grade_count2 = g3 * weight + g4 * (1 - weight)if grade_count1 > gradients[i, j] or grade_count2 > gradients[i, j] :nms[i - 1, j - 1] = 0return nmsdef double_threshold(nms, threshold1, threshold2) :""" Double ThresholdUse two thresholds to compute the edge.Args:nms: the input imagethreshold1: the low thresholdthreshold2: the high thresholdReturns:The binary image."""visited = np.zeros_like(nms)output_image = nms.copy()W, H = output_image.shapedef dfs(i, j) :if i >= W or i < 0 or j >= H or j < 0 or visited[i, j] == 1 :returnvisited[i, j] = 1if output_image[i, j] > threshold1 :output_image[i, j] = 255dfs(i - 1, j - 1)dfs(i - 1, j)dfs(i - 1, j + 1)dfs(i, j - 1)dfs(i, j + 1)dfs(i + 1, j - 1)dfs(i + 1, j)dfs(i + 1, j + 1)else :output_image[i, j] = 0for w in range(W) :for h in range(H) :if visited[w, h] == 1 :continueif output_image[w, h] >= threshold2 :dfs(w, h)elif output_image[w, h] <= threshold1 :output_image[w, h] = 0visited[w, h] = 1for w in range(W) :for h in range(H) :if visited[w, h] == 0 :output_image[w, h] = 0return output_imageif __name__ == "__main__" :# code to read imagei = cv.imread('test.png')image = cv.imread('test.png', 0)cv.imshow("Original", image)smoothed_image = smooth(image)cv.imshow("GaussinSmooth(5*5)", smoothed_image)gradients, direction = get_gradient_and_direction(smoothed_image)# print(gradients)# print(direction)nms = NMS(gradients, direction)output_image = double_threshold(nms, 40, 100)cv.imshow("outputImage", output_image)cv.waitKey(0)
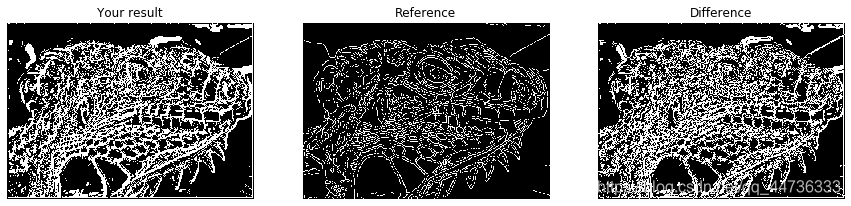
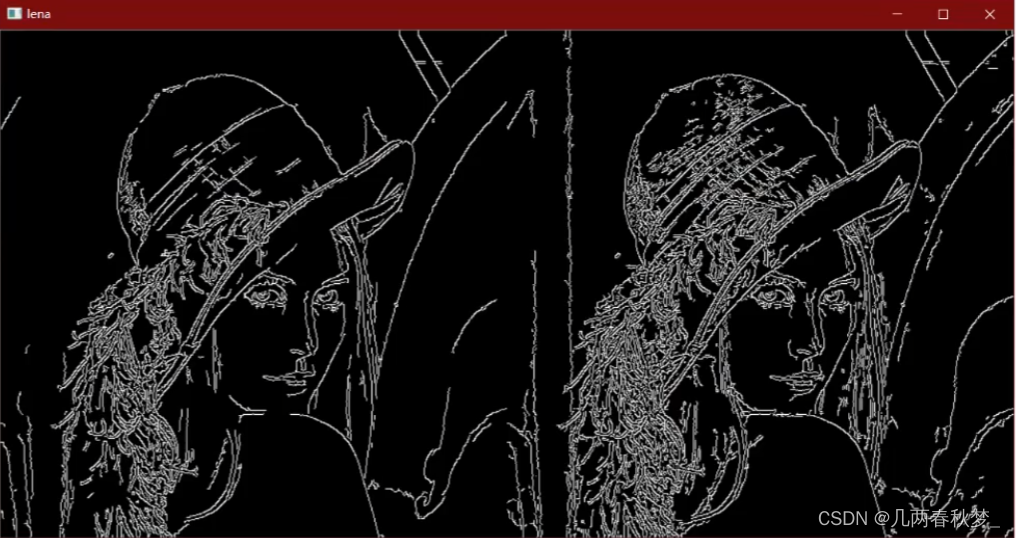
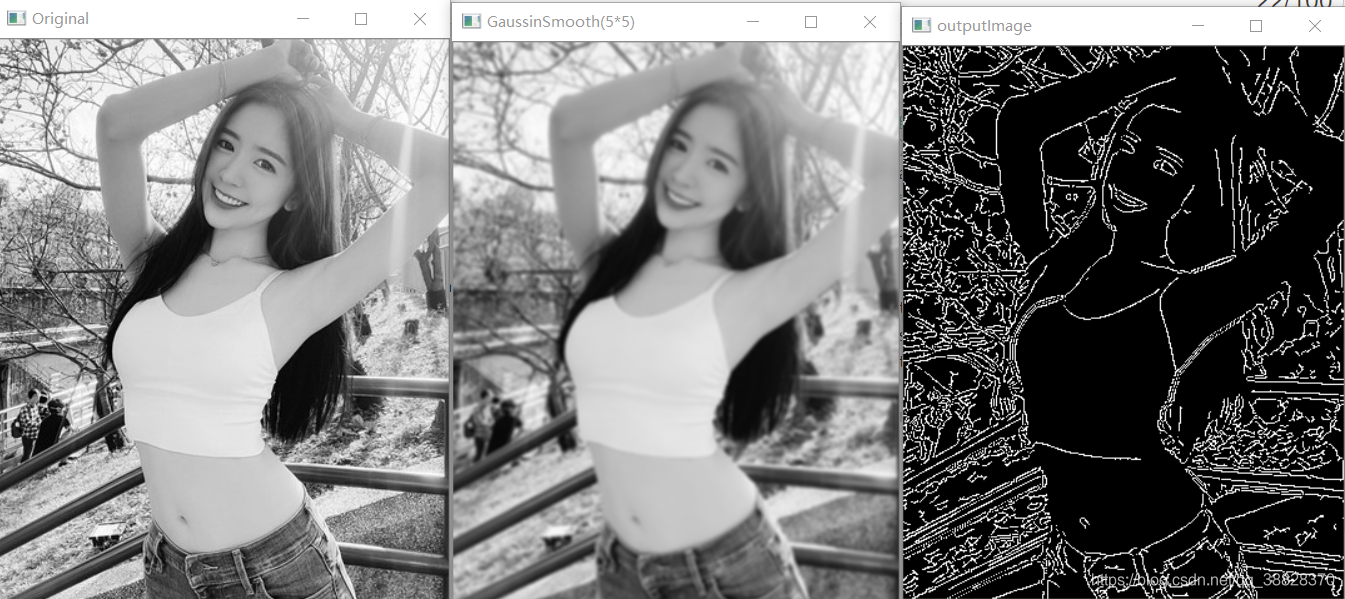
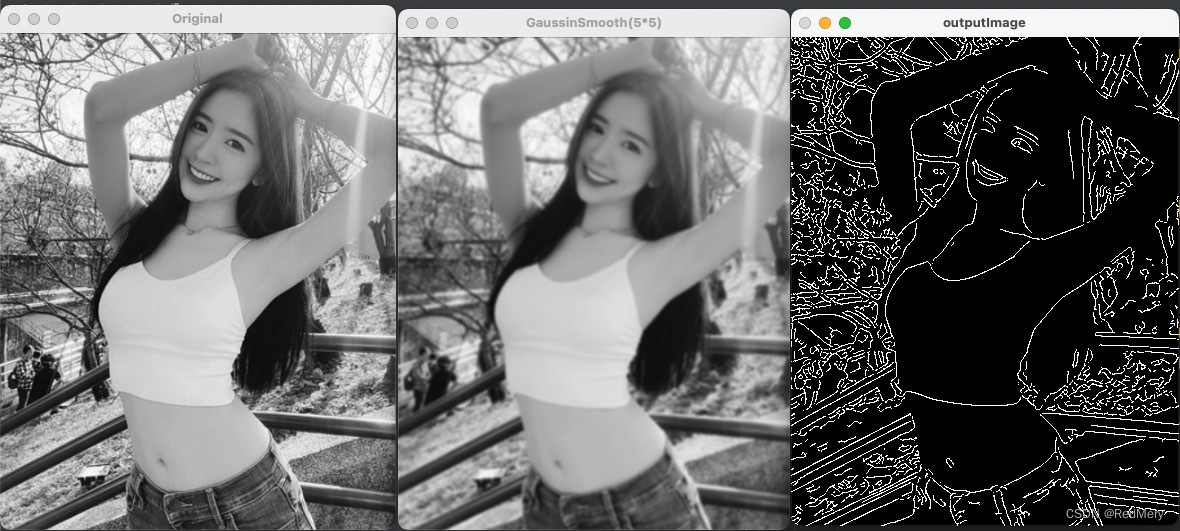
得到的结果:
然而这种方法由于使用了如下的语句,使得运行速度很慢
for w in range(W) :for h in range(H) :...
基于此的pytorch方法的代码如下所示
import torch
from torch import nn
import numpy as np
import cv2
from torch.nn import functional as Fclass GaussianConv(nn.Module):def __init__(self, kernel_size = 5, sigma = 1):super(GaussianConv, self).__init__()self.kernel_size = kernel_sizeself.sigma = sigmaself.k = self.kernel_size // 2gaussian_matrix = torch.zeros(self.kernel_size, self.kernel_size)tmp = torch.arange(self.kernel_size) - self.kx, y = torch.meshgrid(tmp, tmp)# for i in range(self.kernel_size):#     for j in range(self.kernel_size):#         i = torch.tensor(i)#         j = torch.tensor(j)#         gaussian_matrix[i, j] = torch.exp(-((i - self.k) ** 2 + (j - self.k) ** 2) / (2 * sigma ** 2))gaussian_matrix = 2 * np.pi * sigma**2 * torch.exp(-(x **2 + y**2) / (2 * sigma**2))gaussian_matrix = gaussian_matrix / torch.sum(gaussian_matrix)gaussian_matrix = gaussian_matrix.unsqueeze(0)self.gaussian_filter = nn.Conv2d(in_channels = 1, out_channels = 1, kernel_size = self.kernel_size,bias = False, stride = 1, padding = self.k, padding_mode = 'replicate')self.gaussian_filter.weight.data[:] = nn.Parameter(gaussian_matrix, requires_grad = False)def forward(self, img):B, C, H, W = img.shapeout = self.gaussian_filter(img)return outclass cal_gradient_and_direction(nn.Module):""" Compute gradients and its directionUse Sobel filter to compute gradients and direction.[-1 0 1        -1 -2 -1Gx = [-2 0 2   Gy =  0  0  0[-1 0 1         1  2  1Args:image: array of grey imageReturns:gradients: the gradients of each pixeldirection: the direction of the gradients of each pixel"""def __init__(self):super(cal_gradient_and_direction, self).__init__()sobel_x_weight = torch.tensor([[-1, 0, 1], [-2, 0, 2], [-1, 0, 1]])sobel_y_weight = torch.tensor([[-1, -2, -1], [0, 0, 0], [1, 2, 1]])self.sobel_x = nn.Conv2d(in_channels = 1, out_channels = 1, kernel_size = 3,bias = False, stride = 1, padding = 1, padding_mode = 'replicate')self.sobel_x.weight.data[:] = nn.Parameter(sobel_x_weight, requires_grad = False)self.sobel_y = nn.Conv2d(in_channels = 1, out_channels = 1, kernel_size = 3,bias = False, stride = 1, padding = 1, padding_mode = 'replicate')self.sobel_y.weight.data[:] = nn.Parameter(sobel_y_weight, requires_grad = False)def forward(self, img):B, C, H, W = img.shapedx = self.sobel_x(img)dy = self.sobel_y(img)gradients = torch.sqrt(dx ** 2 + dy ** 2)direction = torch.atan(dy / dx)return gradients, directionclass NMS(nn.Module):def __init__(self):super(NMS, self).__init__()def forward(self, gradients, directions):B, C, H, W = gradients.shapeout = []for gradient, direction in zip(gradients, directions):nms = gradient[0, 1:-1, 1:-1].clone()for h in range(1, H-1):for w in range(1, W - 1) :theta = direction[0, h, w]weight = torch.tan(theta)if theta > torch.tensor(np.pi) / 4 :d1 = torch.tensor([0, 1])d2 = torch.tensor([1, 1])weight = 1 / weightelif theta >= 0 :d1 = torch.tensor([1, 0])d2 = torch.tensor([1, 1])elif theta >= - torch.tensor(np.pi) / 4 :d1 = torch.tensor([1, 0])d2 = torch.tensor([1, -1])weight *= -1else :d1 = torch.tensor([0, -1])d2 = torch.tensor([1, -1])weight = -1 / weightg1 = gradient[0, h + d1[0], w + d1[1]]g2 = gradient[0, h + d2[0], w + d2[1]]g3 = gradient[0, h - d1[0], w - d1[1]]g4 = gradient[0, h - d2[0], w - d2[1]]grade_count1 = g1 * weight + g2 * (1 - weight)grade_count2 = g3 * weight + g4 * (1 - weight)if grade_count1 > gradient[0, h, w] or grade_count2 > gradient[0, h, w] :nms[h - 1, w - 1] = 0out.append(nms.unsqueeze(0))return torch.stack(out)class double_threshold(nn.Module):def __init__(self):super(double_threshold, self).__init__()def forward(self, nms, th1, th2):""" Double ThresholdUse two thresholds to compute the edge.Args:nms: the input imagethreshold1: the low thresholdthreshold2: the high thresholdReturns:The binary image."""visited = torch.zeros_like(nms)output_image = nms.clone()H, W = output_image.shapedef dfs(h, w):if h >= H or h < 0 or w >= W or w < 0 or visited[h, w] == 1 :returnvisited[h, w] = 1if output_image[h, w] > th1 :output_image[h, w] = 255dfs(h - 1, w - 1)dfs(h - 1, w)dfs(h - 1, w + 1)dfs(h, w - 1)dfs(h, w + 1)dfs(h + 1, w - 1)dfs(h + 1, w)dfs(h + 1, w + 1)else :output_image[h, w] = 0for h in range(H) :for w in range(W) :if visited[h, w] == 1 :continueif output_image[h, w] >= th2 :dfs(h, w)elif output_image[h, w] <= th1 :output_image[h, w] = 0visited[h, w] = 1for h in range(H) :for w in range(W) :if visited[h, w] == 0 :output_image[h, w] = 0return output_imageclass CannyFilter(nn.Module):def __init__(self, th1, th2):super(CannyFilter, self).__init__()self.th1 = th1self.th2 = th2self.gaussian_filter = GaussianConv()self.cal_gradient_and_direction = cal_gradient_and_direction()self.nms = NMS()self.double_threshold = double_threshold()def forward(self, img):gaussian_img = self.gaussian_filter(img)gradients, direction = self.cal_gradient_and_direction(gaussian_img)nms = self.nms(gradients, direction)out = self.double_threshold(nms, self.th1, self.th2)return outif __name__ == "__main__":img = '/Users/mac/Desktop/python_project/canny/test.png'img = cv2.imread(img, 0)img = torch.tensor(img).unsqueeze(0).unsqueeze(0).float()# img = img.to('cuda:0')model = CannyFilter(20, 40)# model = model.to('cuda:0')i = model(img)
由于运算速度慢,因此不适合在深度学习中使用这个代码
canny的pytorch实现
基于使用Pytorch从头实现Canny边缘检测并且对对其进行了简单的修改,修改后的代码如下所示
import torch
from torch import nn
import numpy as np
import cv2def get_gaussian_kernel(k=3, mu=0, sigma=1, normalize=True):# compute 1 dimension gaussiangaussian_1D = np.linspace(-1, 1, k)# compute a grid distance from centerx, y = np.meshgrid(gaussian_1D, gaussian_1D)distance = (x ** 2 + y ** 2) ** 0.5# compute the 2 dimension gaussiangaussian_2D = np.exp(-(distance - mu) ** 2 / (2 * sigma ** 2))gaussian_2D = gaussian_2D / (2 * np.pi * sigma ** 2)# normalize part (mathematically)if normalize:gaussian_2D = gaussian_2D / np.sum(gaussian_2D)return gaussian_2Ddef get_sobel_kernel(k=3):# get rangerange = np.linspace(-(k // 2), k // 2, k)# compute a grid the numerator and the axis-distancesx, y = np.meshgrid(range, range)sobel_2D_numerator = xsobel_2D_denominator = (x ** 2 + y ** 2)sobel_2D_denominator[:, k // 2] = 1  # avoid division by zerosobel_2D = sobel_2D_numerator / sobel_2D_denominatorreturn sobel_2Ddef get_thin_kernels(start=0, end=360, step=45):k_thin = 3  # actual size of the directional kernel# increase for a while to avoid interpolation when rotatingk_increased = k_thin + 2# get 0° angle directional kernelthin_kernel_0 = np.zeros((k_increased, k_increased))thin_kernel_0[k_increased // 2, k_increased // 2] = 1thin_kernel_0[k_increased // 2, k_increased // 2 + 1:] = -1# rotate the 0° angle directional kernel to get the other onesthin_kernels = []for angle in range(start, end, step):(h, w) = thin_kernel_0.shape# get the center to not rotate around the (0, 0) coord pointcenter = (w // 2, h // 2)# apply rotationrotation_matrix = cv2.getRotationMatrix2D(center, angle, 1)kernel_angle_increased = cv2.warpAffine(thin_kernel_0, rotation_matrix, (w, h), cv2.INTER_NEAREST)# get the k=3 kernekernel_angle = kernel_angle_increased[1:-1, 1:-1]is_diag = (abs(kernel_angle) == 1)  # because of the interpolationkernel_angle = kernel_angle * is_diag  # because of the interpolationthin_kernels.append(kernel_angle)return thin_kernelsclass CannyFilter(nn.Module):def __init__(self,k_gaussian=3,mu=0,sigma=1,k_sobel=3,device = 'cuda:0'):super(CannyFilter, self).__init__()# deviceself.device = device# gaussiangaussian_2D = get_gaussian_kernel(k_gaussian, mu, sigma)self.gaussian_filter = nn.Conv2d(in_channels=1,out_channels=1,kernel_size=k_gaussian,padding=k_gaussian // 2,bias=False)self.gaussian_filter.weight.data[:,:] = nn.Parameter(torch.from_numpy(gaussian_2D), requires_grad=False)# sobelsobel_2D = get_sobel_kernel(k_sobel)self.sobel_filter_x = nn.Conv2d(in_channels=1,out_channels=1,kernel_size=k_sobel,padding=k_sobel // 2,bias=False)self.sobel_filter_x.weight.data[:,:] = nn.Parameter(torch.from_numpy(sobel_2D), requires_grad=False)self.sobel_filter_y = nn.Conv2d(in_channels=1,out_channels=1,kernel_size=k_sobel,padding=k_sobel // 2,bias=False)self.sobel_filter_y.weight.data[:,:] = nn.Parameter(torch.from_numpy(sobel_2D.T), requires_grad=False)# thinthin_kernels = get_thin_kernels()directional_kernels = np.stack(thin_kernels)self.directional_filter = nn.Conv2d(in_channels=1,out_channels=8,kernel_size=thin_kernels[0].shape,padding=thin_kernels[0].shape[-1] // 2,bias=False)self.directional_filter.weight.data[:, 0] = nn.Parameter(torch.from_numpy(directional_kernels), requires_grad=False)# hysteresishysteresis = np.ones((3, 3)) + 0.25self.hysteresis = nn.Conv2d(in_channels=1,out_channels=1,kernel_size=3,padding=1,bias=False)self.hysteresis.weight.data[:,:] = nn.Parameter(torch.from_numpy(hysteresis), requires_grad=False)def forward(self, img, low_threshold=None, high_threshold=None, hysteresis=True):# set the setps tensorsB, C, H, W = img.shapeblurred = torch.zeros((B, C, H, W)).to(self.device)grad_x = torch.zeros((B, 1, H, W)).to(self.device)grad_y = torch.zeros((B, 1, H, W)).to(self.device)grad_magnitude = torch.zeros((B, 1, H, W)).to(self.device)grad_orientation = torch.zeros((B, 1, H, W)).to(self.device)# gaussianfor c in range(C):blurred[:, c:c + 1] = self.gaussian_filter(img[:, c:c + 1])grad_x = grad_x + self.sobel_filter_x(blurred[:, c:c + 1])grad_y = grad_y + self.sobel_filter_y(blurred[:, c:c + 1])# thick edgesgrad_x, grad_y = grad_x / C, grad_y / Cgrad_magnitude = (grad_x ** 2 + grad_y ** 2) ** 0.5grad_orientation = torch.atan2(grad_y, grad_x)grad_orientation = grad_orientation * (180 / np.pi) + 180  # convert to degreegrad_orientation = torch.round(grad_orientation / 45) * 45  # keep a split by 45# thin edgesdirectional = self.directional_filter(grad_magnitude)# get indices of positive and negative directionspositive_idx = (grad_orientation / 45) % 8negative_idx = ((grad_orientation / 45) + 4) % 8thin_edges = grad_magnitude.clone()# non maximum suppression direction by directionfor pos_i in range(4):neg_i = pos_i + 4# get the oriented grad for the angleis_oriented_i = (positive_idx == pos_i) * 1is_oriented_i = is_oriented_i + (positive_idx == neg_i) * 1pos_directional = directional[:, pos_i]neg_directional = directional[:, neg_i]selected_direction = torch.stack([pos_directional, neg_directional])# get the local maximum pixels for the angle# selected_direction.min(dim=0)返回一个列表[0]中包含两者中的小的,[1]包含了小值的索引is_max = selected_direction.min(dim=0)[0] > 0.0is_max = torch.unsqueeze(is_max, dim=1)# apply non maximum suppressionto_remove = (is_max == 0) * 1 * (is_oriented_i) > 0thin_edges[to_remove] = 0.0# thresholdsif low_threshold is not None:low = thin_edges > low_thresholdif high_threshold is not None:high = thin_edges > high_threshold# get black/gray/white onlythin_edges = low * 0.5 + high * 0.5if hysteresis:# get weaks and check if they are high or notweak = (thin_edges == 0.5) * 1weak_is_high = (self.hysteresis(thin_edges) > 1) * weakthin_edges = high * 1 + weak_is_high * 1else:thin_edges = low * 1return thin_edges * 255if __name__ == "__main__":img = '/root/test.png'img = cv2.imread(img, 0)img = torch.tensor(img).unsqueeze(0).unsqueeze(0).float()img = img.to('cuda:0')model = CannyFilter()model = model.to('cuda:0')img_ = model(img, 20, 40)cv2.imwrite('/root/origin.jpg', img.cpu().numpy()[0][0])cv2.imwrite('/root/canny.jpg', img_.cpu().numpy()[0][0])
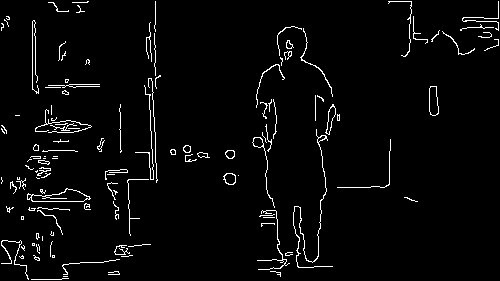
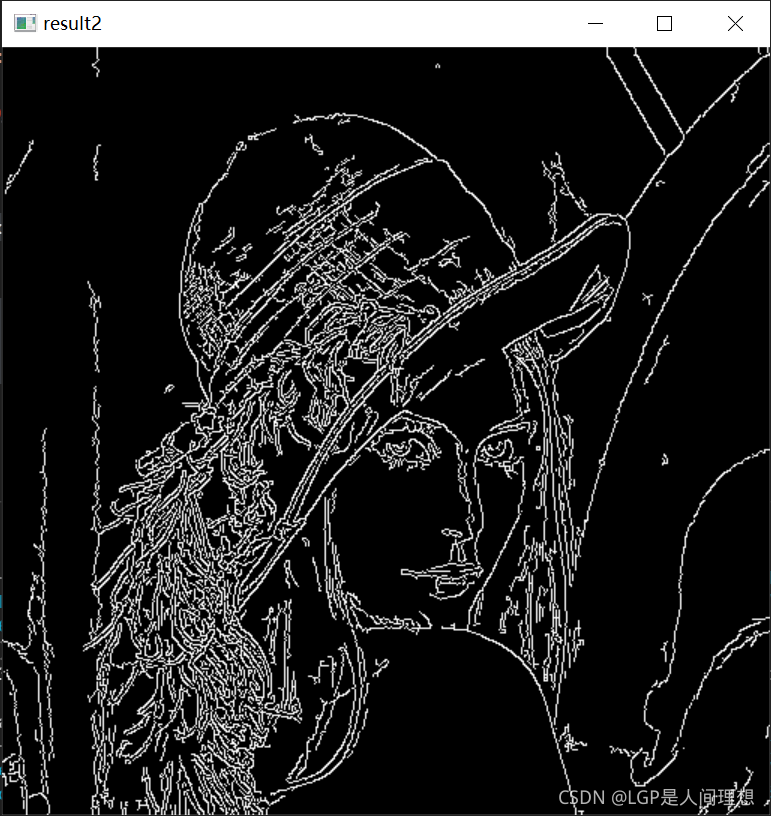
得到的结果如下所示:
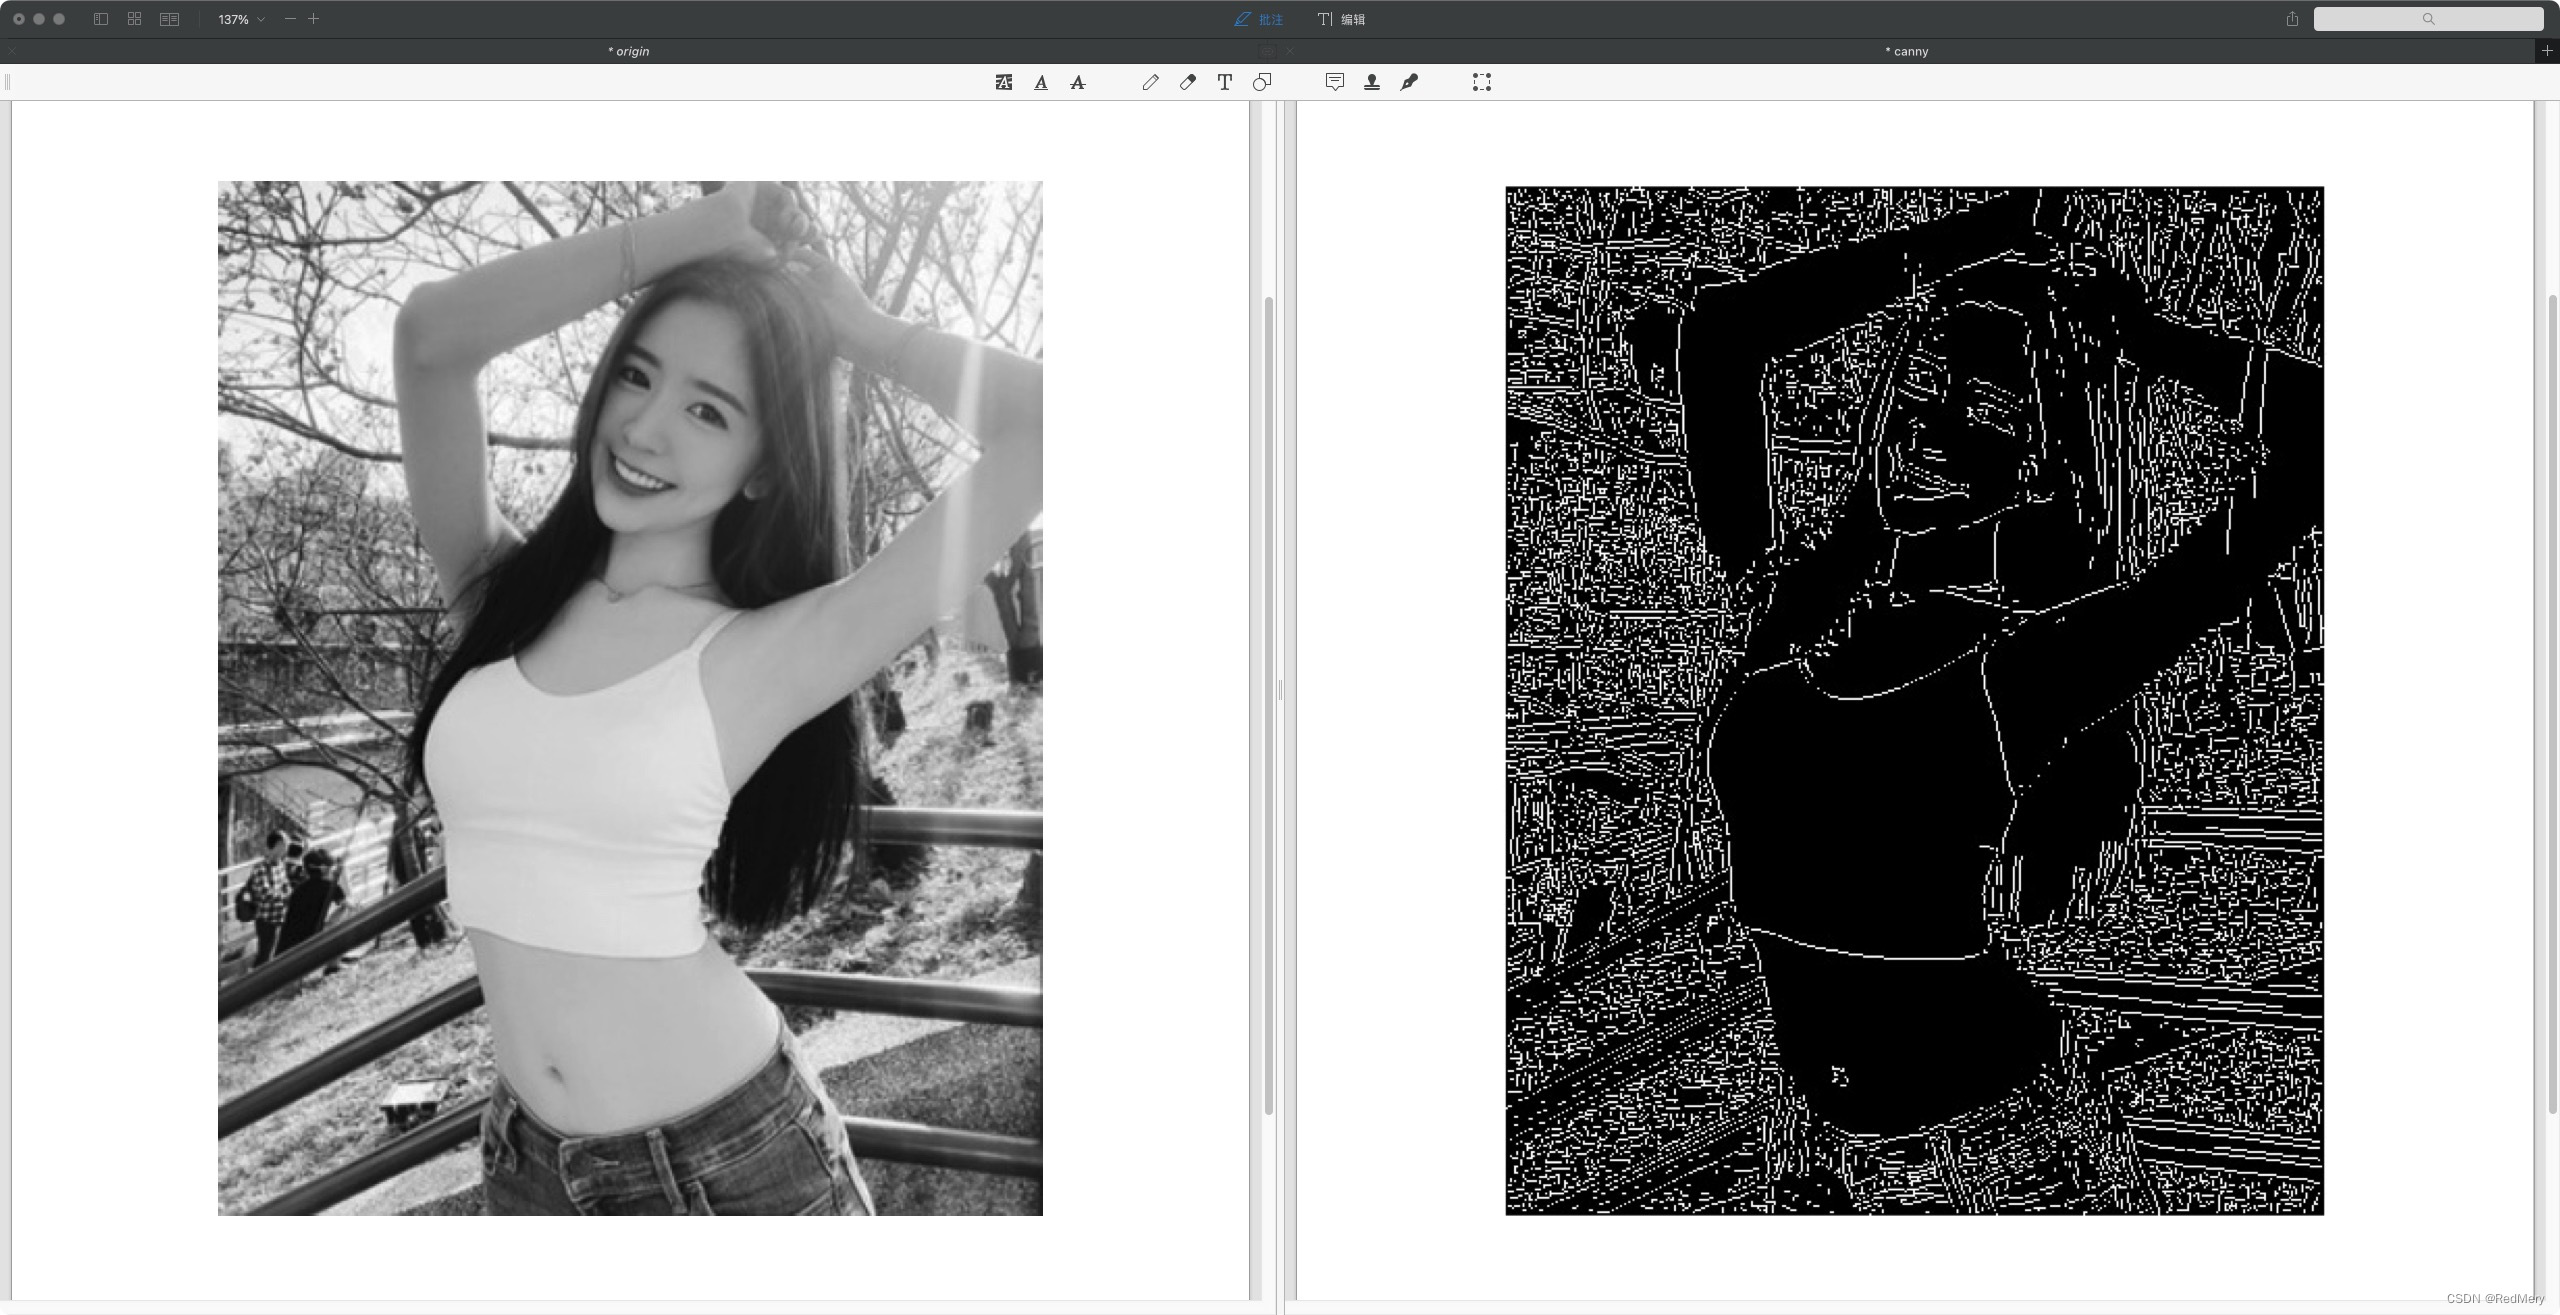
在实现过程中,对于梯度位于low_threshold和high_threshold内的点的处理过程不同,导致处理结果也不同