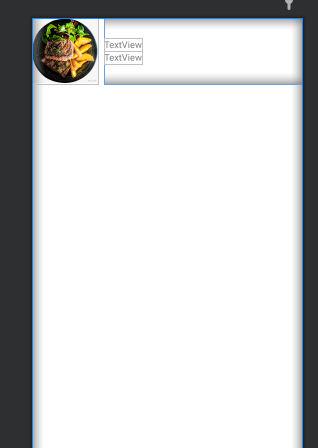
RelativeLayout相对布局在Android UI开发中也应用比较多,虽然它不及LinearLayout使用方便,但某些场景中使用RelativeLayout也是一种很不错的选择。在官网上介绍RelativeLayout是一个视图组,在相对位置显示子视图。RelativeLayout是用于设计用户界面的非常强大的实用程序,因为它可以消除嵌套视图组并保持布局层次结构平坦,从而提高性能。如果您发现自己使用了多个嵌套LinearLayout组,则可以将它们替换为单个RelativeLayout.
使用相对布局
RelativeLayout相对布局可以创建为根容器布局,也可以创建为子项容器。下列的代码我们创建一个RelativeLayout布局容器:
<?xml version="1.0" encoding="utf-8"?>
<RelativeLayout xmlns:android="http://schemas.android.com/apk/res/android"android:layout_width="match_parent"android:layout_height="match_parent"></RelativeLayout>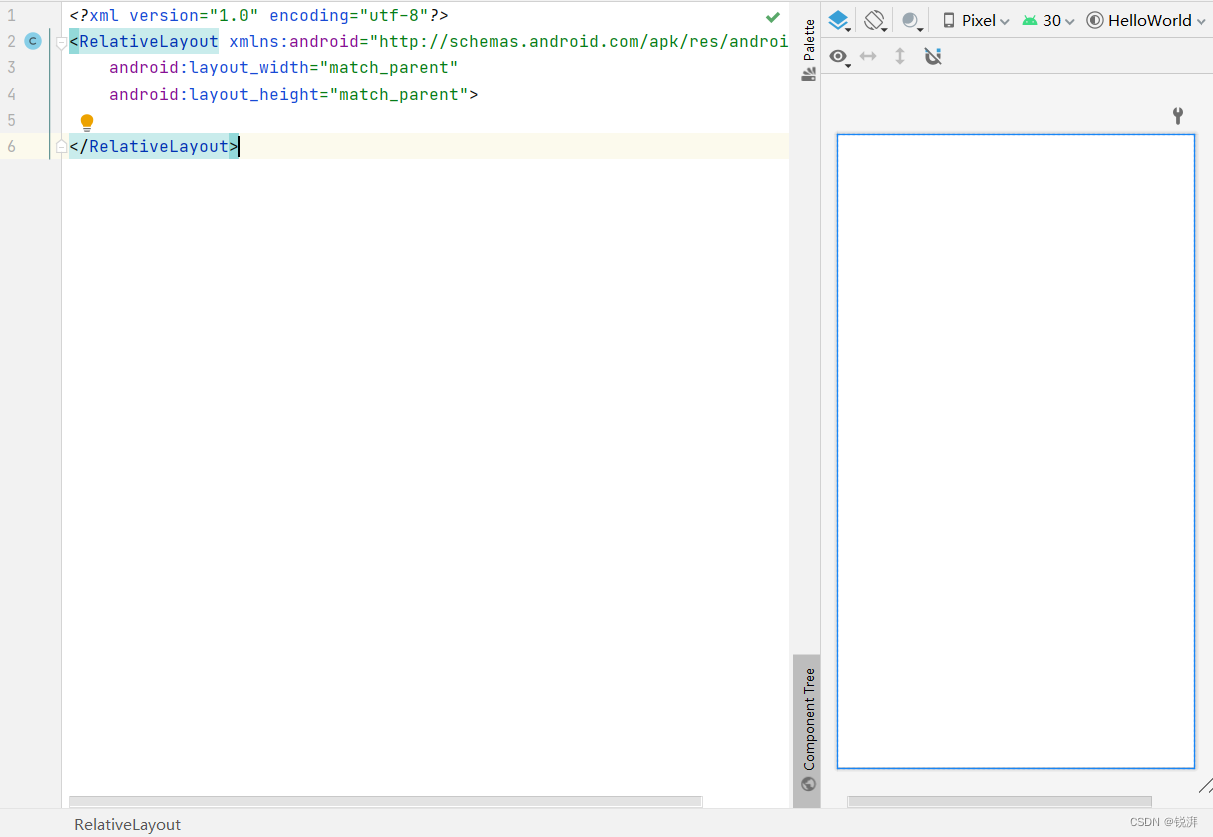
创建了一个RelativeLayout(相对布局),宽、高为match_parent(匹配父级宽高)。
根据父容器定位
RelativeLayout相对布局子项根据父容器定位,可以轻松确定子项位置。
-
左对齐:
android:layout_alighParentStart -
右对齐:
android:layout_alighParentEnd -
顶端对齐:
android:layout_alighParentTop -
底部对齐:
android:layout_alighParentBottom -
水平居中:
android:layout_centerHorizontal -
垂直居中:
android:layout_centerVertical -
中央位置:
android:layout_centerInParent
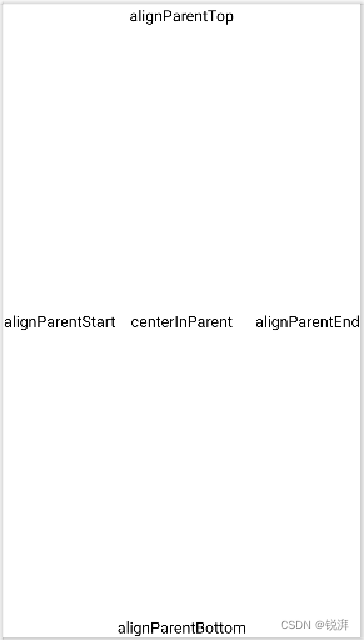
以上属性用于确定相对布局的子项位于相对布局的位置,每个属性的值都是一个布尔值,表示是否对齐。下面代码用到了上述属性,图片展示了上述属性的效果。
<?xml version="1.0" encoding="utf-8"?>
<RelativeLayout xmlns:android="http://schemas.android.com/apk/res/android"android:layout_width="match_parent"android:layout_height="match_parent"><TextViewandroid:text="alignParentTop"android:textColor="@color/black"android:textSize="18sp"android:layout_alignParentTop="true"android:layout_centerHorizontal="true"android:layout_width="wrap_content"android:layout_height="wrap_content"/><TextViewandroid:layout_width="wrap_content"android:layout_height="wrap_content"android:layout_alignParentBottom="true"android:layout_centerHorizontal="true"android:text="alignParentBottom"android:textColor="@color/black"android:textSize="18sp" /><TextViewandroid:layout_width="wrap_content"android:layout_height="wrap_content"android:layout_alignParentStart="true"android:text="alignParentStart"android:layout_centerVertical="true"android:textColor="@color/black"android:textSize="18sp" /><TextViewandroid:layout_width="wrap_content"android:layout_height="wrap_content"android:layout_alignParentEnd="true"android:text="alignParentEnd"android:layout_centerVertical="true"android:textColor="@color/black"android:textSize="18sp" /><TextViewandroid:layout_width="wrap_content"android:layout_height="wrap_content"android:layout_centerInParent="true"android:text="centerInParent"android:textColor="@color/black"android:textSize="18sp" />
</RelativeLayout>
上面布局嵌套了五个TextView子项,其中一个位于父容器中央,其余四个通过设置分别位于父容器上下左右四边居中。
根据兄弟容器定位
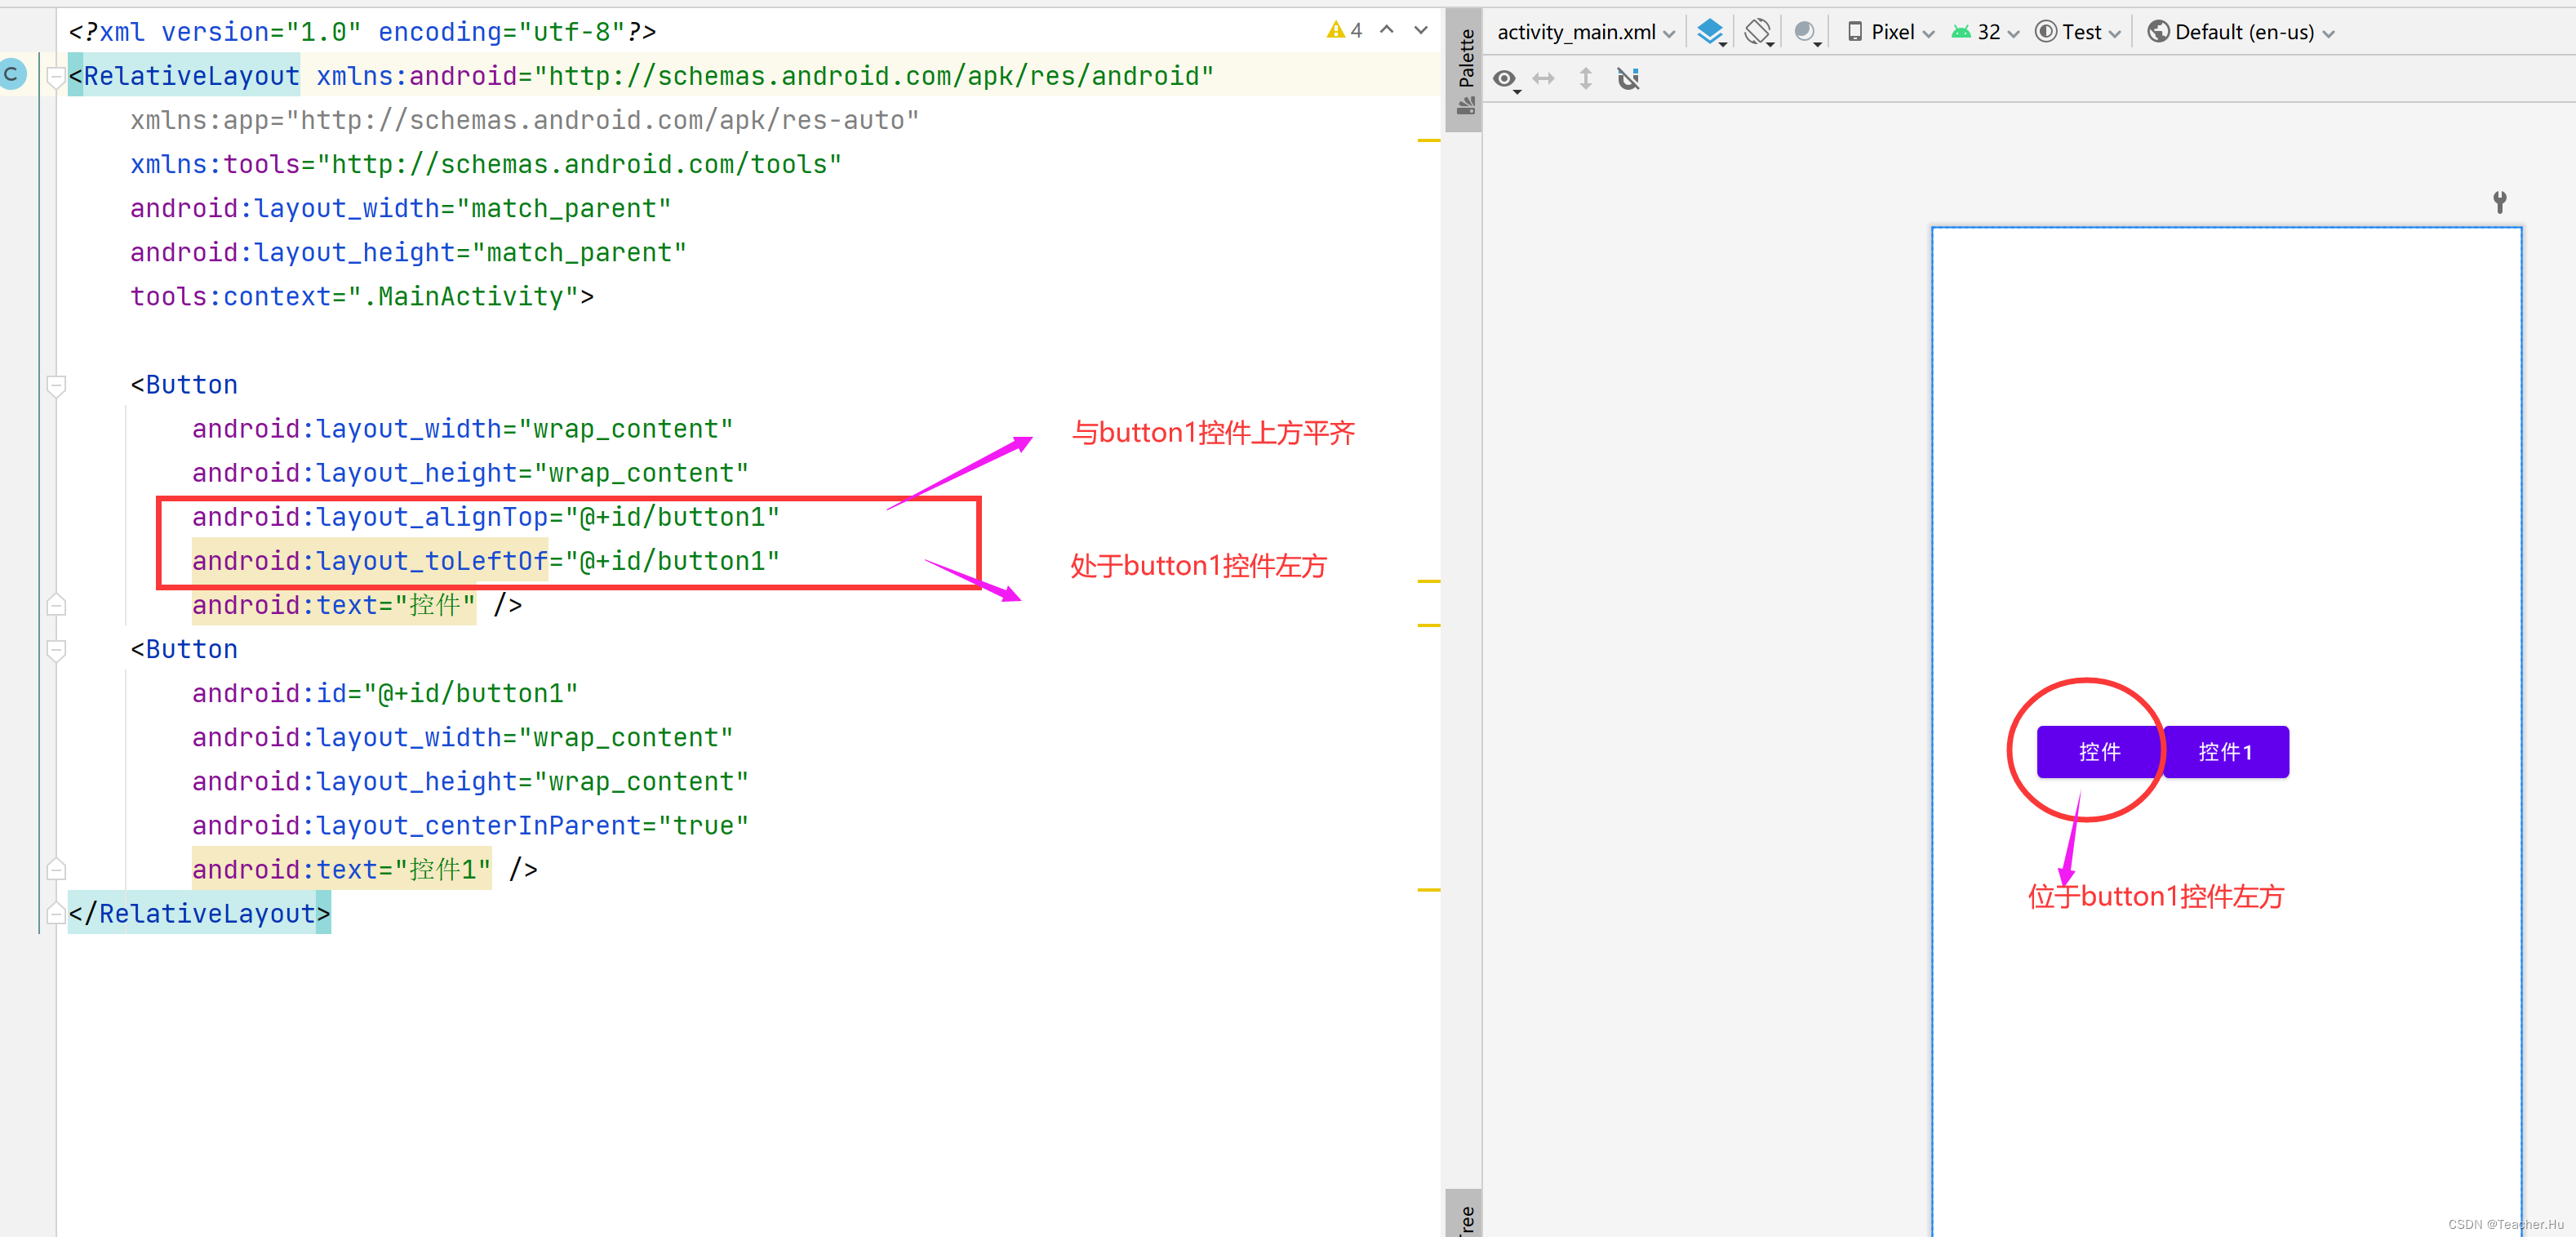
子项除了可以根据父容器定位,还可以根据兄弟子项实现定位,需要指定参考子项的id。
-
左边:
android:layout_toStartOf -
右边:
android:layout_toEndOf -
上方:
android:layout_above -
下方:
android:layout_below -
对齐上边界:
android:layout_alignTop -
对齐下边界:
android:layout_alignBottom -
对齐左边界:
android:layout_alignStart -
对齐右边界:
android:layout_alignEnd
下面代码实现一个梅花布局效果:
<?xml version="1.0" encoding="utf-8"?>
<RelativeLayout xmlns:android="http://schemas.android.com/apk/res/android"android:layout_width="match_parent"android:layout_height="match_parent"><ImageViewandroid:id="@+id/center"android:layout_width="50dp"android:layout_height="50dp"android:src="@mipmap/ic_launcher"android:layout_centerInParent="true"/><!--最中间--><ImageViewandroid:layout_width="50dp"android:layout_height="50dp"android:src="@mipmap/ic_launcher"android:layout_above="@+id/center"android:layout_centerHorizontal="true"/><!--上面中间--><ImageViewandroid:layout_width="50dp"android:layout_height="50dp"android:src="@mipmap/ic_launcher"android:layout_below="@+id/center"android:layout_centerHorizontal="true"/><!--下面中间--><ImageViewandroid:layout_width="50dp"android:layout_height="50dp"android:src="@mipmap/ic_launcher"android:layout_toStartOf="@+id/center"android:layout_centerVertical="true"/><!--左边中间--><ImageViewandroid:layout_width="50dp"android:layout_height="50dp"android:src="@mipmap/ic_launcher"android:layout_toEndOf="@+id/center"android:layout_centerVertical="true"/><!--右边中间-->
</RelativeLayout>
效果预览:
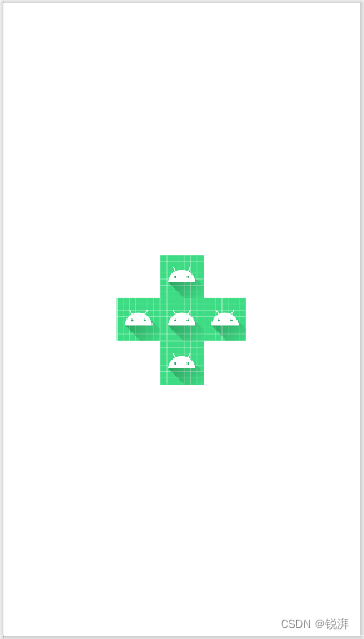
上面示例首先确定中间位置,再以中间为参考,确定四边的位置。如果需要每个子项之间有一定的间距,只需要给最中间的那位设置layout_margin即可。
<ImageViewandroid:id="@+id/center"android:layout_width="50dp"android:layout_height="50dp"android:layout_margin="10dp"android:src="@mipmap/ic_launcher"android:layout_centerInParent="true"/><!--最中间-->
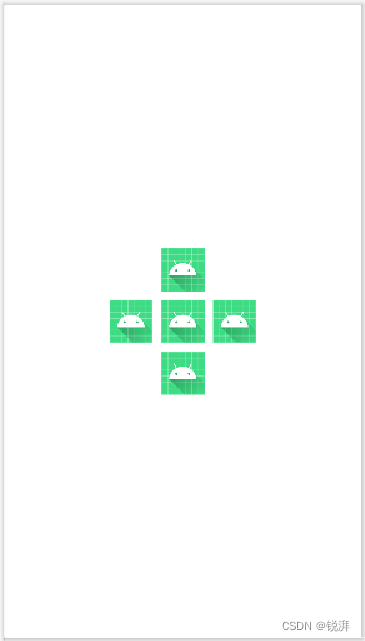
上面还有四个属性未使用到,使用方法也是如出一辙,可以自行尝试一下。
组合定位实现一个拨号键盘
相对布局比较简单,基本就以上一些属性,下面利用相对布局属性实现一个拨号键盘,效果预览图:
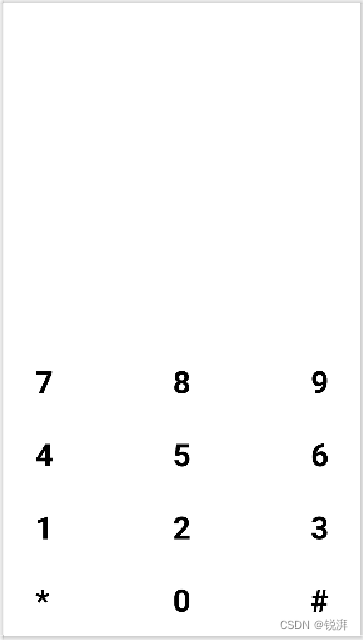
代码部分:
<?xml version="1.0" encoding="utf-8"?>
<RelativeLayout xmlns:android="http://schemas.android.com/apk/res/android"android:layout_width="match_parent"android:layout_height="match_parent"><RelativeLayoutandroid:id="@+id/c3"android:layout_width="match_parent"android:layout_height="wrap_content"android:paddingHorizontal="36dp"android:paddingVertical="18dp"android:layout_above="@+id/c2"><TextViewandroid:layout_width="wrap_content"android:layout_height="wrap_content"android:text="7"android:textSize="36sp"android:textColor="@color/black"android:textStyle="bold"android:layout_alignParentStart="true"/><TextViewandroid:layout_width="wrap_content"android:layout_height="wrap_content"android:text="8"android:textSize="36sp"android:textColor="@color/black"android:textStyle="bold"android:layout_centerHorizontal="true"/><TextViewandroid:layout_width="wrap_content"android:layout_height="wrap_content"android:text="9"android:textSize="36sp"android:textColor="@color/black"android:textStyle="bold"android:layout_alignParentEnd="true"/></RelativeLayout><RelativeLayoutandroid:id="@+id/c2"android:layout_width="match_parent"android:layout_height="wrap_content"android:paddingHorizontal="36dp"android:paddingVertical="18dp"android:layout_above="@+id/c1"><TextViewandroid:layout_width="wrap_content"android:layout_height="wrap_content"android:text="4"android:textSize="36sp"android:textColor="@color/black"android:textStyle="bold"android:layout_alignParentStart="true"/><TextViewandroid:layout_width="wrap_content"android:layout_height="wrap_content"android:text="5"android:textSize="36sp"android:textColor="@color/black"android:textStyle="bold"android:layout_centerHorizontal="true"/><TextViewandroid:layout_width="wrap_content"android:layout_height="wrap_content"android:text="6"android:textSize="36sp"android:textColor="@color/black"android:textStyle="bold"android:layout_alignParentEnd="true"/></RelativeLayout><RelativeLayoutandroid:id="@+id/c1"android:layout_width="match_parent"android:layout_height="wrap_content"android:paddingHorizontal="36dp"android:paddingVertical="18dp"android:layout_above="@+id/c0"><TextViewandroid:layout_width="wrap_content"android:layout_height="wrap_content"android:text="1"android:textSize="36sp"android:textColor="@color/black"android:textStyle="bold"android:layout_alignParentStart="true"/><TextViewandroid:layout_width="wrap_content"android:layout_height="wrap_content"android:text="2"android:textSize="36sp"android:textColor="@color/black"android:textStyle="bold"android:layout_centerHorizontal="true"/><TextViewandroid:layout_width="wrap_content"android:layout_height="wrap_content"android:text="3"android:textSize="36sp"android:textColor="@color/black"android:textStyle="bold"android:layout_alignParentEnd="true"/></RelativeLayout><RelativeLayoutandroid:id="@+id/c0"android:layout_width="match_parent"android:layout_height="wrap_content"android:paddingHorizontal="36dp"android:paddingVertical="18dp"android:layout_alignParentBottom="true"><TextViewandroid:layout_width="wrap_content"android:layout_height="wrap_content"android:text="*"android:textSize="36sp"android:textColor="@color/black"android:textStyle="bold"android:layout_alignParentStart="true"/><TextViewandroid:layout_width="wrap_content"android:layout_height="wrap_content"android:text="0"android:textSize="36sp"android:textColor="@color/black"android:textStyle="bold"android:layout_centerHorizontal="true"/><TextViewandroid:layout_width="wrap_content"android:layout_height="wrap_content"android:text="#"android:textSize="36sp"android:textColor="@color/black"android:textStyle="bold"android:layout_alignParentEnd="true"/></RelativeLayout></RelativeLayout>
好吧,代码有点长,拨号键和删除键也没有,有兴趣的读者可以自行完善一下,当然实现的方法也不止一种。
作者:微语博客
链接:https://www.jianshu.com/p/a26a8906239a
来源:简书
著作权归作者所有。商业转载请联系作者获得授权,非商业转载请注明出处。

