该一键换肤只是定义好几个颜色,并进行简单的切换。
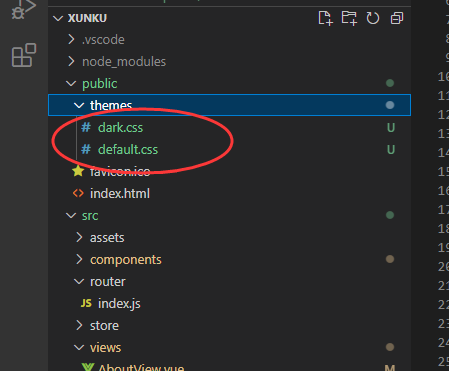
- 在
src下的assets文件下面定义一个css文件夹,在对应的文件里面定义_handle.scss和_themes.scss文件,如下:
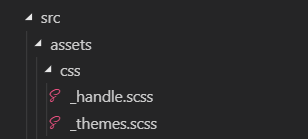
image.png
2.在_themes.scss文件里面定义好需要用到的几个样式。如下:
/**
*   _themes.scss
*   当HTML的data-theme为blue时,样式引用blue
*   data-theme为其他值时,就采用对应的默认样式
*   这里我定义了5套主题方案,想要再多只需在`$themes`里加就行了
*   注意一点是,每套配色方案里的key可以自定义但必须一致,不然就会混乱
*   这是定义好的对应变量的颜色(需要什么都可以自行定义并引用):
*   字体: font_color1
*   背景: background_color1
*   边框: border_color1
**/$themes: (blue: (font_color1: #0056cc,background_color1: #0056cc,border_color1: #0056cc,),glup: (font_color1: #e426fd,background_color1: #e426fd,border_color1: #e426fd,),red: (  font_color1: #fd5451,background_color1: #fd5451,border_color1: #fd5451,),green: (  font_color1: #0dd78d,background_color1: #0dd78d,border_color1: #0dd78d,),yellow: (  font_color1: #feae4d,background_color1: #feae4d,border_color1: #feae4d,),
);
3.在 _handle.scss文件里面首先引入_themes.scss文件,在遍历主题并根据key,声明一个获取颜色的function,接着使用@mixin和@include获取字体颜色。如下:
/**
*   在_themes.scss里面定义好自己需要的东西在该文件夹下面进行遍历和定义
**/
@import "./_themes.scss";//遍历主题map
@mixin themeify {@each $theme-name, $theme-map in $themes {//!global 把局部变量强升为全局变量$theme-map: $theme-map !global;//判断html的data-theme的属性值  #{}是sass的插值表达式//& sass嵌套里的父容器标识   @content是混合器插槽,像vue的slot[data-theme="#{$theme-name}"] & {@content;}}
}//声明一个根据Key获取颜色的function
@function themed($key) {@return map-get($theme-map, $key);
}//获取background-color背景颜色
@mixin background_color($color) {@include themeify {background-color: themed($color)!important;}
}//获取字体颜色
@mixin font_color($color) {@include themeify {color: themed($color)!important;}
}//获取边框颜色
@mixin border_color($color) {@include themeify {border-color: themed($color)!important;}
}//获取左边框颜色
@mixin border_colorLeft($color) {@include themeify {border-left-color: themed($color)!important;}
}
4.因为需要更换颜色的.vue文件比较多,需要在全局中引入对应的_handle.scss文件。(引入方式请参考对应的链接内容:https://www.jianshu.com/p/6db9d1872e9e
)
第四点,我的项目是cli2,我用了报错,注释了就完美了(不同项目可以多试试)
5.定义一个.vue文件,在里面进行对应一键换肤的功能操作。如下:
<template><div class="box"><div class="color_content"><div class="content_div1" @click="theme('blue')"></div><div class="content_div1 content_div2" @click="theme('glup')"></div><div class="content_div1 content_div3" @click="theme('red')"></div><div class="content_div1 content_div4" @click="theme('green')"></div><div class="content_div1 content_div5" @click="theme('yellow')"></div></div></div>
</template><script>
export default {methods: {// 点击对应的颜色块进行意见换肤theme(type){// 将对应的数据存储到sessionStorage,方便后续使用sessionStorage.setItem('type',type)// 全局添加样式名称:data-theme,并在sessionStorage获取对应的样式名称的值。window.document.documentElement.setAttribute( "data-theme", sessionStorage.getItem('type'));}},
}
</script><style lang="scss" scoped>
.color_content{width: 550px;height: 120px;margin: 0 auto;display: flex;align-items: center;justify-content: center;background: #fff;border-radius: 2px;box-shadow: -2px 5px 12px 4px #f0f0f0;.content_div1{width: 80px;height: 80px;margin-right: 25px;background: #0056cc;cursor: pointer;}.content_div2{background: #e426fd;}.content_div3{background: #fd5451;}.content_div4{background: #0dd78d;}.content_div5{background: #feae4d;margin-right: 0px;}
}
</style>
6.在需要换颜色的地方添加对应的样式。如下:
//  字体颜色
@include font_color("font_color1");
//  边框颜色
@include border_color("border_color1");
//  背景颜色
@include background_color("background_color1");
7.但还存在一个问题,就是刷新页面的时候对应一键换肤之后的颜色会丢失,所以需要在App.vue中进行一些操作。如下:
<script>
export default {name: 'App',created(){//  获取sessionStorage中存进去的typeconsole.log(sessionStorage.getItem('type'))/**  *  判断 sessionStorage 中的 type 是否为空,如果为空的话,就给默认的颜色(页面初始化的颜色),如*  果不为空的话就将对应获取到的值给到 data-theme**/if(sessionStorage.getItem('type') != null){window.document.documentElement.setAttribute( "data-theme", sessionStorage.getItem('type'));}else{window.document.documentElement.setAttribute( "data-theme", 'red');}},
}
</script>
8.还有最重要的几点:
-
如果一键换肤之后,只有在本机对应的当前浏览器页面上有用,如果换个浏览器进行登录或者在其他电脑上进行登录,那么一键换肤后的效果并不会体现在页面上,页面默认展示的样式是最开始的。
-
如果需要一键换肤之后在不同的电脑或浏览器上体现一键换肤之后的效果需要与后端配合,至于怎么配合相信大家应该都知道,我就不多说了。
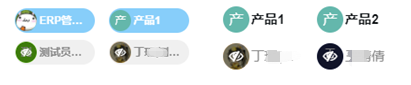
9.最后贴一下一键换肤的效果图。如下: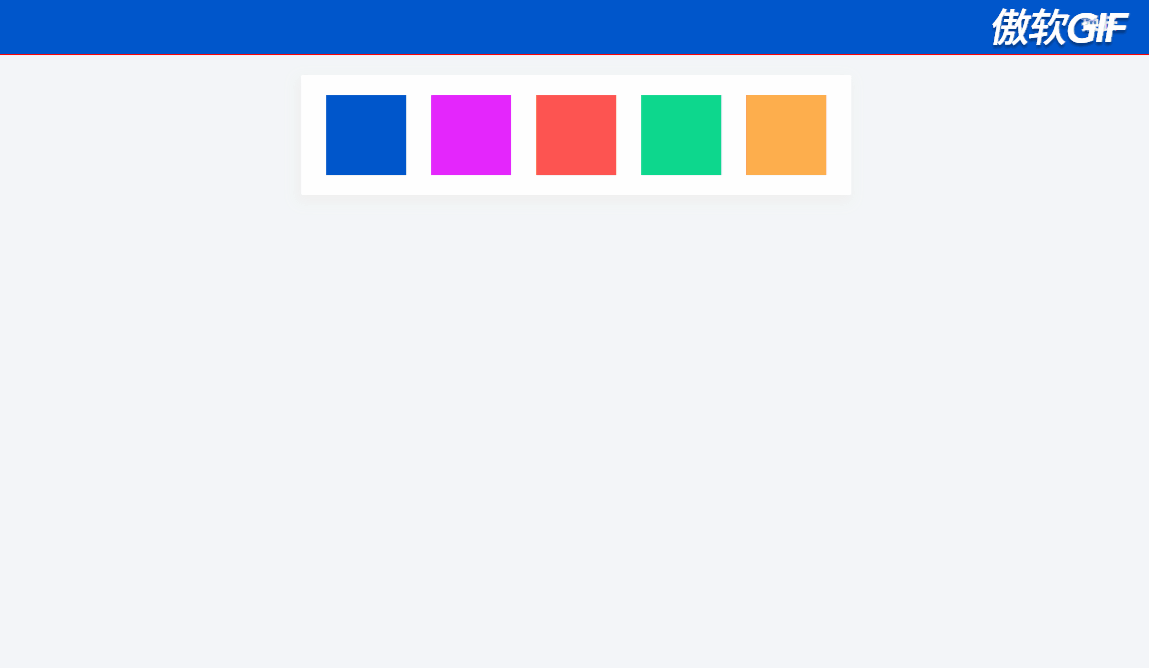
原地址:https://www.jianshu.com/p/1faf4977b825