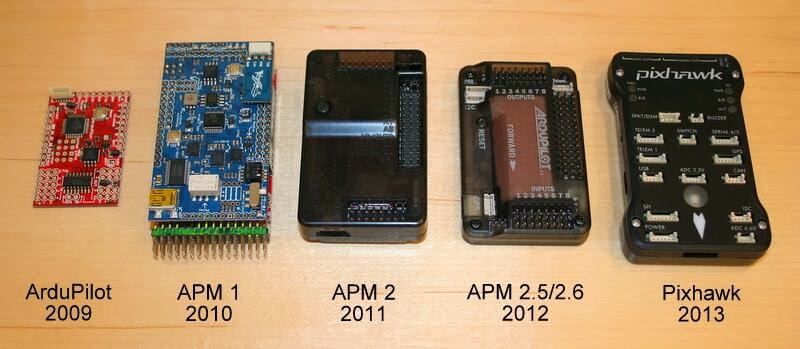
一、Pixhawk部分
1.读取数据测试
步骤:
- 在Firmware/src/modules中添加一个新的文件夹,命名为rw_uart
- 在rw_uart文件夹中创建CMakeLists.txt文件,并输入以下内容:
px4_add_module(MODULE modules__rw_uartMAIN rw_uartCOMPILE_FLAGS-OsSRCSrw_uart.cDEPENDSplatforms__common
)
- 在rw_uart文件夹中创建rw_uart.c文件
#include <stdio.h>
#include <termios.h>
#include <unistd.h>
#include <stdbool.h>
#include <errno.h>
#include <drivers/drv_hrt.h>
#include <string.h>
#include <systemlib/err.h>
#include <systemlib/systemlib.h>
#include <fcntl.h>
#include <sys/types.h>
#include <sys/stat.h>__EXPORT int rw_uart_main(int argc, char *argv[]);int set_uart_baudrate(const int fd, unsigned int baud);int set_uart_baudrate(const int fd, unsigned int baud)
{int speed;switch (baud) {case 9600: speed = B9600; break;case 19200: speed = B19200; break;case 38400: speed = B38400; break;case 57600: speed = B57600; break;case 115200: speed = B115200; break;default:warnx("ERR: baudrate: %d\n", baud);return -EINVAL;}struct termios uart_config;int termios_state;/* fill the struct for the new configuration */
tcgetattr(fd, &uart_config);
/* clear ONLCR flag (which appends a CR for every LF) */
uart_config.c_oflag &= ~ONLCR;
/* no parity, one stop bit */
uart_config.c_cflag &= ~(CSTOPB | PARENB);
/* set baud rate */if ((termios_state = cfsetispeed(&uart_config, speed)) < 0) {warnx("ERR: %d (cfsetispeed)\n", termios_state);return false;}if ((termios_state = cfsetospeed(&uart_config, speed)) < 0) {warnx("ERR: %d (cfsetospeed)\n", termios_state);return false;}if ((termios_state = tcsetattr(fd, TCSANOW, &uart_config)) < 0) {warnx("ERR: %d (tcsetattr)\n", termios_state);return false;}return true;
}int rw_uart_main(int argc, char *argv[])
{char data = '0';char buffer[4] = "";int uart_read = open("/dev/ttyS2", O_RDWR | O_NOCTTY);//打开串口设备if (uart_read < 0) {err(1, "failed to open port: %s", "/dev/ttyS2");return -1;}if(false == set_uart_baudrate(uart_read,9600)){printf("[YCM]set_uart_baudrate is failed\n");return -1;}printf("[YCM]uart init is successful\n");while(true){read(uart_read,&data,1);if(data == 'R'){for(int i = 0;i <4;++i){read(uart_read,&data,1);//读取串口数据buffer[i] = data;data = '0';}printf("%s\n",buffer);}}
return 0;
}
- 注册新添加的应用到NuttShell中。/src/Firmware/cmake/configs/nuttx_px4fmu-v2_default.cmake文件中添加如下内容:
modules/rw_uart
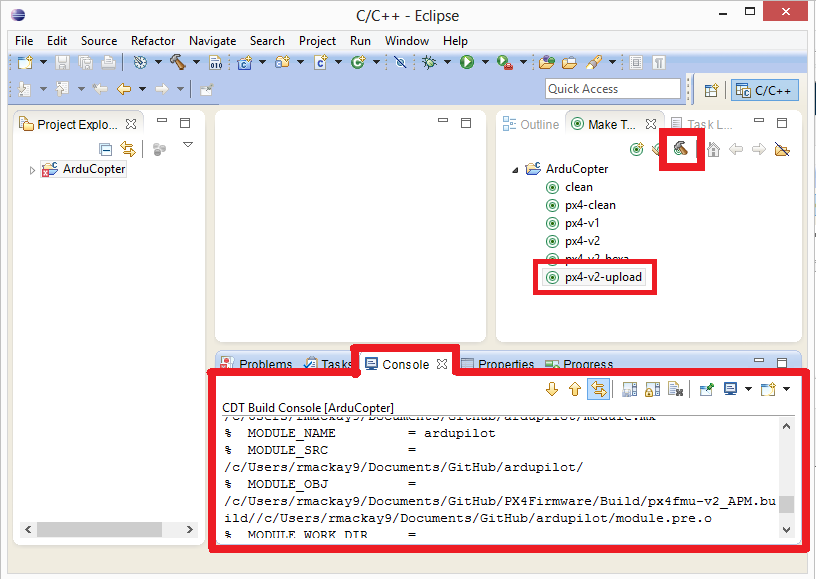
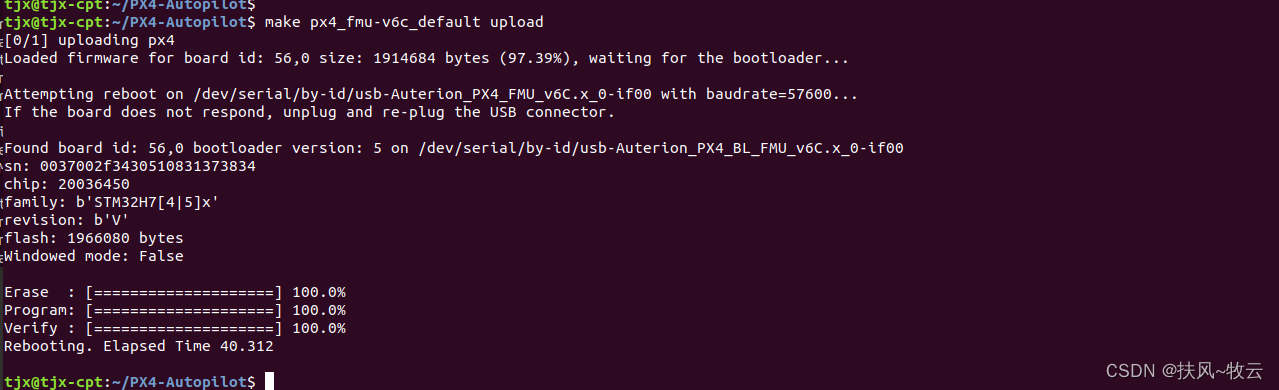
- 编译并刷固件
make clean
make px4fmu-v2_default
2.定义和发布主题
2.1 新建主题
- msg文件夹下新建rw_uart_raspberry_topic.msg文件
char[4] datastr0 uint8 data
- 在msg文件夹中的CMakeList文件中加入
rw_uart_raspberry_topic.msg

2.2 补充修改rw_uart.c文件
- rw_uart.c
#include <stdio.h>
#include <termios.h>
#include <unistd.h>
#include <stdbool.h>
#include <errno.h>
#include <drivers/drv_hrt.h>
#include <uORB/topics/rw_uart_raspberry_topic.h>
#include <uORB/uORB.h>
#include <string.h>
#include <systemlib/err.h>
#include <systemlib/systemlib.h>
#include <fcntl.h>
#include <sys/types.h>
#include <sys/stat.h>
#include <sys/ioctl.h>
#include <px4_tasks.h>static bool thread_should_exit = false;
static bool thread_running = false;
static int daemon_task;__EXPORT int rw_uart_main(int argc, char *argv[]);
int rw_uart_thread_main(int argc, char *argv[]);static void usage(const char *reason);
static int uart_init(char * uart_name);
static int set_uart_baudrate(const int fd, unsigned int baud);static void usage(const char *reason)
{if (reason) {fprintf(stderr, "%s\n", reason);}fprintf(stderr, "usage: position_estimator_inav {start|stop|status} [param]\n\n");exit(1);
}int set_uart_baudrate(const int fd, unsigned int baud)
{int speed;switch (baud) {case 9600:   speed = B9600;   break;case 19200:  speed = B19200;  break;case 38400:  speed = B38400;  break;case 57600:  speed = B57600;  break;case 115200: speed = B115200; break;default:warnx("ERR: baudrate: %d\n", baud);return -EINVAL;}struct termios uart_config;int termios_state;/* fill the struct for the new configuration */tcgetattr(fd, &uart_config);/* clear ONLCR flag (which appends a CR for every LF) */uart_config.c_oflag &= ~ONLCR;/* no parity, one stop bit */uart_config.c_cflag &= ~(CSTOPB | PARENB);/* set baud rate */if ((termios_state = cfsetispeed(&uart_config, speed)) < 0) {warnx("ERR: %d (cfsetispeed)\n", termios_state);return false;}if ((termios_state = cfsetospeed(&uart_config, speed)) < 0) {warnx("ERR: %d (cfsetospeed)\n", termios_state);return false;}if ((termios_state = tcsetattr(fd, TCSANOW, &uart_config)) < 0) {warnx("ERR: %d (tcsetattr)\n", termios_state);return false;}return true;
}int uart_init(char * uart_name)
{int serial_fd = open(uart_name, O_RDWR | O_NOCTTY);if (serial_fd < 0) {err(1, "failed to open port: %s", uart_name);return false;}return serial_fd;
}int rw_uart_main(int argc, char *argv[])
{if (argc < 2) {usage("[YCM]missing command");}if (!strcmp(argv[1], "start")) {if (thread_running) {warnx("[YCM]already running\n");return 0;}thread_should_exit = false;daemon_task = px4_task_spawn_cmd("rw_uart",SCHED_DEFAULT,SCHED_PRIORITY_DEFAULT,2000,rw_uart_thread_main,(argv) ? (char * const *)&argv[2] : (char * const *)NULL);return 0;}if (!strcmp(argv[1], "stop")) {thread_should_exit = true;return 0;}if (!strcmp(argv[1], "status")) {if (thread_running) {warnx("[YCM]running");} else {warnx("[YCM]stopped");}return 0;}usage("unrecognized command");return 1;
}
int rw_uart_thread_main(int argc, char *argv[])
{warnx("[daemon] starting\n");thread_running = true;char data = '0';char buffer[4] = "";/** TELEM1 : /dev/ttyS1* TELEM2 : /dev/ttyS2* GPS    : /dev/ttyS3* NSH    : /dev/ttyS5* SERIAL4: /dev/ttyS6* N/A    : /dev/ttyS4* IO DEBUG (RX only):/dev/ttyS0*/int uart_read = uart_init("/dev/ttyS2");if(false == uart_read)return -1;if(false == set_uart_baudrate(uart_read,9600)){printf("[YCM]set_uart_baudrate is failed\n");return -1;}printf("[YCM]uart init is successful\n");struct rw_uart_raspberry_topic_s test_data; //定义类型为rw_uart_raspberry_topic_s的结构体变量rdorb_advert_t rw_uart_raspberry_topic_pub = orb_advertise(ORB_ID(rw_uart_raspberry_topic), &test_data);while(!thread_should_exit){read(uart_read,&data,1);if(data == 'R'){for(int i = 0;i <4;++i){read(uart_read,&data,1); //读取串口设备数据1个字节,放到data中buffer[i] = data;data = '0';}write(uart_read,&buffer,4);char * s;strncpy(test_data.datastr0,buffer,4);test_data.data = strtol(test_data.datastr0,&s,10);orb_publish(ORB_ID(rw_uart_raspberry_topic), rw_uart_raspberry_topic_pub, &test_data);int b=strtol(test_data.datastr0,&s,10);printf("\t%s\t%d\t%d\n",test_data.datastr0,test_data.data,b);}}warnx("[YCM]exiting");thread_running = false;close(uart_read);fflush(stdout);return 0;
}
2.3设置自启动
- 在ROMFS/px4fmu_common/init.d/rcS中添加自启动
rw_uart start
- 编译并刷固件
make clean
make px4fmu-v2_default
make px4fmu-v2_default_upload
二、Raspberry部分
- 循环发送’R1100’小程序(python)
# -*- coding: utf-8 -*-
import serial
import timedef port_send(send_date):if (serial.isOpen()):serial.write(send_date.encode('utf-8'))time.sleep(0.5)else:print("send failed")if __name__ == "__main__":serial = serial.Serial('/dev/ttyS2', 9600, timeout=0.5)  # /dev/ttyUSB0if serial.isOpen():print("open success")else:print("open failed")while True:port_send("R1100")
三、Pixhawk与树莓派连接
- TX—RX
- RX—TX
- GND—GND


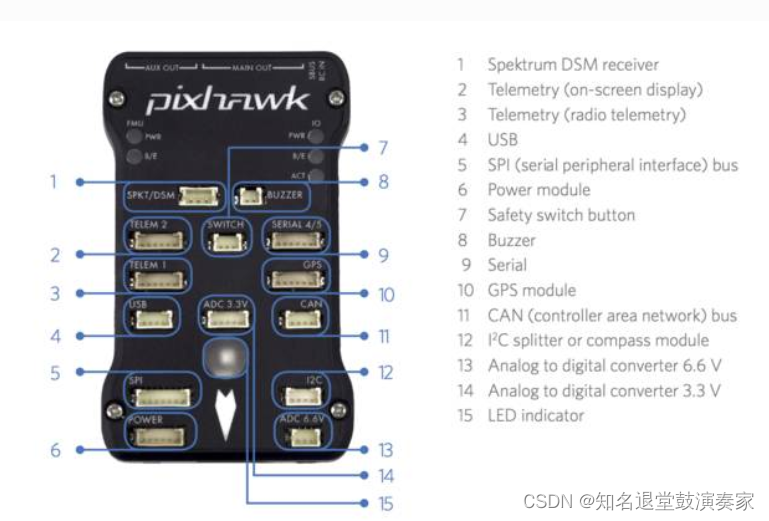
- TELEM2从左到右分别是VC TXD RXD 未知 未知 GND
测试结果:

四、编译过程中产生的问题
在编译的过程中碰到了很多问题,但是大部分都是可以百度谷歌到的。我主要将不能搜索到的问题摆出来,供大家在开发过程时参考。
- implicit declaration of function ‘px4_task_spawn_cmd’

问题原因及解决方案:
缺失相关的头文件,补充头文件:
#include <px4_tasks.h>
- compilation terminated due to -Wfatal -errors

问题原因及解决方案:
对应函数‘set_uart_baudrate’格式不对
删除对应函数,重新书写函数。
参考资料
Pixhawk与树莓派3的串口通信
Pixhawk—通过串口方式添加一个自定义传感器(超声波为例)
pixhawk串口读取传感器数据
Python 串口读写实现