目录
1:架构与环境说明
2:防火墙基础配置
3:Win-server部署
4:SRX-加域流量放行
5:Client相关域设置
6:Win-server联动SRX的相关设置
7:SRX-外部Server配置
8:SRX域控认证策略
9:配置访客用户认证策略
10:注意事项
1:架构与环境说明

环境说明(当前SRX版本为20.4R2.7)
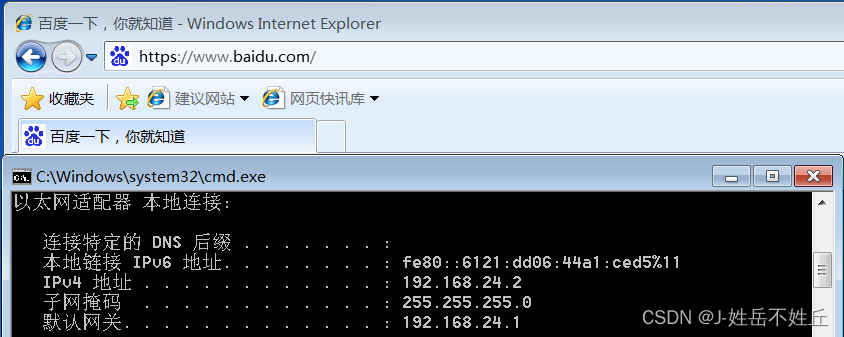
Win7-client为SRX的office区域,即日常客户端办公区域
Win-Server为SRX的dmz区域,即内部服务器所在区域
ISP线路即为SRX的untrust区域
随着如今网络安全的大范围普及,企业管理者对于网管安全也越来越重视,对于一些敏感企业而言,公司内部的网络安全极其重要,这就像我们日常的出入一些敏感场所,例如飞机场,高铁站,进出这些敏感场所必须携带身份证等类似证件,能够证明你的合法身份,而对于网络安全而言,最基本的安全就是接入认证,对于接入到该网络的终端设备进行认证,保证接入终端的合法性,避免非法终端带来的风险,基于SRX,根据下方模拟的用户需求,展开本次测试。
某公司需求
1:对于接入到该公司网络的终端,需要进行认证后才能通过该网络去访问internet资源。
2:对于公司内部员工,采用联动外部Server的方式进行域用户认证。
3:对于访客用户,采用portal的方式进行认证,认证的信息为防火墙本地。
2:防火墙基础配置
创建zone
set security zones security-zone office
set security zones security-zone dmz
set security zones security-zone untrust
接口配置
set interfaces ge-0/0/0 unit 0 family inet 192.168.59.72/24
set interfaces ge-0/0/1 unit 0 family inet address 192.168.24.1/24
set interfaces ge-0/0/2 unit 0 family inet address 192.168.20.2/24
接口加zone,进行区域划分,由于是测试,zone之间的https https等就全放行了,实际环境要要个根据需求来。
set security zones security-zone office host-inbound-traffic system-services all
set security zones security-zone office host-inbound-traffic protocols all
set security zones security-zone office interfaces ge-0/0/1.0
set security zones security-zone dmz host-inbound-traffic system-services ping
set security zones security-zone dmz interfaces ge-0/0/2.0
set security zones security-zone untrust host-inbound-traffic system-services all
set security zones security-zone untrust host-inbound-traffic protocols all
set security zones security-zone untrust interfaces ge-0/0/0.0
source-nat
set security nat source rule-set internet from zone office
set security nat source rule-set internet to zone untrust
set security nat source rule-set internet rule 1 match source-address 192.168.24.0/24
set security nat source rule-set internet rule 1 then source-nat interface
缺省路由
set routing-options static route 0.0.0.0/0 next-hop 192.168.59.253SRX的DNS
set system name-server 114.114.114.114地址对象(个人就习惯叫地址本)
安全策略中需要调用的地址组,一种是基于全局的,即所有zone都能调用,一种是基于zone的,只能在单个zone里创建并调用。
该命令中的两个 192.168.24.0/24,前者为对象名称,后者为具体的IP地址或网段
set security address-book global address 192.168.24.0/24 192.168.24.0/24安全策略
set security policies from-zone office to-zone untrust policy internet match source-address 192.168.24.0/24
set security policies from-zone office to-zone untrust policy internet match destination-address any
set security policies from-zone office to-zone untrust policy internet match application any
set security policies from-zone office to-zone untrust policy internet then permit
上述配置完成后,即能实现最基本的访问internet的需求。
防火墙也已经查看到相关session
Session ID: 3593, Policy name: ADuser/4, Timeout: 1762, ValidIn: 192.168.24.2/49227 --> 183.136.216.38/443;tcp, Conn Tag: 0x0, If: ge-0/0/1.0, Pkts: 11, Bytes: 1366,Out: 183.136.216.38/443 --> 192.168.59.76/16777;tcp, Conn Tag: 0x0, If: ge-0/0/0.0, Pkts: 23, Bytes: 24942,
3:Win-server部署
1:在服务器管理器中安装AD域控服务,服务地址池,选择你域控服务的IP地址,前面的开始之前和安装类型直接下一步即可。

2:选择AD域服务,下一步的功能和AD DS也可直接跳过

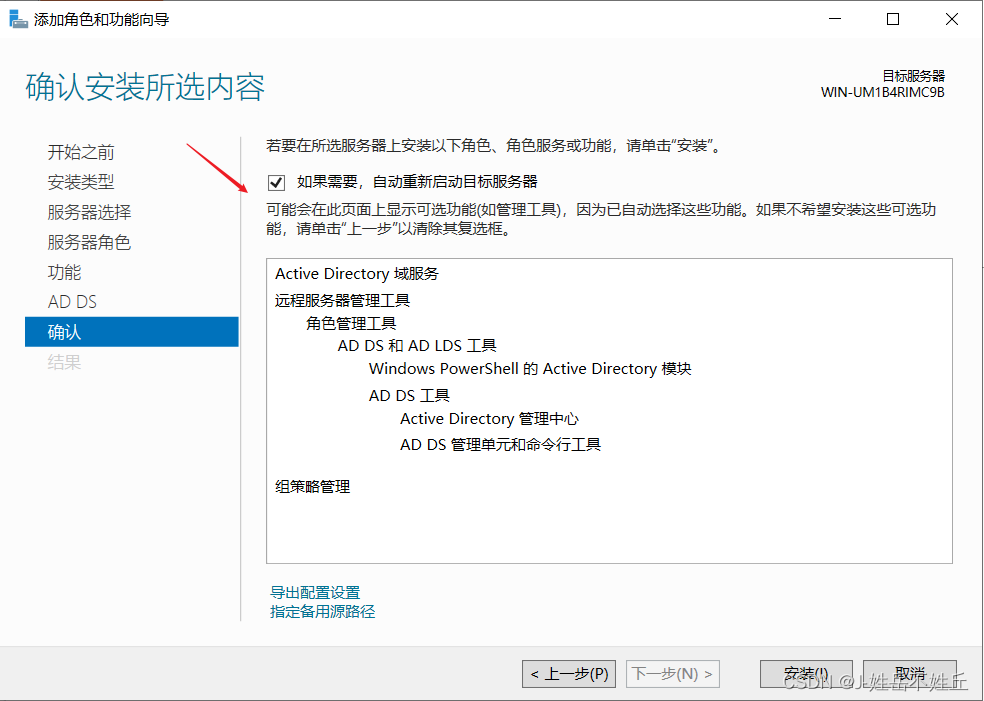
3:勾选自动重启,点击安装
4:等待安装完成之后,会提示该域控需要配置,通过下方蓝色字符,对该域进行配置

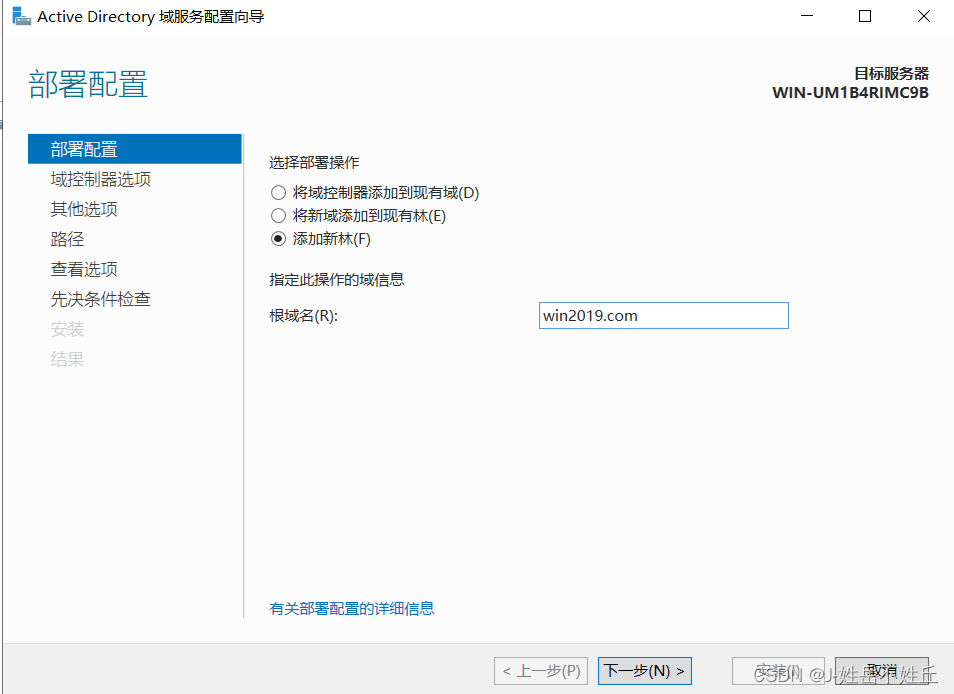
5:选择添加新林,即自行创建一个域
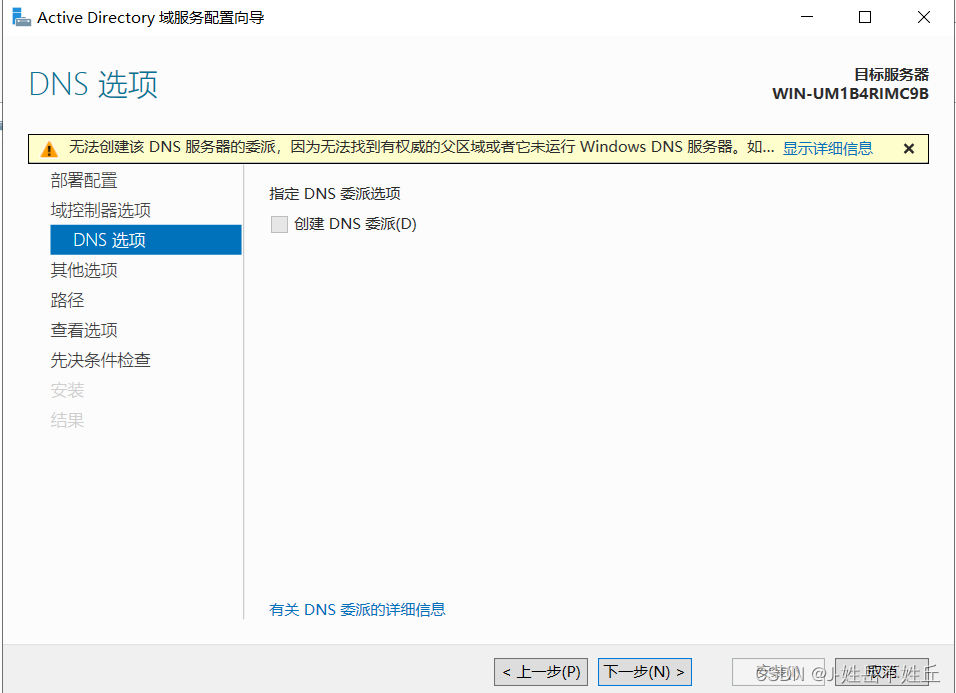
6: 目前的win2019的版本只能使用2016的域功能级别,下方的还原模式的密码建议部署与管理员密码相同。 DNS委派选项跳过直接下一步即可
设置目录服务器叫还原模式(DSRM)密码。Directory Services Restore Mode,简称DSRM,又称目录服务恢复模式。是Windows域控制器的服务器安全模式启动选项。DSRM允许管理员用来修复或还原修复或重建活动目录数据库。
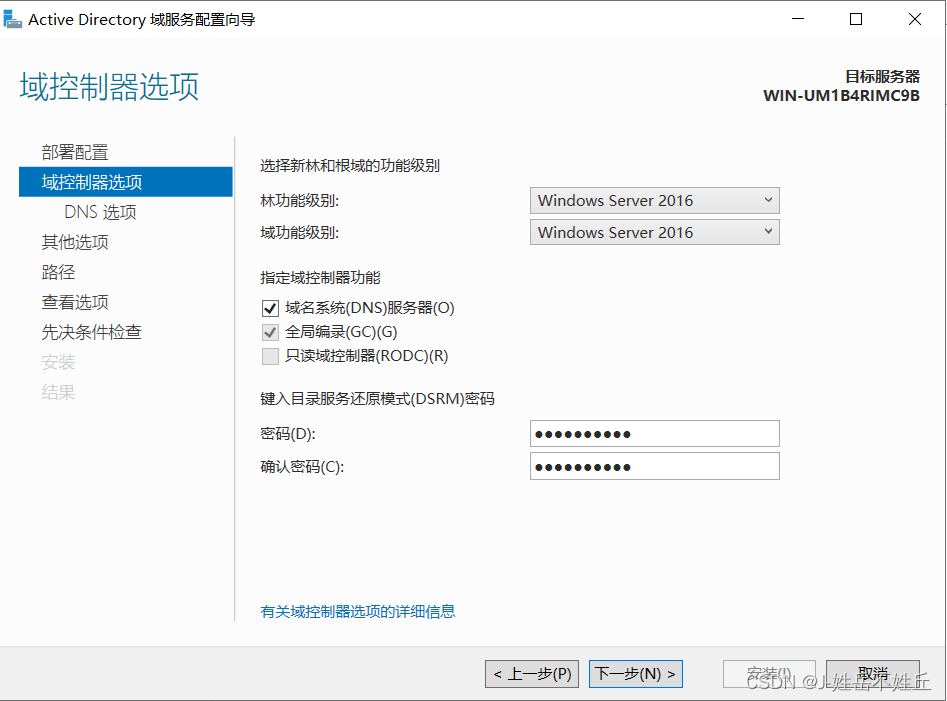
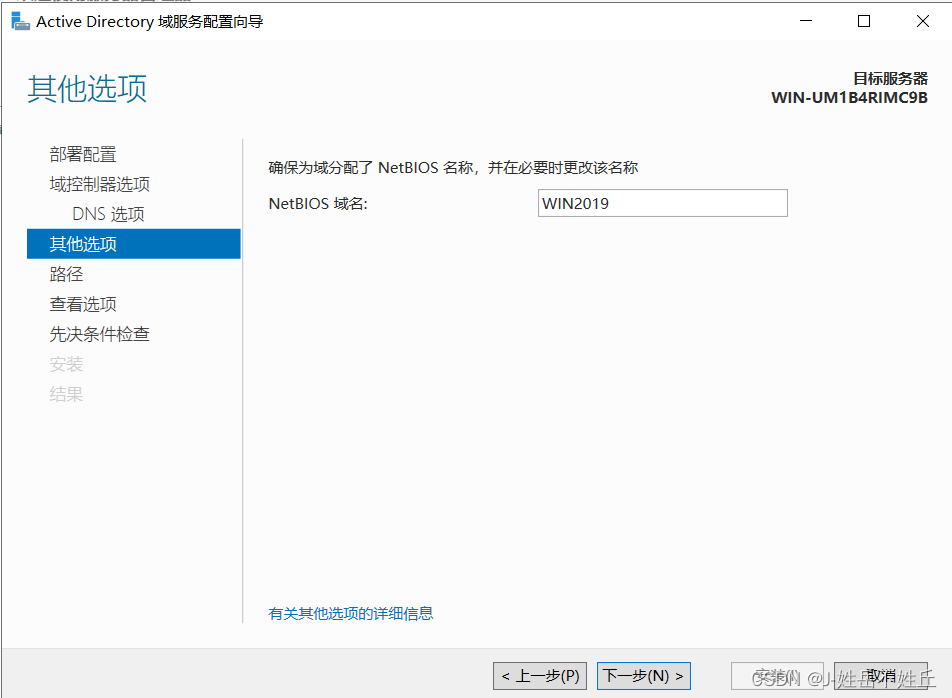
7:netBOIS默认即可
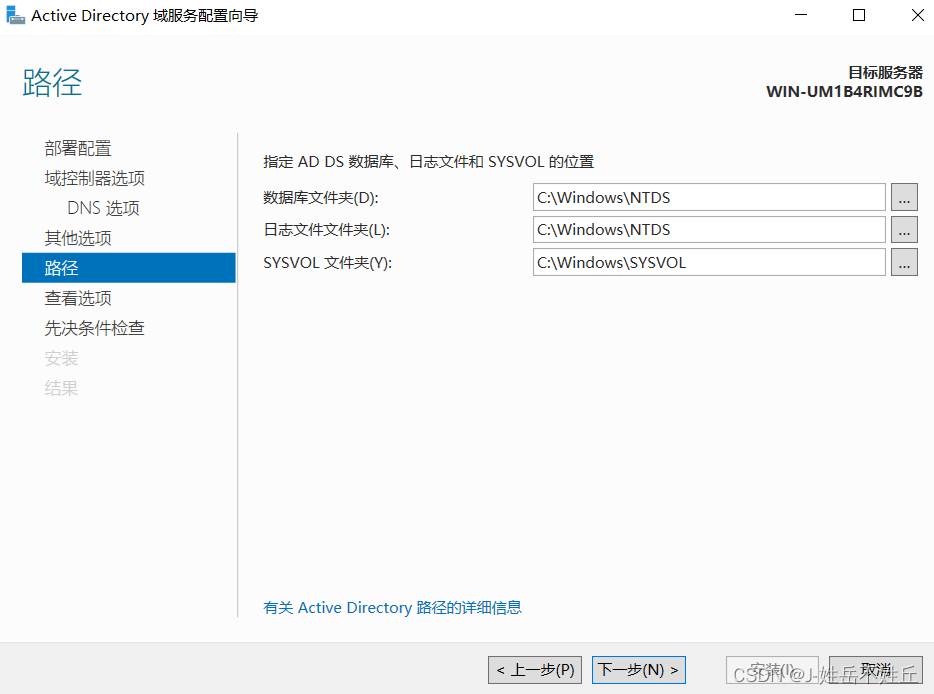
8:安装路径,可自定义,默认即可
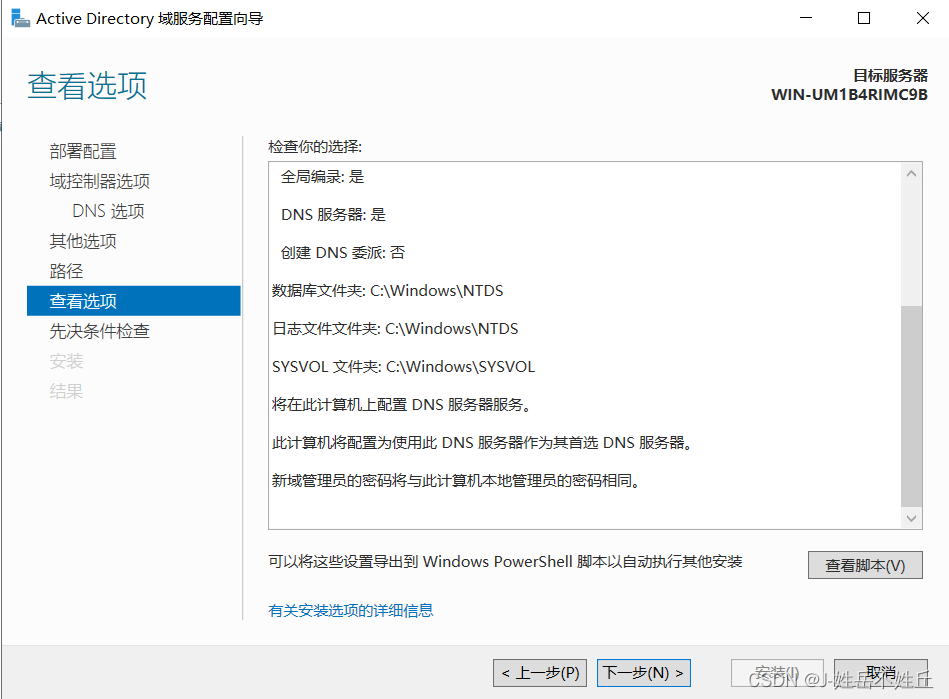
9:Check页面,确认信息无误下一步
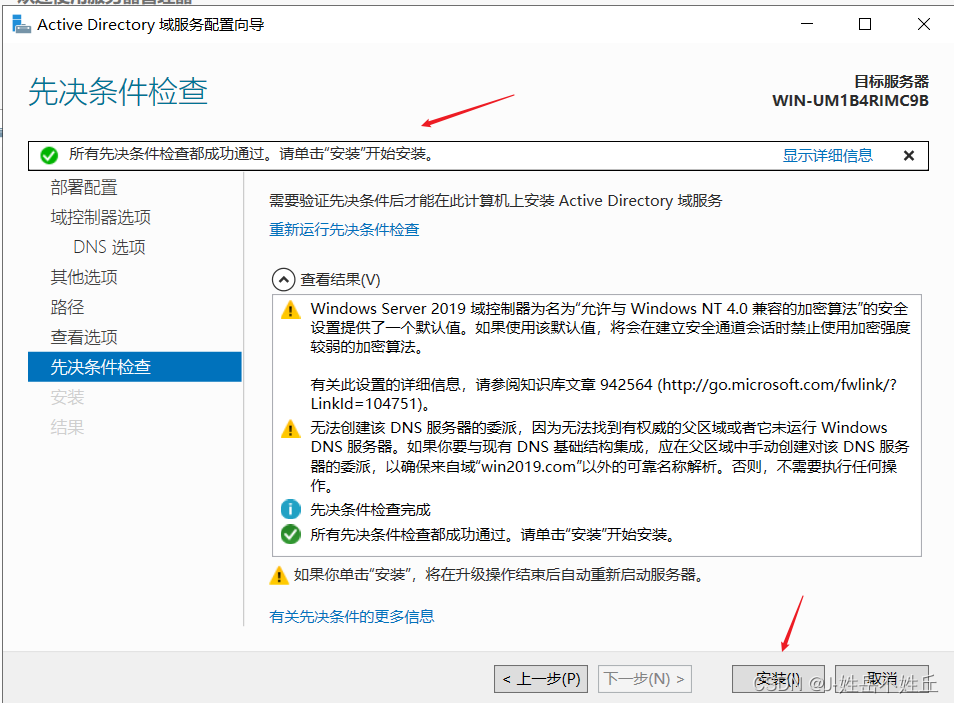
10:先决条件检查,这里会检测部署域一些必须的条件,比如管理员的密码复杂度之类的,如果检查未通过,可根据相关提示信息,搜索解决方式,或修改参数。
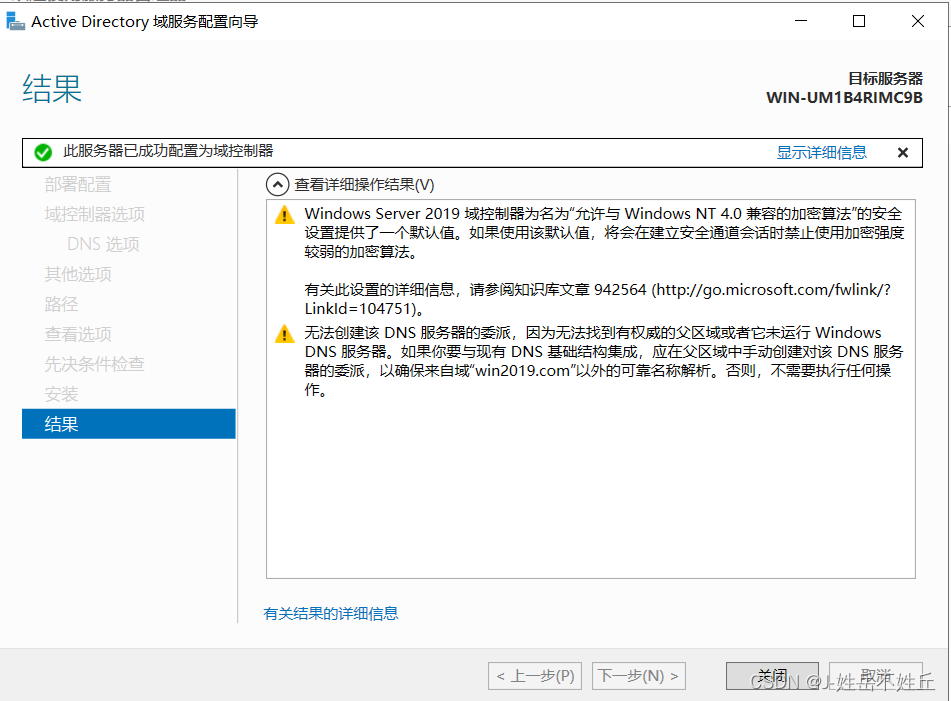
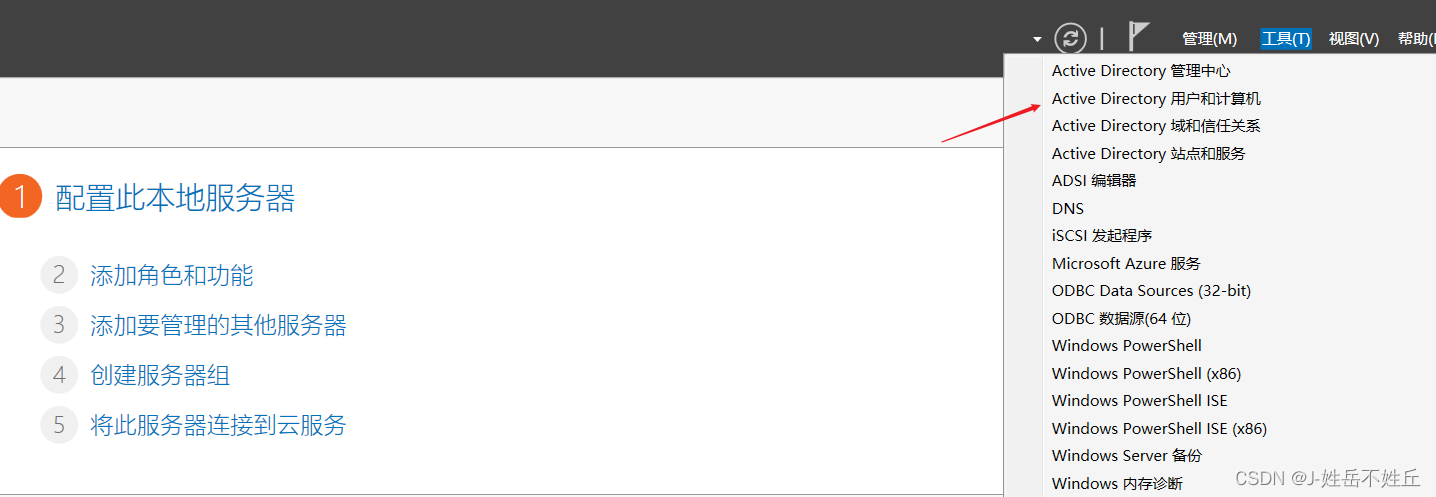
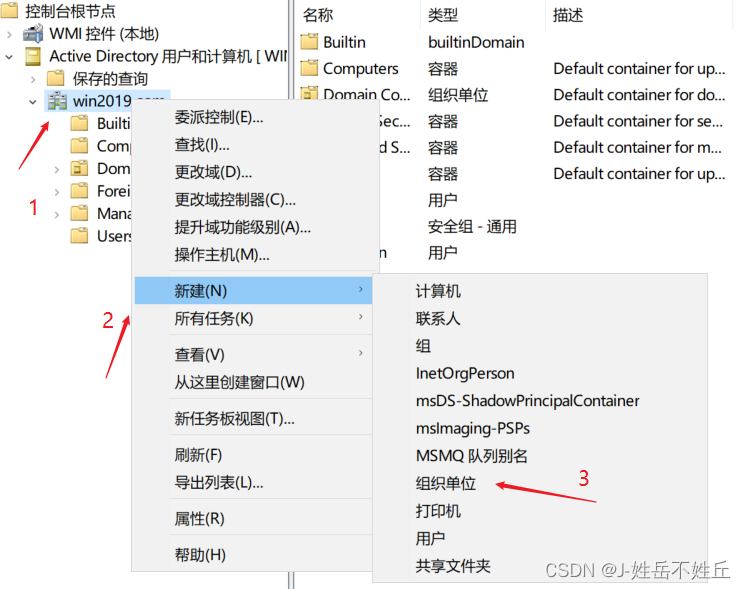
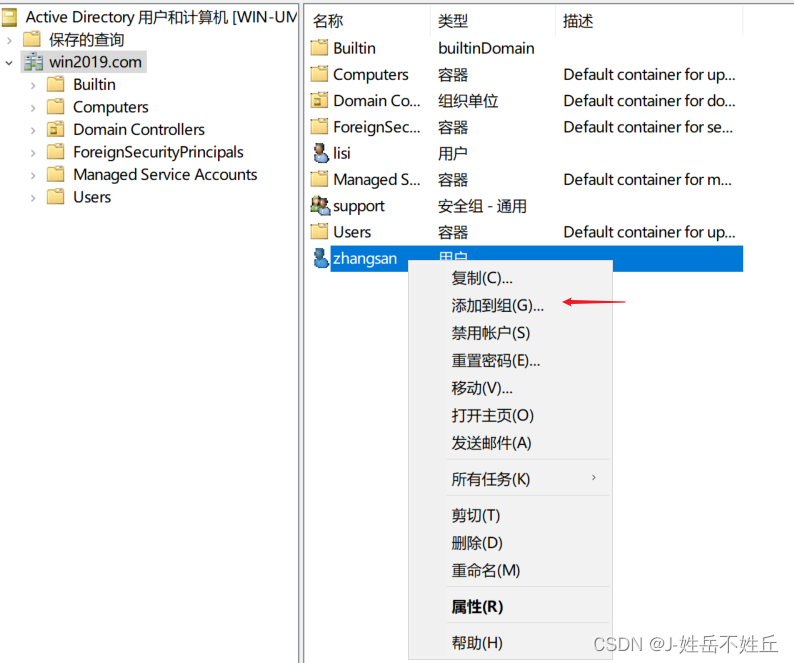
11:等待安装完成后,会自动重启,随后可通过服务器管理器>工具> Active directory 用户与计算机
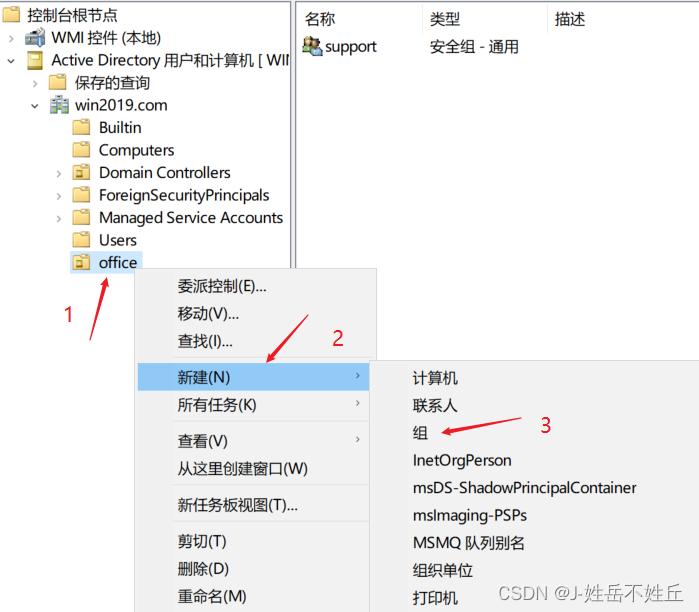
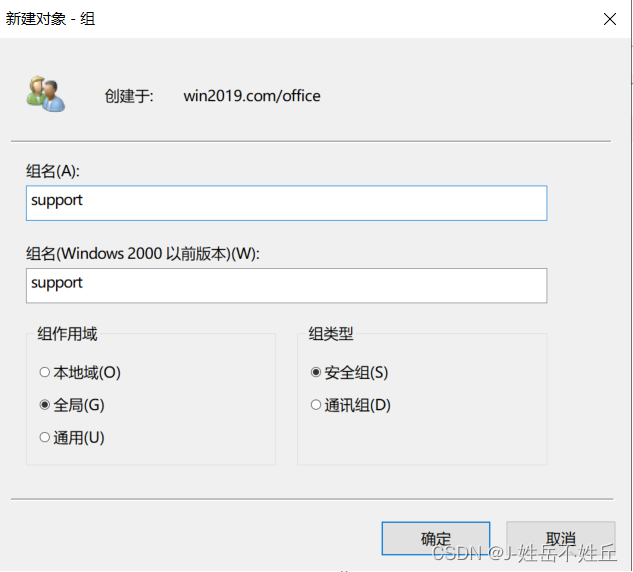
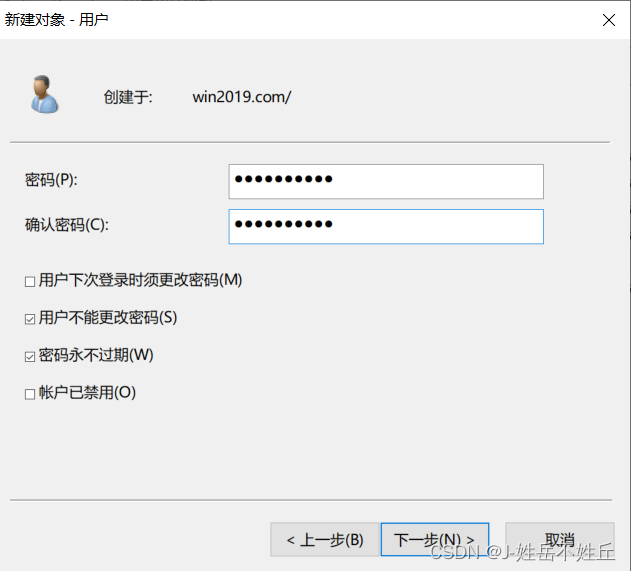
12:在该域中,新建一个组织单位office,并在该单位下新建一个组和两个成员,name=support,该组的成员即为新建的user1和user2。
4:SRX-加域流量放行
配置将从office到dmz区域的流量放行,因为后续会有Win-client加域的操作。
set security address-book global address 192.168.20.0/24 192.168.20.0/24
set security policies from-zone office to-zone dmz policy to-Winserver match source-address 192.168.24.0/24
set security policies from-zone office to-zone dmz policy to-Winserver match destination-address 192.168.20.0/24
set security policies from-zone office to-zone dmz policy to-Winserver match application any
set security policies from-zone office to-zone dmz policy to-Winserver then permit
5:Client相关域设置
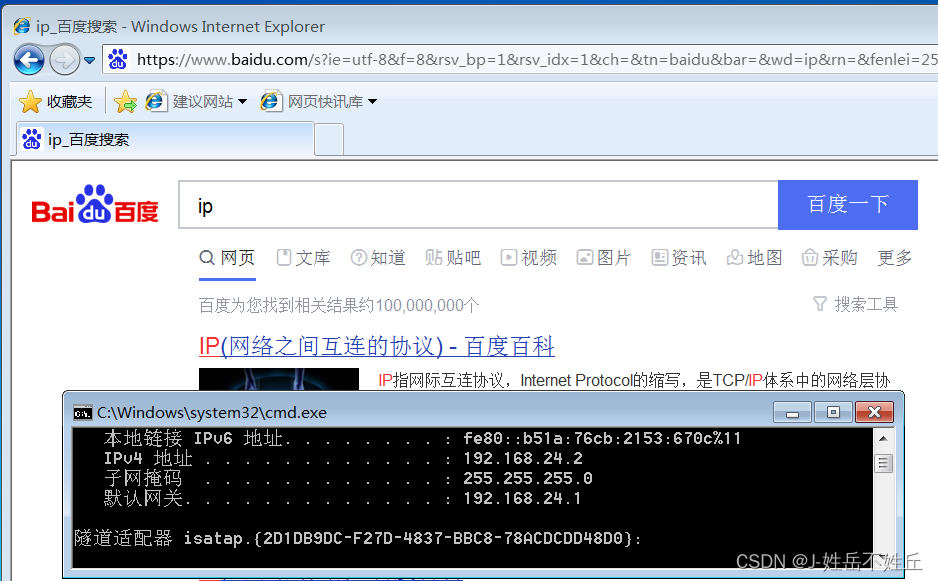
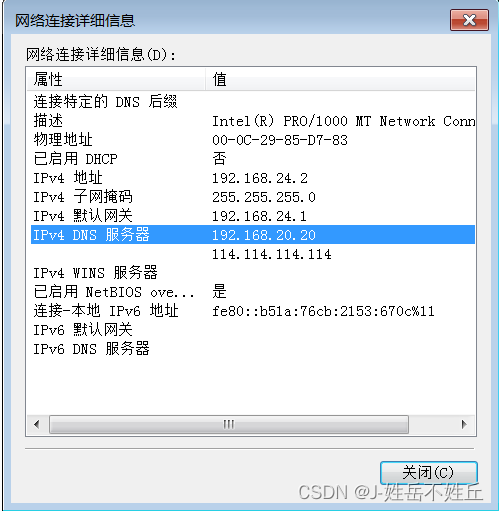
1:将客户端的首选DNS更改Win-Server的地址,即进行加域操作时,域解析指向Win-Server
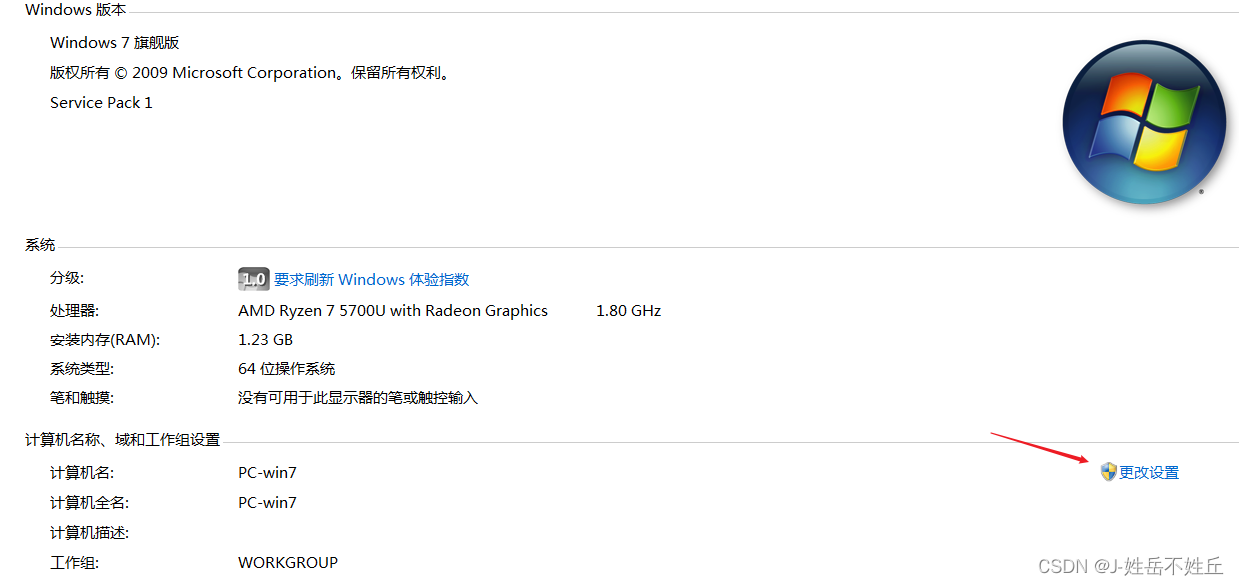
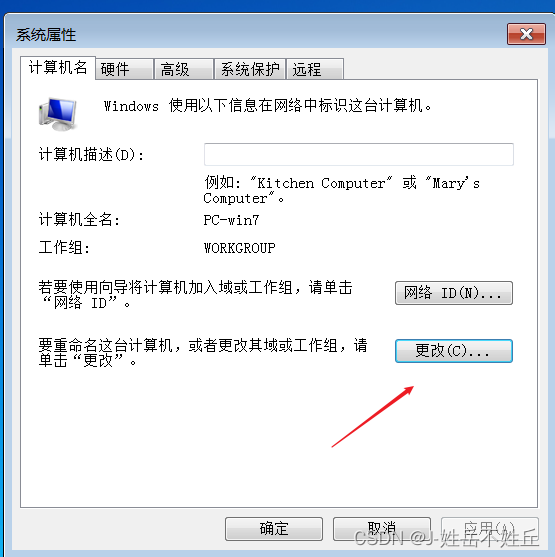
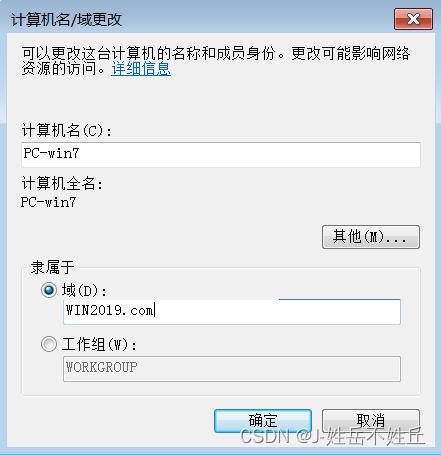
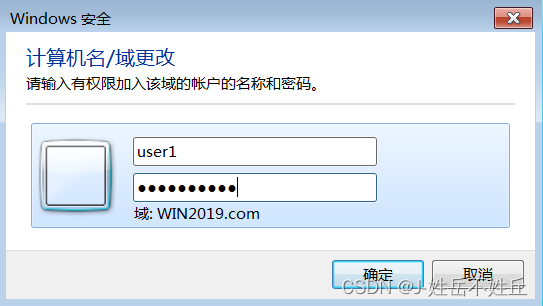
2:将该PC加入Win2019.com 右键点击桌面的计算机,点击属性,选择更改设置,进行加域
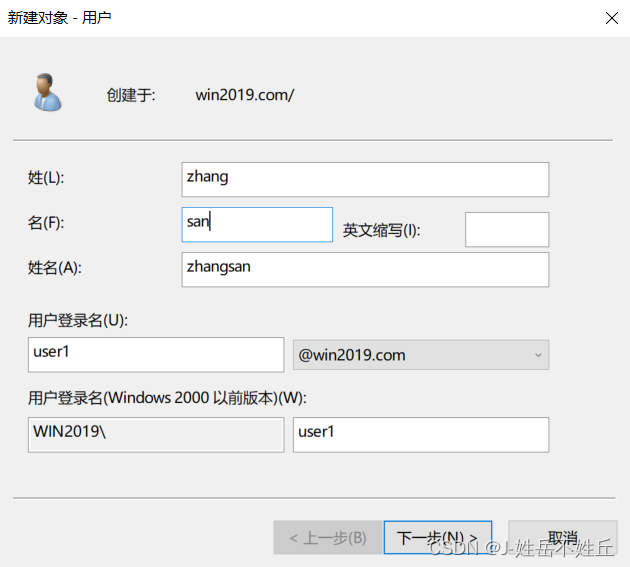
输入在Win-server上创建的user1
3:此时使用win2019@user1来登陆此电脑,至此客户端的设置完成
6:Win-server联动SRX的相关设置
后续需要在防火墙上将认证服务器指向该Win-server,并且防火墙需要以管理员账号和密码的形式
去向Server验证身份并获取相关的登陆信息,故需要在Server上保证管理员账号的权限。
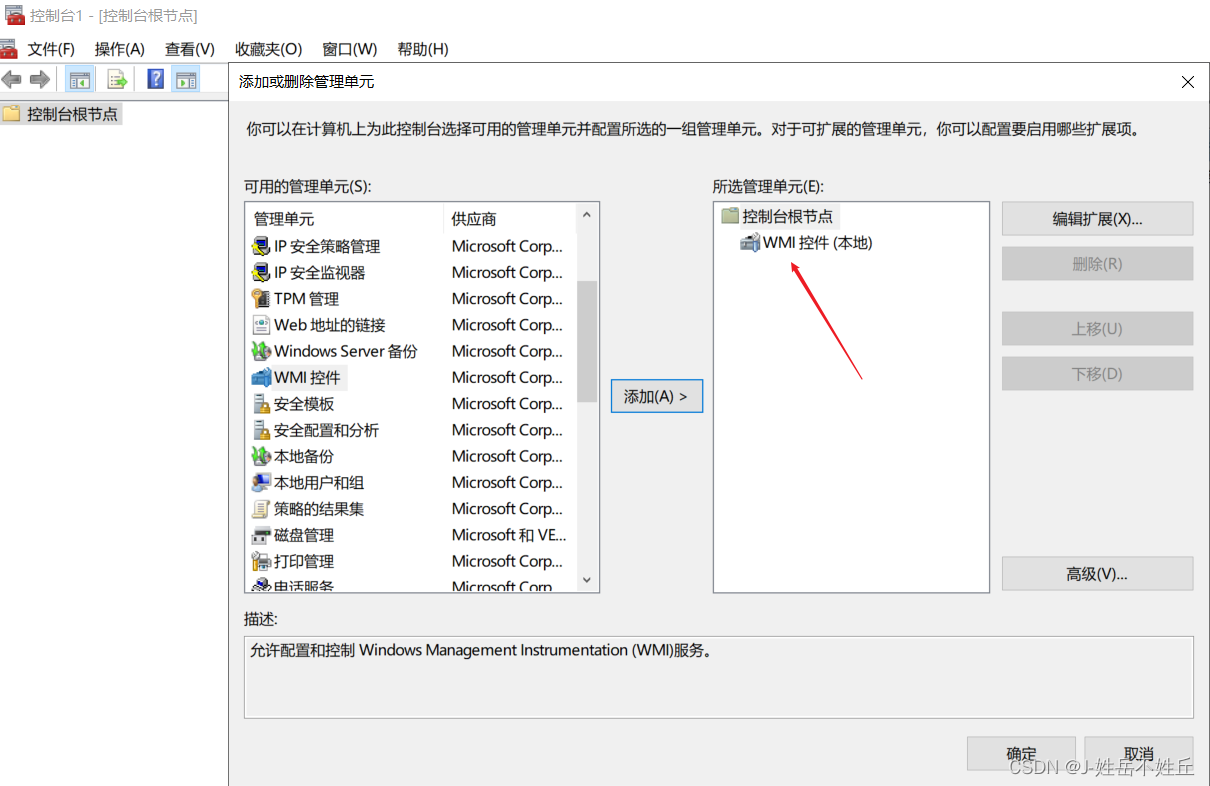
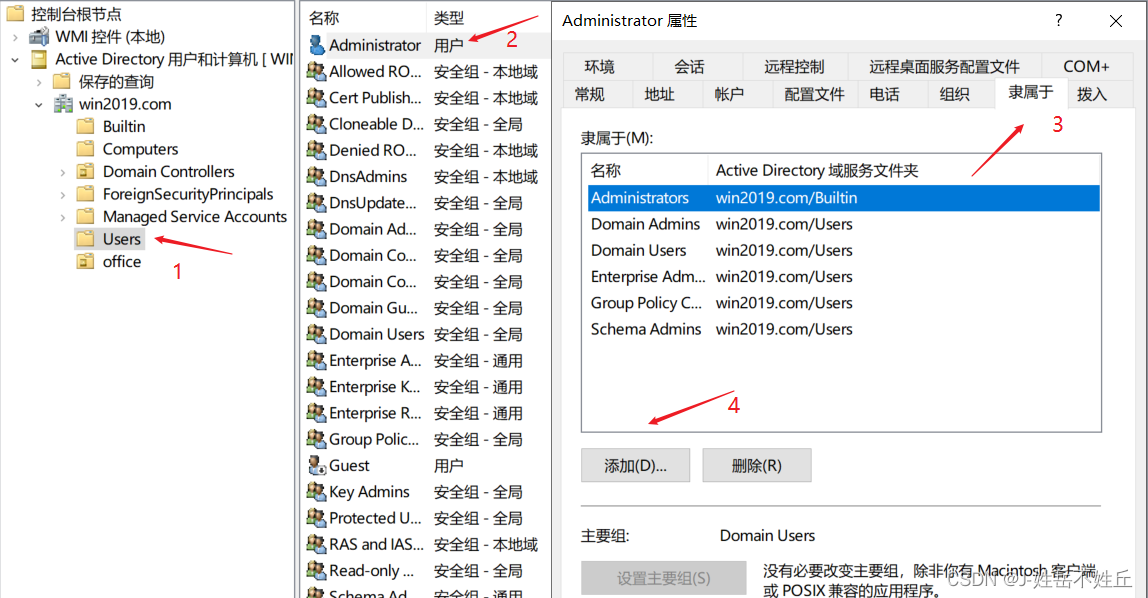
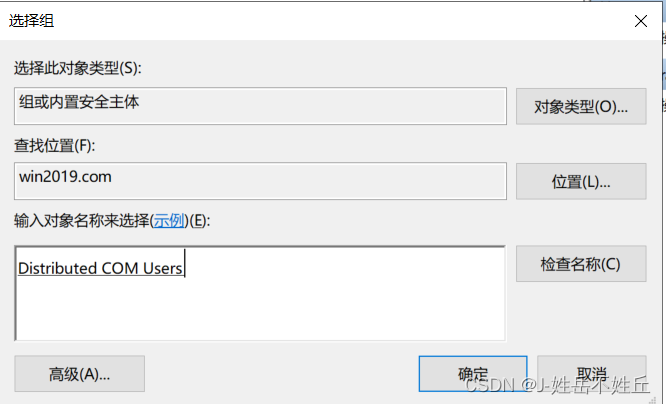
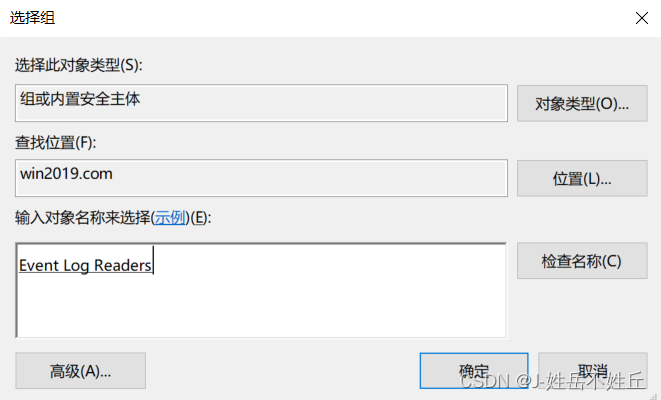
1:使用mmc添加WMI,随后右键点击WMI选择属性>安全>Root>CIMv2
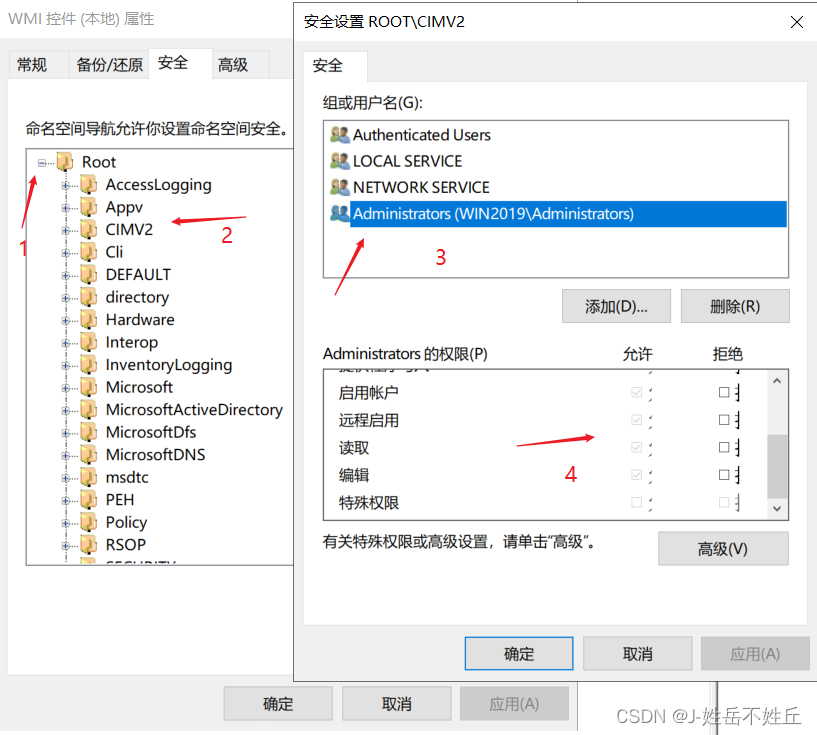
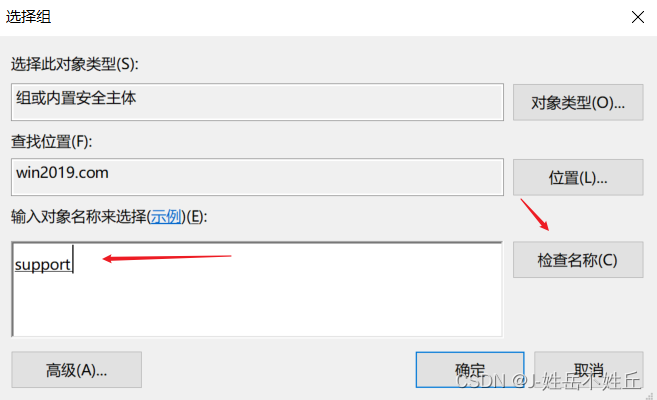
2:右键域用户管理文件,选择其中的管理员账号查看属性,并对其进行权限添加,将Distributed COM Users和Event Log Readers的权限分配至管理员账号,保证管理员隶属于图中标注的五个单位。
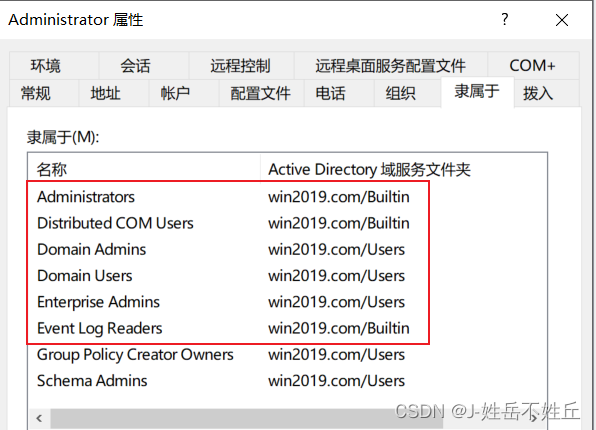
至此Win-Server的准备工作完成。
7:SRX-外部Server配置
1:将Win-server添加到SRX的用户识别模块中,并配置管理员密码,后续SRX会通过WMI读取AD域控的事件日志和用户登陆信息。
set services user-identification active-directory-access domain win2019.com user administrator
set services user-identification active-directory-access domain win2019.com user password x
set services user-identification active-directory-access domain win2019.com user-group-mapping ldap user administrator
set services user-identification active-directory-access domain win2019.com user-group-mapping ldap user password x
set services user-identification active-directory-access domain win2019.com domain-controller win2019 address 192.168.20.20
top 回到全局配置视图(不top也可以,HA状态下必须使用top),commit提交本次配置
2:查看AD域的连接状态,connected即为连接完成的状态。
root# run show services user-identification active-directory-access domain-controller status
Domain: win2019.comDomain controller       Address                                   Statuswin2019                192.168.20.20                              Connected
3:查看具体某个用户的分组,此处使用user1来验证效果,发现show命令的输入显示 该用户属于win2019@.com这个域,该用户为suooprt这个组的组成员。
root# run show services user-identification active-directory-access user-group-mapping user user1 domain win2019.com
Domain: win2019.com
Total num: 2
Groups: domain users, users
Groups referenced by policy: support
4:查看SRX用户认证表和认证源,可以看到下方的user1用户的登陆日志已经被SRX获取到,user1即为win7登陆,而administrator这个账户显示的20.2就SRX的接口IP地址,这个是因为上文中的SRX的域配置后,SRX通过身份验证后来连接域控,其登录日志自然也被域控记录下来并被SRX获取到。
从下方信息能够得知:user1属于win2019.com的support这个组,认证源为192.168.24.2
root# run show services user-identification authentication-table authentication-source all
Logical System: root-logical-systemDomain: win2019.com
Total entries: 2
Source IP                                Username       groups(Ref by policy)          state
192.168.24.2                             user1          support                        Valid
192.168.20.2                             administrator                                 Valid
8:SRX域控认证策略
1:配置AD域用户认证策略,从office到untrust 只有该用户为域控用户才能通过认证,在配置之前需要删除掉我们之前配置的internet的策略,保证其认证效果。
set security policies from-zone office to-zone untrust policy ADuser match source-address 192.168.24.0/24
set security policies from-zone office to-zone untrust policy ADuser match destination-address any
set security policies from-zone office to-zone untrust policy ADuser match application any
set security policies from-zone office to-zone untrust policy ADuser match source-identity "win2019.com/support"
set security policies from-zone office to-zone untrust policy ADuser then permit
此时通过问号补全的方式,已经可以读取域控中的组织单位,并将其作为策略限制条件来使用。
[edit security policies from-zone office to-zone untrust policy ADuser]
root# set match source-identity ?
Possible completions:<source-identity-name>  Specify source-identity name from list to match[                    Open a set of valuesany                  Any user includes authenticated, unauthenticated and unknown userauthenticated-user   All authenticated usersunauthenticated-user  All unauthenticated usersunknown-user         All unknown userswin2019.com\domain   userswin2019.com\krbtgtwin2019.com\supportwin2019.com\user1win2019.com\user2win2019.com\users
2:清除认证状态,Win7做重启操作后,再次查看认证表项
run clear services user-identification authentication-table authentication-source all
在win7重启过程中,可以看到当前user的认证状态失效(invalid),等待Win7重启完成后,即触发认证,随后认证通过。
root# run show services user-identification authentication-table authentication-source all
Logical System: root-logical-systemDomain: win2019.com
Total entries: 1
Source IP                                Username       groups(Ref by policy)          state
192.168.20.2                             administrator                                 ValidDomain: NULL
Total entries: 1
Source IP                                Username       groups(Ref by policy)          state
192.168.24.2                                                                           Invalid[edit]
root# run show services user-identification authentication-table authentication-source all
Logical System: root-logical-systemDomain: win2019.com
Total entries: 2
Source IP                                Username       groups(Ref by policy)          state
192.168.20.2                             administrator                                 Valid
192.168.24.2                             user1          support                        Valid
认证成功后,该用户访问internet的流量被放行,通过查看session可以看到该用户访问internet命中的策略正是我们配置的域控认证的策略。
root# run show security flow session source-prefix 192.168.24.2
Session ID: 3519, Policy name: ADuser/4, Timeout: 1792, ValidIn: 192.168.24.2/49206 --> 180.101.49.11/443;tcp, Conn Tag: 0x0, If: ge-0/0/1.0, Pkts: 42, Bytes: 4416,Out: 180.101.49.11/443 --> 192.168.59.76/2202;tcp, Conn Tag: 0x0, If: ge-0/0/0.0, Pkts: 108, Bytes: 124526,
9:配置访客用户认证策略
对于访客用户而言,该群体的流动性较大, 不适合将认证信息部署在Win-Server上,通过SRX本地创建账户信息的形式对其进行认证。
1:创建接入配置文件,配置本地账户
set access profile guest client guest1 client-group guest
set access profile guest client guest1 firewall-user password guest1
set access profile guest client guest2 client-group guest
set access profile guest client guest2 firewall-user password guest2
2:将该接入配置文件引用到防火墙的直通认证中,并配置login和success的认证提示字符
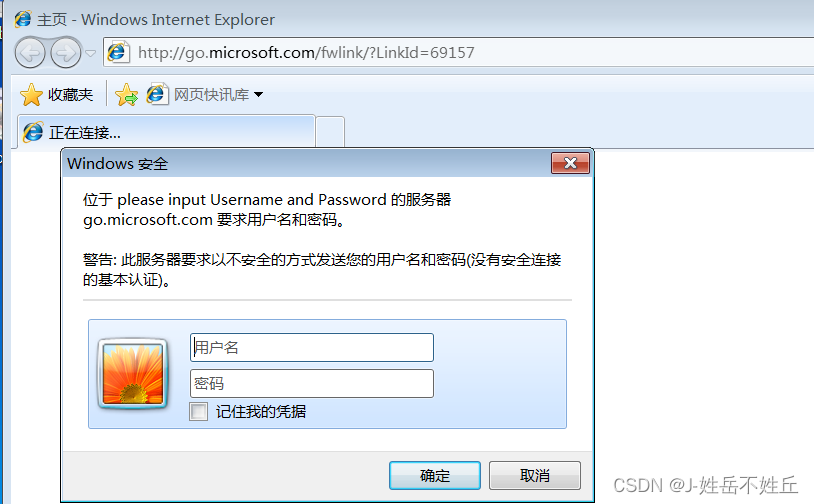
set access firewall-authentication pass-through default-profile guest
set access firewall-authentication pass-through http banner login "please input Username and Password"
set access firewall-authentication pass-through http banner success "Username and Password vaild"
3:配置SRX直通认证策略,对于非域用户和未经身份认证的其他用户,采用portal方式进行认证,认证信息则调用guest这个接入配置文件。
set security policies from-zone office to-zone untrust policy local-user match source-address any
set security policies from-zone office to-zone untrust policy local-user match destination-address any
set security policies from-zone office to-zone untrust policy local-user match application any
set security policies from-zone office to-zone untrust policy local-user match source-identity unauthenticated-user
set security policies from-zone office to-zone untrust policy local-user match source-identity unknown-user
set security policies from-zone office to-zone untrust policy local-user then permit firewall-authentication pass-through client-match guest
4:将Win7重启,随后使用本地账号进行登陆,修改IP地址,在进行internet访问,则会触发本地
认证,需要修改IP的原因是已经存在了该IP地址的认证表项,通过修改IP地址来模拟另一台主机。

通过show,对于非域的访客用户,认证表中该认证源的domain,username都为空,认证状态为失效状态,即认证失败,但通过查看本地认证显示,该用户已经通过guest这个接入模板中的guest1通过了认证,获得从该网络访问internet的权限。
root# run show services user-identification authentication-table authentication-source all
Logical System: root-logical-systemDomain: win2019.com
Total entries: 2
Source IP                                Username       groups(Ref by policy)          state
192.168.24.3                             user1          support                        Valid
192.168.20.2                             administrator                                 ValidDomain: NULL
Total entries: 1
Source IP                                Username       groups(Ref by policy)          state
192.168.24.4                                                                           Invalid
root# run show security firewall-authentication users
Firewall authentication data:Total users in table: 1Id Source Ip                         Src zone Dst zone Profile    Age Status   User1 192.168.24.4                      office   untrust  guest        0 Success  guest1
至此,本次测试结束, SRX本身的配置并不复杂,关键在于域控服务器的域服务安装和管理员账户的权限问题。
10:注意事项
1:关于域控服务器,我测试是用的VMware的虚拟机,如果你也是通过VMware来部署域控,建议提前拍好快照,防止步骤出错,给自己一个退路。
2:加域的客户端,如果有条件,可以部署多台,本地用户和域控用户带来的效果更明显一点,我是因为条件限制,一台当做两台使用,中间需要重启,修改IP地址,清除SRX的认证表项,很麻烦
3:如果你的SRX也是通过VMware的ova模板来部署的,即VSRX,则需要修改该虚拟机的配置文件,因为默认VSRX只有三个网卡是可用的,但第一块网卡对应管理口,本次测试最少需要四块网卡,即管理口加上客户端-服务器和外网的网段,去到该虚拟机的文件路径下,找到一个VMX格式的虚拟机文件,以文本的方式打开,在末尾另起一行,注入下方字符,随后保存退出,该操作必须在VSRX关机状态下进行。
ethernet3.virtualDev = "vmxnet3"4:最后,也是最重要的,一定要确认域控服务器的管理员账号权限足够。