首先使用的是天行机器人:
1、接入基本原理:
https://www.tianapi.com/apiview/47
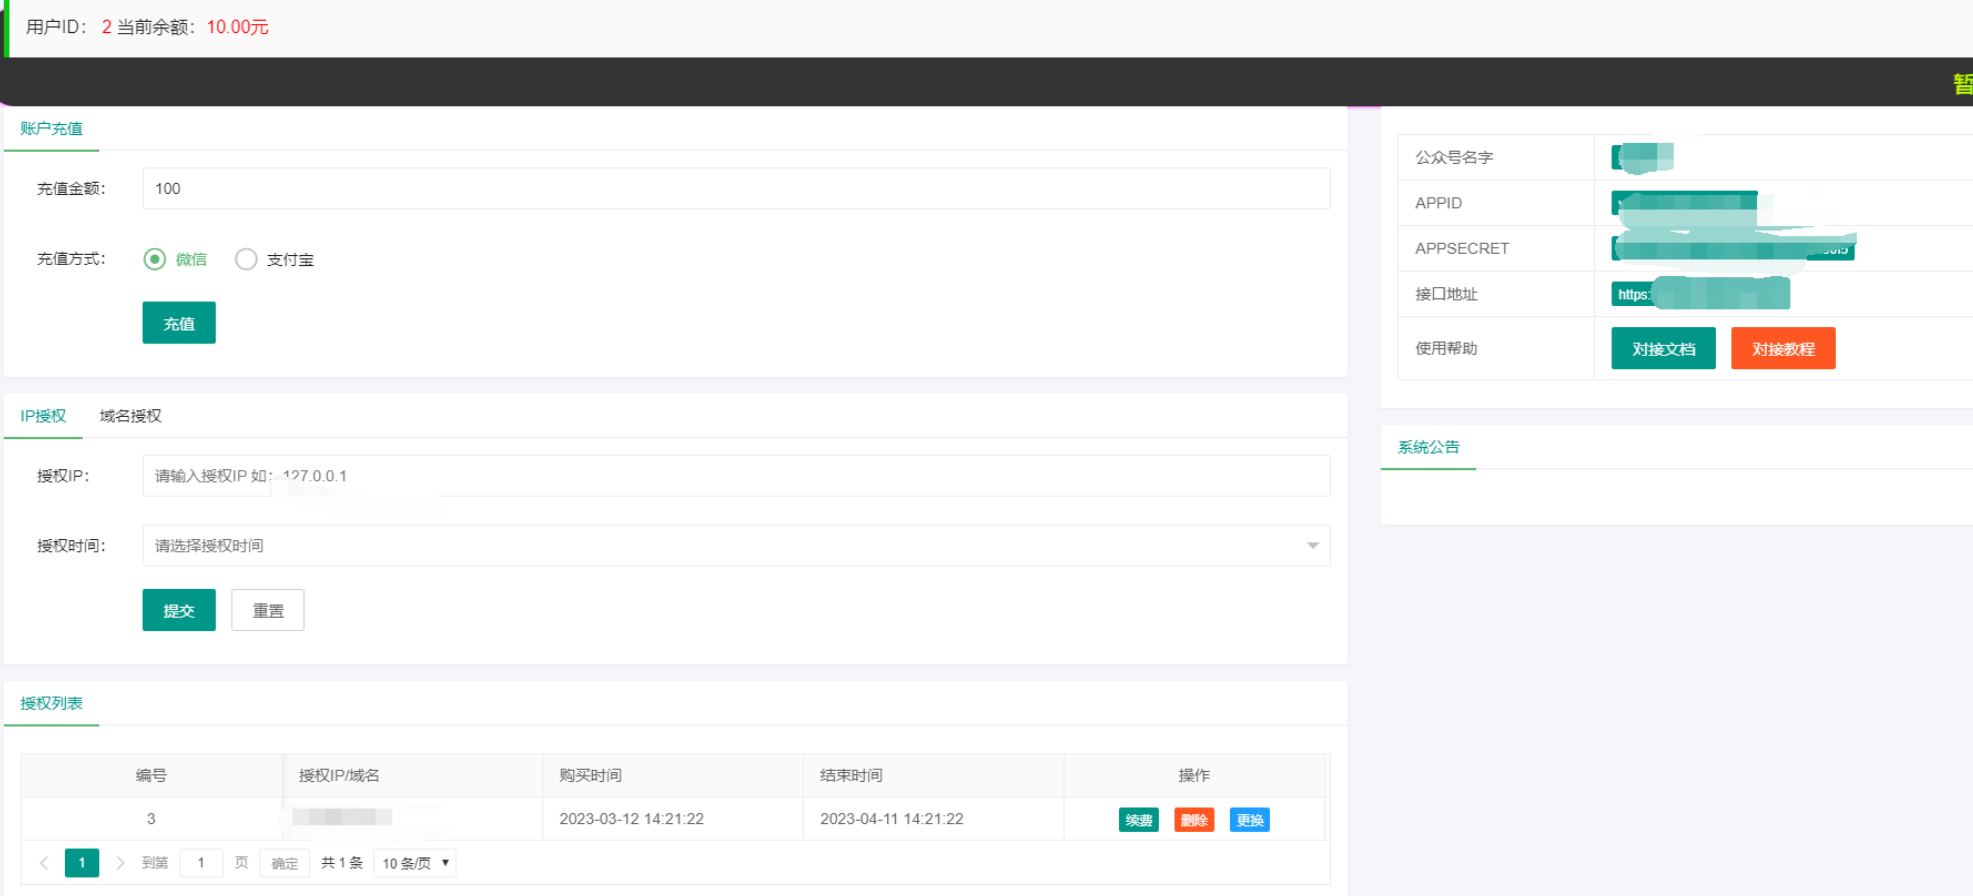
申请完成后的结果如下

调用对应的接口的参数如下:
http://api.tianapi.com/txapi/robot/index?key=ae5e9a72c8d4cb1f5e096f7bb4daf1f3&question=robot
看懂这部分请参考微信公众号接入服务器开发第一部分的代码和逻辑:
链接: https://blog.csdn.net/liudaka/article/details/119640210
2、代码展示:
微信公众号的入口代码:
package com.special.weixin.weixindev.controller;import com.special.weixin.weixindev.WeixinService;
import org.springframework.web.bind.annotation.RequestMapping;
import org.springframework.web.bind.annotation.RestController;
import org.springframework.web.context.request.RequestAttributes;
import org.springframework.web.context.request.RequestContextHolder;
import org.springframework.web.context.request.ServletRequestAttributes;import javax.annotation.Resource;
import javax.servlet.http.HttpServletRequest;
import javax.servlet.http.HttpServletResponse;
import java.io.IOException;
import java.io.PrintWriter;
import java.util.Map;/*** @author liuYC* @ClassName WeixinController* @Description TODO* @date 2021/8/12 9:58*/
@RestController
@RequestMapping
public class WeixinController {@ResourceWeixinService weixinService;private static final String TOKEN = "adfadfsda";@RequestMapping("wx")public void test() throws IOException {// 对于的controller方法里面,写以下代码/***   取出来对应的参数:* 参数	描述* signature	微信加密签名,signature结合了开发者填写的token参数和请求中的timestamp参数、nonce参数。* timestamp	时间戳* nonce	随机数* echostr	随机字符串*/RequestAttributes requestAttributes = RequestContextHolder.currentRequestAttributes();ServletRequestAttributes servletRequestAttributes = (ServletRequestAttributes) requestAttributes;HttpServletRequest request = servletRequestAttributes.getRequest();HttpServletResponse response = servletRequestAttributes.getResponse();String signature = request.getParameter("signature");String timestamp = request.getParameter("timestamp");String nonce = request.getParameter("nonce");String echostr = request.getParameter("echostr");System.out.println(signature);System.out.println(timestamp);System.out.println(nonce);System.out.println(echostr);if (weixinService.checkSignature(signature, timestamp, nonce, TOKEN)) {System.out.println("success");request.setCharacterEncoding("utf8");response.setCharacterEncoding("utf8");
//		//处理消息和事件推送Map<String, String> requestMap = weixinService.parseRequest(request.getInputStream());System.out.println(requestMap);//准备回复的数据包通过 basemessage 等等情况String respXml = weixinService.getRespose(requestMap);System.out.println(respXml);PrintWriter out = response.getWriter();out.print(respXml);out.flush();out.close();
//            原样返回 :微信公众号服务器收到返回的数据,显示修改成功,相当于是
//            测试链接进行的代码:每次重新链接收需要这部分代码运行,链接完成后,进行注掉,开始正常的功能的测试!/* PrintWriter out = response.getWriter();out.println(echostr);out.flush();out.close();*/} else {System.out.println("fail");}System.out.println("=========== end ============");}/*@RequestMapping("wx")public void test() throws IOException {// 对于的controller方法里面,写以下代码*//***   取出来对应的参数:* 参数	描述* signature	微信加密签名,signature结合了开发者填写的token参数和请求中的timestamp参数、nonce参数。* timestamp	时间戳* nonce	随机数* echostr	随机字符串*//*RequestAttributes requestAttributes = RequestContextHolder.currentRequestAttributes();ServletRequestAttributes servletRequestAttributes = (ServletRequestAttributes) requestAttributes;HttpServletRequest request = servletRequestAttributes.getRequest();HttpServletResponse response = servletRequestAttributes.getResponse();String signature = request.getParameter("signature");String timestamp = request.getParameter("timestamp");String nonce = request.getParameter("nonce");String echostr = request.getParameter("echostr");System.out.println(signature);System.out.println(timestamp);System.out.println(nonce);System.out.println(echostr);if (weixinService.checkSignature(signature, timestamp, nonce, TOKEN)) {System.out.println("success");Map<String, String> requestMap = weixinService.parseRequest(request.getInputStream());System.out.println(requestMap);
//            原样返回 :微信公众号服务器受到返回的数据,显示修改成功PrintWriter out = response.getWriter();out.println(echostr);out.flush();out.close();} else {System.out.println("fail");}System.out.println("=========== end ============");}*/
/*** 拿到参数的接入的方法是:* 通过对应的参数的排序之后进行验证,把最后的一个数,赋值特定含义进行返回**/
}
我们配置的机器人聊天的方法调用部分:
Map<String, String> requestMap = weixinService.parseRequest(request.getInputStream());对应解析xml数据包的方法:
/*** 解析xml数据包** @param is*/public static Map<String, String> parseRequest(InputStream is) {Map<String, String> map = new HashMap<>();SAXReader reader = new SAXReader();try {//读取输入流,获取文档对象Document document = reader.read(is);//根据文档对象获取根节点Element root = document.getRootElement();//获取根节点的所有的子节点List<Element> elements = root.elements();for (Element e : elements) {map.put(e.getName(), e.getStringValue());}} catch (DocumentException e) {e.printStackTrace();}return map;}
调用消息处理的方法();
/*** 用于处理所有的事件和消息的回复* @param requestMap* @return 返回的是xml数据包*/public static String getRespose(Map<String, String> requestMap) {BaseMessage msg = null;String msgType = requestMap.get("MsgType");switch (msgType) {//处理文本消息case "text":msg = dealTextMessage(requestMap);break;case "image":msg = dealImage(requestMap);break;case "voice":break;case "video":break;case "shortvideo":break;case "location":break;case "link":break;case "event":msg = dealEvent(requestMap);break;default:break;}//把消息对象处理为xml数据包if (msg != null) {return beanToXml(msg);}return null;}处理文本消息(注意没有的方法,注掉就可以)
因为笔者很多功能都在这个基础上完成的,没有的没有用到的注释一般不会影响结果,也可以私聊up主,获取完整的代码!
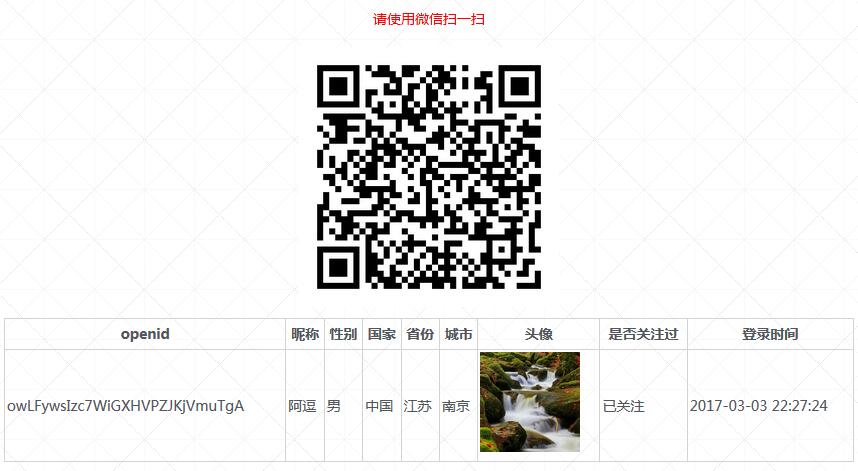
/*** 处理文本消息** @param requestMap*/private static BaseMessage dealTextMessage(Map<String, String> requestMap) {//用户发来的内容String msg = requestMap.get("Content");System.out.println("get content ----------- is " + msg);if (msg.equals("图文")) {List<Article> articles = new ArrayList<>();articles.add(new Article("这是图文消息的标题", "这是图文消息的详细介绍", "http://mmbiz.qpic.cn/mmbiz_jpg/dtRJz5K066YczqeHmWFZSPINM5evWoEvW21VZcLzAtkCjGQunCicDubN3v9JCgaibKaK0qGrZp3nXKMYgLQq3M6g/0", "http://www.baidu.com"));NewsMessage nm = new NewsMessage(requestMap, articles);return nm;}/*** 在网页授权部分需要使用:这个部分着重强调的是:* 当网页授权之后进行对应的登录,然后达到对应的目标:* 比如:进入登陆的状态页* 注意替换对应的 openid 和对应的 跳转路径:http://hzwg6t.natappfree.cc/GetUserInfo** 输入登录:* 会出现点击这里登录:* 但是结果问题::** 点击< a href="https://open.weixin.qq.com/connect/oauth2/authorize?appid=wx4f32bc6b05e17a84* &redirect_uri=http://hzwg6t.natappfree.cc/GetUserInfo&response_type=code&scope=snsapi_userinfo#wechat_redirect">这里</ a>登录**/if (msg.equals("登录")) {String url = "https://open.weixin.qq.com/connect/oauth2/authorize?appid=wx4f32bc6b05e17a84\n&redirect_uri=http://hzwg6t.natappfree.cc/GetUserInfo&response_type=code&scope=snsapi_userinfo#wechat_redirect";TextMessage tm = new TextMessage(requestMap, "点击<a href=\"" + url + "\">这里</a>登录");return tm;}//调用方法返回聊天的内容String resp = chat(msg);TextMessage tm = new TextMessage(requestMap, resp);/*** 直接文本的方法,通过微信小程序的机器人的方法* demo:公众号解锁:小薇,然后通过一些很多的方法,进行聊天获取得到对应的消息和结果!**/
//        写死回复文本消息的方法
//        TextMessage tm = new TextMessage(requestMap, "你要干哈");return tm;}
机器人调用的部分代码:
 /*** 调用天行机器人聊天* https://www.tianapi.com/apiview/47* 返回的数据:* {"code":200,"msg":"success",* "newslist":[{"reply":"亲爱的{appellation}你好,我叫{robotname},性别{robotsex},来自{hometown},正在从事{robotwork}工作。{constellation}的我,爱好{robothobby}也喜欢和人类做朋友!",* "datatype":"text"}]}** @param msg 发送的消息*/private static String chat(String msg) {String httpUrl = "http://api.tianapi.com/txapi/robot/index?key=ae5e9a72c8d4cb1f5e096f7bb4daf1f3&question=robot";System.out.println(request(httpUrl, msg));final String request = request(httpUrl, msg);
//        转为  jsonJSONObject jsonObject = JSONObject.fromObject(request);JSONObject newslist = (JSONObject) jsonObject.getJSONArray("newslist").get(0);
//       通过 key 获取对应的 value 值String reply = newslist.getString("reply");System.out.println(reply);
//        String resp = jsonObject.getJSONObject("newslist").getString("reply");return reply;}/*** @param :请求接口* @param httpArg :参数* @return 返回结果*/public static String request(String httpUrl, String httpArg) {BufferedReader reader = null;String result = null;StringBuffer sbf = new StringBuffer();httpUrl = httpUrl + "?" + httpArg;try {URL url = new URL(httpUrl);HttpURLConnection connection = (HttpURLConnection) url.openConnection();connection.setRequestMethod("GET");InputStream is = connection.getInputStream();reader = new BufferedReader(new InputStreamReader(is, "UTF-8"));String strRead = null;while ((strRead = reader.readLine()) != null) {sbf.append(strRead);sbf.append("\r\n");}reader.close();result = sbf.toString();} catch (Exception e) {e.printStackTrace();}return result;}
全部maven的依赖文件:
<?xml version="1.0" encoding="UTF-8"?>
<project xmlns="http://maven.apache.org/POM/4.0.0" xmlns:xsi="http://www.w3.org/2001/XMLSchema-instance"xsi:schemaLocation="http://maven.apache.org/POM/4.0.0 https://maven.apache.org/xsd/maven-4.0.0.xsd"><modelVersion>4.0.0</modelVersion><parent><groupId>org.springframework.boot</groupId><artifactId>spring-boot-starter-parent</artifactId><version>2.5.3</version><relativePath/> <!-- lookup parent from repository --></parent><groupId>com.special</groupId><artifactId>weixin</artifactId><version>0.0.1-SNAPSHOT</version><name>weixin</name><description>Demo project for Spring Boot</description><properties><java.version>1.8</java.version></properties><dependencies><!--   <dependency><groupId>org.springframework.boot</groupId><artifactId>spring-boot-starter-data-mongodb</artifactId></dependency>--><dependency><groupId>org.springframework.boot</groupId><artifactId>spring-boot-starter-web</artifactId></dependency><dependency><groupId>org.mybatis.spring.boot</groupId><artifactId>mybatis-spring-boot-starter</artifactId><version>2.2.0</version></dependency><dependency><groupId>mysql</groupId><artifactId>mysql-connector-java</artifactId><scope>runtime</scope></dependency><dependency><groupId>org.projectlombok</groupId><artifactId>lombok</artifactId><optional>true</optional></dependency><dependency><groupId>org.springframework.boot</groupId><artifactId>spring-boot-starter-test</artifactId><scope>test</scope></dependency><dependency><groupId>com.thoughtworks.xstream</groupId><artifactId>xstream</artifactId><version>1.4.10</version></dependency><!-- 百度的sdK 下载页面进入然后选择图像识别 maven包的管理--><!--     <dependency><groupId>com.baidu.aip</groupId><artifactId>java-sdk</artifactId><version>4.15.7</version></dependency>--><!--        baidu 2--><dependency><groupId>com.baidubce</groupId><artifactId>api-explorer-sdk</artifactId><version>1.0.0</version></dependency><dependency><groupId>org.dom4j</groupId><artifactId>dom4j</artifactId><version>2.0.0</version></dependency><dependency><groupId>net.sf.json-lib</groupId><artifactId>json-lib</artifactId><version>2.4</version><classifier>jdk15</classifier></dependency></dependencies><build><plugins><plugin><groupId>org.springframework.boot</groupId><artifactId>spring-boot-maven-plugin</artifactId><configuration><excludes><exclude><groupId>org.projectlombok</groupId><artifactId>lombok</artifactId></exclude></excludes></configuration></plugin></plugins></build></project>
区别于文字写死回复部分,调用对应的chat()方法,这个方法其实就是接入的机器人的回复,反复的消息基本不变!
代码部分和测试结果:

自定义资料设置:
在天行机器人的接口的界面进行配置就可以了!
比如

设置页:

属性设置里面:

设置完成的结果演示:

以及词库管理:

能力拓展使用等


![[JAVA实现]微信公众号网页授权登录,java开发面试笔试题](https://images.cnblogs.com/OutliningIndicators/ExpandedBlockStart.gif)



![[一维前缀和]leetcode303:区域和检索 - 数组不可变(easy)](https://img-blog.csdnimg.cn/20191216154638430.png?x-oss-process=image/watermark,type_ZmFuZ3poZW5naGVpdGk,shadow_10,text_aHR0cHM6Ly9ibG9nLmNzZG4ubmV0L3FxXzQzMTUyMDUy,size_16,color_FFFFFF,t_70)
