Maven 3.6.3 下载安装教程
笔者的环境:
JDK 13.0.2
Maven 3.6.3
IntelliJ IDEA 2020.1.2 (Ultimate Edition)
-
在继续阅读本教程之前,需要先完成 JDK 的安装。关于 JDK 的安装,可见笔者的另一篇博客:
Java 的下载安装教程:
https://blog.csdn.net/wangpaiblog/article/details/111466827 -
进入 Maven 官网下载,网址:http://maven.apache.org/download.cgi
-
下载前,请留意 Maven 与 JDK 版本的对应关系。一般说来,自己电脑安装的 JDK 版本不能低于 Maven 所要求支持的。不过,在某些时候,自己安装的 JDK 的版本过高也会带来问题。

-
选择合适的下载工具就可以下载了,因为是外国的网站,所以有可能下载缓慢,在百度云离线下载、浏览器内置下载和迅雷中,用迅雷下载的话非常快,所以推荐迅雷。
-
下载好了之后应该有一个名叫
apache-maven-3.6.3-bin.zip的压缩包。解压该压缩包,含 bin 的目录(或者说,目录...\bin的上一级目录)即为 Maven 的安装目录。 -
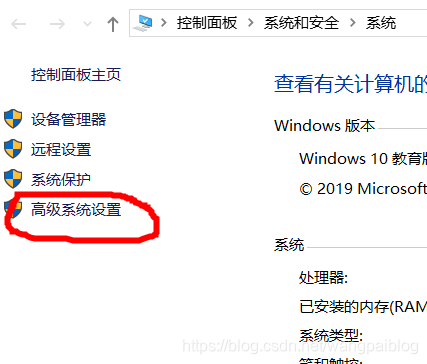
将含 bin 的 Maven 安装文件夹放到你喜欢的目录下,并设置 Windows 中的环境变量(在设置 Maven 的环境变量之前必须完成 JDK 的环境变量
JAVA_HOME的设置)。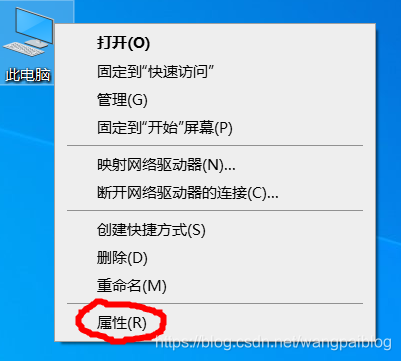
-
(设置
M2_HOME是为了以后兼容新版本的 Maven)-
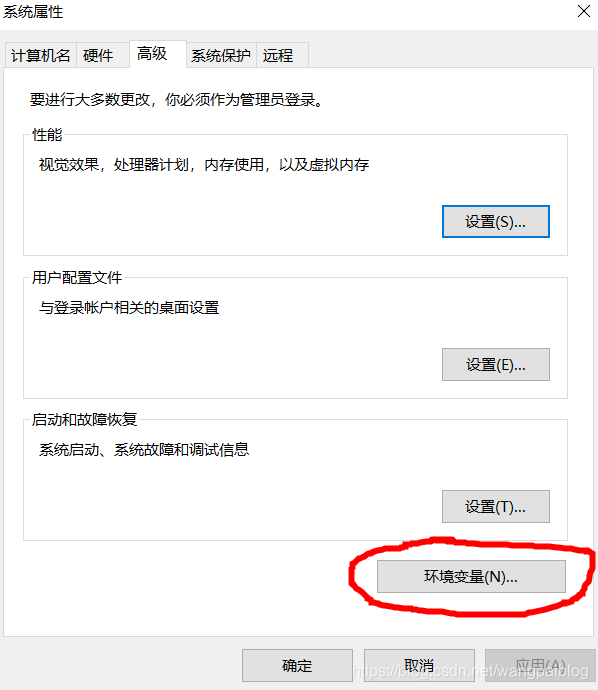
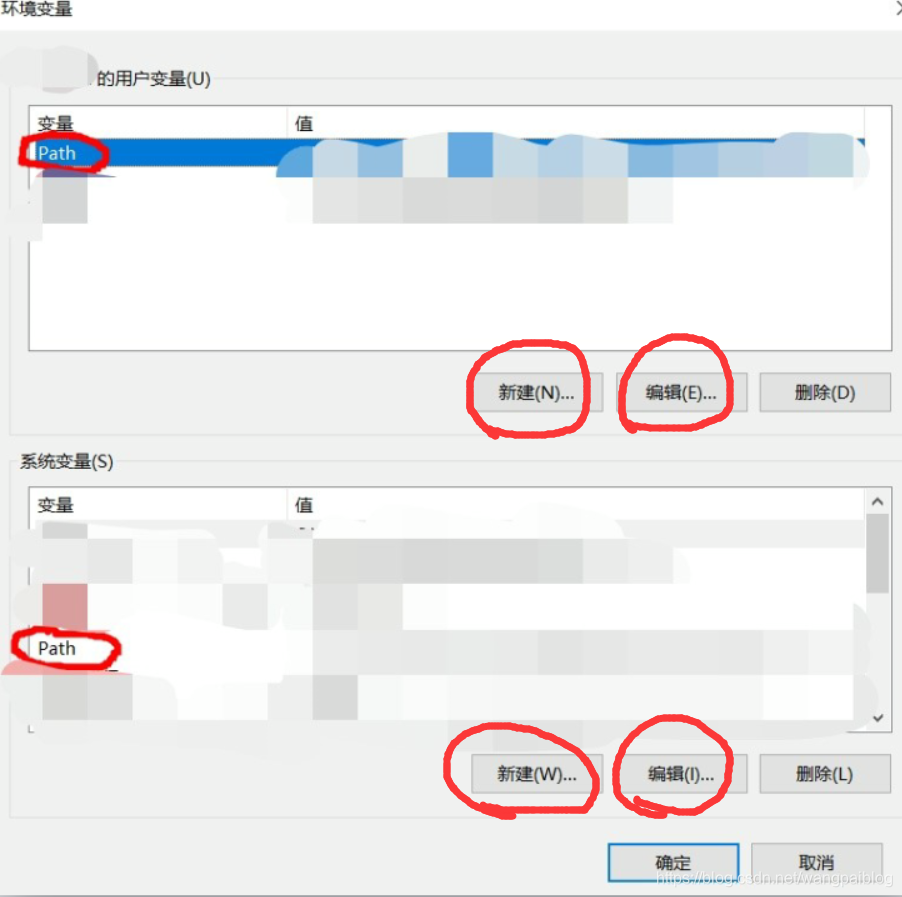
需要新建或编辑的环境变量如下:
-
变量名: MAVEN_HOME
变量值: C:\Program Files\Java\apache-maven-3.6.3
-
变量名: M2_HOME
变量值: %MAVEN_HOME%
-
变量名: Path
变量值: %MAVEN_HOME%\bin
-
-
其它可选的环境变量:
-
变量名: MAVEN_OPTS
变量值: -Xms128m -Xmx512m
-
-
-
以上如果设置完成之后,进入 CMD 中输入
mvn -v,应该会出现一些配置信息,这说明前面的设置已经成功。进入 CMD 的方法有很多,这里只举一例:使用快捷键
Win + R打开运行,然后输入cmd: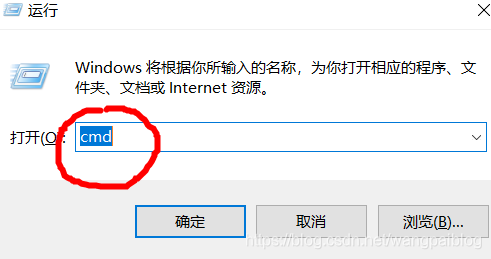

-
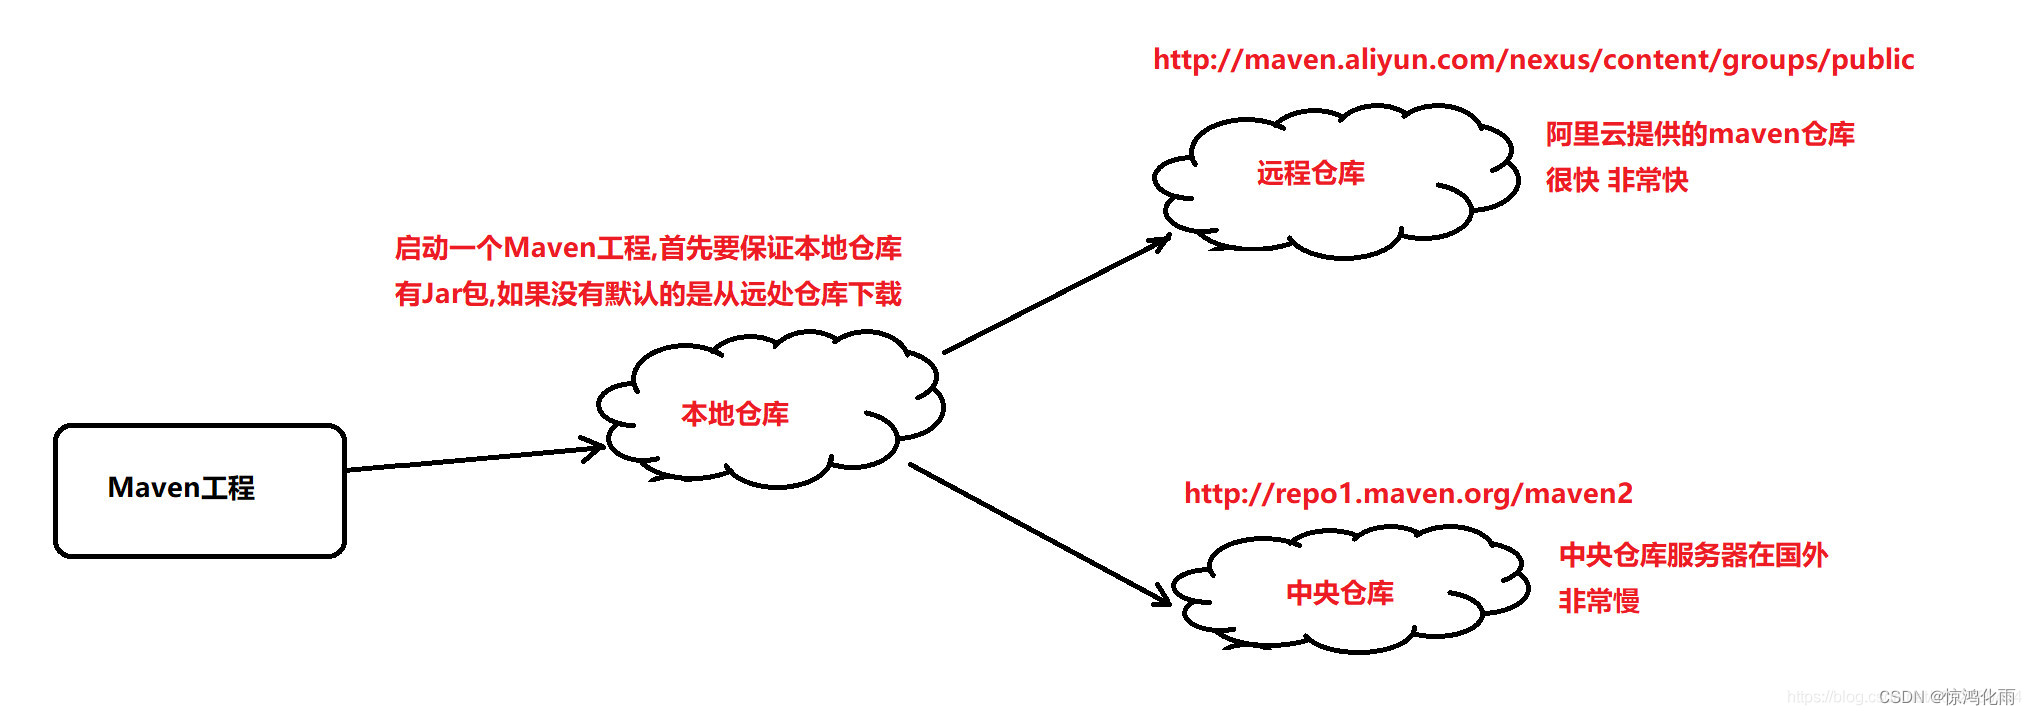
配置 Maven 的本地仓库地址。如果不进行这种配置的话,则默认的地址是
C:\Users\当前用户的用户名\.m2\repository。笔者的看法是,不管读者喜不喜欢这个地址,还是应该显式地指出本地仓库地址,这样做没有坏处。 -
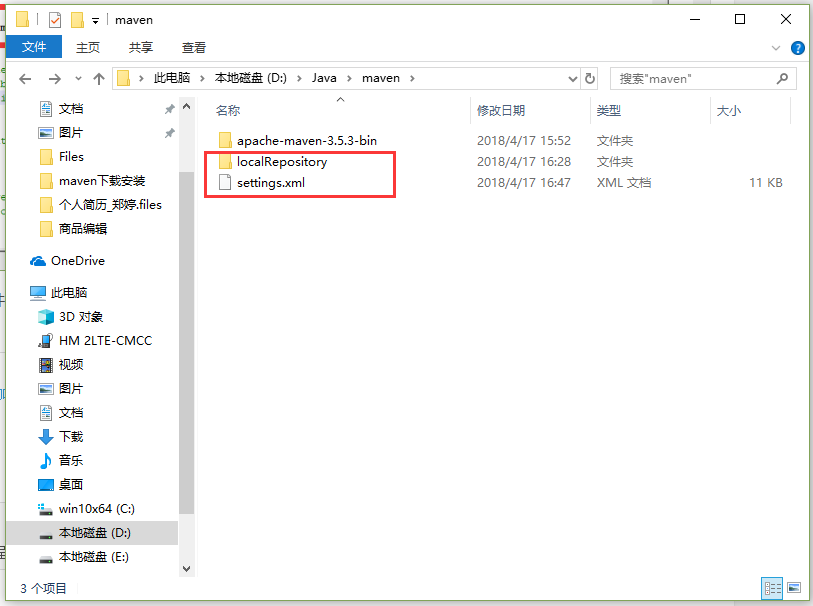
配置的方法是,先找到 Maven 安装路径下的
setting.xml文件,该文件的路径是Maven 的安装路径\conf\setting.xml。然后在该文件的元素<settings/...>中添加子元素<localRepository/...>。最后将元素<localRepository/...>的内容设置为希望设置的本地仓库地址即可。如:<localRepository>C:\Users\当前用户的用户名\.m2\repository</localRepository> -
如果一个项目所需要的依赖是在其它机器上提供,而不在本机,这里还需要设置中央仓库镜像。设置的方法是,同样是在 Maven 安装路径下的文件
setting.xml作修改。在该文件的元素setting.xml的子元素<mirrors/...>中添加子元素<mirror/...>。一个元素<mirror/...>的内容示例如下:<settings xmlns=...><mirrors><mirror><id>aliyunmaven</id><mirrorOf>*</mirrorOf><name>aliyunmaven</name><url>https://maven.aliyun.com/repository/public/</url></mirror></mirrors></settings> -
如果读者还有更多的仓库地址设置需求,可以使用元素
<repository/...>。不过要注意,在<repository/...>设置的仓库,会被同<id/...>的<mirror/...>所覆盖。一个元素<repository/...>的内容示例如下:<settings xmlns=...><profiles><profile><repositories><repository><id>nexus</id><name>local private nexus</name><url>https://maven.aliyun.com/repository/public</url><releases><enabled>true</enabled></releases><snapshots><enabled>false</enabled></snapshots></repository></repositories><pluginRepositories><pluginRepository><id>nexus</id><name>local private nexus</name><url>https://maven.aliyun.com/repository/public</url><releases><enabled>true</enabled></releases><snapshots><enabled>false</enabled></snapshots></pluginRepository></pluginRepositories></profile></profiles> </settings>
【提示】
以前经典的阿里云设置通常如下:
<settings xmlns=...><profiles><profile><repositories><repository><id>nexus</id><name>local private nexus</name><url>http://maven.aliyun.com/nexus/content/groups/public/</url><releases><enabled>true</enabled></releases><snapshots><enabled>false</enabled></snapshots></repository></repositories><pluginRepositories><pluginRepository><id>nexus</id><name>local private nexus</name><url>http://maven.aliyun.com/nexus/content/groups/public/</url><releases><enabled>true</enabled></releases><snapshots><enabled>false</enabled></snapshots></pluginRepository></pluginRepositories></profile></profiles>    <mirrors><mirror><id>nexus-aliyun</id><mirrorOf>central</mirrorOf><name>Nexus aliyun</name><url>http://maven.aliyun.com/nexus/content/groups/public/</url></mirror></mirrors>
</settings>
该配置已过时,不要使用这种配置,尽管现在暂时还有效。对于阿里云镜像,应该使用上述示例中给出的配置。
关于
Maven-阿里云的参考链接:- https://developer.aliyun.com/mvn/guide
- https://developer.aliyun.com/article/621196
-
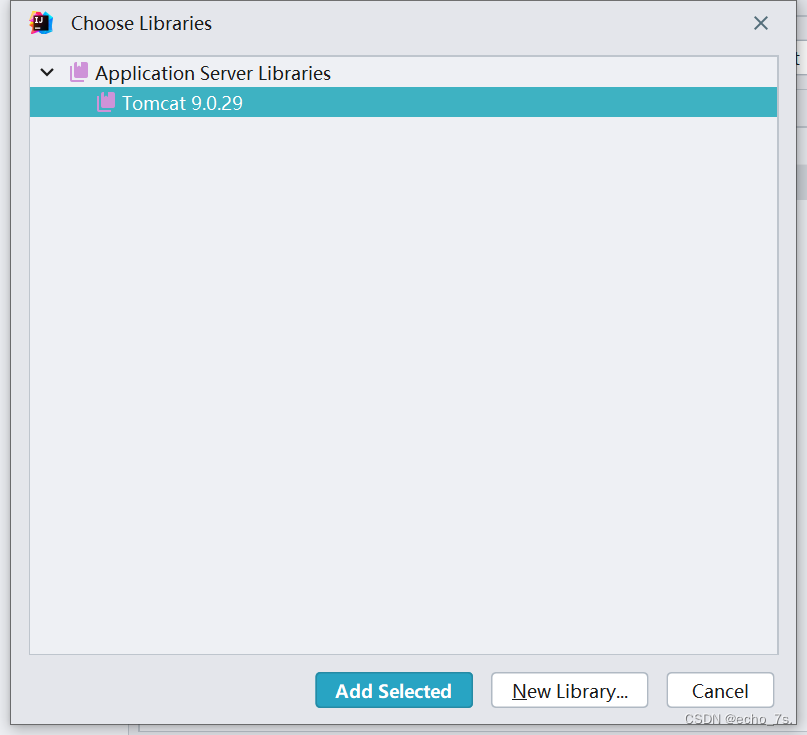
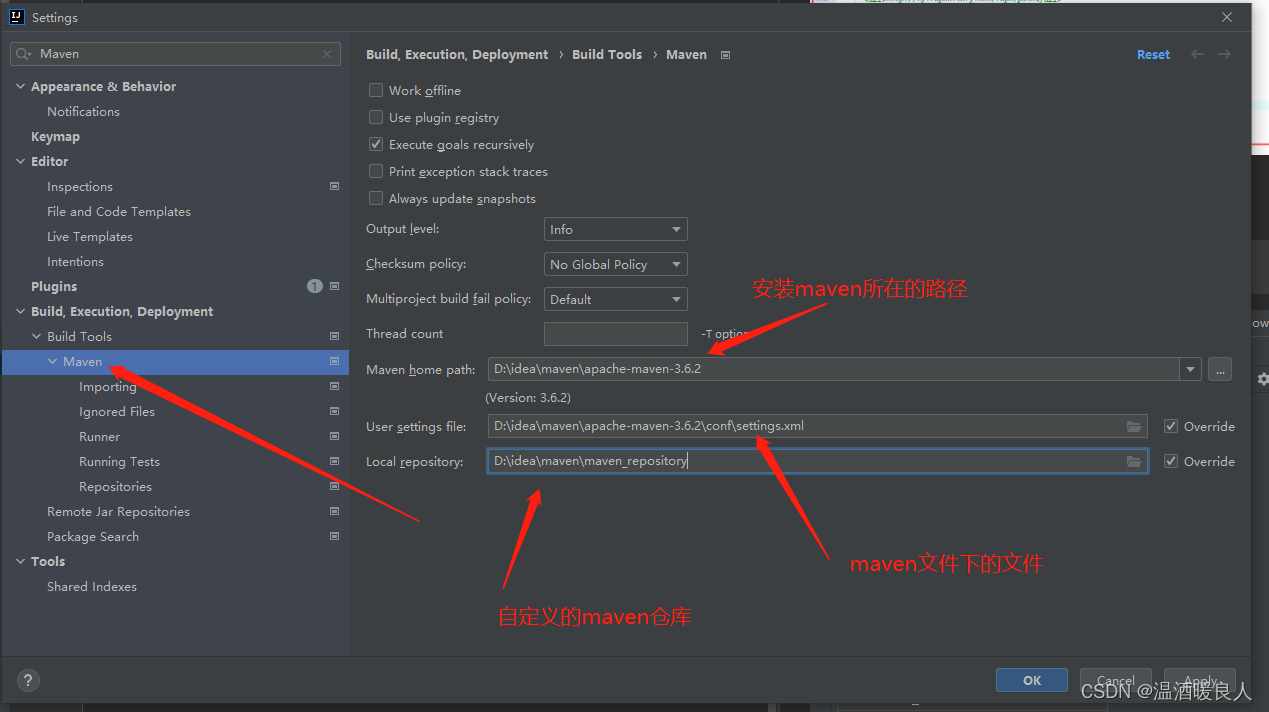
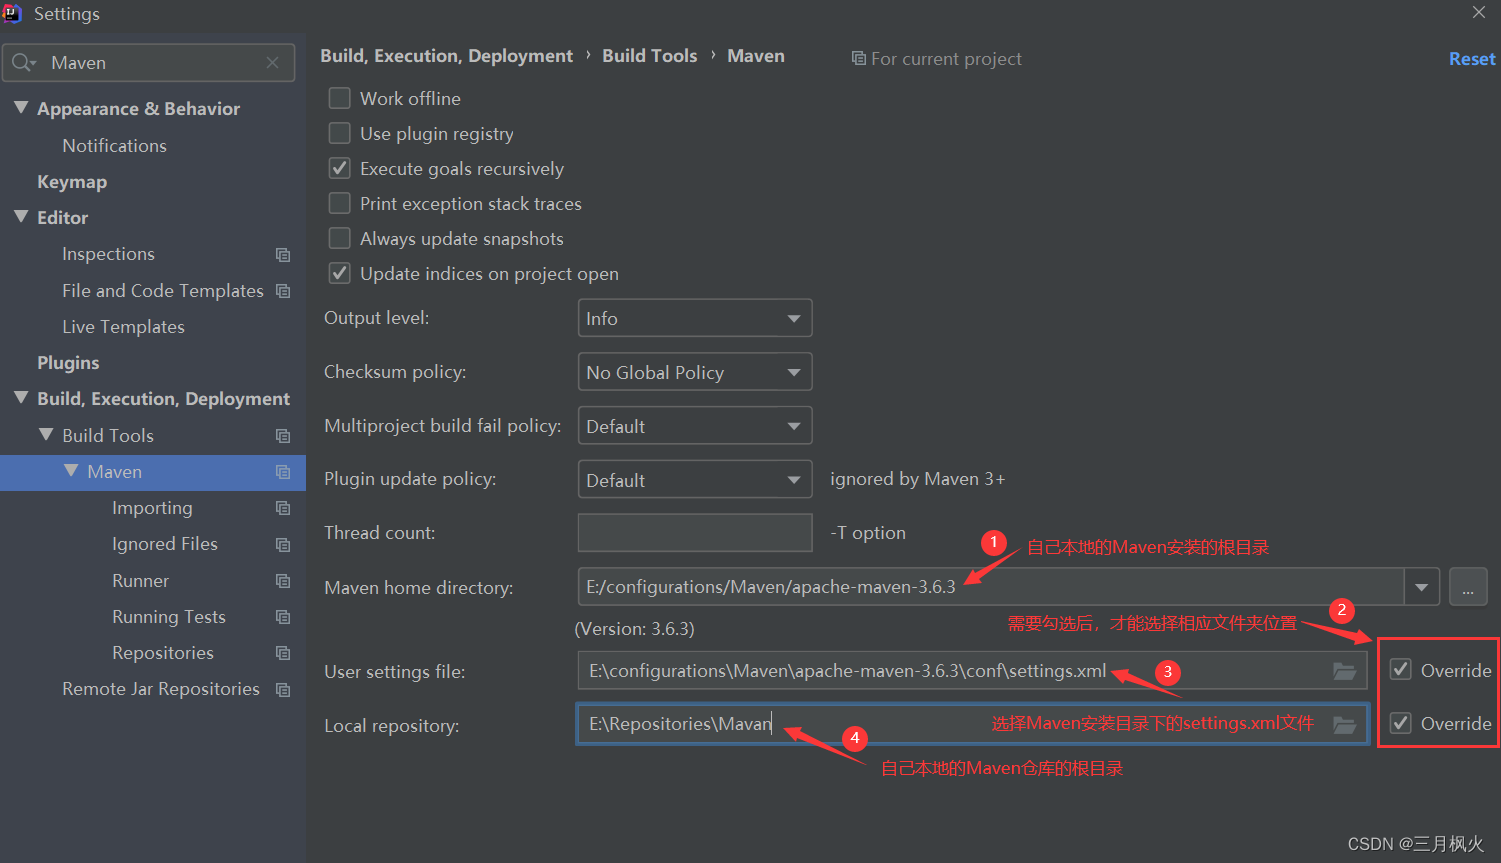
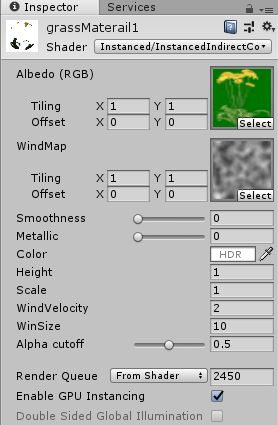
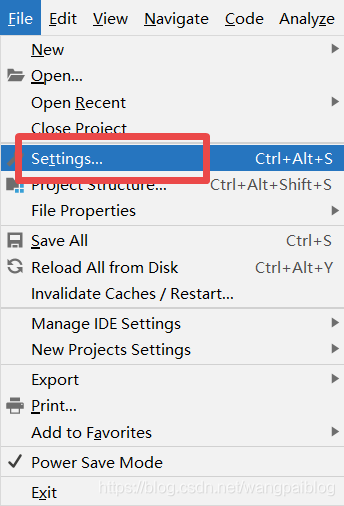
如果使用 IDE 来构建项目,则还需要在该 IDE 中更新此 Maven 配置。下面以 IntelliJ IDEA 为例:
-
将 IntelliJ IDEA 下图中的地址
User setting file:设置为上面的文件setting.xml的地址。此时,如果上面的文件setting.xml的内容设置正确的话,此处IntelliJ IDEA下图中的Local repository:地址将随之自动更新为上面设置的 Maven 的本地仓库地址,即元素<localRepository/...>的内容。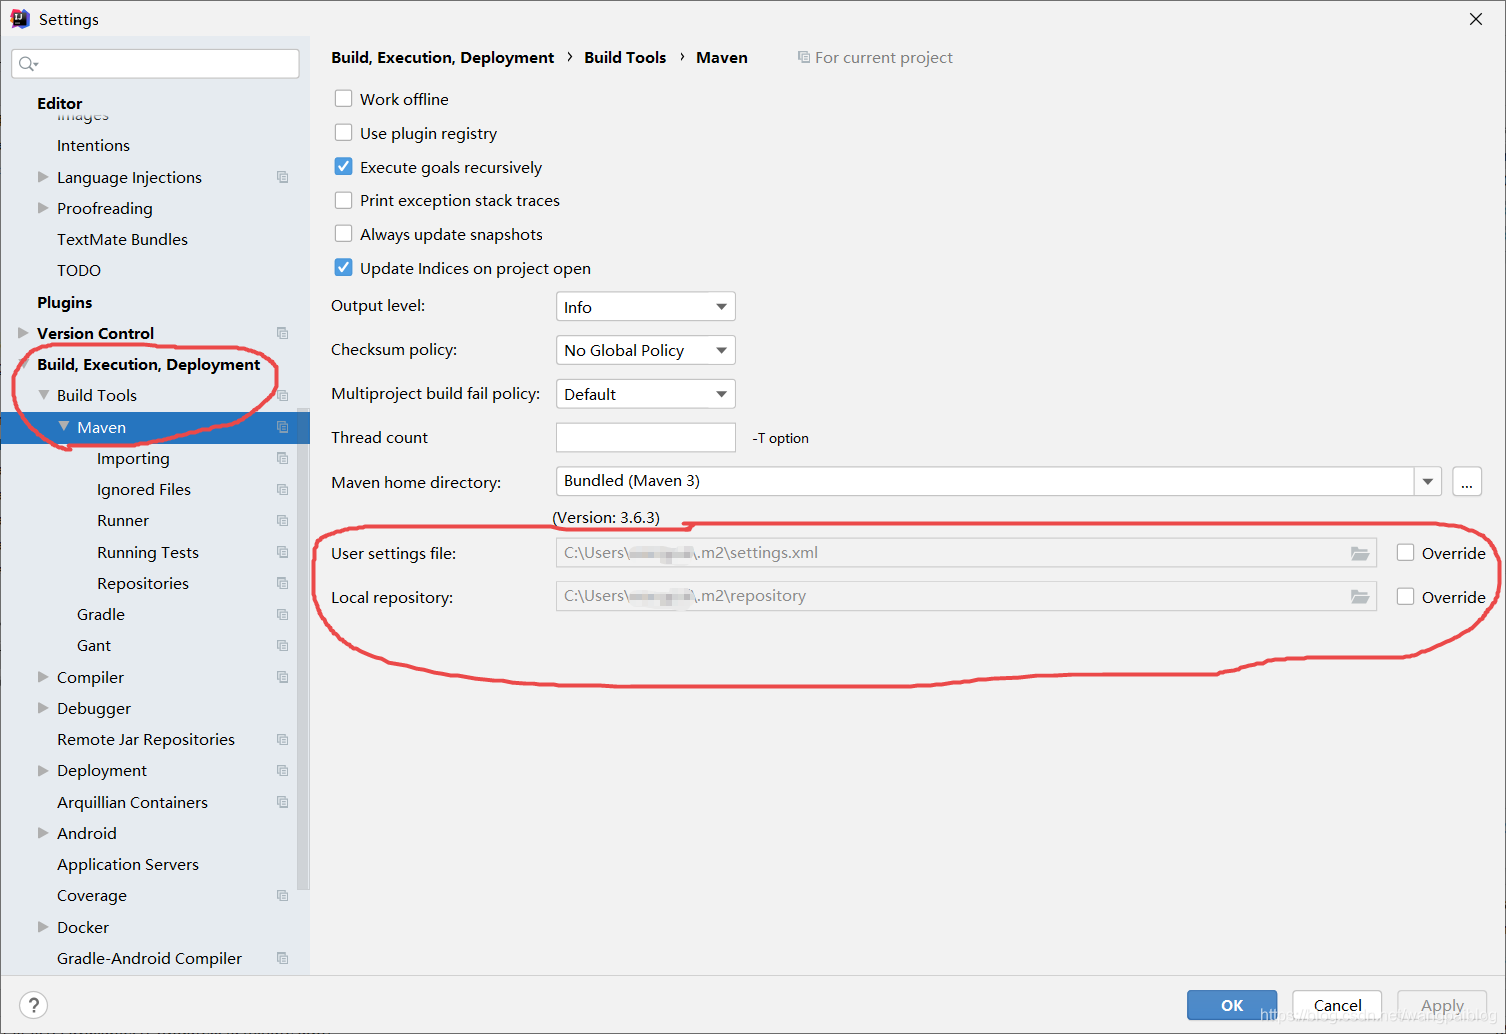
-
注意,进行到这一步时,此时 Maven 的配置工作还不能算完成。还需要在 CMD 中输入
mvn help:system。这里为了在网络上下载一些配置文件等。另外,此下载过程十分漫长(并不是因为需要下载的文件很大),而且如果下载进度长时间停滞,可以重启 CMD 输入此命令继续下载。下载完成的标志是在 CMD 中此任务结束,新的等待输入的输入行出现:
-
另外,如果读者以后尝试使用 IntelliJ IDEA 中新建 Maven 项目时的 Maven 原型(archetype),在那时输入如下键值对可以大大提高 IntelliJ IDEA 对 maven 原型文件的下载速度:
-
Name: archetypeCatalogValue: internal


-