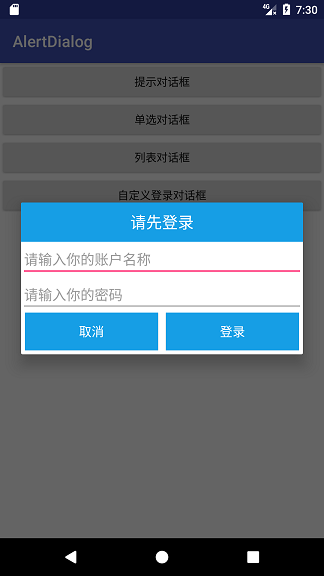
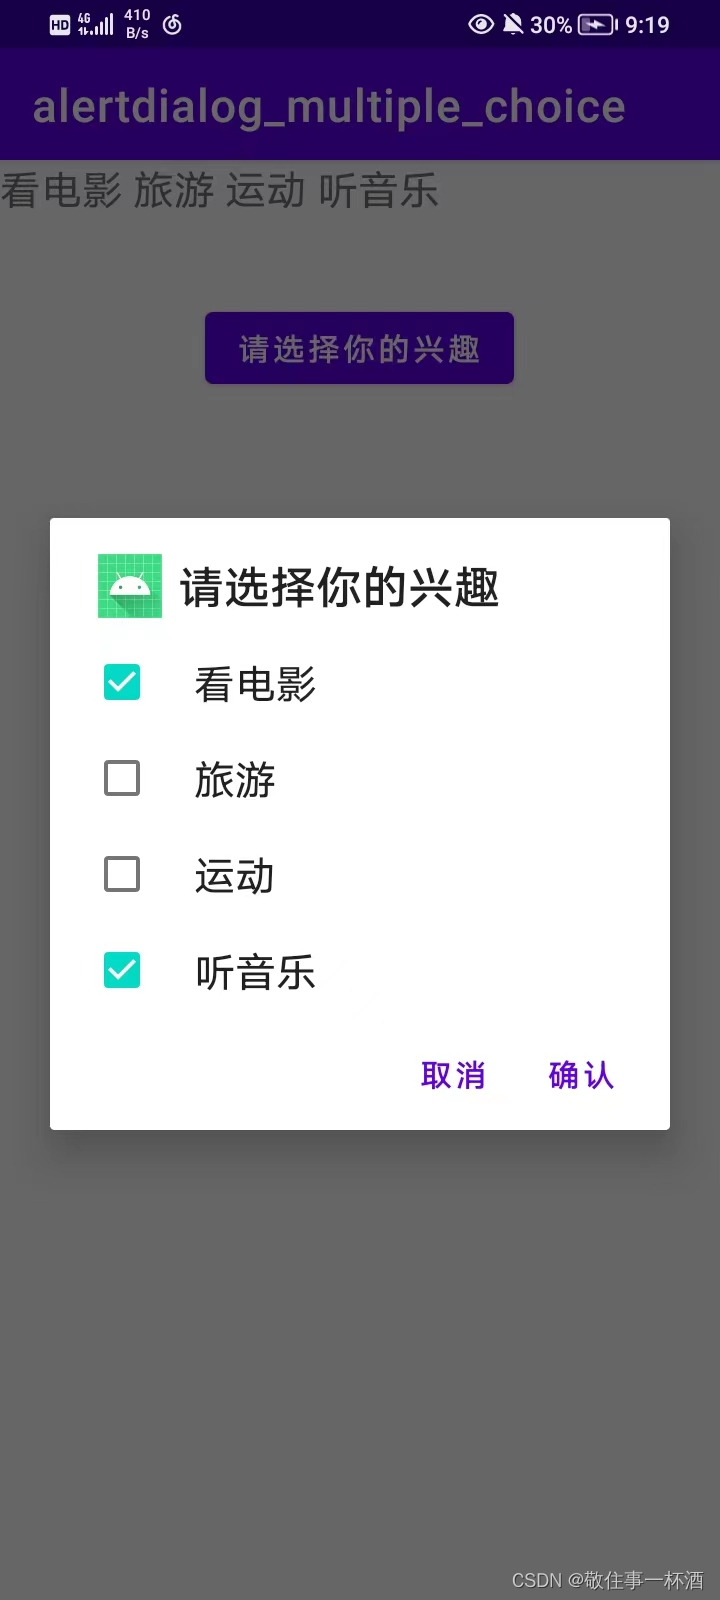
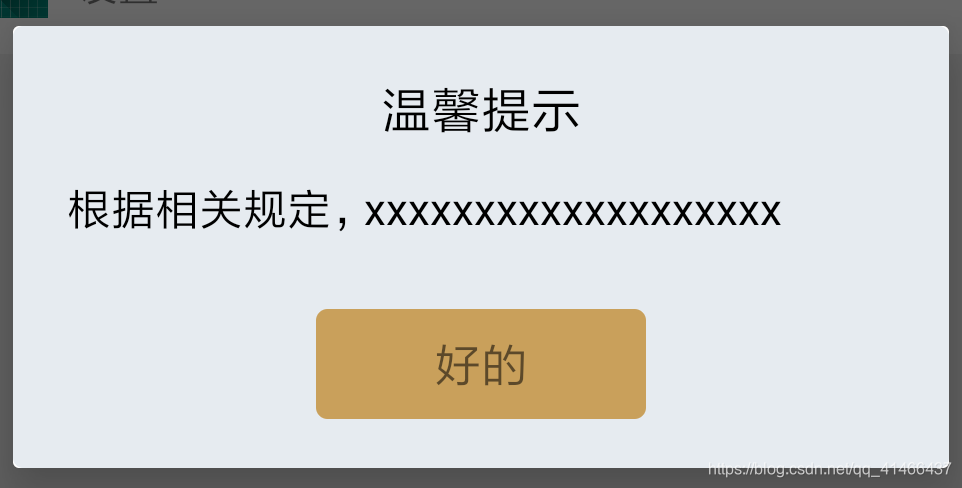
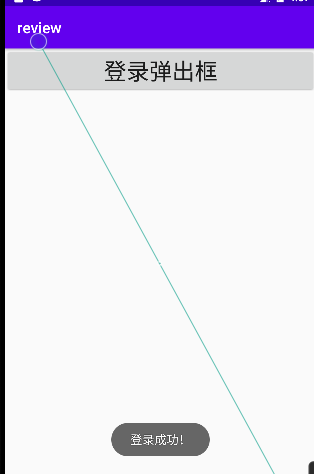
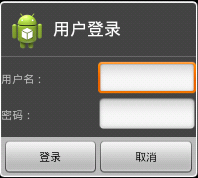
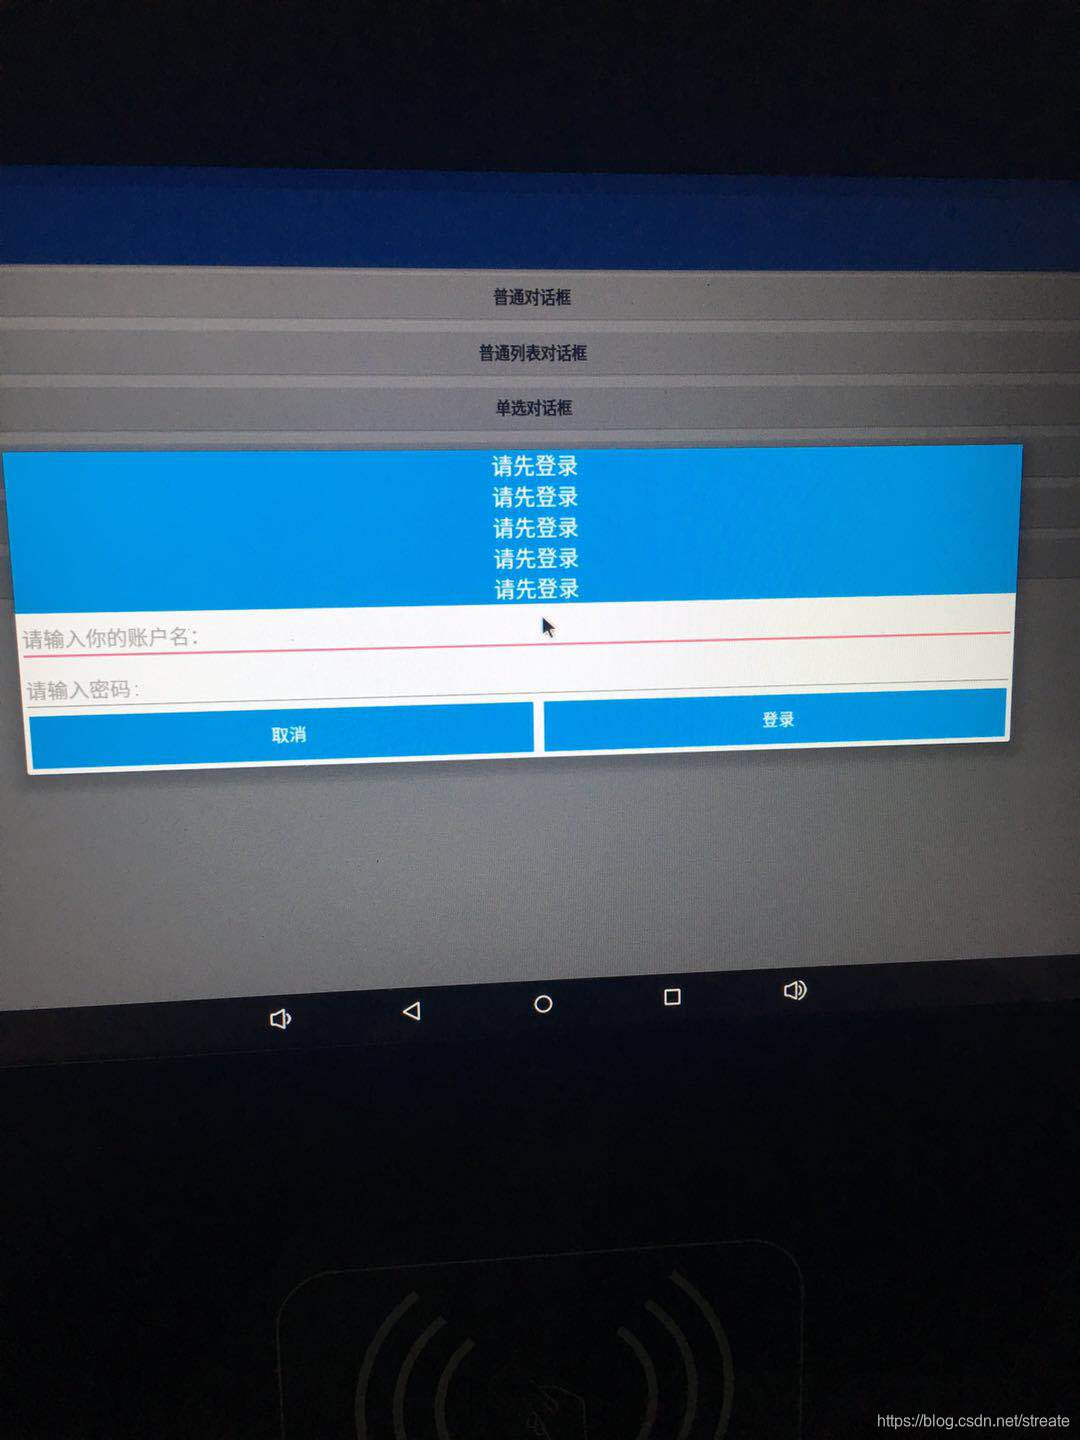
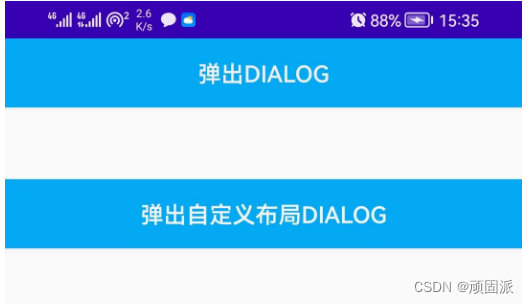
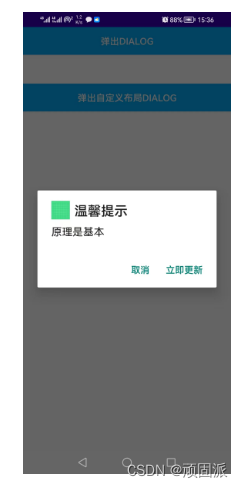
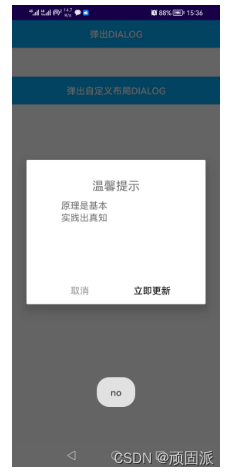
1.直接上效果图,看看是不是你们想要的效果图
2.主活动MainActivity2的代码如下
import androidx.appcompat.app.AppCompatActivity;
import android.annotation.SuppressLint;
import android.app.Activity;
import android.app.AlertDialog;
import android.app.Dialog;
import android.content.DialogInterface;
import android.content.Intent;
import android.os.Build;
import android.os.Bundle;
import android.os.Handler;
import android.text.TextUtils;
import android.util.Log;
import android.view.Gravity;
import android.view.LayoutInflater;
import android.view.View;
import android.widget.Button;
import android.widget.FrameLayout;
import android.widget.TextView;
import android.widget.Toast;import java.util.Arrays;
import java.util.List;public class MainActivity2 extends AppCompatActivity {private Button button = null;private Button button2 = null;@SuppressLint("MissingInflatedId")@Overrideprotected void onCreate(Bundle savedInstanceState) {super.onCreate(savedInstanceState);setContentView(R.layout.activity_main2);button = (Button) findViewById(R.id.button);button.setOnClickListener( new View.OnClickListener() {@Overridepublic void onClick(View v){dialogShow1();}});button2 = (Button) findViewById(R.id.button2);button2.setOnClickListener( new View.OnClickListener() {@Overridepublic void onClick(View v){dialogShow2();}});}private void dialogShow1() {AlertDialog.Builder builder = new AlertDialog.Builder(MainActivity2.this);builder.setTitle("温馨提示");builder.setIcon(R.drawable.ic_launcher_background);builder.setMessage("原理是基本");builder.setNegativeButton("取消", new DialogInterface.OnClickListener() {@Overridepublic void onClick(DialogInterface arg0, int arg1) {Toast.makeText(MainActivity2.this, "no", Toast.LENGTH_LONG).show();}});builder.setPositiveButton("立即更新",new DialogInterface.OnClickListener() {@Overridepublic void onClick(DialogInterface arg0, int arg1) {Toast.makeText(MainActivity2.this, "ok", Toast.LENGTH_LONG).show();}});Dialog dialog = builder.create();dialog.show();}/*** 自定义布局* setView()只会覆盖AlertDialog的Title与Button之间的那部分,而setContentView()则会覆盖全部,* setContentView()必须放在show()的后面*/private void dialogShow2() {AlertDialog.Builder builder = new AlertDialog.Builder(MainActivity2.this);LayoutInflater inflater = LayoutInflater.from(MainActivity2.this);View v = inflater.inflate(R.layout.update_manage_dialog, null);TextView content = (TextView) v.findViewById(R.id.dialog_content);Button btn_sure = (Button) v.findViewById(R.id.dialog_btn_sure);Button btn_cancel = (Button) v.findViewById(R.id.dialog_btn_cancel);//builer.setView(v);//这里如果使用builer.setView(v),自定义布局只会覆盖title和button之间的那部分final Dialog dialog = builder.create();dialog.show();dialog.getWindow().setContentView(v);//自定义布局应该在这里添加,要在dialog.show()的后面//dialog.getWindow().setGravity(Gravity.CENTER);//可以设置显示的位置content.setOnClickListener(new View.OnClickListener() {@Overridepublic void onClick(View view) {Toast.makeText(MainActivity2.this, "用户点击的是:"+content.getText(), Toast.LENGTH_LONG).show();}});btn_sure.setOnClickListener(new View.OnClickListener() {@Overridepublic void onClick(View v) {dialog.dismiss();Toast.makeText(MainActivity2.this, "ok", Toast.LENGTH_LONG).show();}});btn_cancel.setOnClickListener(new View.OnClickListener() {@Overridepublic void onClick(View arg0) {dialog.dismiss();Toast.makeText(MainActivity2.this, "no", Toast.LENGTH_LONG).show();}});}}
3.activity_main2的布局文件内容如下
<?xml version="1.0" encoding="utf-8"?>
<RelativeLayout xmlns:android="http://schemas.android.com/apk/res/android"xmlns:app="http://schemas.android.com/apk/res-auto"xmlns:tools="http://schemas.android.com/tools"android:id="@+id/activity_main"android:layout_width="match_parent"android:layout_height="match_parent"android:orientation="vertical"tools:context="com.example.myapplication001.MainActivity2"><LinearLayoutandroid:layout_width="match_parent"android:layout_height="match_parent"android:orientation="vertical"><Buttonandroid:id="@+id/button"android:layout_width="match_parent"android:layout_height="wrap_content"android:background="#03A9F4"android:text="弹出dialog"android:textColor="#F3EEEE" /><Buttonandroid:id="@+id/button2"android:layout_width="match_parent"android:layout_height="wrap_content"android:layout_marginTop="50dp"android:background="#03A9F4"android:text="弹出自定义布局dialog"android:textColor="#F4F2F2" /></LinearLayout></RelativeLayout>
4.自定义弹出窗的布局:update_manage_dialog布局文件内容如下
<RelativeLayout xmlns:android="http://schemas.android.com/apk/res/android"xmlns:tools="http://schemas.android.com/tools"android:layout_width="match_parent"android:layout_height="match_parent"android:background="#00FFFFFF" ><RelativeLayoutandroid:layout_width="250dp"android:layout_height="250dp"android:layout_centerInParent="true"android:background="@drawable/update_bg" ><TextViewandroid:id="@+id/dialog_title"android:layout_width="match_parent"android:layout_height="wrap_content"android:layout_marginTop="30dp"android:gravity="center"android:text="温馨提示"android:textSize="18sp" /><TextViewandroid:id="@+id/dialog_content"android:layout_width="match_parent"android:layout_height="wrap_content"android:layout_below="@+id/dialog_title"android:layout_marginTop="10dp"android:layout_marginLeft="30dp"android:layout_marginRight="30dp"android:text="原理是基本\n实践出真知"android:textSize="14sp" /><LinearLayoutandroid:layout_width="match_parent"android:layout_height="wrap_content"android:layout_alignParentBottom="true"android:orientation="horizontal" ><Buttonandroid:id="@+id/dialog_btn_cancel"android:layout_width="0dp"android:layout_height="wrap_content"android:layout_weight="1"android:background="@null"android:text="取消"android:textColor="#AAAAAA"android:textSize="14sp" /><Buttonandroid:id="@+id/dialog_btn_sure"android:layout_width="0dp"android:layout_height="wrap_content"android:layout_weight="1"android:background="@null"android:text="立即更新"android:textSize="14sp" /></LinearLayout></RelativeLayout></RelativeLayout>5.update_bg放在drawable里面,代码如下
<?xml version="1.0" encoding="utf-8"?>
<shape xmlns:android="http://schemas.android.com/apk/res/android" ><!-- android:radius 弧形的半径 --><corners android:radius="30dp" /><!-- 填充的颜色 --><solid android:color="@android:color/white" /></shape>


