从零手写VIO(7)
文章目录
- 从零手写VIO(7)
- 前言
- 一、VINS-Course代码解析
- 二、作业(7)
- 1.simulation-test.cpp修改
- 2.Sysytem.cpp修改
- 3.config文件夹下euroc_config.yaml参数修改
- 4.param.h修改
- 4.1无噪声
- 4.2小噪声
- 4.3大噪声
- 总结
前言
一、VINS-Course代码解析
这部分对自己比较难,很多看不太懂,主要参考其他大佬的解析😢,主要参考如下
[从零写VIO|第七节]——VINS-Mono代码精简版代码详解——run_euroc前端的数据处理(内容|代码),写得特别详细,不管是前端,后端以及初始化部分都有详细的解析(后端及初始化部分可以根据这篇文章的链接顺序看下去)!!
二、作业(7)
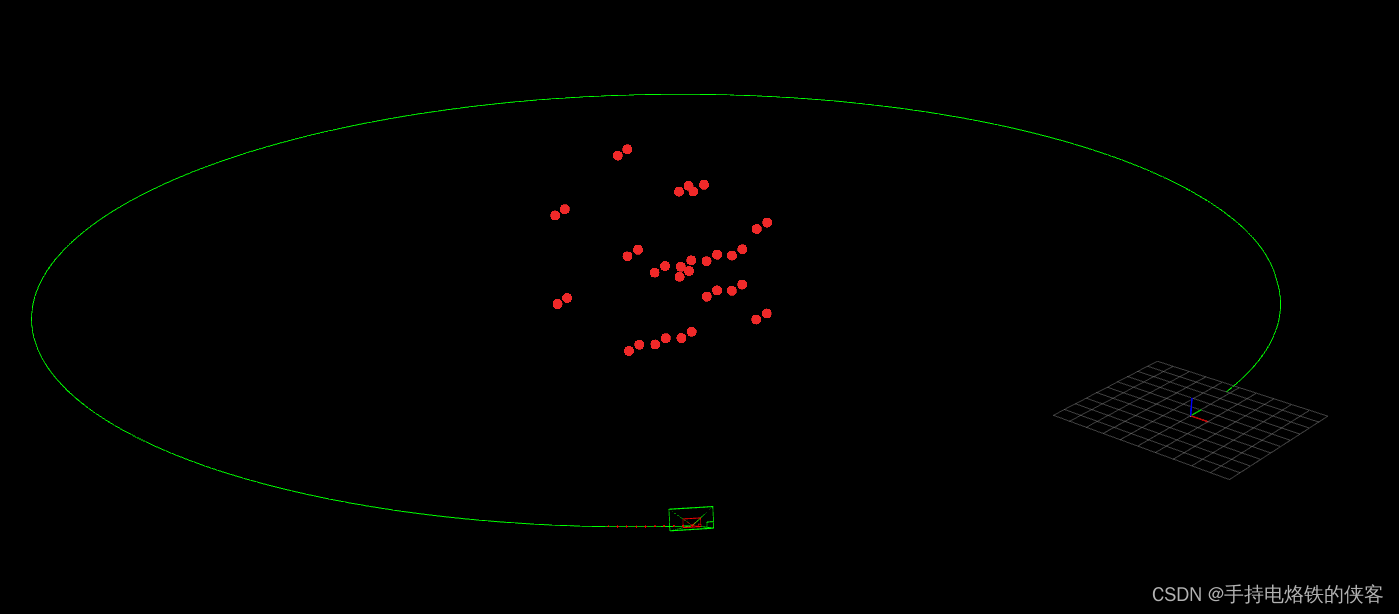
将第二讲的仿真数据集(视觉特征,imu 数据)接入我们的 VINS代码,并运行出轨迹结果
• 仿真数据集无噪声
• 仿真数据集有噪声(不同噪声设定时,需要配置 vins 中 imu noise大小。)
这部分主要参考深蓝学院《从零开始手写VIO》作业7以及从零手写vio-作业7。
1.simulation-test.cpp修改
在VINS-Course下的test文件夹新建simulation-test.cpp代码,将vio_data_simulation文件夹放在在VINS-Course下的src文件夹下,并编译生成文件,修改sData_path :string sData_path = “/home/yy/VINS-Course/src/vio_data_simulation/bin/”;并把vio_data_simulation生成的bin文件夹下的文件imu_pose_noise.txt,cam_pose.txt,imu_pose.txt复制到VINS-Course中的config文件夹下。
//
// Created by yy on 22-7-22.
//
//
// Created by yy on 22-7-22.
//
#include <unistd.h>//函数名: usleep()
#include <stdio.h>
#include <stdlib.h>
#include <string.h>
#include <iostream>
#include <thread>
#include <iomanip>// iomanip的作用: 主要是对cin,cout之类的一些操纵运算子,比如setfill,setw,setbase,setprecision等等#include <cv.h>
#include <opencv2/opencv.hpp>
#include <highgui.h>
#include <eigen3/Eigen/Dense>
#include "System.h"using namespace std;
using namespace cv;
using namespace Eigen;const int nDelayTimes = 2;
string sData_path = "/home/yy/VINS-Course/src/vio_data_simulation/bin/";
string sConfig_path = "../config/";std::shared_ptr<System> pSystem;
///读取imu数据文件中的IMU数据,并把数据打包成(时间dStampNSec,角速度vGyr,加速度vAcc)的形式调用系统函数PubImuData进行处理:
void PubImuData()///读IMU数据并调用系统接口去处理imu数据
{string sImu_data_file = sConfig_path +  "imu_pose_noise.txt";cout << "1 PubImuData start sImu_data_filea: " << sImu_data_file << endl;ifstream fsImu;fsImu.open(sImu_data_file.c_str());if (!fsImu.is_open()){cerr << "Failed to open imu file! " << sImu_data_file << endl;return;}double tmp;std::string sImu_line;double dStampNSec = 0.0;Vector3d vAcc;Vector3d vGyr;///imu data :timestamp (1),imu quaternion(4),imu position(3),imu gyro(3),imu acc(3)while (std::getline(fsImu, sImu_line) && !sImu_line.empty()) // read imu data{// timestamp (1),imu quaternion(4),imu position(3),imu gyro(3),imu acc(3)std::istringstream ssImuData(sImu_line);ssImuData >> dStampNSec;///timestampfor(int i=0;i<7;i++)ssImuData>>tmp;///imu quaternion(4),imu position(3)ssImuData>>vGyr.x() >> vGyr.y() >> vGyr.z() >> vAcc.x() >> vAcc.y() >> vAcc.z();// 时间单位为 spSystem->PubImuData(dStampNSec, vGyr, vAcc);usleep(5000*nDelayTimes);}fsImu.close();
}
///先从MH_05_cam0.txt文件读取数据,打包成(时间dStampNSec,图像sImgFileName)。
///再调用系统的PubImageData函数进行图像数据的处理。
void PubImageData()///读图像数据并调用系统接口去处理图像数据
{///cam data:timestamp (1),cam quaternion(4),cam position(3),imu gyro(3),imu acc(3)string sImage_file = sConfig_path + "cam_pose.txt";// 含时间戳的文件cout << "1 PubImageData start sImage_file: " << sImage_file << endl;ifstream fsImage;fsImage.open(sImage_file.c_str());if (!fsImage.is_open()){cerr << "Failed to open image file! " << sImage_file << endl;return;}std::string sImage_line;double dStampNSec;string sImgFileName;int n=0;// cv::namedWindow("SOURCE IMAGE", CV_WINDOW_AUTOSIZE);//这个循环是遍历所有的相机while (std::getline(fsImage, sImage_line) && !sImage_line.empty())//sImage_line是cam_pose每行的数据流{std::istringstream ssImgData(sImage_line);//是cam_pose每行的内容ssImgData >> dStampNSec;   //读入时间戳cout<<"cam time: "<<fixed<<dStampNSec<<endl;// all_points_ 文件存储的是house模型的线特征,每行4个数,对应该线两端点在归一化平面的坐标//all_points_  文件每行的内容是 x, y, z, 1, u, v  这里的u v是归一化下的x ,y 不是像素坐标//在函数PubSimImageData中会算出具体特征点的像素坐标string all_points_file_name = "/home/yy/VINS-Course/src/vio_data_simulation/bin/keyframe/all_points_" + to_string(n)+ ".txt";  //第n个相机对应的观测数据的文件名cout<<"points_file: "<<all_points_file_name<<endl;//0-599 all_point_0-599.txtvector<cv::Point2f> FeaturePoints;//容器FeaturePoints存放一个相机的特征点(归一化坐标)std::ifstream f;f.open(all_points_file_name);//这个循环是遍历每个相机的特征点信息// file content in each line: x, y, z, 1, u, v//经过这个循环把all_points_的特征点都放在FeaturePoints了while(!f.eof()){std::string s;特征点:x,y,z,1,u,vstd::getline(f,s);//得到all_points_的文件流s// 一行两个点连成线,获取每行点判断一下是否之前获取过if(!s.empty()){std::stringstream ss;//ss << s;//ss得到每行的内容double tmp;//跳过  x y z 1for(int i=0;i<4;i++)ss>>tmp;float px,py;ss >> px;ss >> py;cv::Point2f pt( px, py);//归一化坐标FeaturePoints.push_back(pt);}}//        cout << "All points:" << endl;
//        for(auto point : FeaturePoints){
//            cout << point << " ";
//        }
//        cout << endl;pSystem->PubSimImageData(dStampNSec, FeaturePoints);//把每一个图片的特征点 放进VINS系统里usleep(50000*nDelayTimes);n++;}fsImage.close();
}#ifdef __APPLE__
// support for MacOS
void DrawIMGandGLinMainThrd(){string sImage_file = sConfig_path + "MH_05_cam0.txt";cout << "1 PubImageData start sImage_file: " << sImage_file << endl;ifstream fsImage;fsImage.open(sImage_file.c_str());if (!fsImage.is_open()){cerr << "Failed to open image file! " << sImage_file << endl;return;}std::string sImage_line;double dStampNSec;string sImgFileName;pSystem->InitDrawGL();while (std::getline(fsImage, sImage_line) && !sImage_line.empty()){std::istringstream ssImuData(sImage_line);ssImuData >> dStampNSec >> sImgFileName;// cout << "Image t : " << fixed << dStampNSec << " Name: " << sImgFileName << endl;string imagePath = sData_path + "cam0/data/" + sImgFileName;Mat img = imread(imagePath.c_str(), 0);if (img.empty()){cerr << "image is empty! path: " << imagePath << endl;return;}//pSystem->PubImageData(dStampNSec / 1e9, img);cv::Mat show_img;cv::cvtColor(img, show_img, CV_GRAY2RGB);if (SHOW_TRACK){for (unsigned int j = 0; j < pSystem->trackerData[0].cur_pts.size(); j++){double len = min(1.0, 1.0 *  pSystem->trackerData[0].track_cnt[j] / WINDOW_SIZE);cv::circle(show_img,  pSystem->trackerData[0].cur_pts[j], 2, cv::Scalar(255 * (1 - len), 0, 255 * len), 2);}cv::namedWindow("IMAGE", CV_WINDOW_AUTOSIZE);cv::imshow("IMAGE", show_img);// cv::waitKey(1);}pSystem->DrawGLFrame();usleep(50000*nDelayTimes);}fsImage.close();}
#endif
int main(int argc, char **argv)
{
//    if(argc != 3)
//    {
//        cerr << "./simulation-test 特征点文件路径 配置文件/config \n"
//             << endl;
//        return -1;
//    }
//    sData_path = argv[1];
//    sConfig_path = argv[2];pSystem.reset(new System(sConfig_path));std::thread thd_BackEnd(&System::ProcessBackEnd, pSystem); // 最重要!!// sleep(5);std::thread thd_PubImuData(PubImuData); // 获取IMU数据的线程std::thread thd_PubImageData(PubImageData); //获取图像数据的线程std::thread thd_Draw(&System::Draw, pSystem); // 画图的线程thd_PubImuData.join();thd_PubImageData.join();thd_BackEnd.join();thd_Draw.join();cout << "main end... see you ..." << endl;return 0;
}
注意上述代码路径修改,以及void PubImuData(),void PubImageData()中函数修改。
且CMakeLists.txt文件添加如下:
add_executable(simulation_test test/simulation-test.cpp)
target_link_libraries(simulation_test MyVio  -lpthread)
2.Sysytem.cpp修改
在System.h中添加函数声明:
void PubSimImageData(double dStampSec, const vector<cv::Point2f> &FeaturePoints);
在System.cpp中添加函数,代码如下:
void System::PubSimImageData(double dStampSec, const vector<cv::Point2f> &FeaturePoints)
{if (!init_feature){cout << "1 PubImageData skip the first detected feature, which doesn't contain optical flow speed" << endl;init_feature = 1;return;}if (first_image_flag){cout << "2 PubImageData first_image_flag" << endl;first_image_flag = false;first_image_time = dStampSec;last_image_time = dStampSec;return;}// detect unstable camera stream 发现时间戳不连续甚至倒退,提示重新输入if (dStampSec - last_image_time > 1.0 || dStampSec < last_image_time){cerr << "3 PubImageData image discontinue! reset the feature tracker!" << endl;first_image_flag = true;last_image_time = 0;pub_count = 1;return;}last_image_time = dStampSec;// frequency control 控制频率设定小于某一阈值
//    if (round(1.0 * pub_count / (dStampSec - first_image_time)) <= FREQ)
//    {
//        PUB_THIS_FRAME = true;
//        // reset the frequency control TODO question:若当前连续图像序列的频率与 FREQ=10 误差在一定范围内重置?
//        if (abs(1.0 * pub_count / (dStampSec - first_image_time) - FREQ) < 0.01 * FREQ)
//        {
//            first_image_time = dStampSec;
//            pub_count = 0;
//        }
//    }
//    else
//    {
//        PUB_THIS_FRAME = false;
//    }PUB_THIS_FRAME = true;TicToc t_r;// cout << "3 PubImageData t : " << dStampSec << endl;// TODO Bookmark:获取图像特征点
//    trackerData[0].readImage(img, dStampSec);
//    trackerData[0].readPoints(FeaturePoints, dStampSec);//    for (unsigned int i = 0;; i++)
//    {
//        bool completed = false;
//        completed |= trackerData[0].updateID(i);
//
//        if (!completed)
//            break;
//    }if (PUB_THIS_FRAME){pub_count++;shared_ptr<IMG_MSG> feature_points(new IMG_MSG());feature_points->header = dStampSec;vector<set<int>> hash_ids(NUM_OF_CAM);for (int i = 0; i < NUM_OF_CAM; i++){
//            auto &un_pts = trackerData[i].cur_un_pts;// 去畸变的归一化图像坐标
//            auto &cur_pts = trackerData[i].cur_pts;// 当前追踪到的特征点
//            auto &ids = trackerData[i].ids;
//            auto &pts_velocity = trackerData[i].pts_velocity;for (unsigned int j = 0; j < FeaturePoints.size(); j++){
//                if (trackerData[i].track_cnt[j] > 1)
//                {
//                    int p_id = ids[j];int p_id = j;hash_ids[i].insert(p_id);double x = FeaturePoints[j].x;double y = FeaturePoints[j].y;double z = 1;feature_points->points.push_back(Vector3d(x, y, z));feature_points->id_of_point.push_back(p_id * NUM_OF_CAM + i);
//                    feature_points->u_of_point.push_back(cur_pts[j].x); // 像素坐标
//                    feature_points->v_of_point.push_back(cur_pts[j].y);
//                    // TODO Bookmark:速度项用于对齐imu时间戳 作业不考虑可以设为0
//                    feature_points->velocity_x_of_point.push_back(pts_velocity[j].x);
//                    feature_points->velocity_y_of_point.push_back(pts_velocity[j].y);cv::Point2f pixel_point;pixel_point.x = 460 * x + 255;pixel_point.y = 460 * y + 255;feature_points->u_of_point.push_back(pixel_point.x); // 像素坐标feature_points->v_of_point.push_back(pixel_point.y);feature_points->velocity_x_of_point.push_back(0);feature_points->velocity_y_of_point.push_back(0);
//                }}// skip the first image; since no optical speed on frist imageif (!init_pub){cout << "4 PubImage init_pub skip the first image!" << endl;init_pub = 1;}else{m_buf.lock();feature_buf.push(feature_points);// cout << "5 PubImage t : " << fixed << feature_points->header//     << " feature_buf size: " << feature_buf.size() << endl;m_buf.unlock();con.notify_one();}}}
}
3.config文件夹下euroc_config.yaml参数修改
如下所示需要修改的地方:
image_width: 640
image_height: 640
distortion_parameters:k1: 0k2: 0p1: 0p2: 0
projection_parameters:fx: 460fy: 460cx: 255cy: 255extrinsicRotation: !!opencv-matrixrows: 3cols: 3dt: ddata: [0, 0, -1,-1, 0, 0,0, 1, 0]
extrinsicTranslation: !!opencv-matrixrows: 3cols: 1dt: ddata: [0.05,0.04,0.03]acc_n: 0.019          # accelerometer measurement noise standard deviation. #0.2   0.04
gyr_n: 0.015         # gyroscope measurement noise standard deviation.     #0.05  0.004
acc_w: 0.0001         # accelerometer bias random work noise standard deviation.  #0.02
gyr_w: 1.0e-5       # gyroscope bias random work noise standard deviation.     #4.0e-5
4.param.h修改
param.h在vio_data_simulation的src文件夹下
4.1无噪声
void PubImuData()///读IMU数据并调用系统接口去处理imu数据
{string sImu_data_file = sConfig_path +  "imu_pose.txt";
4.2小噪声
void PubImuData()///读IMU数据并调用系统接口去处理imu数据
{string sImu_data_file = sConfig_path +  "imu_pose_noise.txt";
// noisedouble gyro_bias_sigma = 1.0e-6;double acc_bias_sigma = 0.0001;double gyro_noise_sigma = 0.015; // rad/s * 1/sqrt(hz)double acc_noise_sigma = 0.019; // m/(s^2) * 1/sqrt(hz)
4.3大噪声
// noisedouble gyro_bias_sigma = 1.0e-5;double acc_bias_sigma = 0.0001;double gyro_noise_sigma = 0.015; // rad/s * 1/sqrt(hz)double acc_noise_sigma = 0.019; // m/(s^2) * 1/sqrt(hz)
这里比较麻烦点的是imu_pose_noise.txt要重新生成并放在config下

总结
越学越迷糊了属于是😢😢😢😢。。。。。。
暑假放了半个月的假期,松懈了一段时间,后面要继续努力了!!