项目使用到3D模型加载渲染,故初学习了解之,
简单封装 代码如下
import * as THREE from "three";
import {OrbitControls} from "three/examples/jsm/controls/OrbitControls";
import {ShaderPass} from "three/examples/jsm/postprocessing/ShaderPass";
import {FXAAShader} from "three/examples/jsm/shaders/FXAAShader";
import {GLTFLoader} from "three/examples/jsm/loaders/GLTFLoader";
import {DRACOLoader} from "three/examples/jsm/loaders/DRACOLoader";
import {EffectComposer} from "three/examples/jsm/postprocessing/EffectComposer";
import {RenderPass} from "three/examples/jsm/postprocessing/RenderPass";
import {OutlinePass} from "three/examples/jsm/postprocessing/OutlinePass";class ThreeJsLoder {constructor(ref) {this.webglRef = ref;this.canvasSetting = {width: 960, height: 500}this.camera = new THREE.PerspectiveCamera(50, this.canvasSetting.width /   	this.canvasSetting.height, 1, 2000);this.renderer = new THREE.WebGLRenderer({antialias: true, alpha: true});this.HemisphereLight = new THREE.HemisphereLight(0xffffff, 0xaaaaaa, 1);this.controls = new OrbitControls(this.camera, this.renderer.domElement);this.scene = new THREE.Scene();this.devices = [];this.rayCaster = new THREE.Raycaster();this.effectFXAA = new ShaderPass(FXAAShader);this.gltfLoader = new GLTFLoader();this.dracoLoader = new DRACOLoader();this.dracoLoader.setDecoderPath("/draco/");this.dracoLoader.setDecoderConfig({type: 'js'});this.gltfLoader.setDRACOLoader(this.dracoLoader);this.composer = null;}/*** 加载模型* @param link 模型地址* @param eleId domId* @param onSuccess 成功回调* @param onProgress 加载过程回调* @param onError 失败回调*/loadModel(link, eleId, onSuccess, onProgress, onError) {this.clear();this.gltfLoader.load(link, (gltf) => {gltf.scene.position.set(0, 20, 0);gltf.scene.scale.set(2.2, 2.2, 2.2);this.camera.position.set(10, 80, -80);this.scene.add(gltf.scene)   this.scene.add(this.HemisphereLight);this.scene.add(this.camera);this.renderer.setClearColor(new THREE.Color(0x000000));this.renderer.setSize(this.canvasSetting.width, this.canvasSetting.height);this.webglRef.appendChild(this.renderer.domElement);this.controls.addEventListener('change', () => {this.renderer.render(this.scene, this.camera)});this.controls.autoRotateSpeed = 1.5;this.controls.target.set(0, 0, 0);this.controls.update();this.renderer.render(this.scene, this.camera);gltf.scene.traverse((r) => {if (r instanceof THREE.Mesh) {this.devices.push(r);}});if (onSuccess) {onSuccess();}}, (xhr) => {if (onProgress) {let percentComplete = null;if (xhr.lengthComputable) {percentComplete = xhr.loaded / xhr.total * 100;}onProgress(xhr, percentComplete);}}, (e) => {if (onError) {onError(e);}});}/*** 获取点击的模型构件,创建选区效果,返回首个mesh对象* @param event* @param eleRef* @returns {boolean}*/getChoose(event) {let x = (event.offsetX  / this.canvasSetting.width) * 2 - 1;let y = -(event.offsetY  / this.canvasSetting.height) * 2 + 1;this.rayCaster.setFromCamera(new THREE.Vector2(x, y), this.camera);let intersects = this.rayCaster.intersectObjects(this.devices);let mesh = false;if (intersects.length > 0) {//匹配首个目标对象mesh = intersects[0].object;     this.outlineObj(mesh)} else {this.renderer.render(this.scene, this.camera);}return mesh;}//给选中的构件模型 加个边框outlineObj(obj) {if (obj) {this.composer = new EffectComposer(this.renderer);const renderPass = new RenderPass(this.scene, this.camera);this.composer.addPass(renderPass);const outlinePass = new OutlinePass(new THREE.Vector2(this.canvasSetting.width, this.canvasSetting.height),this.scene,this.camera);outlinePass.selectedObjects = [obj];outlinePass.edgeStrength = 30.0;outlinePass.edgeGlow = 0;outlinePass.usePatternTexture = false;outlinePass.edgeThickness = 3.0;outlinePass.downSampleRatio = 1;outlinePass.pulsePeriod = 1;outlinePass.visibleEdgeColor.set(parseInt(0xff6347));outlinePass.hiddenEdgeColor = new THREE.Color(0, 0, 0);outlinePass.clear = true;this.composer.addPass(outlinePass);// 自定义着色器通道this.effectFXAA.uniforms["resolution"].value.set(1 / window.innerWidth,1 / window.innerHeight);this.effectFXAA.renderToScreen = true;this.composer.addPass(this.effectFXAA);this.composer.render()} else {this.composer = null;}}clear() {this.devices.splice(0, this.devices.length);this.scene.clear();this.camera.clear();this.renderer.clear();this.controls.update();this.renderer.render(this.scene, this.camera)this.webglRef.innerHTML = " ";}}export {ThreeJsLoder}
#obj转gltf文件
obj2gltf -i luyu.obj -o luyu.gltf
#压缩gltf文件
gltf-pipeline -i luyu.gltf -o out.gltf -d
vue2.x 使用
1.node_modules文件下 找到three文件夹, 找到/examples/js/libs/draco/ 将draco整个文件夹复制到public路径下
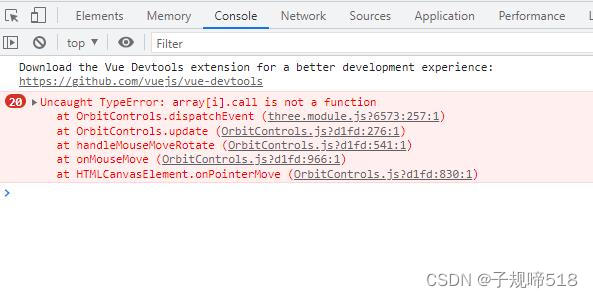
2.threeJS中的渲染对象 不可用vue的数据方向绑定,会造成卡顿
<template><div v-loading="!webglShow"><divid="webgl"ref="webgl"@click="clickEvent"></div></div>
</template><script>
import {ThreeJsLoder} from "@/utils/ModelConfig/ThreeJsLoder";
let threeJsLoder;export default {props: ["modelForm"],name: "ModelConfig",data() {return {webglShow: false,mesh: {},}},mounted() {this.init({link:"压缩gltf的路径地址"});},methods: {init(item) {modelConfig = new ThreeJsLoder(this.$refs.webgl);modelConfig.loadModel(item.link,()=>{this.webglShow = true;})},clickEvent(event) {this.mesh = modelConfig.getChoose(event);if(this.mesh){console.log(this.mesh);}},};
</script>
<style scoped></style>
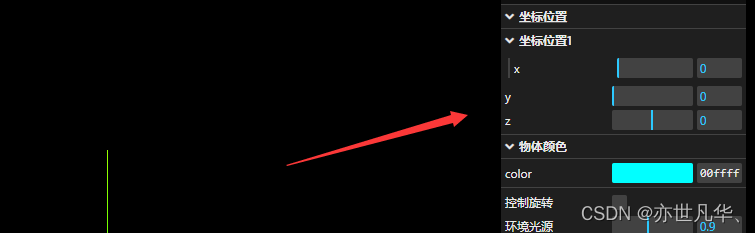
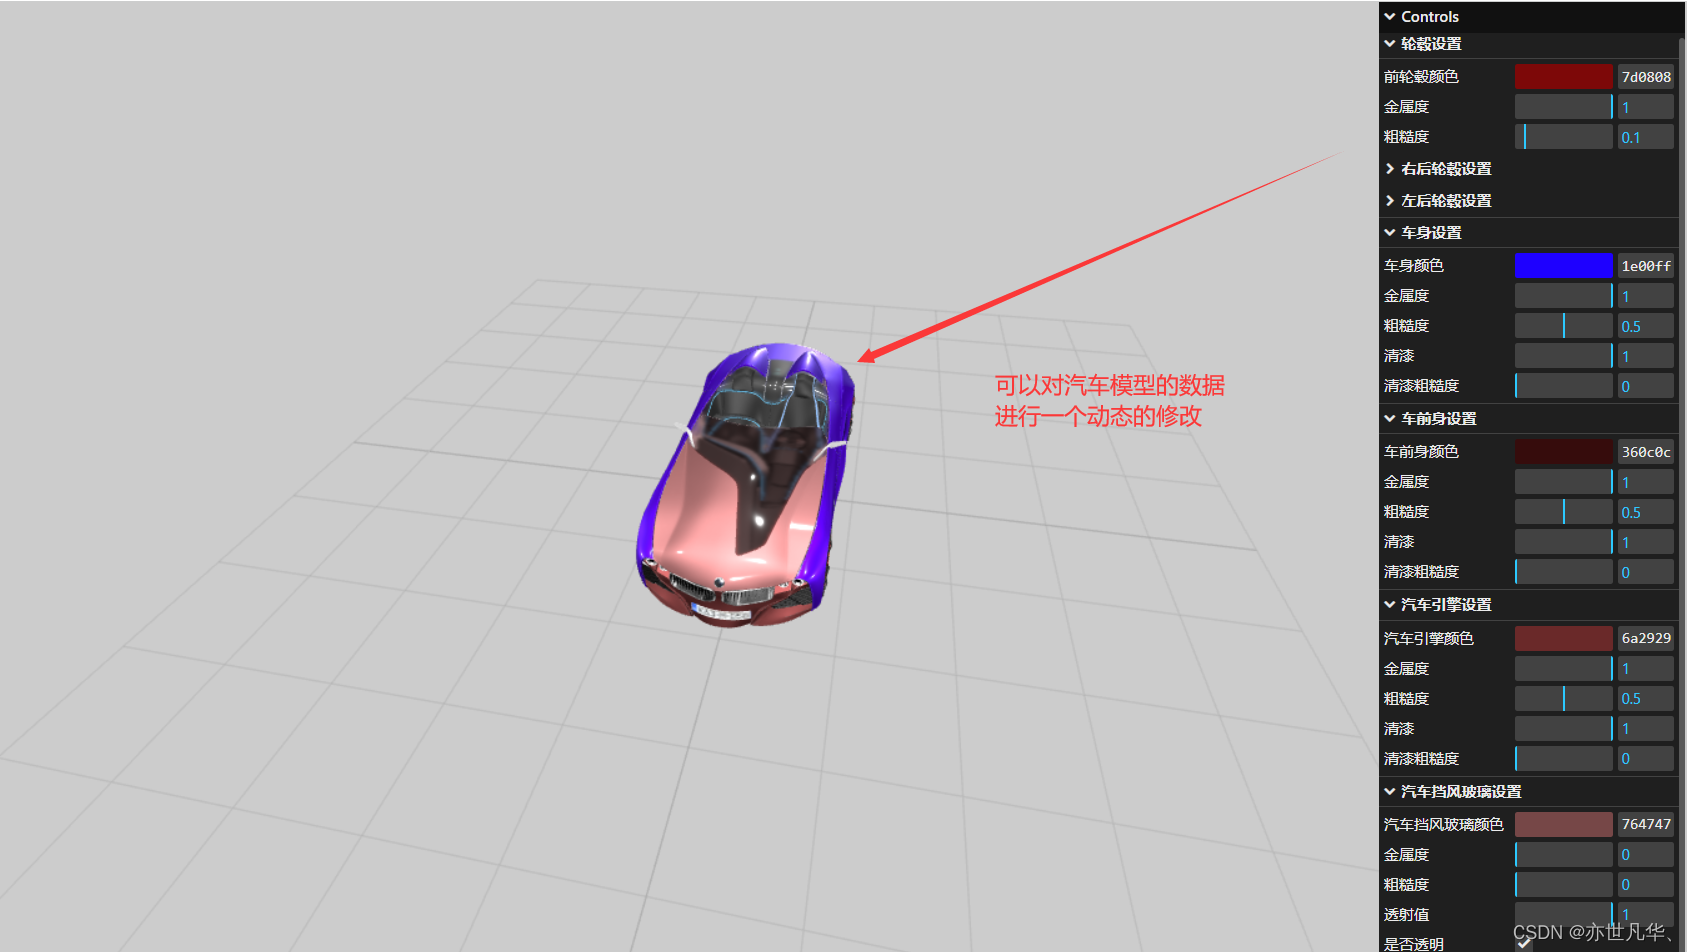
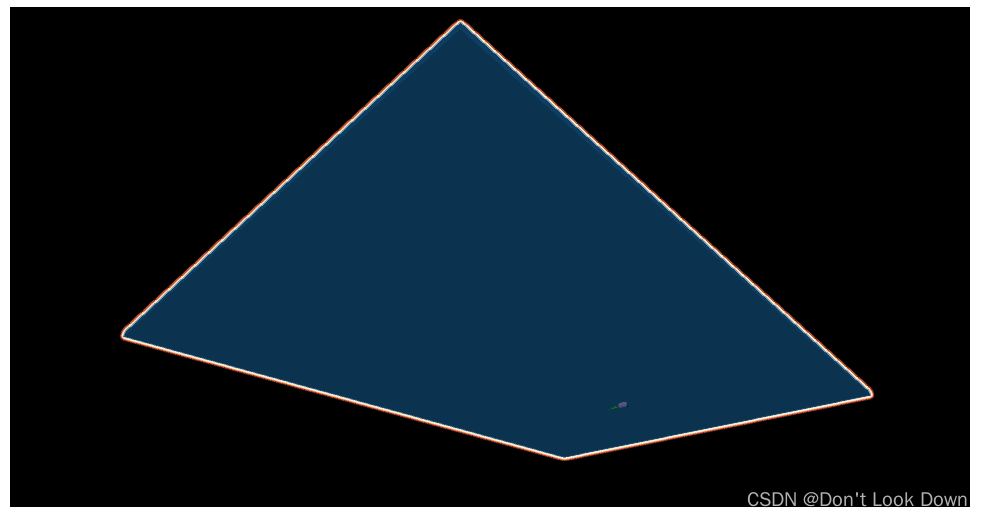
效果如图,
参考
Threejs大型obj文件的秒加载实现