文章目录
- 前言
- 一、实现Callable接口
- 二、代码示例
- 1.Callable接口实现多线程
- 总结
前言
上一篇我们共同认识了并发问题,那么本篇我们将一起来学习Callable接口实现多线程。
一、实现Callable接口
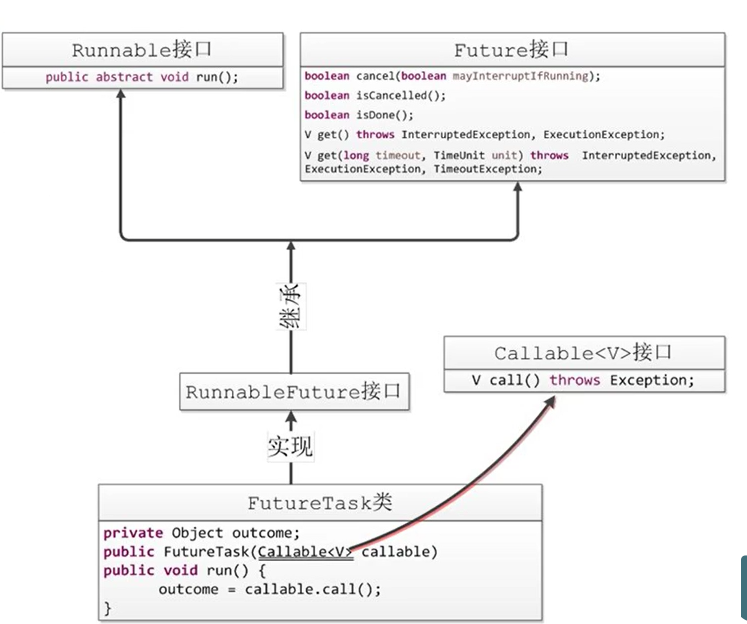
上篇内容我们通过实现Runnable实现多线程,本篇我们将学习如何继承java中的Callable来实现多线程。
操作步骤:
- 实现Callable接口,需要返回值。
- 重写call()方法,需要抛出异常。
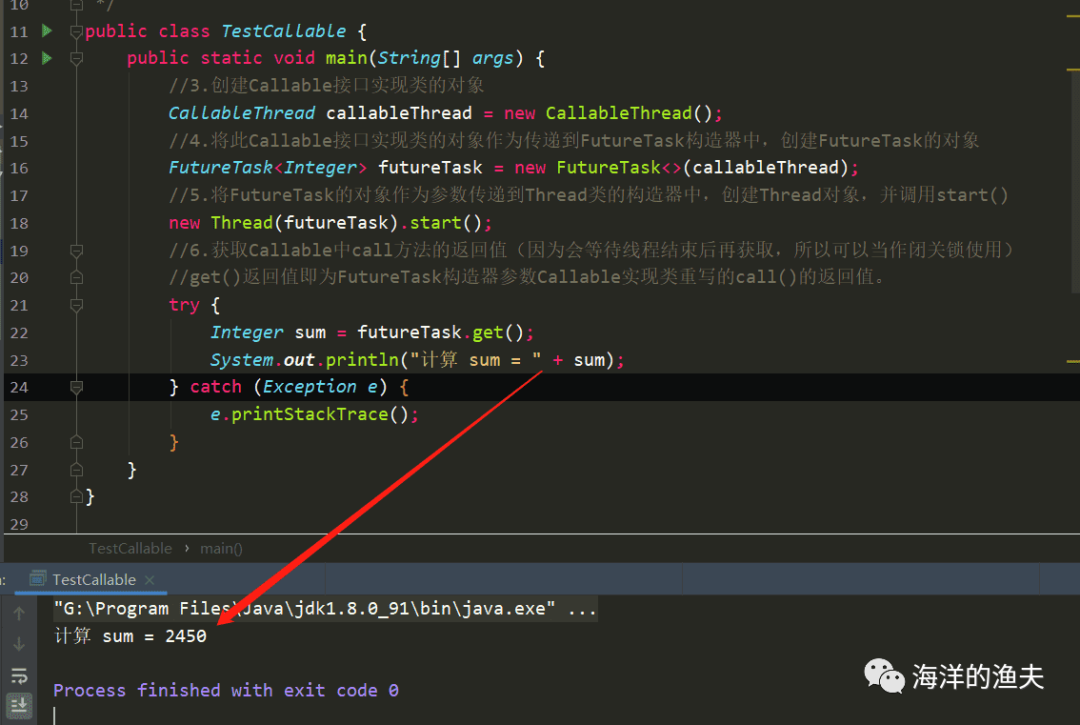
- 创建执行服务:ExecutorService ser = Executors.newFixedThreadPool(1);
- 提交执行: Future r1 = ser.submit(t1);
- 获取结果:boolean rs1 = r1.get();
- 关闭服务:ser.shutdownNow();
二、代码示例
1.Callable接口实现多线程
代码如下(示例):
TestCallable类
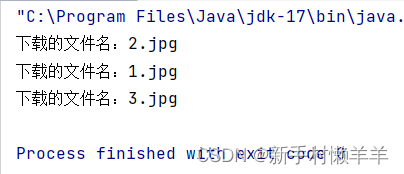
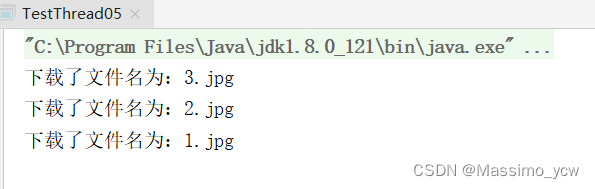
public class TestCallable implements Callable<Boolean> {private String url;private String name;public TestCallable(String url, String name) {this.url = url;this.name = name;}@Overridepublic Boolean call() {WebDownLoader03 webDownLoader = new WebDownLoader03();webDownLoader.downloader(url,name);System.out.println("下载的文件名:"+name);return true;}public static void main(String[] args) throws ExecutionException, InterruptedException {TestCallable t1 = new TestCallable("https://up.tt98.com/uploadfile/sjbz/2020-11-11/c57c4f2e092bf23ec0c8e940664d6572.jpg","1.jpg");TestCallable t2 = new TestCallable("https://up.tt98.com/uploadfile/sjbz/2020-11-11/c57c4f2e092bf23ec0c8e940664d6572.jpg","2.jpg");TestCallable t3 = new TestCallable("https://up.tt98.com/uploadfile/sjbz/2020-11-11/c57c4f2e092bf23ec0c8e940664d6572.jpg","3.jpg");//创建执行服务ExecutorService ser = Executors.newFixedThreadPool(3);//提交执行Future<Boolean> r1 = ser.submit(t1);Future<Boolean> r2 = ser.submit(t2);Future<Boolean> r3 = ser.submit(t3);//获取结果boolean rs1 = r1.get();boolean rs2 = r2.get();boolean rs3 = r3.get();//关闭服务ser.shutdownNow();}
}
WebDownLoader03类
//下载器
class WebDownLoader03{//下载方法public void downloader(String url,String name){try {FileUtils.copyURLToFile(new URL(url),new File(name));}catch (IOException e){e.printStackTrace();System.out.println("IO异常,downloader方法出现异常。");}}
}
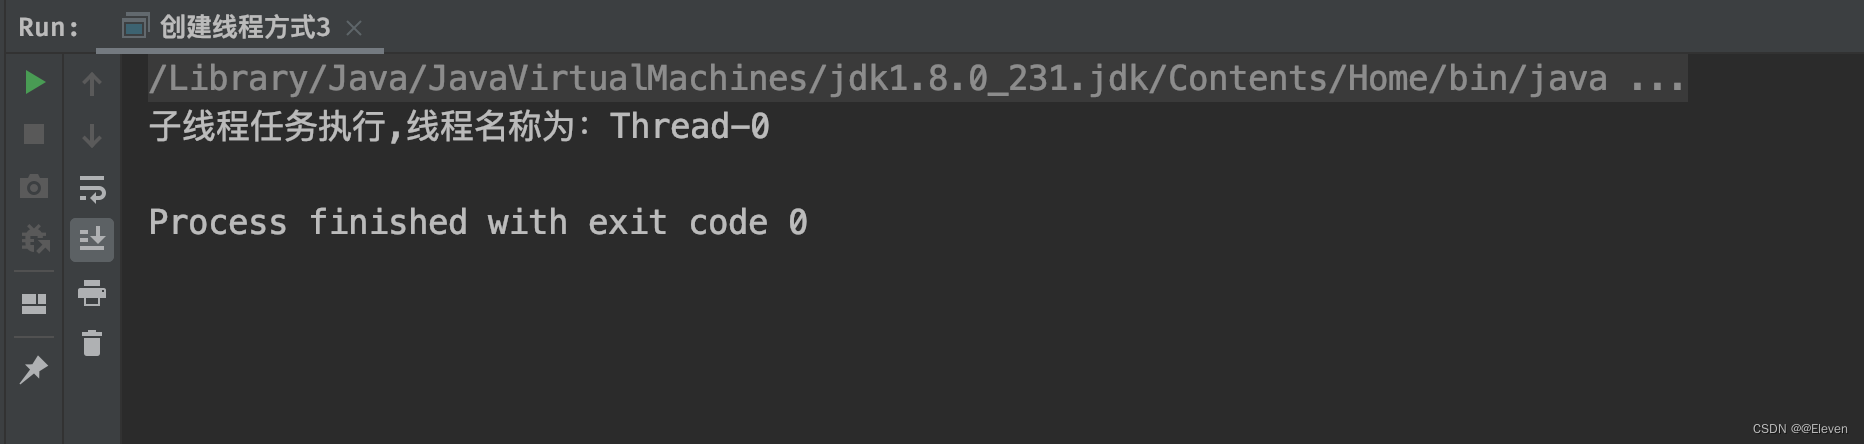
运行结果: