(一) 修改mod信息
forge 默认提供了一个mod配置,ExampleMod.java,接下来修改mod信息。
首先修改的是包的结构,去掉默认的包结构,改成符合mod信息的结构,我这里修改成了com.qiao.mymod.
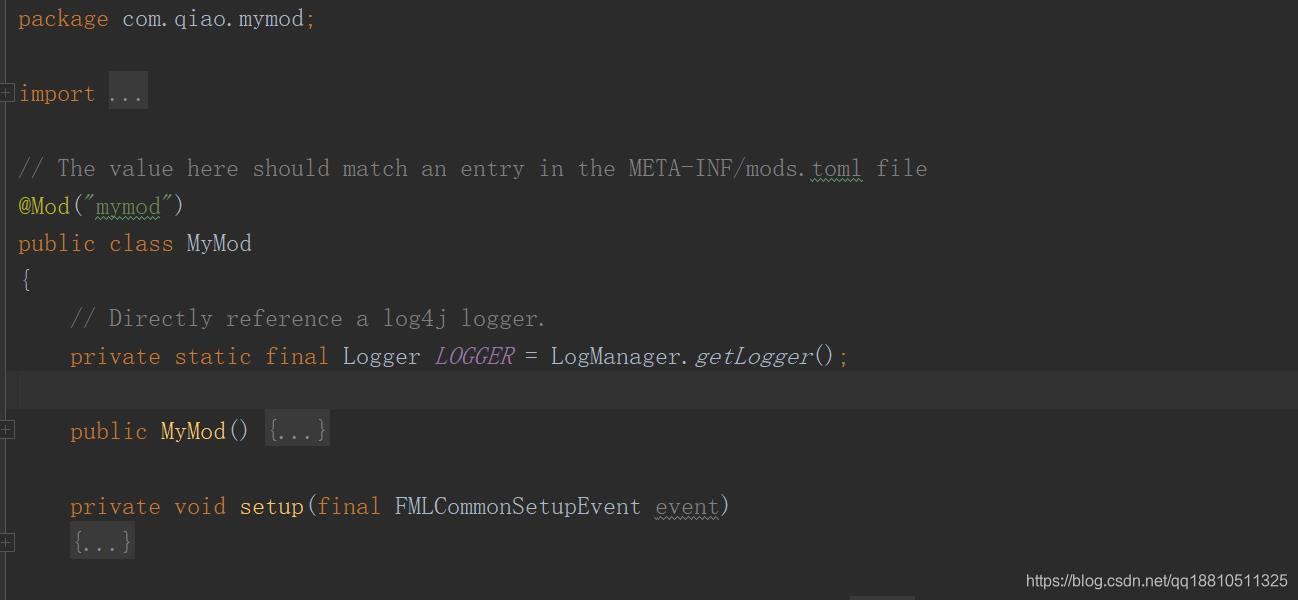
修改类名,改成自己的(其实改成什么都没啥关系,但是按照习惯改成自己需要的mod名称,这里的mod名称要符合驼峰写法,每个单词首字母大写)MyMod ,同样的需要修改java文件的名称,构造方法名称,不改会报错。
然后修改@Mod注解 为@Mod(“mymod”) 这里双引号内容就是mod的id,id在mod中具有唯一性,同时映射了mod的配置信息。

打开resources/META-INF 文件夹下的 mods.toml (resources是资源文件夹),forge会根据@Mod("mymod") 注解找到这个配置文件中相关的配置。(根据以下的中文解释来修改自己的mod,翻译可能不太准确,这个锅可以甩给有道词典)
# This is an example mods.toml file. It contains the data relating to the loading mods.
# There are several mandatory fields (#mandatory), and many more that are optional
# The overall format is standard TOML format, v0.5.0.
# Note that there are a couple of TOML lists in this file.
# Find more information on toml format here:  https://github.com/toml-lang/toml
# 要加载的mod加载器类型的名称——对于常规FML @Mod mods,它应该是javafml
modLoader="javafml" #mandatory
# A version range to match for said mod loader - for regular FML @Mod it will be the forge version
loaderVersion="[25,)" #mandatory (24 is current forge version)
# A URL to refer people to when problems occur with this mod
issueTrackerURL="http://my.issue.tracker/" #optional
# A list of mods - how many allowed here is determined by the individual mod loader
# logoFile应该放在mods之前 ,如果放在里面,就不会显示了
logoFile="jj.png" #optional
[[mods]] #mandatory
# mod的id,这个和@Mod注解对应,不然会出问题
modId="mymod" #mandatory
# 当前mod的版本, 我这里直接写了版本,默认的会根据jar包来构建这里
version="0.1" #mandatory# Mod 的名称,用来显示在游戏mod列表中
displayName="My Mod" #mandatory
# A URL to query for updates for this mod. See the JSON update specification <here>
updateJSONURL="http://myurl.me/" #optional
# 一个连接,表示mod的官方位置
displayURL="http://example.com/" #optional
# logo 标志 文件名
# logoFile="jj.png" #optional
# mod UI中显示的文本
credits="Thanks for this example mod goes to Java" #optional
# 作者
authors="Love, Cheese and small house plants" #optional
# 说明  以下在单引号中的都会展示在mod信息中
description='''
This is a long form description of the mod. You can write whatever you want hereHave some lorem ipsum.Lorem ipsum dolor sit amet, consectetur adipiscing elit. Sed mollis lacinia magna. Orci varius natoque penatibus et magnis dis parturient montes, nascetur ridiculus mus. Sed sagittis luctus odio eu tempus. Interdum et malesuada fames ac ante ipsum primis in faucibus. Pellentesque volutpat ligula eget lacus auctor sagittis. In hac habitasse platea dictumst. Nunc gravida elit vitae sem vehicula efficitur. Donec mattis ipsum et arcu lobortis, eleifend sagittis sem rutrum. Cras pharetra quam eget posuere fermentum. Sed id tincidunt justo. Lorem ipsum dolor sit amet, consectetur adipiscing elit.
'''
"说明" 以后的代码是用来设置关联mod的,有些mod有前置mod,这里就不写了,因为我也不会。
mod标志图片的设置: 默认情况下logoFile在[[mods]]下面,这个是错误的,应该放在[[mods]] 前面,图片直接放在resources下就行
配置文件改完了,然后改jar包的信息。这就需要打开build.gradle 这个文件。
version = '0.1'
group = 'com.qiao.mymod' // http://maven.apache.org/guides/mini/guide-naming-conventions.html
archivesBaseName = 'mymod'
version 是jar包的版本,默认情况下会和mod版本关联
group mod的发布位置
archivesBaseName jar包名称。(我这里的mymod不会和modid关联,改成什么就看自己了)
熟悉maven的人都知道要怎么引入一个包,就是这三个属性。
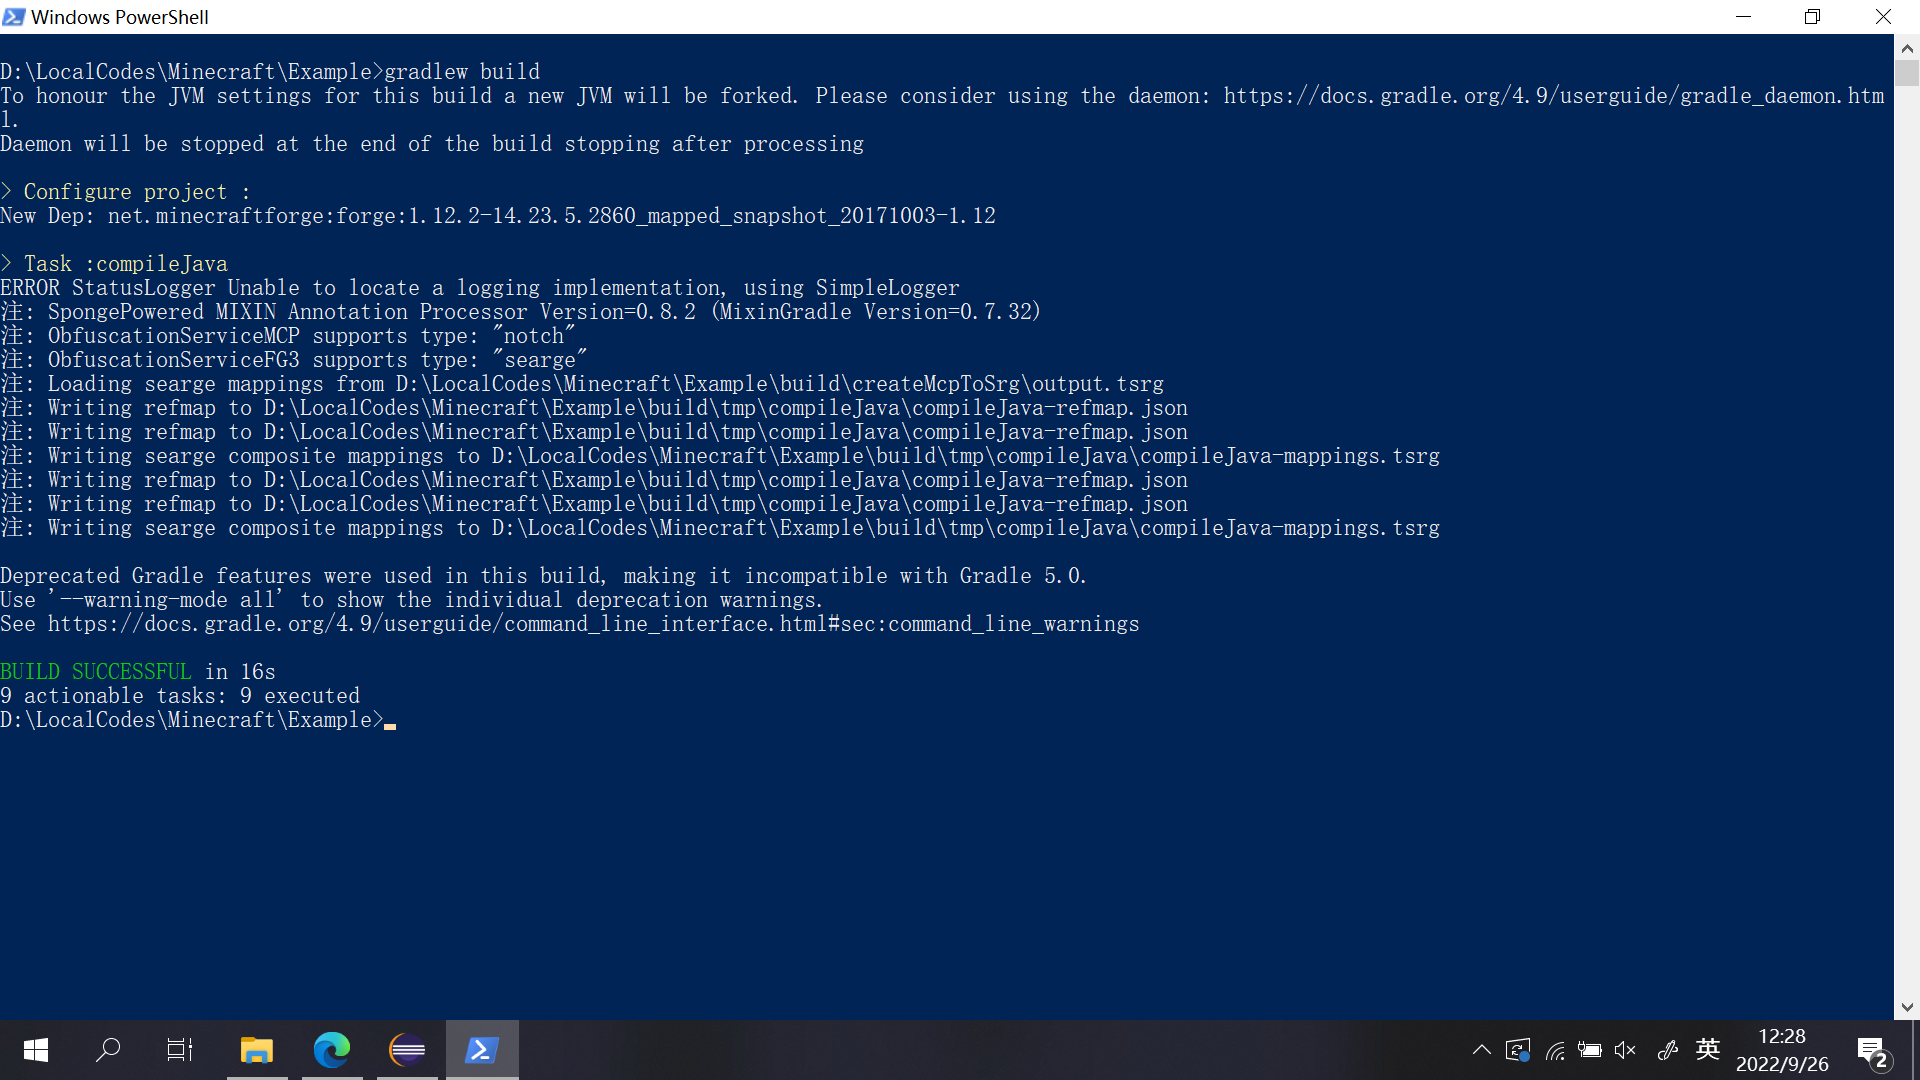
将这些信息都改成自己的。因为可以直接运行,暂时不用打jar包。
信息修改完毕,运行,会在mod列表中找到你的mod,是不是自己修改的,如果不是肯定什么地方修改错了。
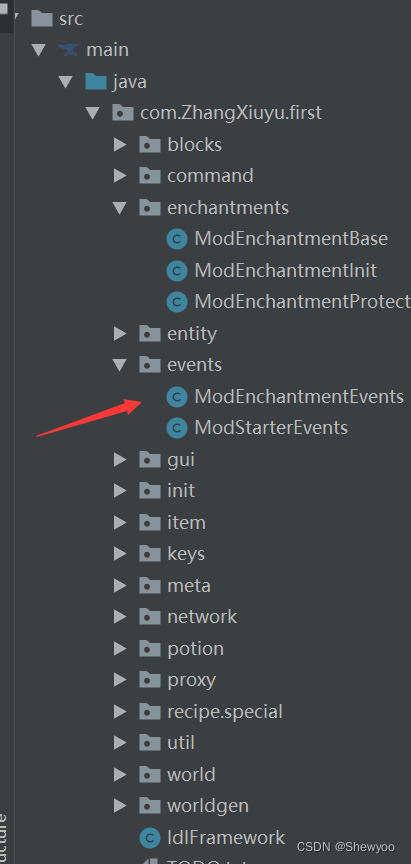
(二) 新建自己的Item
新建jar包item ,与MyMod.java同级
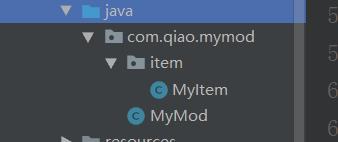
然后新建类 MyItem.java ,然后让MyItem 继承Item类。
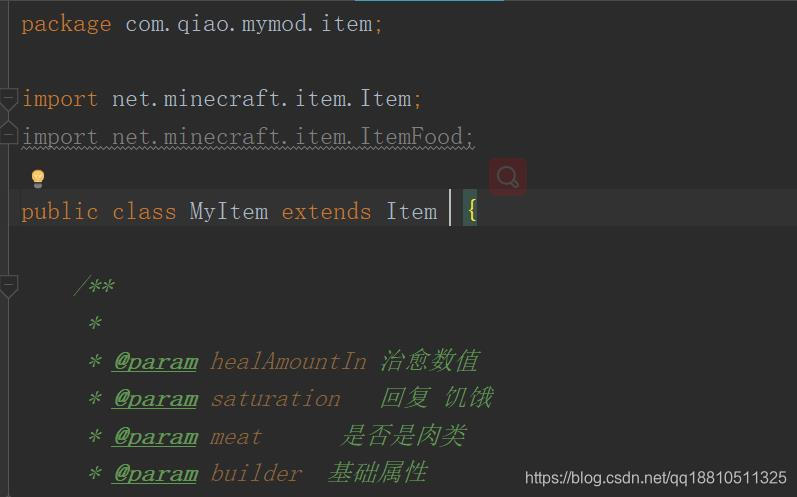
然后创建构造方法匹配超类。根据idea的提示会自动创建的。
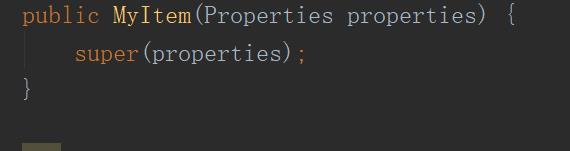
到这里一个物品建立完成了。
(三) 注册Item
打开MyMod.java
找到这段换
// You can use EventBusSubscriber to automatically subscribe events on the contained class (this is subscribing to the MOD// Event bus for receiving Registry Events)@Mod.EventBusSubscriber(bus=Mod.EventBusSubscriber.Bus.MOD)public static class RegistryEvents {@SubscribeEventpublic static void onBlocksRegistry(final RegistryEvent.Register<Block> blockRegistryEvent) {// register a new block hereLOGGER.info("HELLO from Register Block");}/*** * 订阅 事件 RegistryEvent.Register<Item> * @param itemRegisterEvent*/@SubscribeEventpublic static void onItemRegistry(final RegistryEvent.Register<Item> itemRegisterEvent){Item.Properties properties=new Item.Properties(); //新建一Item的属性类 Item.Properties 是Item下的一个内部类,可以摁住CTRL+左键点进去看看具体有那些属性properties.group(ItemGroup.FOOD); //将这个物品暂时寄存在食物选卡下面itemRegisterEvent.getRegistry().register(new MyItem(properties).setRegistryName("mymod:my_item"));// .setRegistryName("mymod:my_item") 这个方法是设置Item的Id 规则是modID:物品idLOGGER.info("加载 物品 my_item"); //后台打印个日志}}在静态内部类RegistryEvents中添加方法 onItemRegistry 方法,参数如上图所示。
方法前面的@SubscribeEvent 注解是告诉FML 这里有个方法订阅了事件。订阅的事件是 关于Item的注册事件(由参数决定)。(注意前面的方块注册,跟这个Item形似)
方法里的内容是注册一个Item ,注释里面很详细。
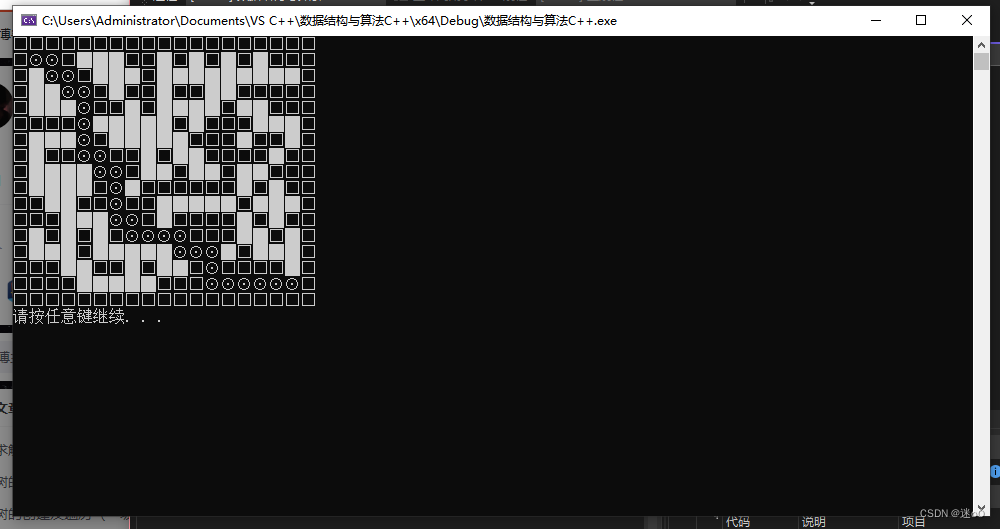
然后运行客户端 新建一个世界,打开创造模式,点开食物选卡,新建的物品就躺在那里。
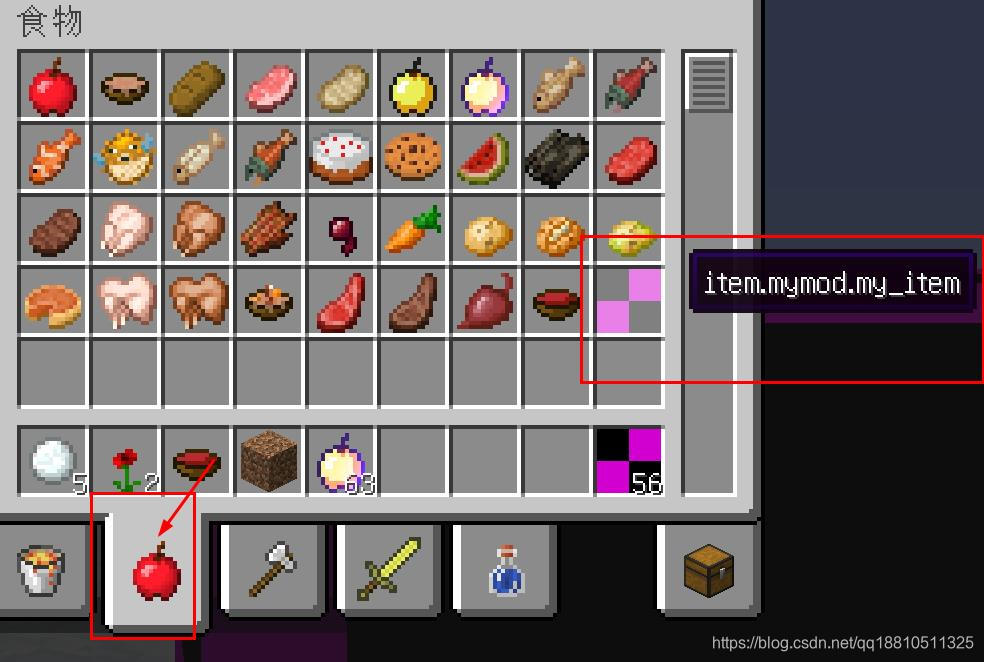
这个物品暂时没有材质,也没有什么功能。
总结
关于新建物品官方文档基本没啥可以参考的。因为forge 各个版本的变化,新建物品的方式方法各不相同。但是物品的注册都是通过FML的事件发布机制来完成的。