AFL-Unicorn

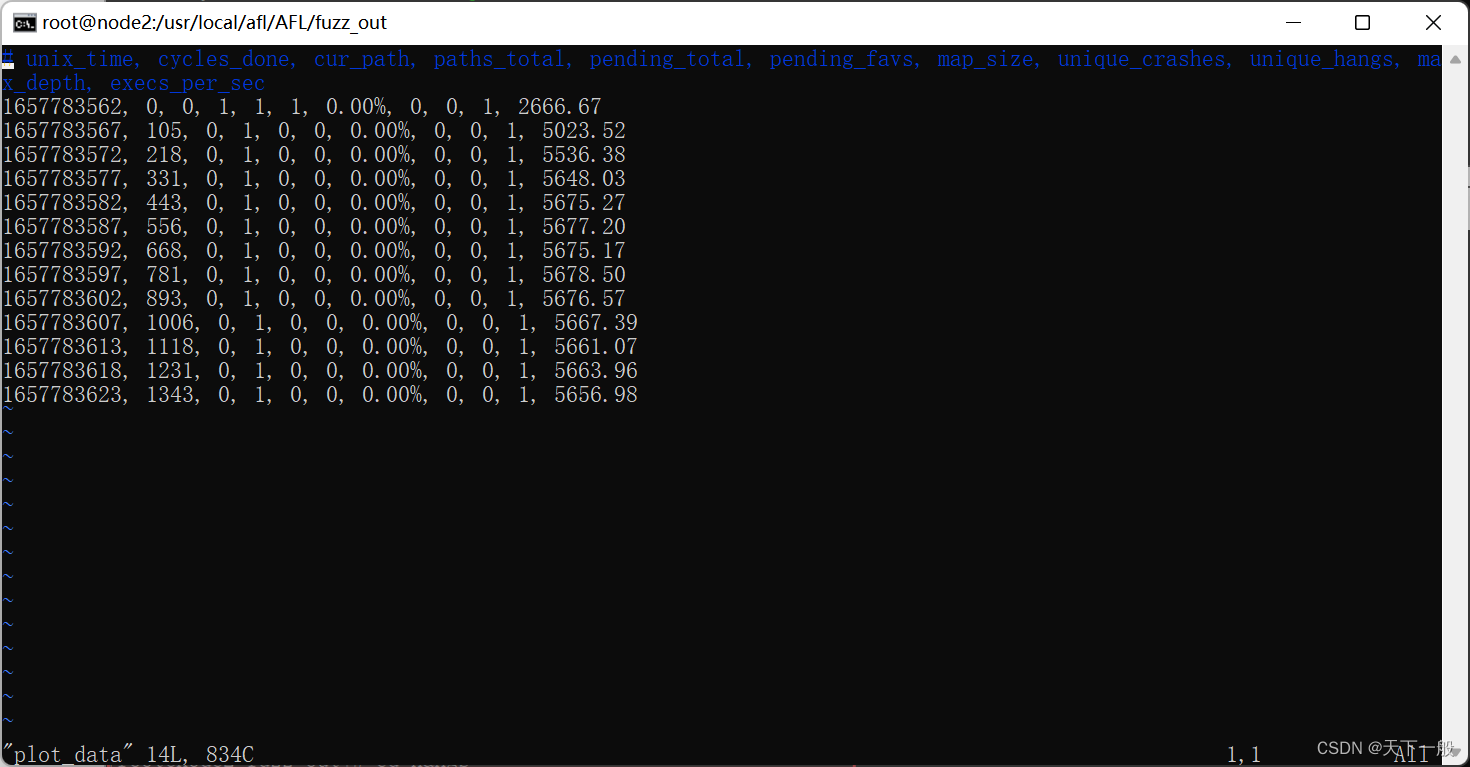
AFL-Unicorn的基本工作流程如上图所示。
先将目标二进制代码装载至Unicorn-based test harness的内存映射中,设置初始状态,并从磁盘加载由 AFL 变异的inputs。 然后test harness会模拟目标二进制代码,如果它检测到crash或error,它就会抛出一个信号。 而在此过程中,AFL 并不知道其fuzzing的是test harness模拟出的代码,它会正常运行,并按一定的策略对inputs进行“突变”,若经过“突变”的文件更新了代码覆盖范围,则将其保留添加到输入队列中。
fork server机制
使用fork server的原因
fuzz最简单的思路就是将输入用例做随机变换之后尝试将其输入进程序查看执行结果,这样就只需要通过调用类似execve的函数一遍又一遍的运行程序即可。这样做确实有许多的好处,但同时也带来了一个问题:尤其是对于那些简单的库来说,程序最终可能会将大部分时间都花在了等待execve、载入目标文件和库、解析符号地址等重复性工作上。
因为在调用execve这个函数之后将产生一个的新程序来代替原进程,这样当前进程的数据段、代码段和堆栈段就都会发生改变,且新进程的PID同原进程相同,我们也无法通过PID来标识不同的测试用例,因此这种方式是很低效的。
所以,作者使用了一种更为高效的fork server架构来进行开发。对于需要快速发包的测试,fork server架构可以提升1.5到2倍的性能。
fork server的原理

fork server机制运行的流程如上图所示。在fuzzer执行第一个目标程序进程时,目标程序会启动一个fork server。fuzzer自身并不负责fork子进程,而是通过管道与fork server通信,由fork server来完成fork以及继续执行目标程序的操作。下图可以很好的描述fuzzer和目标程序之间的状态。

首先,fuzzer执行fork()得到父进程和子进程,这里的父进程仍然为fuzzer,子进程则为target进程,即将来的fork server。父子进程之间,是通过管道进行通信的。一共有2个管道,状态管道(st_pipe)和控制管道(ctl_pipe)。对于子进程(fork server),会进行一系列设置,其中包括将上述两个管道分配到预先指定的fd,并最终执行target然后执行目标程序。对于父进程(fuzzer),则会读取状态管道的信息,如果一切正常,则说明fork server创建完成。
接下来,我们就结合包含在 afl-as.h 中的插桩代码来具体分析fuzzer与fork server之间是如何通信的。
fork server侧的具体操作,是在方法__afl_maybe_log()中。首先,通过写入状态管道,fork server会通知fuzzer,其已经准备完毕,可以开始fork了,而这正是父进程fuzzer所等待的信息:
"__afl_forkserver:\n""\n"" /* Enter the fork server mode to avoid the overhead of execve() calls. */\n""\n"" pushl %eax\n"" pushl %ecx\n"" pushl %edx\n""\n"" /* Phone home and tell the parent that we're OK. (Note that signals with\n"" no SA_RESTART will mess it up). If this fails, assume that the fd is\n"" closed because we were execve()d from an instrumented binary, or because\n"" the parent doesn't want to use the fork server. */\n""\n"" pushl $4 /* length */\n"" pushl $__afl_temp /* data */\n"" pushl $" STRINGIFY((FORKSRV_FD + 1)) " /* file desc */\n"" call write\n"" addl $12, %esp\n""\n"" cmpl $4, %eax\n"" jne __afl_fork_resume\n"
接下来,fork server进入等待状态__afl_fork_wait_loop,读取命令管道,直到fuzzer通知其开始fork:
"__afl_fork_wait_loop:\n""\n"" /* Wait for parent by reading from the pipe. Abort if read fails. */\n""\n"" pushl $4 /* length */\n"" pushl $__afl_temp /* data */\n"" pushl $" STRINGIFY(FORKSRV_FD) " /* file desc */\n"" call read\n"
一旦fork server接收到fuzzer的信息,便调用fork(),得到父进程和子进程:
" call fork\n""\n"" cmpl $0, %eax\n"" jl __afl_die\n"" je __afl_fork_resume\n"
子进程是实际执行target的进程,其跳转到__afl_fork_resume。在这里会关闭不再需要的管道,并继续执行:
"__afl_fork_resume:\n""\n"" /* In child process: close fds, resume execution. */\n""\n"" pushl $" STRINGIFY(FORKSRV_FD) "\n"" call close\n""\n"" pushl $" STRINGIFY((FORKSRV_FD + 1)) "\n"" call close\n""\n"" addl $8, %esp\n""\n"" popl %edx\n"" popl %ecx\n"" popl %eax\n"" jmp __afl_store\n"
父进程则仍然作为fork server运行,其会将子进程的pid通过状态管道发送给fuzzer,并等待子进程执行完毕;一旦子进程执行完毕,则再通过状态管道,将其结束状态发送给fuzzer;之后再次进入等待状态__afl_fork_wait_loop:
" /* In parent process: write PID to pipe, then wait for child. */\n""\n"" movl %eax, __afl_fork_pid\n""\n"" pushl $4 /* length */\n"" pushl $__afl_fork_pid /* data */\n"" pushl $" STRINGIFY((FORKSRV_FD + 1)) " /* file desc */\n"" call write\n"" addl $12, %esp\n""\n"" pushl $0 /* no flags */\n"" pushl $__afl_temp /* status */\n"" pushl __afl_fork_pid /* PID */\n"" call waitpid\n"" addl $12, %esp\n""\n"" cmpl $0, %eax\n"" jle __afl_die\n""\n"" /* Relay wait status to pipe, then loop back. */\n""\n"" pushl $4 /* length */\n"" pushl $__afl_temp /* data */\n"" pushl $" STRINGIFY((FORKSRV_FD + 1)) " /* file desc */\n"" call write\n"" addl $12, %esp\n""\n"" jmp __afl_fork_wait_loop\n"
fork server机制的具体代码实现及分析
程序开始第一遍fuzz时,会执行perform_dry_run函数,该函数会执行 input 文件夹下预先准备的所有测试用例,生成初始化的 queue 和 bitmap,并且这个过程只会对初始输入执行一次,所以叫:dry run。其运行流程如下:
- 进入
while循环,遍历input队列,从队列中取出q->fname,读取文件内容到分配的内存中,然后关闭文件;- 调用
calibrate_case函数校准该测试用例;- 根据校准的返回值
res,判断错误类型;- 打印错误信息,退出。
perform_dry_run()的核心调用是calibrate_case函数,这个函数是用于新测试用例的校准,在处理输入目录时执行,以便在早期就发现有问题的测试用例,并且在发现新路径时,评估新发现的测试用例的是否可变。该函数在perform_dry_run、save_if_interesting、fuzz_one、pilot_fuzzing、core_fuzzing函数中均有调用。该函数的主要用途就是初始化并启动fork server,多次运行测试用例,并用update_bitmap_score进行初始的byte排序。其运行流程如下:
- 进行参数设置,包括当前阶段
stage_cur,阶段名称stage_name,新比特new_bit等初始化;- 参数
from_queue,判断case是否在队列中,且是否处于resuming session, 以此设置时间延迟。testcase参数q->cal_failed加1, 是否校准失败参数加1;- 判断是否已经启动fork server ,调用函数
init_forkserver();- 拷贝
trace_bits到first_trace,调用get_cur_time_us()获取开始时间start_us;- 进入loop循环,该loop循环多次执行testcase,循环次数为8次或者3次;
- 调用
write_to_testcase将修改后的数据写入文件进行测试。如果use_stdin被清除,取消旧文件链接并创建一个新文件。否则,缩短prog_in_fd;- 调用
run_target通知fork server可以开始fork并fuzz;- 调用
hash32校验此次运行的trace_bits,检查是否出现新的情况;- 将本次运行的出现
trace_bits哈希和本次 testcase的q->exec_cksum对比。如果发现不同,则调用has_new_bits函数和总表virgin_bits对比;- 判断
q->exec_cksum是否为0,不为0说明不是第一次执行。后面运行如果和前面第一次trace_bits结果不同,则需要多运行几次;- loop循环结束;
- 收集一些关于测试用例性能的统计数据,比如执行时间延迟,校准错误,bitmap大小等等;
- 调用
update_bitmap_score()函数对测试用例的每个byte进行排序,用一个top_rate[]维护最佳入口;- 如果没有从检测中得到
new_bit,则告诉父进程,这是一个无关紧要的问题,但是需要提醒用户。
在calibrate_case()中有两个关键调用init_forkserver和run_target函数。init_forkserver函数主要就是用于在插桩模式下启动fork server和目标程序,结合其源码实现的分析如下:
EXP_ST void init_forkserver(char **argv) {static struct itimerval it;int st_pipe[2], ctl_pipe[2];int status;s32 rlen;ACTF("Spinning up the fork server...");// 检查状态管道st_pipe和控制管道ctl_pipeif (pipe(st_pipe) || pipe(ctl_pipe))PFATAL("pipe() failed");// fork出一个子进程forksrv_pid = fork();// 若fork成功,则父进程即为fuzzer// 子进程即为目标程序进程,也就是将来的fork serverif (forksrv_pid < 0) PFATAL("fork() failed"); // fork失败// 子进程和父进程都会向下执行,通过pid来使父子进程执行不同的代码if (!forksrv_pid) {// 子进程执行struct rlimit r;/* Umpf. On OpenBSD, the default fd limit for root users is set tosoft 128. Let's try to fix that... */// 设置可以打开的最大的文件描述符的数量if (!getrlimit(RLIMIT_NOFILE, &r) && r.rlim_cur < FORKSRV_FD + 2) {r.rlim_cur = FORKSRV_FD + 2;setrlimit(RLIMIT_NOFILE, &r); /* Ignore errors */}if (mem_limit) {r.rlim_max = r.rlim_cur = ((rlim_t)mem_limit) << 20;#ifdef RLIMIT_ASsetrlimit(RLIMIT_AS, &r); /* Ignore errors */
#else/* This takes care of OpenBSD, which doesn't have RLIMIT_AS, butaccording to reliable sources, RLIMIT_DATA covers anonymousmaps - so we should be getting good protection against OOMbugs. */setrlimit(RLIMIT_DATA, &r); /* Ignore errors */#endif /* ^RLIMIT_AS */}/* Dumping cores is slow and can lead to anomalies if SIGKILL isdeliveredbefore the dump is complete. */r.rlim_max = r.rlim_cur = 0;setrlimit(RLIMIT_CORE, &r); /* Ignore errors *//* Isolate the process and configure standard descriptors. Ifout_file is specified, stdin is /dev/null; otherwise, out_fd iscloned instead. */// 创建一个守护进程setsid();// 重定向文件描述符1和2到dev_null_fddup2(dev_null_fd, 1);dup2(dev_null_fd, 2);// 如果指定了out_file,则文件描述符0重定向到dev_null_fd,否则重定向到out_fdif (out_file) {dup2(dev_null_fd, 0);} else {dup2(out_fd, 0);close(out_fd);}/* Set up control and status pipes, close the unneededoriginal fds. */// 设置控制和状态管道,关闭一些不需要的文件描述符if (dup2(ctl_pipe[0], FORKSRV_FD) < 0) PFATAL("dup2() failed");if (dup2(st_pipe[1], FORKSRV_FD + 1) < 0) PFATAL("dup2() failed");close(ctl_pipe[0]);close(ctl_pipe[1]);close(st_pipe[0]);close(st_pipe[1]);close(out_dir_fd);close(dev_null_fd);close(dev_urandom_fd);close(fileno(plot_file));/* This should improve performance a bit, since it stops the linkerfrom doing extra work post-fork(). */// 如果没有设置延迟绑定,则进行设置,不使用缺省模式if (!getenv("LD_BIND_LAZY")) setenv("LD_BIND_NOW", "1", 0);/* Set sane defaults for ASAN if nothing else specified. */// 设置环境变量ASAN_OPTIONS,配置ASAN相关setenv("ASAN_OPTIONS", "abort_on_error=1:""detect_leaks=0:""symbolize=0:""allocator_may_return_null=1", 0);/* MSAN is tricky, because it doesn't support abort_on_error=1 atthis point. So, we do this in a very hacky way. */// MSAN相关setenv("MSAN_OPTIONS", "exit_code=" STRINGIFY(MSAN_ERROR) ":""symbolize=0:""abort_on_error=1:""allocator_may_return_null=1:""msan_track_origins=0", 0);// 带参数执行目标程序,报错才返回// execv()函数执行后永远不会返回(除非出错),且运行程序会替换当前进程,pid不变// 第一个目标程序会进入__afl_fork_wait_loop,并充当fork server// 在整个过程中,每次都会从fork server中fork出来一个子进程去fuzz// 流程就是:fuzzer -> fork server -> targetexecv(target_path, argv);/* Use a distinctive bitmap signature to tell the parent aboutexecv() falling through. */// 告诉父进程执行失败,结束子进程*(u32*)trace_bits = EXEC_FAIL_SIG;exit(0);}/* PARENT PROCESS *//* Close the unneeded endpoints. */close(ctl_pipe[0]);close(st_pipe[1]);fsrv_ctl_fd = ctl_pipe[1]; // 父进程只能发送命令fsrv_st_fd  = st_pipe[0];  // 父进程只能读取状态/* Wait for the fork server to come up, but don't wait too long. */// 在一定时间内等待fork server启动it.it_value.tv_sec = ((exec_tmout * FORK_WAIT_MULT) / 1000);it.it_value.tv_usec = ((exec_tmout * FORK_WAIT_MULT) % 1000) * 1000;setitimer(ITIMER_REAL, &it, NULL);// 从管道里读取4字节数据到statusrlen = read(fsrv_st_fd, &status, 4); it.it_value.tv_sec = 0;it.it_value.tv_usec = 0;setitimer(ITIMER_REAL, &it, NULL);/* If we have a four-byte "hello" message from the server, we're allset. Otherwise, try to figure out what went wrong. */// 以读取的结果判断fork server是否成功启动// 如果读取到4字节的"hello"信息就说明启动成功,否则启动失败if (rlen == 4) {OKF("All right - fork server is up.");return;}// 子进程启动失败的异常处理相关if (child_timed_out) FATAL("Timeout while initializing fork server (adjusting -t may help)");if (waitpid(forksrv_pid, &status, 0) <= 0) PFATAL("waitpid() failed");/* 此处省略部分异常处理 */FATAL("Fork server handshake failed");
}
run_target函数则主要用于执行目标应用程序,并进行超时监控,返回状态信息,被调用的程序会更新trace_bits[]。这个函数在之后每次调用新的二进制程序的时候都会使用,其先检查有无启动fork server,若是没有的话(即第一次执行目标程序时)就先启动一个(也因此在代码上与init_forkserver有所重叠),否则run_target函数就只需要通过管道与fork server进行交互即可,而不必每次都重新创建一个目标进程。
参考资料
- Fuzzing random programs without execve()
- AFL二三事——源码分析
- AFL源码阅读笔记
- [原创]AFL afl_fuzz.c 详细分析
- AFL内部实现细节小记

