WPF布局——布局面板WrapPanel
- WPF——WrapPanel布局控件
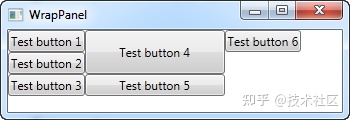
- WrapPanel实例——十个按钮
WPF——WrapPanel布局控件
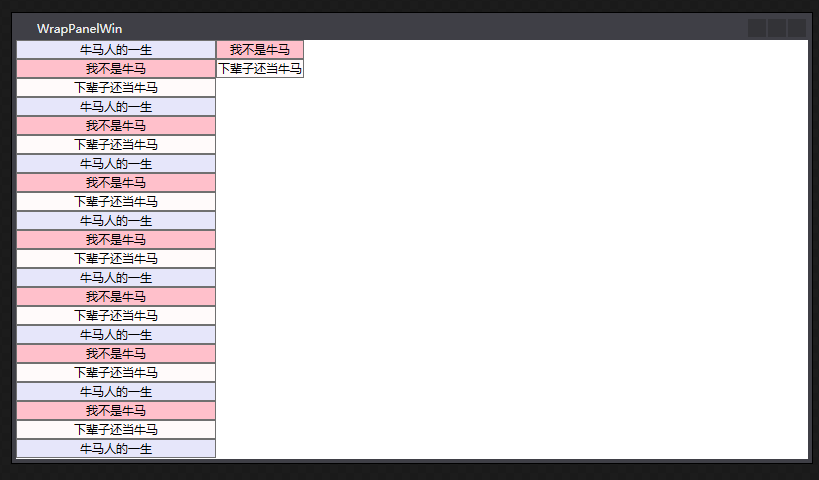
WrapPanel(自动折行面板),允许任意多的子元素按照声明的先后顺序,从左往右摆放,摆满一行后,自动折行。折行面板的经典的例子就是工具条布局。
默认情况下,WrapPanel根据子元素的内容,自动调整控件的大小。也可以设置ItemWidth和ItemHeight属性来约束子元素的宽度和高度。
WrapPanel实例——十个按钮
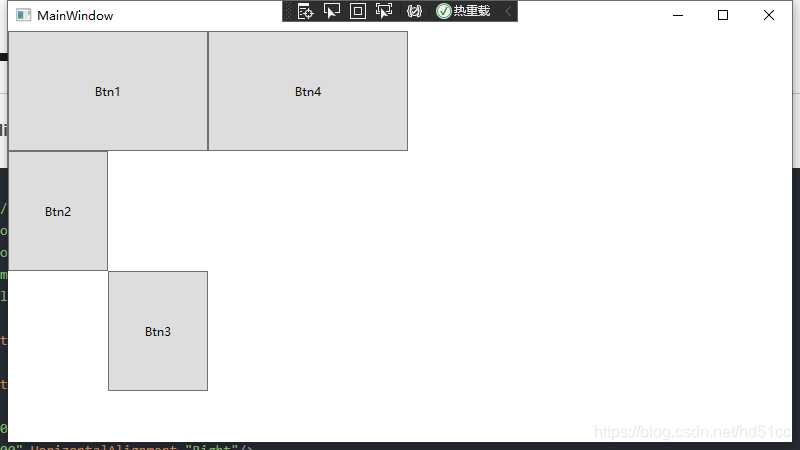
此例设计要求:现在使用自动折行面板来实现,在WrapPanel中布局十个子元素Button。
依旧是在解决方案WpfApp3新建项目:命名项目名字WrapPanelButton10。
XAML实现代码:
<Window x:Class="WrapPanelButton10.MainWindow"xmlns="http://schemas.microsoft.com/winfx/2006/xaml/presentation"xmlns:x="http://schemas.microsoft.com/winfx/2006/xaml"xmlns:d="http://schemas.microsoft.com/expression/blend/2008"xmlns:mc="http://schemas.openxmlformats.org/markup-compatibility/2006"xmlns:local="clr-namespace:WrapPanelButton10"mc:Ignorable="d"Title="MainWindow" Height="100" Width="420"><!-- ItemWidth设置每个Button控件宽度为40 --><WrapPanel Background="AliceBlue" ItemWidth="40"><Button>One</Button><Button>Two</Button><Button>Three</Button><Button>Four</Button><Button>Five</Button><Button>Six</Button><Button>Seven</Button><Button>Eight</Button><Button>Nine</Button><Button>Ten</Button></WrapPanel>
</Window>
效果图:

把上图的窗口宽度变窄,调整到一行放5个Button的宽度,就可以变成下面这样,这正是体现了WrapPanel自动折行的属性

上一篇:WPF编程基础入门 ——— 第三章 布局(四)布局面板StackPanel.
下一篇:WPF编程基础入门 ——— 第三章 布局(六)布局面板UniformGrid.
WPF编程基础入门 ——— 目录导航.