安装龙蜥操作系统
镜像文件在这里下载就行 下载之后新建虚拟机 ISO选择刚才下载文件即可
具体配置可以照我来 也可自定义

基本工具安装
安装一下最基本的网络工具
yum install net-tools openssh-server wget tar make vim -y
测试一下ssh连接 方便后期操作
![[图片]](https://img-blog.csdnimg.cn/c89d862940db427db331e9bf7507a426.png)

修改主机名
[root@localhost ~]# hostnamectl set-hostname Anneliese   #Anneliese为你想要改成的主机名
[root@localhost ~]# bash
[root@Anneliese ~]#
查看系统版本
lsb_release -a

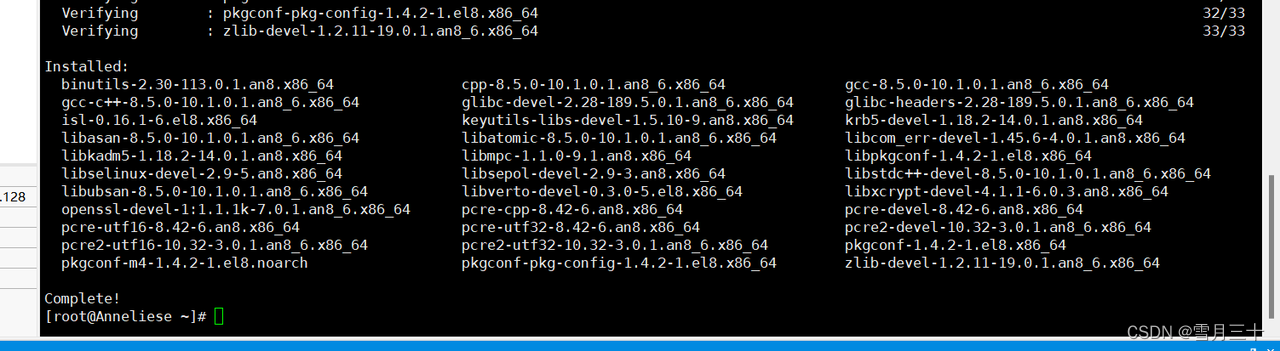
Nginx依赖安装
1.先安装gcc-c++编译器
yum install gcc-c++ -y
yum install -y openssl openssl-devel
2.再安装pcre包
yum install -y pcre pcre-devel
3.再安装zlib包
yum install -y zlib zlib-devel
Nginx安装
创建目录
在/usr/local/下创建文件nginx文件
mkdir /usr/local/nginx
cd  /usr/local/nginx
下载资源
在网上下nginx包上传至Linux 点这里选择一个版本下载
wget https://nginx.org/download/nginx-1.23.2.tar.gz
解压
解压并进入nginx目录
tar -zxvf nginx-1.23.2.tar.gz
cd nginx-1.23.2
配置
使用nginx默认配置
./configure

安装
编译安装
make
make install
查看安装路径
查找安装路径
whereis nginx
运行nginx
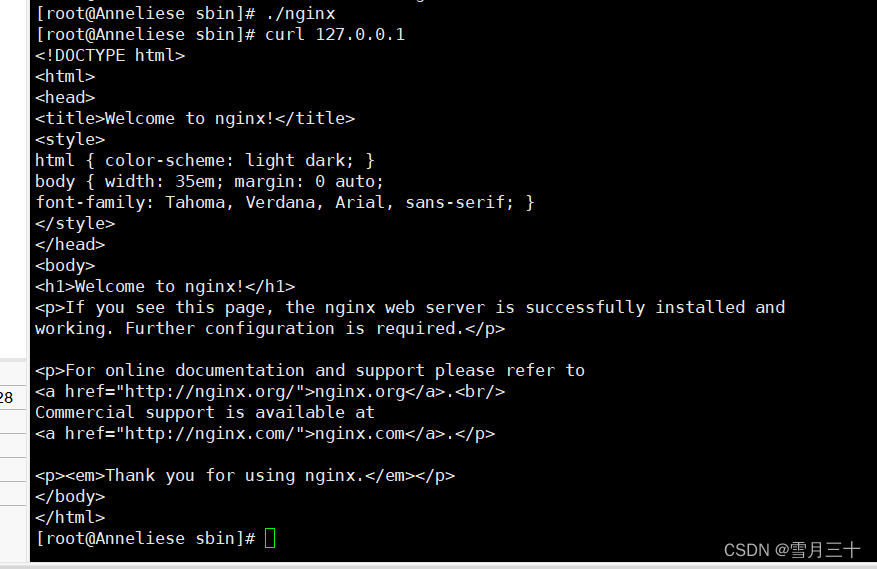
进入sbin目录,可以看到有一个可执行文件nginx,直接./nginx执行就OK了。
cd /usr/local/nginx/sbin
./nginx   #重启命令
关闭nginx
./nginx -s quit 或者 ./nginx -s stop
重载nginx
./nginx -s reload
查看是否启动成功
ps -ef | grep nginx
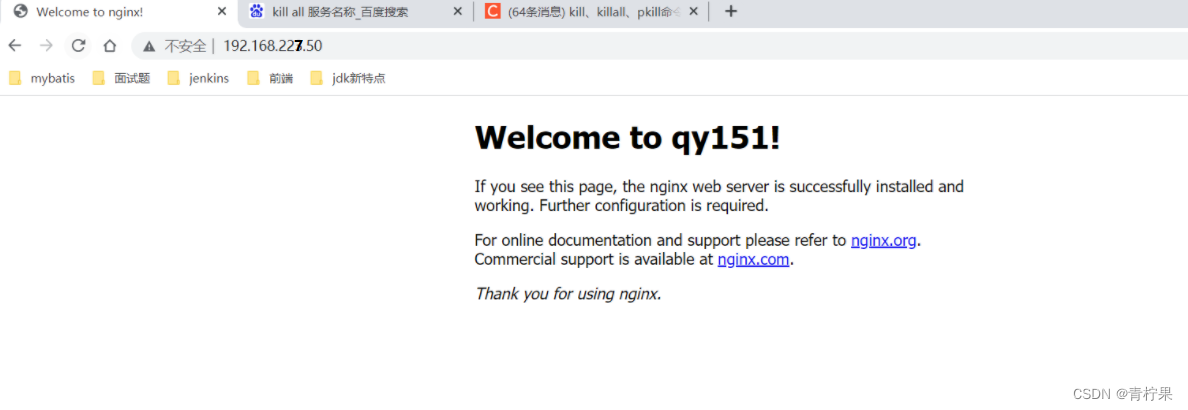
访问页面
然后在网页上访问自己的IP就可以了默认端口为80(出现如下欢迎界面就成功了!)
设置开启自启动
vim /etc/rc.local#最底部增加这一行
/usr/local/nginx/sbin/nginx

防火墙配置
查看http服务是否开启
firewall-cmd --query-service http #返回yes或者no

永久开放http服务
firewall-cmd --add-service=http --permanent

重启防火墙
firewall-cmd --reload

验证是否生效
这里每个人ip地址不一样注意

虚拟站点的配置(基于不同端口号)
新建两个页面
填写自己想要的信息
在目录 /usr/local/nginx/html 创建两个html文件

第一个页面
填写一下内容 当然也是要根据自己想填的信息来写
<!DOCTYPE html>
<html>
<head>
<title>Welcome to nginx!</title>
<style>
html { color-scheme: light dark; }
body { width: 35em; margin: 0 auto;
font-family: Tahoma, Verdana, Arial, sans-serif; }
</style>
</head>
<body>
<h1>Hello, xueyue. Thank you for seeing this.</h1>
</body>
</html>

第二个页面
<!DOCTYPE html>
<html>
<head>
<title>Welcome to nginx!</title>
<style>
html { color-scheme: light dark; }
body { width: 35em; margin: 0 auto;
font-family: Tahoma, Verdana, Arial, sans-serif; }
</style>
</head>
<body>
<h1>Hello, xueyue. Your student number is 2020101934. I miss you.</h1>
</body>
</html>

更改配置文件监听地址
vim /usr/local/nginx/conf/nginx.conf #vim使用不熟练也可以用 ftp进行更改
然后在合适的位置添加下面内容 内容里面的 index需要改成自己网页名称
server {listen       8080;server_name  Student;location / {root   html;index  xueyue.html xueyue.htm;}error_page   500 502 503 504  /50x.html;location = /50x.html {root   xueyue.html;}
}server {listen       9090;server_name  Student_Number;location / {root   html;index  Melanie.html Melanie.htm;}error_page   500 502 503 504  /50x.html;location = /50x.html {root   html;}
}
下面是我的配置文件 可以参考
#user  nobody;
worker_processes  1;#error_log  logs/error.log;
#error_log  logs/error.log  notice;
#error_log  logs/error.log  info;#pid        logs/nginx.pid;events {worker_connections  1024;
}http {include       mime.types;default_type  application/octet-stream;#log_format  main  '$remote_addr - $remote_user [$time_local] "$request" '#                  '$status $body_bytes_sent "$http_referer" '#                  '"$http_user_agent" "$http_x_forwarded_for"';#access_log  logs/access.log  main;sendfile        on;#tcp_nopush     on;#keepalive_timeout  0;keepalive_timeout  65;#gzip  on;server {listen       80;server_name  localhost;#charset koi8-r;#access_log  logs/host.access.log  main;location / {root   html;index  index.html index.htm;}#error_page  404              /404.html;# redirect server error pages to the static page /50x.html#error_page   500 502 503 504  /50x.html;location = /50x.html {root   html;}# proxy the PHP scripts to Apache listening on 127.0.0.1:80##location ~ \.php$ {#    proxy_pass   http://127.0.0.1;#}# pass the PHP scripts to FastCGI server listening on 127.0.0.1:9000##location ~ \.php$ {#    root           html;#    fastcgi_pass   127.0.0.1:9000;#    fastcgi_index  index.php;#    fastcgi_param  SCRIPT_FILENAME  /scripts$fastcgi_script_name;#    include        fastcgi_params;#}# deny access to .htaccess files, if Apache's document root# concurs with nginx's one##location ~ /\.ht {#    deny  all;#}}
server {listen       9090;server_name  localhost;location / {root   html;index  Melanie.html Melanie.htm;}error_page   500 502 503 504  /50x.html;location = /50x.html {root   html;}
}server {listen       8080;server_name  localhost;location / {root   html;index  xueyue.html xueyue.htm;}error_page   500 502 503 504  /50x.html;location = /50x.html {root   html;}
}# another virtual host using mix of IP-, name-, and port-based configuration##server {#    listen       8000;#    listen       somename:8080;#    server_name  somename  alias  another.alias;#    location / {#        root   html;#        index  index.html index.htm;#    }#}# HTTPS server##server {#    listen       443 ssl;#    server_name  localhost;#    ssl_certificate      cert.pem;#    ssl_certificate_key  cert.key;#    ssl_session_cache    shared:SSL:1m;#    ssl_session_timeout  5m;#    ssl_ciphers  HIGH:!aNULL:!MD5;#    ssl_prefer_server_ciphers  on;#    location / {#        root   html;#        index  index.html index.htm;#    }#}}
重载nginx
./nginx -s reload
防火墙开放端口号
sudo firewall-cmd --add-port=8080/tcp --permanent
sudo firewall-cmd --add-port=9090/tcp --permanent

重启防火墙
firewall-cmd --reload

查看已开放的端口
firewall-cmd --list-all

访问页面
http://192.168.90.128:8080/

http://192.168.90.128:9090/

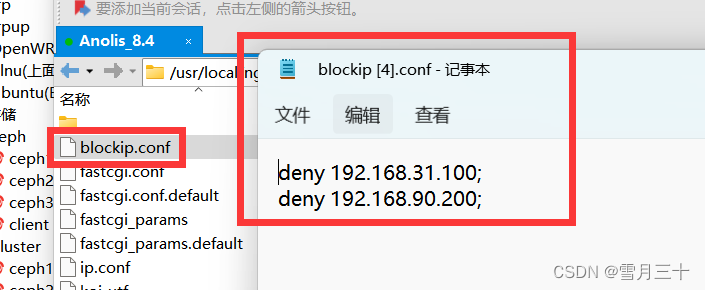
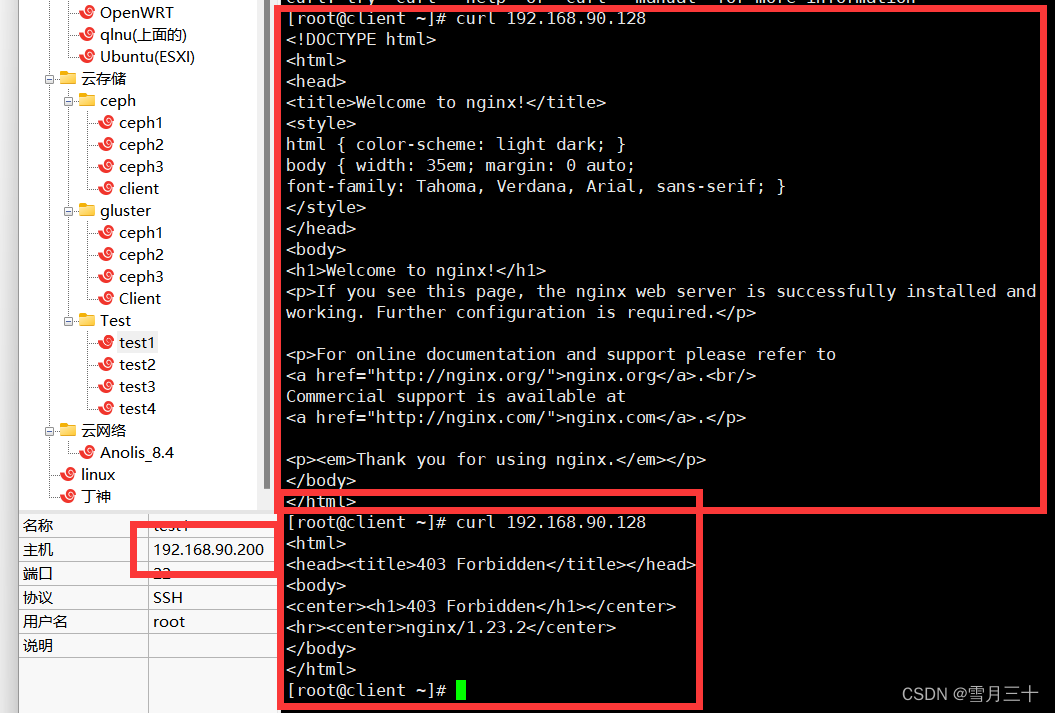
黑白名单
过于简单 不多说了


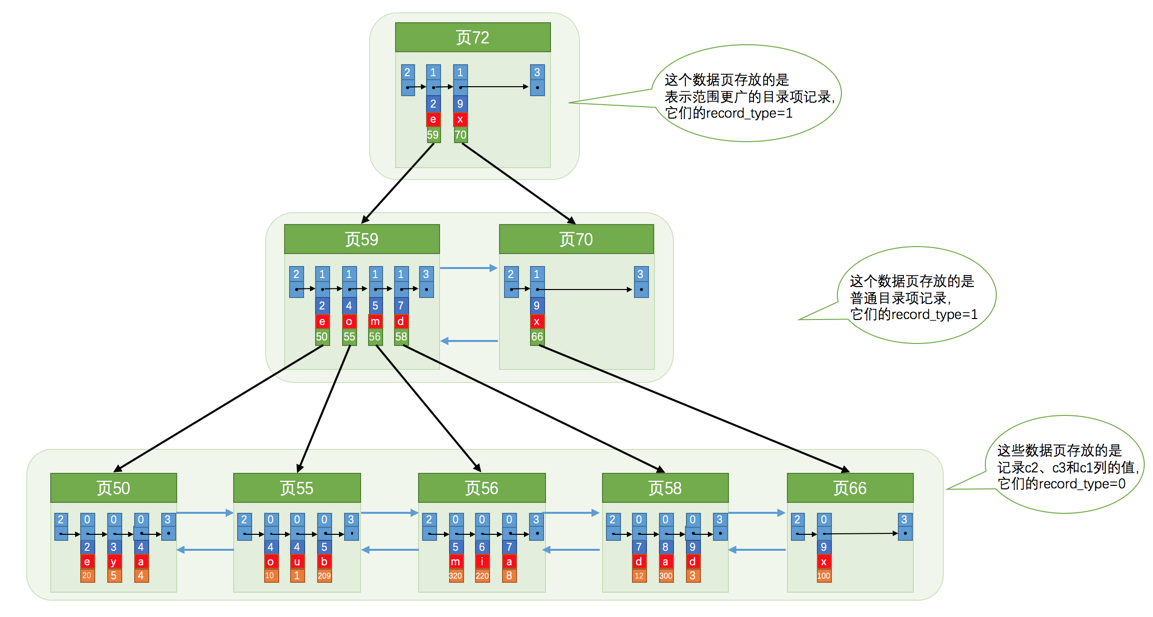
![[MySQL]索引详解](https://img-blog.csdnimg.cn/aa6d9630c57a41d49261fed6476d1518.png)