最近在开发的时候,需要使用下拉的效果,但是之前并没有进行书写过,今天做一个简单的demo,来记录一下微信小程序开发的下拉框效果。
微信小程序和jquery最大的区别就是是否操作dom,
微信小程序无需操作dom,可以直接利用数据驱动的方式来实现我们想要的效果。
下面展示一下我的demo,本人只是初学者,欢迎大家交流。所有的代码注释都添加在代码内了。
wxml
<view class="select"><view class="tab"><!--bindtap="selectEle" 指的是绑定小程序的点击事件 data-index="{{selectArray[0].index}}" 绑定索引值,方便循环遍历--><view class="title" bindtap="selectEle" data-index="{{selectArray[0].index}}">1.第一列</view><!-- {{selectArray[0].value ? 'show' : 'hide'}} 通过selectArray这个数组来动态的绑定class 来实现显示和隐藏--><view class="tab_label {{selectArray[0].value ? 'show' : 'hide'}}" >我是第一列的描述</view></view><view class="tab"><view class="title" bindtap="selectEle" data-index="{{selectArray[1].index}}">2.第二列</view><view class="tab_label {{selectArray[1].value ? 'show' : 'hide'}}">我是第二列的描述</view></view><view class="tab"><view class="title" bindtap="selectEle" data-index="{{selectArray[2].index}}">3.第三列</view><view class="tab_label {{selectArray[2].value ? 'show' : 'hide'}}">我是第三列的描述</view></view></view>
下面是js的代码
import {contacts} from '../data/contact'Page({/*** 页面的初始数据*/data: {selectArray:[   //设置下拉列表的数据  及其默认值{index:0,value:false},{index:1,value:false},{index:2,value:false}]},selectEle: function (e) {var that = this    //改变this指向let indexVal = e.currentTarget.dataset.index   //获取目标view上的data-index内的值that.data.selectArray.forEach(function(item, index){   //使用循环的方法遍历data内的数组if (indexVal == index) {   //根据索引判断是否和数组中的索引对应if(that.data.selectArray[index].value){let selectArray = that.data.selectArray   // 进行赋值,如果展开就赋值false,selectArray[index].value = false        //如果关闭就赋值truethat.setData({selectArray    //这里使用了es6的语法,即 selectArray:selectArray})}else {let selectArray = that.data.selectArrayselectArray[index].value = truethat.setData({selectArray})}}})}
})
最后是WXSS的代码,就是一个显示隐藏的样式
.tab_label.hide {display: none;
}
复制到小程序内就可以看到想要的效果了。
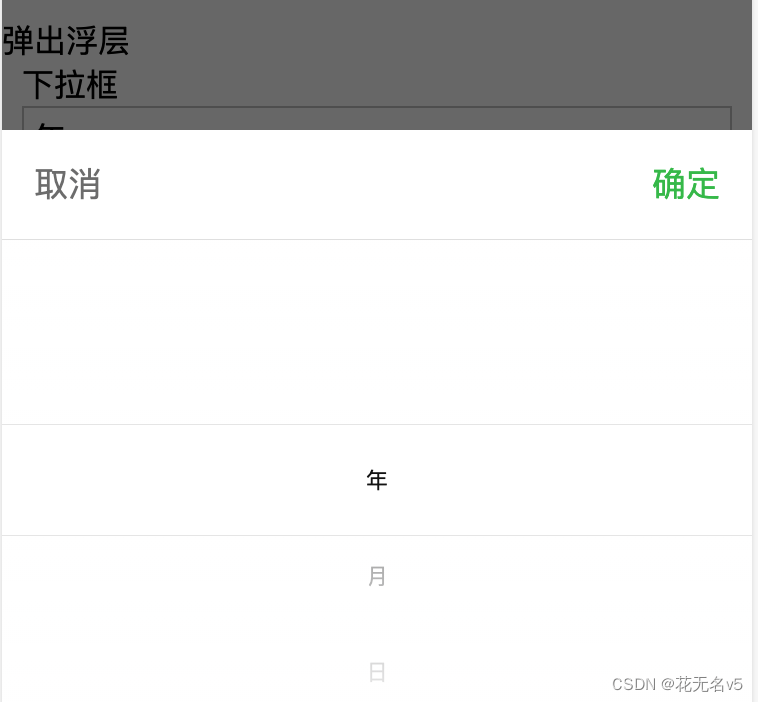
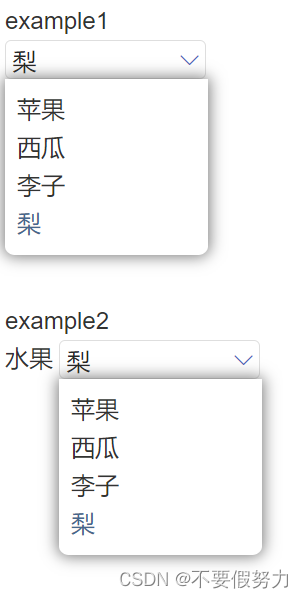
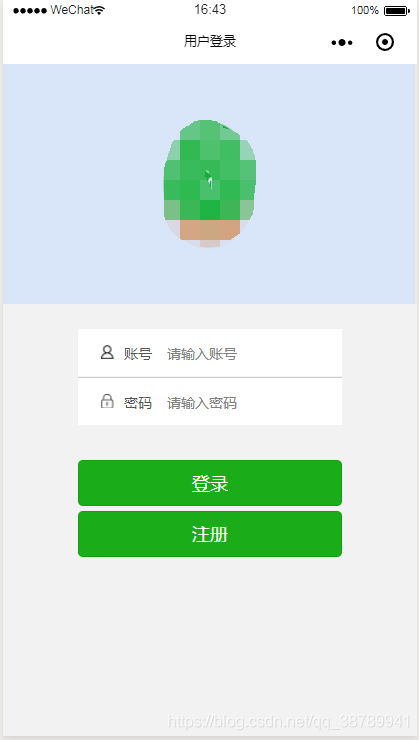
效果图