微信小程序实现简单登录界面和登录功能
问题背景
客户端开发和学习过程中,登录功能是一个很常见的场景。本文将介绍,微信小程序开发过程中是如何实现登录界面和登录功能的。
问题分析
话不多说,直接上代码。 (1)index.js文件,代码如下:
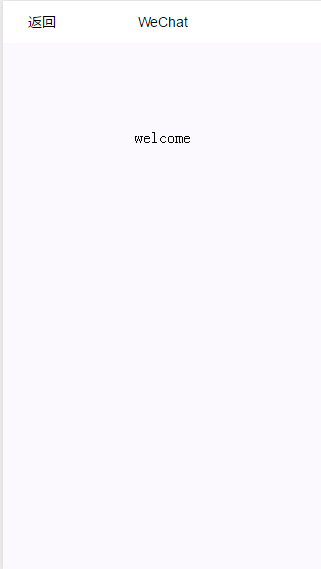
Page({/*** 页面的初始数据*/data:{code:"0",location:[],imageUrl: "https://profile-avatar.csdnimg.cn/default.jpg!0",userName:"",userPass:"",},/* 登录校验操作 */login: function () {if (this.data.userName === "baorant" && this.data.userPass === "123123") {wx.navigateTo({url: '/pages/index2/index',success: function(res) {console.log('router1 success');},fail: function(res) {console.log('router1 fail');console.log(res)}})} else {wx.showToast({title: '账号密码错误',icon: 'none'})}},
})
(2)index.wxml文件,代码如下:
<view class="container"><view class="title">登录页面测试</view><view class="inputRow"><View>账号</View><input type="text" model:value="{{userName}}" placeholder="请输入账号" class="phone_number"></input></view><!-- <view class="divLine"></view> --><view class="inputRow1"><View>密码</View><input type="text" model:value="{{userPass}}" placeholder="请输入密码" class="phone_number"></input></view><!-- <view class="divLine"></view> --><button class="buttonStyle" type="primary" bindtap="login">登录</button>
</view>
(3)index.wxss文件,代码如下:
/* 设置swiper组件的宽高 */
.swiper{width: 100%;height: 600rpx;
}
/* 设置swiper组件里面图片的宽高 */
.image{width: 100%;height: 600rpx;
}.container{height: 100%;display: flex;flex-direction: column;padding-top: 100rpx;
}.title{display:flex;font-size: larger;
}.inputRow{margin-top: 150rpx;display: flex;flex-direction: row;padding-bottom: 20rpx;border-bottom: .5px solid rgba(0, 0, 0, 0.1);
}/*分割线样式*/
.divLine{background: #E0E3DA;width: 80%;height: 5rpx;margin: 10rpx 150rpx;
}.inputRow1{margin-top: 50rpx;display: flex;flex-direction: row;padding-bottom: 20rpx;border-bottom: .5px solid rgba(0, 0, 0, 0.1);
}.phone_number{margin-left:40rpx;
}.content1{/* text-align: center; */display: flex;flex-direction: row;justify-content: space-between;margin: 10rpx;
}.buttonStyle{margin-top: 50rpx;
}.place{font-style: italic;
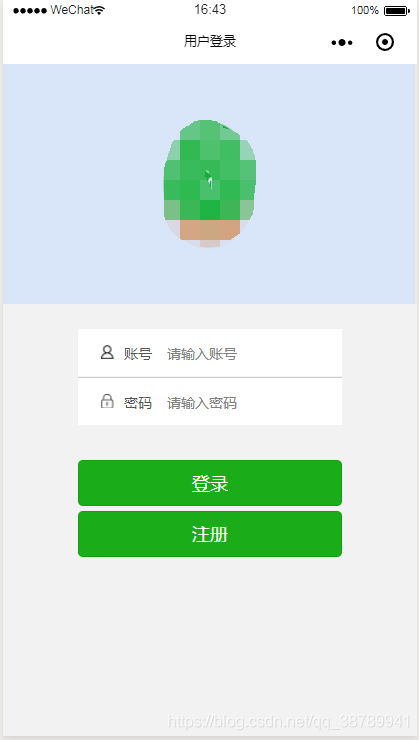
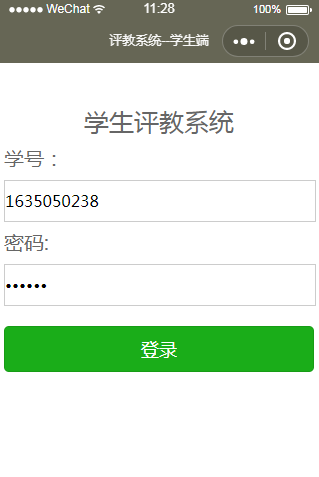
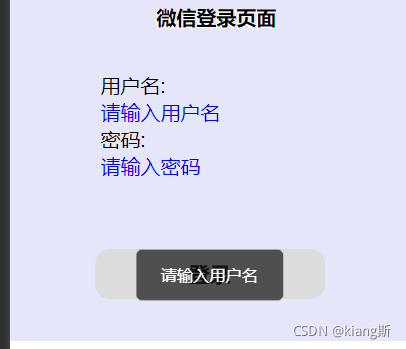
}运行结果如下: 
问题总结
本文介绍了微信小程序开发过程中模拟实现登录界面和登录功能,有兴趣的同学可以进一步深入研究。