相关文件
关注小编,私信小编领取哟!
当然别忘了一件三连哟~~
公众号:Python日志
可以关注小编公众号,会不定时的发布一下Python小技巧,还有很多资源可以免费领取哟!!
源码领取:加Python学习交流群:773162165 可以领取哟
开发工具
Python版本:3.7.8
相关模块:
pytorch模块;
pyqt5模块;
numpy模块;
pyttsx3模块;
以及一些python自带的模块。
环境搭建
安装Python并添加到环境变量,pip安装需要的相关模块即可。
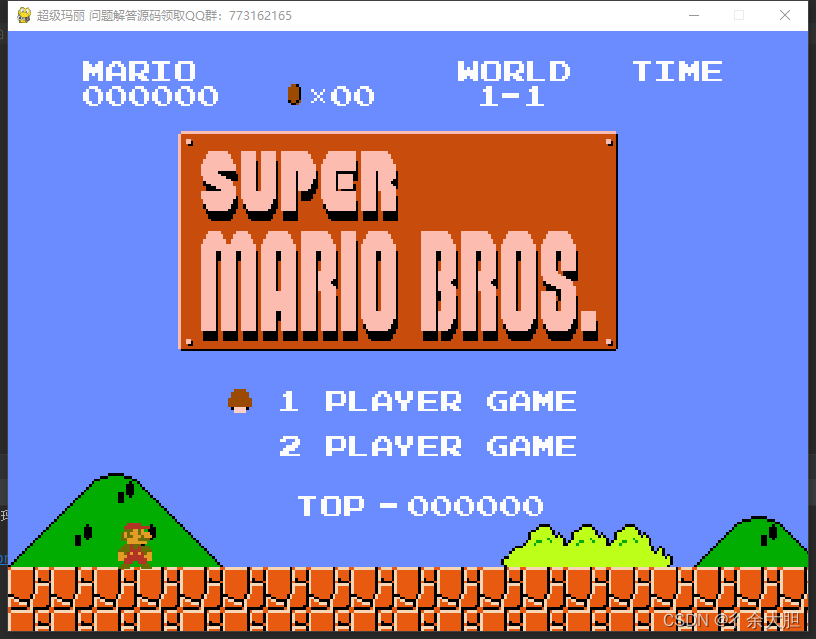
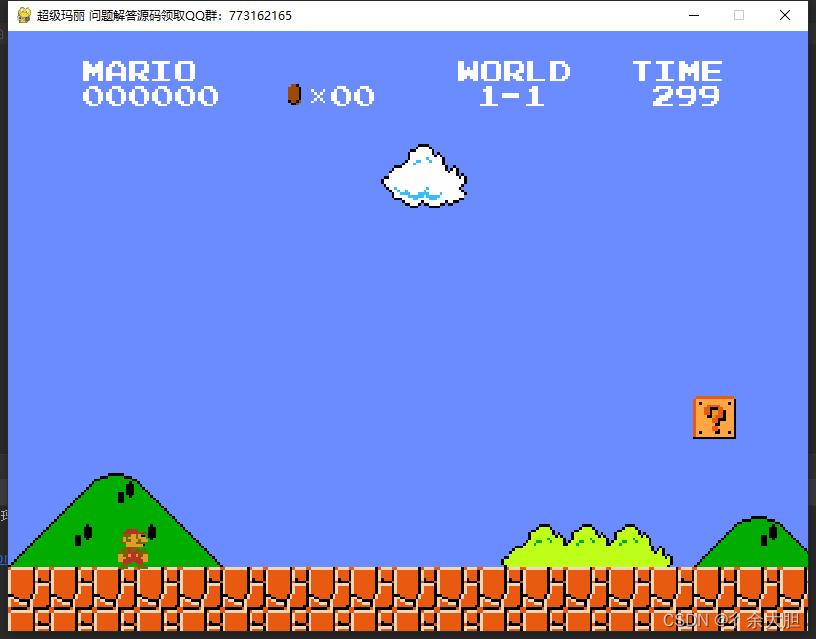
一:超级玛丽
效果展示
部分源码
class Box(pg.sprite.Sprite):def __init__(self, x, y, type, group=None, name=c.MAP_BOX):pg.sprite.Sprite.__init__(self)self.frames = []self.frame_index = 0self.load_frames()self.image = self.frames[self.frame_index]self.rect = self.image.get_rect()self.rect.x = xself.rect.y = yself.rest_height = yself.animation_timer = 0self.first_half = True # First half of animation cycleself.state = c.RESTINGself.y_vel = 0self.gravity = 1.2self.type = typeself.group = groupself.name = namedef load_frames(self):sheet = setup.GFX['tile_set']frame_rect_list = [(384, 0, 16, 16), (400, 0, 16, 16), (416, 0, 16, 16), (400, 0, 16, 16), (432, 0, 16, 16)]for frame_rect in frame_rect_list:self.frames.append(tools.get_image(sheet, *frame_rect, c.BLACK, c.BRICK_SIZE_MULTIPLIER))def update(self, game_info):self.current_time = game_info[c.CURRENT_TIME]if self.state == c.RESTING:self.resting()elif self.state == c.BUMPED:self.bumped()def resting(self):time_list = [375, 125, 125, 125]if (self.current_time - self.animation_timer) > time_list[self.frame_index]:self.frame_index += 1if self.frame_index == 4:self.frame_index = 0self.animation_timer = self.current_timeself.image = self.frames[self.frame_index]def bumped(self):self.rect.y += self.y_velself.y_vel += self.gravityif self.rect.y > self.rest_height + 5:self.rect.y = self.rest_heightself.state = c.OPENEDif self.type == c.TYPE_MUSHROOM:self.group.add(powerup.Mushroom(self.rect.centerx, self.rect.y))elif self.type == c.TYPE_FIREFLOWER:self.group.add(powerup.FireFlower(self.rect.centerx, self.rect.y))elif self.type == c.TYPE_LIFEMUSHROOM:self.group.add(powerup.LifeMushroom(self.rect.centerx, self.rect.y))self.frame_index = 4self.image = self.frames[self.frame_index]def start_bump(self, score_group):self.y_vel = -6self.state = c.BUMPEDif self.type == c.TYPE_COIN:self.group.add(coin.Coin(self.rect.centerx, self.rect.y, score_group))
class Coin(pg.sprite.Sprite):def __init__(self, x, y, score_group):pg.sprite.Sprite.__init__(self)self.frames = []self.frame_index = 0self.load_frames()self.image = self.frames[self.frame_index]self.rect = self.image.get_rect()self.rect.centerx = xself.rect.bottom = y - 5self.gravity = 1self.y_vel = -15self.animation_timer = 0self.initial_height = self.rect.bottom - 5self.score_group = score_groupdef load_frames(self):sheet = setup.GFX[c.ITEM_SHEET]frame_rect_list = [(52, 113, 8, 14), (4, 113, 8, 14), (20, 113, 8, 14), (36, 113, 8, 14)]for frame_rect in frame_rect_list:self.frames.append(tools.get_image(sheet, *frame_rect, c.BLACK, c.BRICK_SIZE_MULTIPLIER))def update(self, game_info):self.current_time = game_info[c.CURRENT_TIME]self.spinning()def spinning(self):self.image = self.frames[self.frame_index]self.rect.y += self.y_velself.y_vel += self.gravityif (self.current_time - self.animation_timer) > 80:if self.frame_index < 3:self.frame_index += 1else:self.frame_index = 0self.animation_timer = self.current_timeif self.rect.bottom > self.initial_height:self.kill()class FlashCoin(pg.sprite.Sprite):def __init__(self, x, y):pg.sprite.Sprite.__init__(self)self.frame_index = 0self.frames = []self.load_frames()self.image = self.frames[self.frame_index]self.rect = self.image.get_rect()self.rect.x = xself.rect.y = yself.animation_timer = 0def load_frames(self):sheet = setup.GFX[c.ITEM_SHEET]frame_rect_list = [(1, 160, 5, 8), (9, 160, 5, 8),(17, 160, 5, 8), (9, 160, 5, 8)]for frame_rect in frame_rect_list:self.frames.append(tools.get_image(sheet, *frame_rect, c.BLACK, c.BRICK_SIZE_MULTIPLIER))def update(self, current_time):time_list = [375, 125, 125, 125]if self.animation_timer == 0:self.animation_timer = current_timeelif (current_time - self.animation_timer) > time_list[self.frame_index]:self.frame_index += 1if self.frame_index == 4:self.frame_index = 0self.animation_timer = current_timeself.image = self.frames[self.frame_index]class StaticCoin(pg.sprite.Sprite):def __init__(self, x, y):pg.sprite.Sprite.__init__(self)self.frame_index = 0self.frames = []self.load_frames()self.image = self.frames[self.frame_index]self.rect = self.image.get_rect()self.rect.x = xself.rect.y = yself.animation_timer = 0def load_frames(self):sheet = setup.GFX[c.ITEM_SHEET]frame_rect_list = [(3, 98, 9, 13), (19, 98, 9, 13),(35, 98, 9, 13), (51, 98, 9, 13)]for frame_rect in frame_rect_list:self.frames.append(tools.get_image(sheet, *frame_rect, c.BLACK, c.BRICK_SIZE_MULTIPLIER))def update(self, game_info):self.current_time = game_info[c.CURRENT_TIME]time_list = [375, 125, 125, 125]if self.animation_timer == 0:self.animation_timer = self.current_timeelif (self.current_time - self.animation_timer) > time_list[self.frame_index]:self.frame_index += 1if self.frame_index == 4:self.frame_index = 0self.animation_timer = self.current_timeself.image = self.frames[self.frame_index]
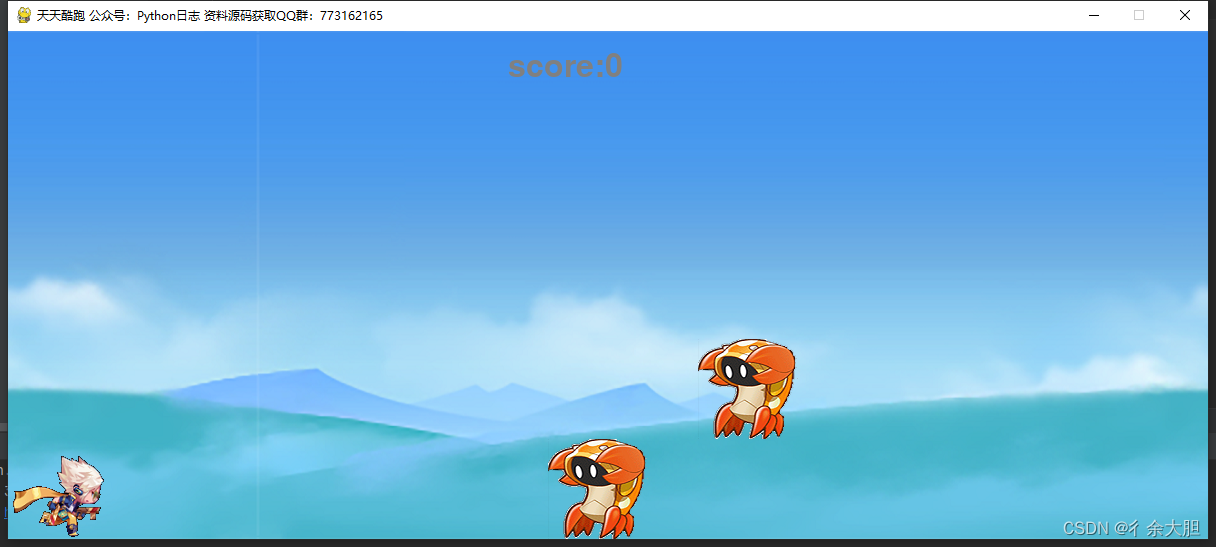
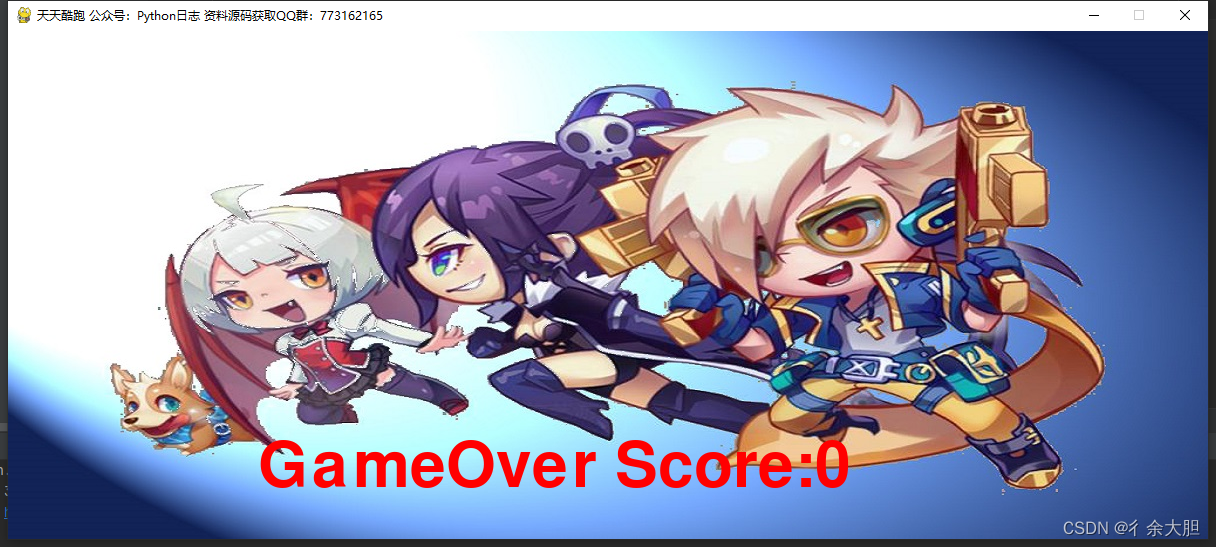
二:天天酷跑
效果展示
部分源码
class Role: #人物def __init__(self,surface=None,y=None):self.surface=surfaceself.y=yself.w=(surface.get_width())/12self.h=surface.get_height()/2self.currentFrame=-1self.state=0 #0代表跑步状态,1代表跳跃状态,2代表连续跳跃self.g=1 #重力加速度self.vy=0 #y轴速度 self.vy_start=-20 #起跳开始速度def getRect(self):return (0,self.y+12,self.w,self.h)class Object: #障碍物def __init__(self,surface,x=0,y=0):self.surface=surfaceself.x=xself.y=yself.w=surface.get_width()self.h=surface.get_height()self.currentFrame=random.randint(0,6)self.w = 100self.h = 100def getRect(self):return (self.x,self.y,self.w,self.h)def collision(self,rect1,rect2):#碰撞检测if (rect2[0]>=rect1[2]-20) or (rect1[0]+40>=rect2[2])or (rect1[1]+rect1[3]<rect2[1]+20) or (rect2[1]+rect2[3]<rect1[1]+20):return Falsereturn Trueclass Bg: #背景def __init__(self,surface):self.surface=surfaceself.dx=-10self.w=surface.get_width()self.rect=surface.get_rect()def initGame():global bg,role,clock,gameState,surObject,surGameOver,score,myFont,myFont1,objectList#分数初始化score=0#初始化objectList=[]#加载字体myFont=pygame.font.Font("./freesansbold.ttf",32)myFont1=pygame.font.Font("./freesansbold.ttf",64) # 创建时钟对象 (可以控制游戏循环频率)clock = pygame.time.Clock()#初始化游戏状态gameState=0#游戏背景surBg=pygame.image.load("image/bg.bmp").convert_alpha()bg=Bg(surBg)#结束画面surGameOver=pygame.image.load("image/gameover.bmp").convert_alpha()#人物图片surRole=pygame.image.load("image/role.png").convert_alpha() role=Role(surRole,508-85)#障碍物图片surObject=pygame.image.load("image/object.png").convert_alpha() def addObject():global surObject,object,objectList,objectrate=4#是否生成障碍物if not random.randint(0,300)<rate:returny=random.choice([height-100,height-200,height-300,height-400])object=Object(surObject,width+40,y)objectList.append(object)def updateLogic():global gameState,score#键盘事件处理for event in pygame.event.get():if event.type == pygame.QUIT:sys.exit()elif event.type==pygame.KEYDOWN:#空格键跳跃if gameState==0:if event.key==pygame.K_SPACE:if role.state==0:role.state=1role.vy=role.vy_startelif role.state==1:role.state=2role.vy=role.vy_startelif gameState==1:if event.key==pygame.K_SPACE:#重新开始游戏initGame()if gameState==0:#背景的移动 bg.dx+=10if bg.dx==1200:bg.dx=0 #人物的移动 if role.state==0: role.currentFrame+=1if role.currentFrame==12:role.currentFrame=0 else:role.y+=role.vyrole.vy+=role.g if role.y>=508-85:role.y=508-85role.state=0#障碍物的移动addObject()for object in objectList:object.x-=10 #障碍物移动# 障碍物超出屏幕,移除障碍物if object.x+object.w<=0:objectList.remove(object)score+=10 #避开障碍物,加10分print("移除了一个目标") #碰撞检测if object.collision(role.getRect(),object.getRect()):if(object.currentFrame==6):objectList.remove(object)score+=100 #吃金币加100分print(score)print("吃了一个金币")else: gameState=1 #游戏失败print("发生了碰撞!")
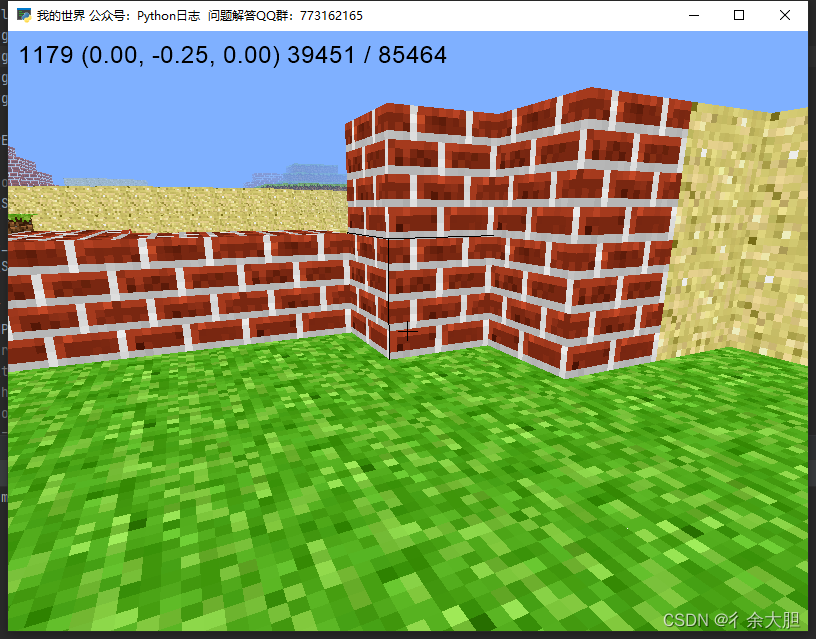
三:我的世界
效果展示
部分代码展示
class Model(object):def __init__(self):# A Batch is a collection of vertex lists for batched rendering.self.batch = pyglet.graphics.Batch()# A TextureGroup manages an OpenGL texture.self.group = TextureGroup(image.load(TEXTURE_PATH).get_texture())# A mapping from position to the texture of the block at that position.# This defines all the blocks that are currently in the world.self.world = {}# Same mapping as `world` but only contains blocks that are shown.self.shown = {}# Mapping from position to a pyglet `VertextList` for all shown blocks.self._shown = {}# Mapping from sector to a list of positions inside that sector.self.sectors = {}# Simple function queue implementation. The queue is populated with# _show_block() and _hide_block() callsself.queue = deque()self._initialize()def _initialize(self):""" Initialize the world by placing all the blocks."""n = 80 # 1/2 width and height of worlds = 1 # step sizey = 0 # initial y heightfor x in xrange(-n, n + 1, s):for z in xrange(-n, n + 1, s):# create a layer stone an grass everywhere.self.add_block((x, y - 2, z), GRASS, immediate=False)self.add_block((x, y - 3, z), STONE, immediate=False)if x in (-n, n) or z in (-n, n):# create outer walls.for dy in xrange(-2, 3):self.add_block((x, y + dy, z), STONE, immediate=False)# generate the hills randomlyo = n - 10for _ in xrange(120):a = random.randint(-o, o) # x position of the hillb = random.randint(-o, o) # z position of the hillc = -1 # base of the hillh = random.randint(1, 6) # height of the hills = random.randint(4, 8) # 2 * s is the side length of the hilld = 1 # how quickly to taper off the hillst = random.choice([GRASS, SAND, BRICK])for y in xrange(c, c + h):for x in xrange(a - s, a + s + 1):for z in xrange(b - s, b + s + 1):if (x - a) ** 2 + (z - b) ** 2 > (s + 1) ** 2:continueif (x - 0) ** 2 + (z - 0) ** 2 < 5 ** 2:continueself.add_block((x, y, z), t, immediate=False)s -= d # decrement side length so hills taper offdef hit_test(self, position, vector, max_distance=8):""" Line of sight search from current position. If a block isintersected it is returned, along with the block previously in the lineof sight. If no block is found, return None, None.Parameters----------position : tuple of len 3The (x, y, z) position to check visibility from.vector : tuple of len 3The line of sight vector.max_distance : intHow many blocks away to search for a hit."""m = 8x, y, z = positiondx, dy, dz = vectorprevious = Nonefor _ in xrange(max_distance * m):key = normalize((x, y, z))if key != previous and key in self.world:return key, previousprevious = keyx, y, z = x + dx / m, y + dy / m, z + dz / mreturn None, Nonedef exposed(self, position):""" Returns False is given `position` is surrounded on all 6 sides byblocks, True otherwise."""x, y, z = positionfor dx, dy, dz in FACES:if (x + dx, y + dy, z + dz) not in self.world:return Truereturn Falsedef add_block(self, position, texture, immediate=True):""" Add a block with the given `texture` and `position` to the world.Parameters----------position : tuple of len 3The (x, y, z) position of the block to add.texture : list of len 3The coordinates of the texture squares. Use `tex_coords()` togenerate.immediate : boolWhether or not to draw the block immediately."""if position in self.world:self.remove_block(position, immediate)self.world[position] = textureself.sectors.setdefault(sectorize(position), []).append(position)if immediate:if self.exposed(position):self.show_block(position)self.check_neighbors(position)def remove_block(self, position, immediate=True):""" Remove the block at the given `position`.Parameters----------position : tuple of len 3The (x, y, z) position of the block to remove.immediate : boolWhether or not to immediately remove block from canvas."""del self.world[position]self.sectors[sectorize(position)].remove(position)if immediate:if position in self.shown:self.hide_block(position)self.check_neighbors(position)
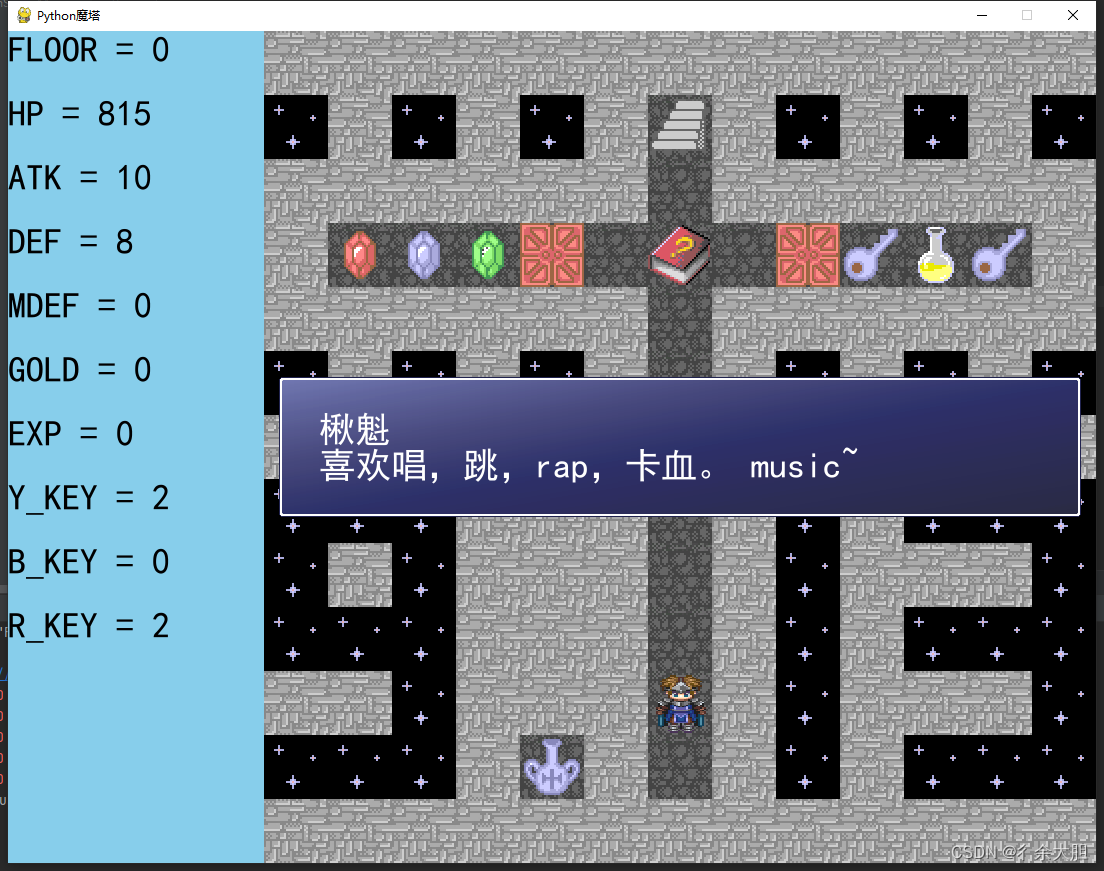
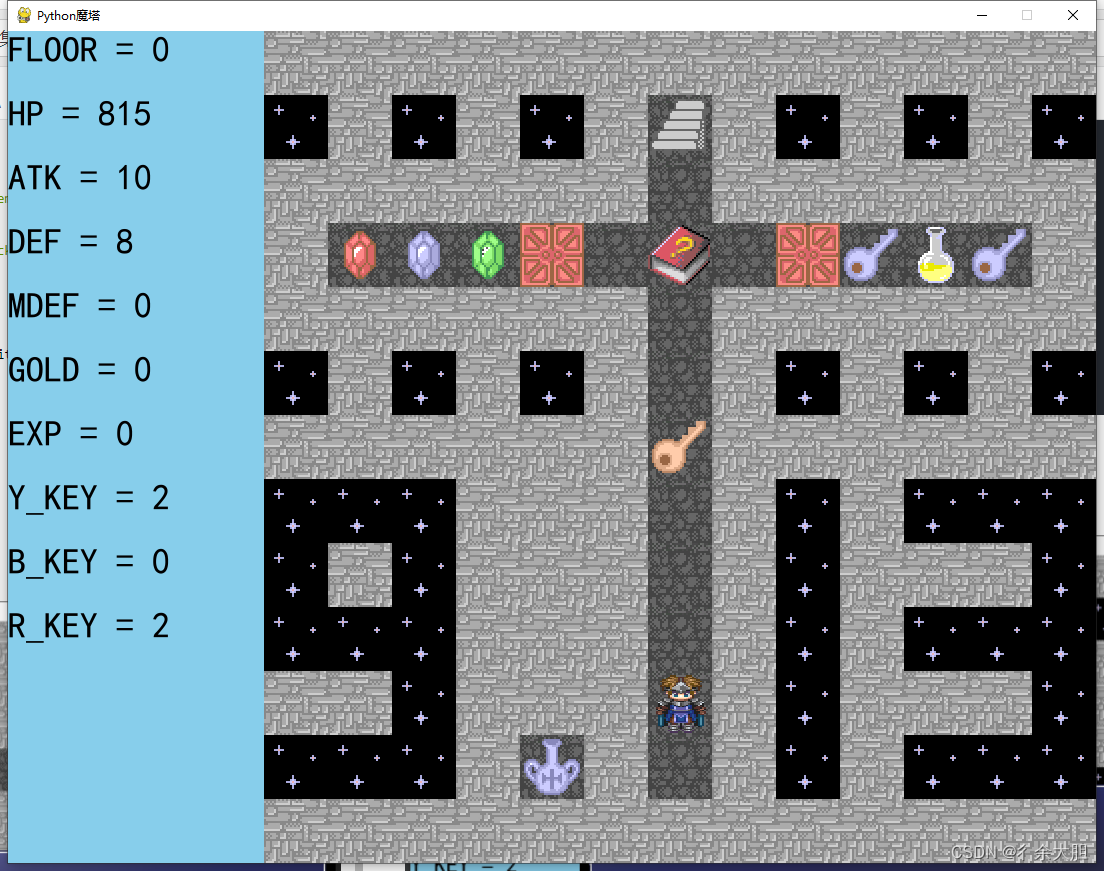
四:魔塔游戏
效果展示
部分代码展示
ef init_actions():# QUIT:def quit(e):global runningrunning = Falsereturn True# 注册事件action_control.register_action('QUIT', pygame.QUIT, quit)action_control.register_action('BOOK', pygame.KEYUP, global_var.get_value('BOOK').action)action_control.register_action('STARTMENU', pygame.KEYUP, global_var.get_value('STARTMENU').action)action_control.register_action('BACKPACK', pygame.KEYUP, global_var.get_value('BACKPACK').action)action_control.register_action('SAVE', pygame.KEYUP, global_var.get_value('SAVE').action)action_control.register_action('LOAD', pygame.KEYUP, global_var.get_value('LOAD').action)action_control.register_action('FLY', pygame.KEYUP, global_var.get_value('FLY').action)action_control.register_action('HELP', pygame.KEYUP, global_var.get_value('HELP').action)action_control.register_action('Shop1', pygame.KEYUP, global_var.get_value('Shop1').action)action_control.register_action('Shop2', pygame.KEYUP, global_var.get_value('Shop2').action)action_control.register_action('TEXTBOX', pygame.KEYUP, global_var.get_value('TEXTBOX').action)action_control.register_action('CHOICEBOX', pygame.KEYUP, global_var.get_value('CHOICEBOX').action)action_control.register_action('SHOWDAMAGE', pygame.KEYUP, global_var.get_value('SHOWDAMAGE').action)action_control.register_action('STATUSBAR', pygame.KEYUP, global_var.get_value('STATUSBAR').action)action_control.register_action('CURTAIN', pygame.KEYUP, global_var.get_value('CURTAIN').action)WriteLog.info(__name__, "事件全部注册完成")def init_sound():Music = music.MusicWrapper()global_var.set_value("Music", Music)WriteLog.info(__name__, "初始化音效完成")def init_event_flow():EVENTFLOW = EventFlow()global_var.set_value("EVENTFLOW", EVENTFLOW)EVENT = Event()global_var.set_value("EVENT", EVENT)EVENT.get_event_flow_module()EVENTFLOW.get_event_module()WriteLog.info(__name__, "初始化事件流完成")def init_function():FUNCTION = global_var.get_value("FUNCTION")FUNCTION.init_var()WriteLog.info(__name__, "初始化function完成")# DEBUG(开关在sysconf.py,如果开启将会启动控制台)
if DEBUG:import threadingdef console():while running:r = input()try:print(eval(r))except:try:exec(r)except Exception as e:print("error:", str(e))t = threading.Thread(target=console)t.start()init()
init_actions()
init_sound()
init_event_flow()
init_function()
clock = pygame.time.Clock()STARTMENU = global_var.get_value("STARTMENU")# 主程序
while running:# a = pygame.time.get_ticks()# 展示开始菜单if STARTMENU.new_game == True:STARTMENU.open()STARTMENU.new_game = False# 默认开启显伤show_damage = global_var.get_value("SHOWDAMAGE")show_damage.open()# 默认开启状态栏status_bar = global_var.get_value("STATUSBAR")status_bar.open()# 地图确保为active状态CurrentMap.active = True# 载入初始事件EVENTFLOW = global_var.get_value("EVENTFLOW")with open(os.path.join(os.getcwd(),"project", "start_text.json")) as f:start_text = json.load(f)EVENTFLOW.insert_action(start_text["startText"])pygame.display.update()# 背景RootScreen.flush(screen)  # 显示刷新到屏幕action_control.action_render()  # 检查动作消息# b = pygame.time.get_ticks()# print(b - a)
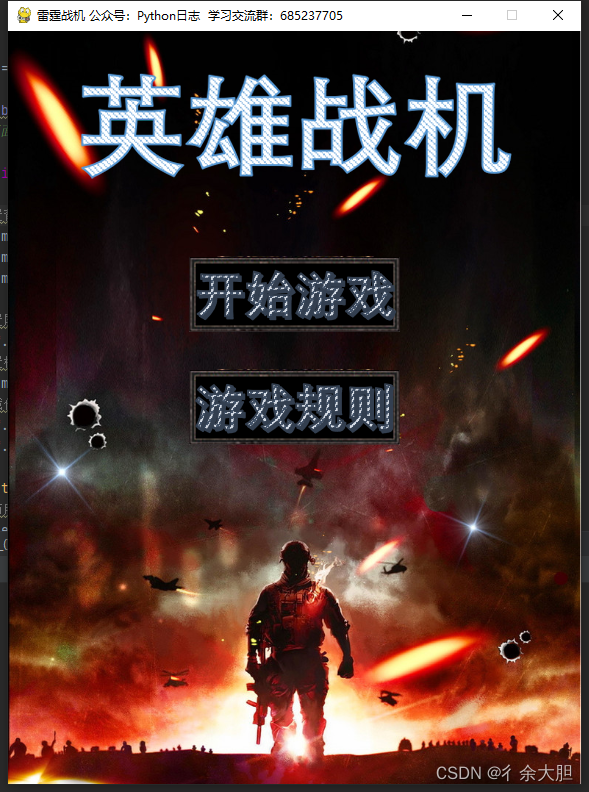
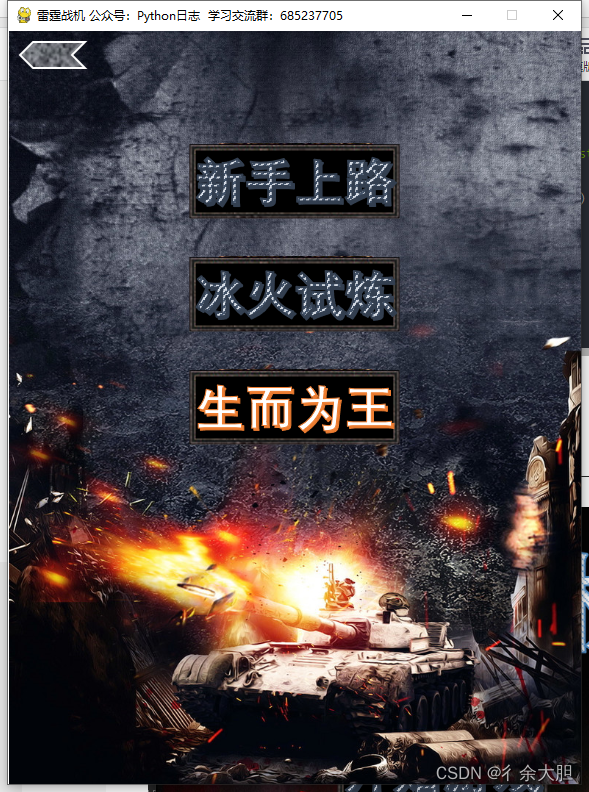
五:雷霆战机
效果展示

部分代码展示
class Menu(object):"""每个页面的父类"""def __init__(self, image, music):#设置背景音乐pygame.mixer.music.load(music)pygame.mixer.music.set_volume(0.4)pygame.mixer.music.play(-1)#设置屏幕大小self.screen = pygame.display.set_mode(SCREEN_RECT.size)#设置标题pygame.display.set_caption("雷霆战机 公众号:Python日志 学习交流群:685237705")#加载传入的图片并获取位置大小self.image = pygame.image.load(image)self.rect = self.image.get_rect()def event(self):#遍历所有事件for event in pygame.event.get():#点击游戏右上角的×关闭游戏if event.type == pygame.QUIT:pygame.quit()exit()#按下Esc键关闭游戏if event.type == pygame.KEYDOWN:if event.key == pygame.K_ESCAPE:pygame.quit()exit()#获取鼠标是否点击和位置self.mouse_press = pygame.mouse.get_pressed()self.mouse_pos = pygame.mouse.get_pos()@staticmethoddef clicks():#点击按钮时播放声音pygame.mixer.music.load("./music/mouse.mp3")#设置声音大小pygame.mixer.music.set_volume(0.5)#0为不循环播放,start为从音频的什么时候开始。pygame.mixer.music.play(loops=0, start=0.5)#500毫秒的时间慢慢退出pygame.mixer.music.fadeout(500)class MainMenu(Menu):"""游戏主菜单"""def __init__(self):#加载背景音乐和图片music = "./music/menu1.mp3"image = "./images/background2.png"super().__init__(image, music)def update_menu(self):while True:#调用父类的事件方法super().event()#加载按钮并获取位置start = pygame.image.load("./images/start1.png")start_rect = start.get_rect()rule = pygame.image.load("./images/rule1.png")rule_rect = rule.get_rect()# 开始键和查看键位置定位start_rect.centerx = SCREEN_RECT.centerxstart_rect.y = SCREEN_RECT.height * 0.3rule_rect.centerx = SCREEN_RECT.centerxrule_rect.y = SCREEN_RECT.height * 0.45#判断鼠标的横纵坐标是否在按钮图片范围内if (start_rect.left < self.mouse_pos[0] < start_rect.right) and (start_rect.top < self.mouse_pos[1] < start_rect.bottom):#在图片范围内则更换图片start = pygame.image.load("./images/start2.png")#按下鼠标左键,触发父类的私有方法发出鼠标声,并跳转页面if self.mouse_press[0]:Menu.clicks()GameType().update_menu()if (rule_rect.left < self.mouse_pos[0] < rule_rect.right) and (rule_rect.top < self.mouse_pos[1] < rule_rect.bottom):rule = pygame.image.load("./images/rule2.png")if self.mouse_press[0]:Menu.clicks()RuleMenu().update_menu()#更新背景、开始按钮、规则按钮self.screen.blit(self.image, self.rect)self.screen.blit(start, start_rect)self.screen.blit(rule, rule_rect)pygame.display.update()class GameType(Menu):"""游戏模式选择"""def __init__(self):music = "./music/type1.mp3"image = "./images/background4.png"super().__init__(image, music)def update_menu(self):while True:super().event()type1 = pygame.image.load("./images/first1.png")type1_rect = type1.get_rect()type2 = pygame.image.load("./images/second1.png")type2_rect = type2.get_rect()type3 = pygame.image.load("./images/third1.png")type3_rect = type3.get_rect()return_picture = pygame.image.load("./images/return5.png")return_rect = return_picture.get_rect()type1_rect.centerx = SCREEN_RECT.centerxtype1_rect.y = SCREEN_RECT.height * 0.15type2_rect.centerx = type1_rect.centerxtype2_rect.y = SCREEN_RECT.height * 0.3type3_rect.centerx = SCREEN_RECT.centerxtype3_rect.y = SCREEN_RECT.height * 0.45return_rect.x = 10return_rect.y = 10#调用自己的静态私有方法获取记录record1 = self.__record(str(1))record2 = self.__record(str(2))# 开始模式一if (type1_rect.left < self.mouse_pos[0] < type1_rect.right) and (type1_rect.top < self.mouse_pos[1] < type1_rect.bottom):type1 = pygame.image.load("./images/first2.png")if self.mouse_press[0]:Menu.clicks()plane_main_1.Game().start_game()#开始模式二if (type2_rect.left < self.mouse_pos[0] < type2_rect.right) and (type2_rect.top < self.mouse_pos[1] < type2_rect.bottom):type2 = pygame.image.load("./images/second2.png")if self.mouse_press[0]:Menu.clicks()#用获取的记录判断能否开启游戏关卡if 0 <= int(record1) <= 3:plane_main_2.Game().start_game()else:#不可以则调用禁止类的,显示禁止页面ProhibitMenu().update_menu()#开始模式三if (type3_rect.left < self.mouse_pos[0] < type3_rect.right) and (type3_rect.top < self.mouse_pos[1] < type3_rect.bottom):type3 = pygame.image.load("./images/third2.png")if self.mouse_press[0]:Menu.clicks()if 0 <= int(record2) <= 3:plane_main_3.Game().start_game()else:ProhibitMenu().update_menu()if return_rect.left < self.mouse_pos[0] < return_rect.right and (return_rect.top < self.mouse_pos[1] < return_rect.bottom):return_picture = pygame.image.load("./images/return6.png")if self.mouse_press[0]:Menu.clicks()MainMenu().update_menu()self.screen.blit(self.image, self.rect)self.screen.blit(type1, type1_rect)self.screen.blit(type2, type2_rect)self.screen.blit(type3, type3_rect)self.screen.blit(return_picture, return_rect)pygame.display.update()