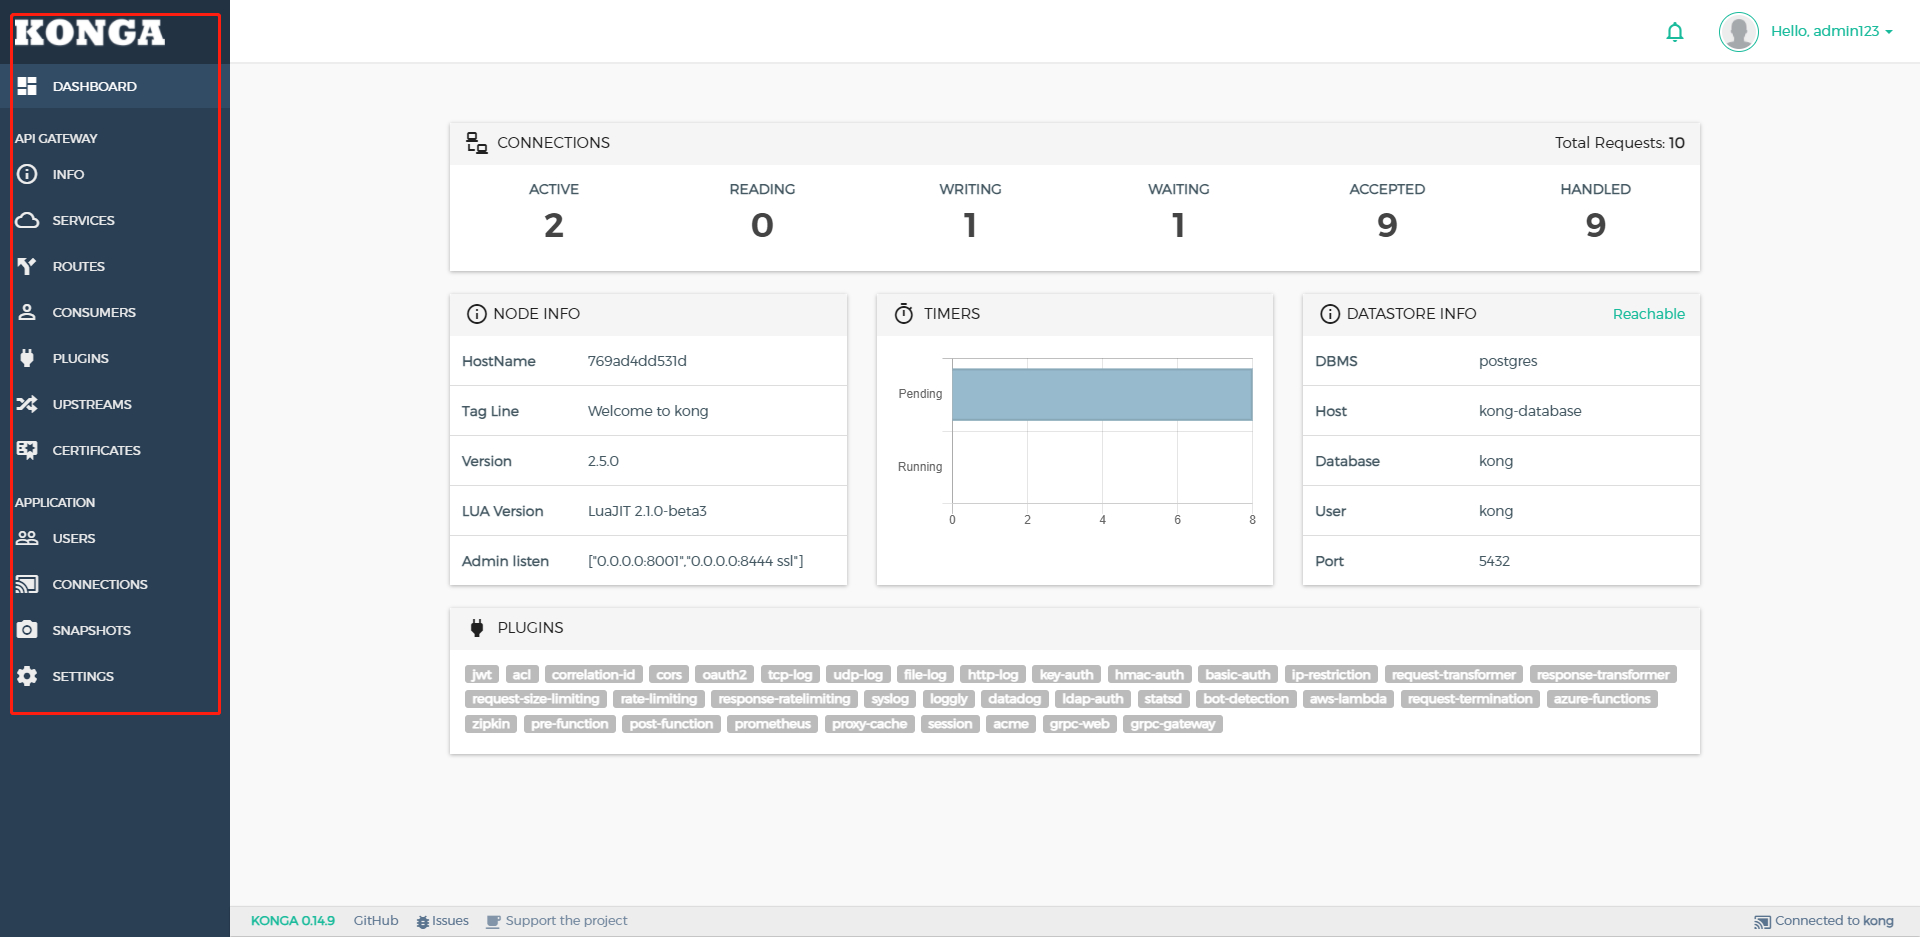
部署完成后界面

一、部署kong/kongA
1、创建一个自定义 Docker 网络以允许容器相互发现和通信:
docker network create kong-net2、启动一个 PostgreSQL 容器:
sudo docker run -d --name kong-database \--network=kong-net \-v /opt/pgdata:/var/lib/postgresql/data \-p 5432:5432 \-e "POSTGRES_USER=kong" \-e "POSTGRES_DB=kong" \-e "POSTGRES_PASSWORD=kong" \--restart always \postgres:9.63、准备Kong数据库:
docker run --rm \--network=kong-net \-e "KONG_DATABASE=postgres" \-e "KONG_PG_HOST=kong-database" \-e "KONG_PG_USER=kong" \-e "KONG_PG_PASSWORD=kong" \-e "KONG_CASSANDRA_CONTACT_POINTS=kong-database" \kong:latest kong migrations bootstrap4、启动kong:
docker run -d --name kong \--network=kong-net \-e "KONG_DATABASE=postgres" \-e "KONG_PG_HOST=kong-database" \-e "KONG_PG_USER=kong" \-e "KONG_PG_PASSWORD=kong" \-e "KONG_CASSANDRA_CONTACT_POINTS=kong-database" \-e "KONG_PROXY_ACCESS_LOG=/dev/stdout" \-e "KONG_ADMIN_ACCESS_LOG=/dev/stdout" \-e "KONG_PROXY_ERROR_LOG=/dev/stderr" \-e "KONG_ADMIN_ERROR_LOG=/dev/stderr" \-e "KONG_ADMIN_LISTEN=0.0.0.0:8001, 0.0.0.0:8444 ssl" \-p 80:8000 \-p 443:8443 \-p 8001:8001 \-p 8444:8444 \--restart always \kong:latest5、启动kongA:
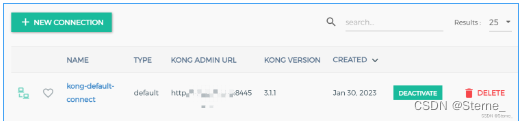
docker run -d -p 1337:1337 \--network=kong-net \-e "KONG_DATABASE=postgres" \-e "KONG_PG_HOST=kong-database" \-e "KONG_PG_USER=kong" \-e "KONG_PG_PASSWORD=kong" \-e "KONG_CASSANDRA_CONTACT_POINTS=kong-database" \-e "DB_DATABASE=konga_db" \-e "KONGA_HOOK_TIMEOUT=120000" \--name konga \pantsel/konga二、汉化kongA
mkdir dockertmp                                   #创建一个临时目录
cd dockertmp
docker ps -a                                      #查找konga的容器id
docker stop {konga容器id}                         #停止正在运行的容器
docker cp {konga容器id}:/app/assets ./            #将容器的文件复制到本地 docker pull jsonljd/konga-lang-plugin:latest     #拉取语言插件镜像docker run -d --name konga-lang-plugin \         #运行镜像,需要设置逻辑目录-v ./assets:/app/assets \jsonljd/konga-lang-plugin                       docker cp ./assets {konga容器id}:/app            #覆盖成功后即可
docker start {konga容器id}                       #重启容器