地址
下载源代码
下载完成后解压
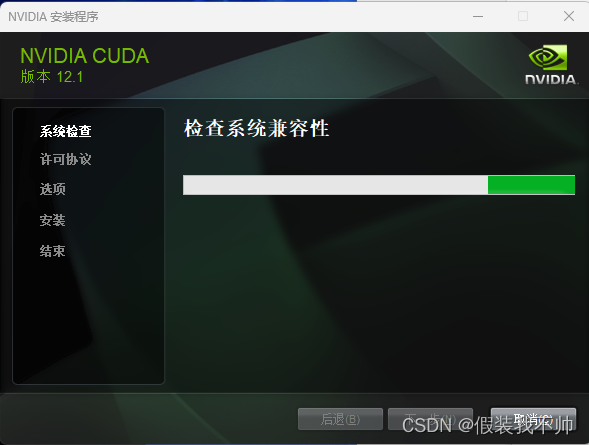
安装cuda
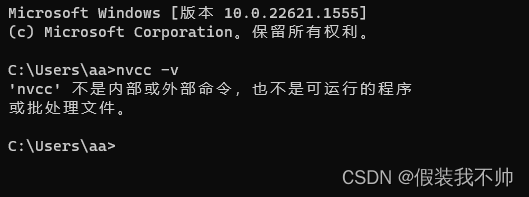
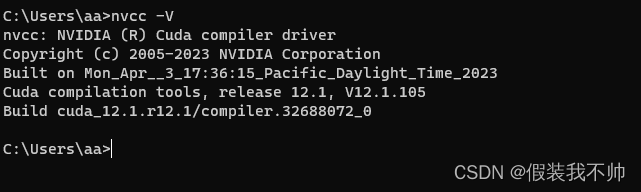
输入nvcc -V查看是否安装cuda
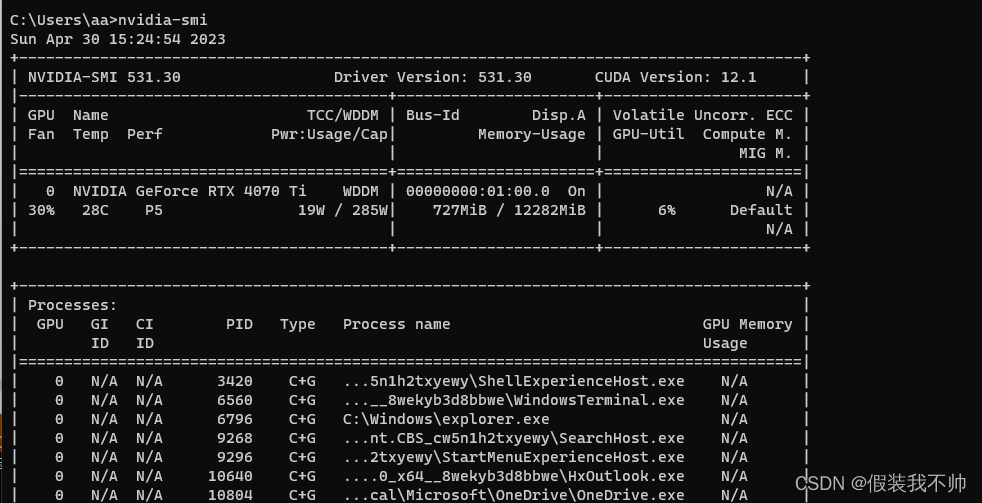
输入nvidia-smi查看支持的最高版本,最高支持12.1
下载cudahttps://developer.nvidia.com/cuda-downloads
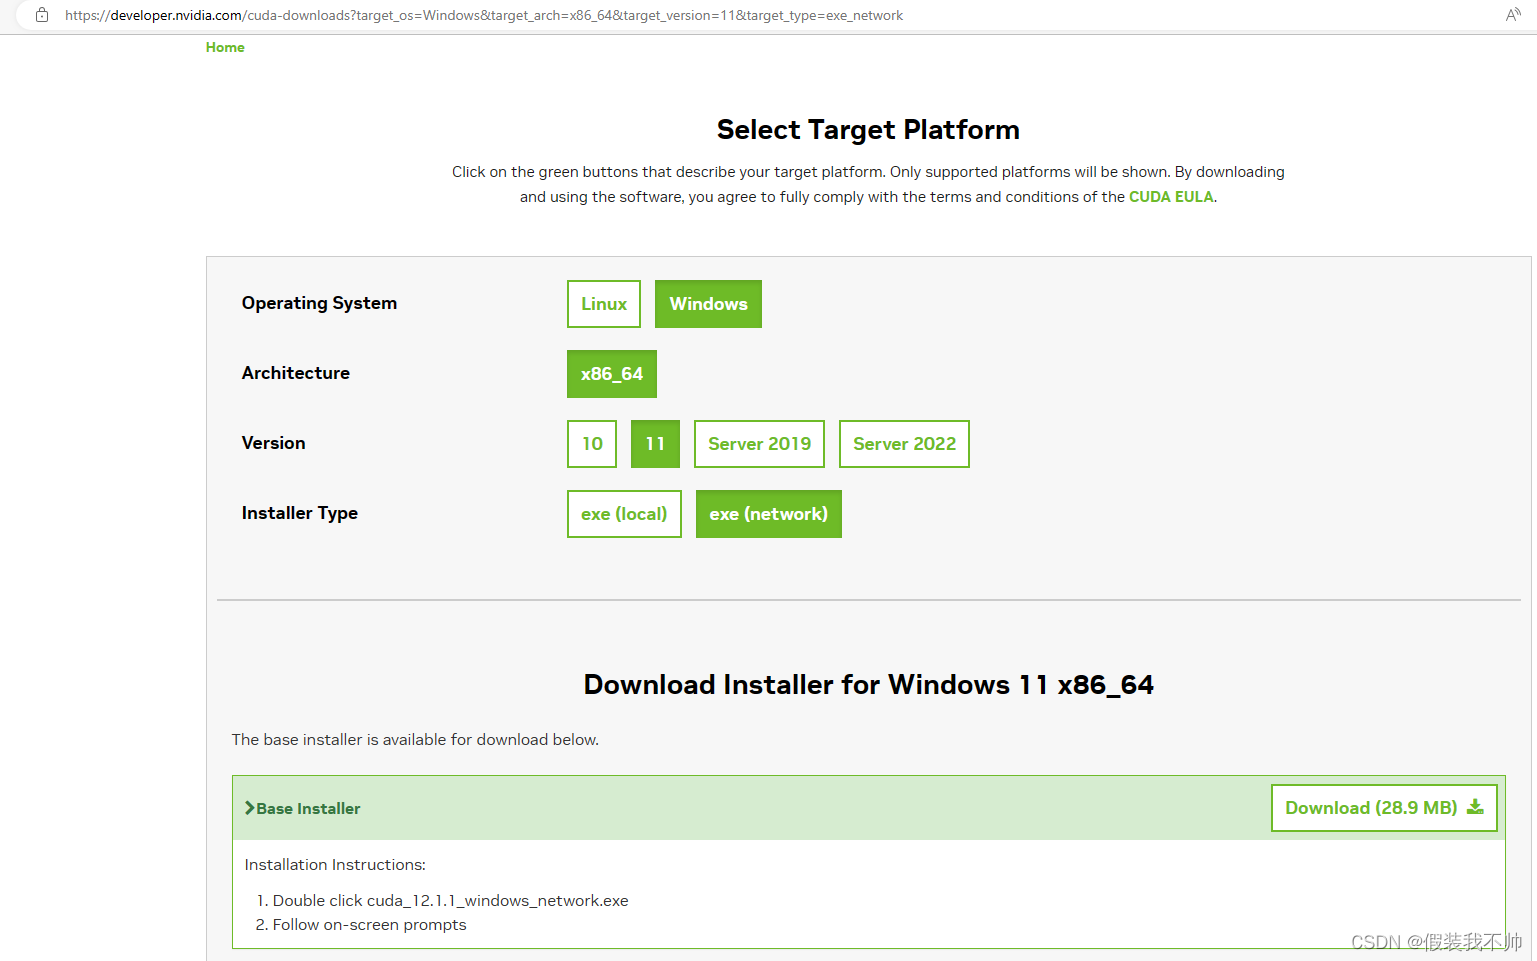

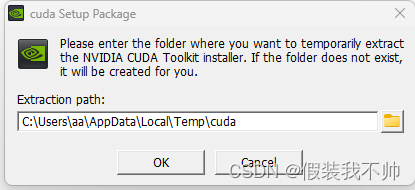
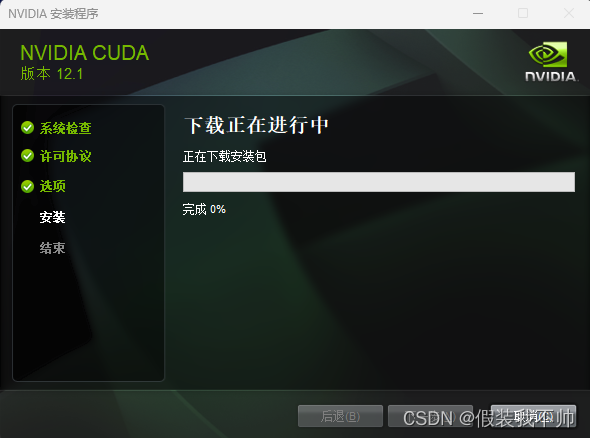
双击安装
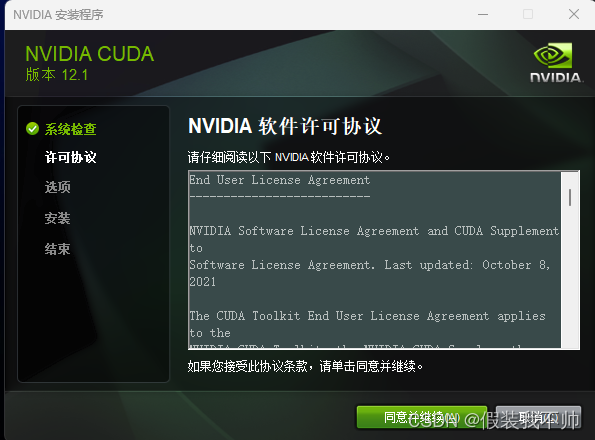
同意之后点击下一步
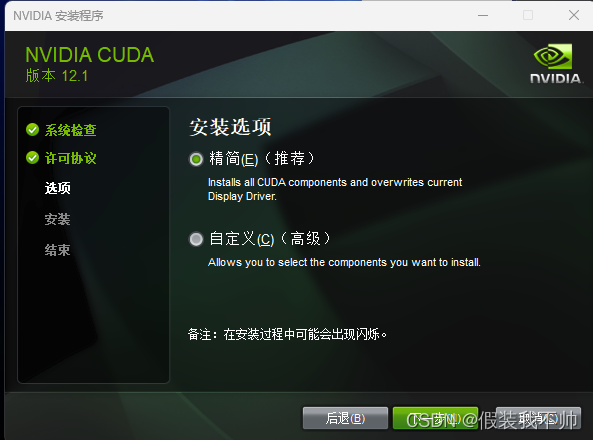
选择精简模式即可
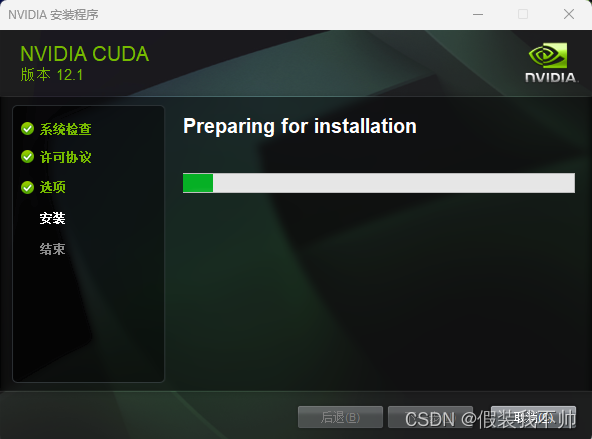
等待下载安装包

输入nvcc -V查看是否安装成功
其他版本cuda下载
cuda 11.7
cuda 11.8
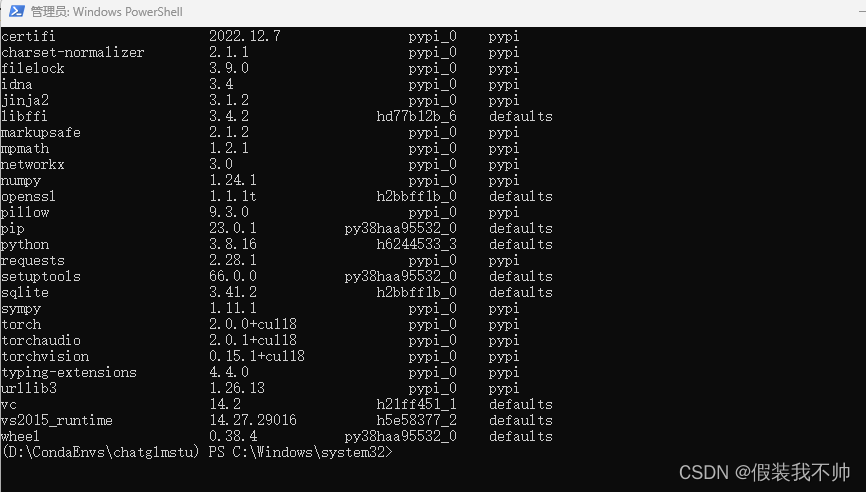
创建虚拟环境
conda create -p D:\CondaEnvs\chatglmstu  python=3.9
# 激活环境
conda activate D:\CondaEnvs\chatglmstu
安装pytorch
https://pytorch.org/
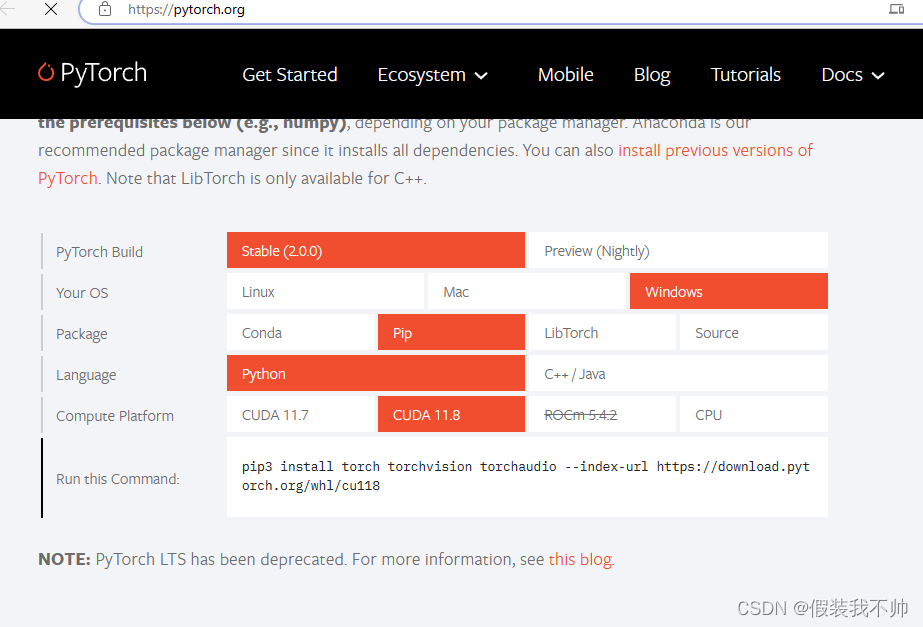
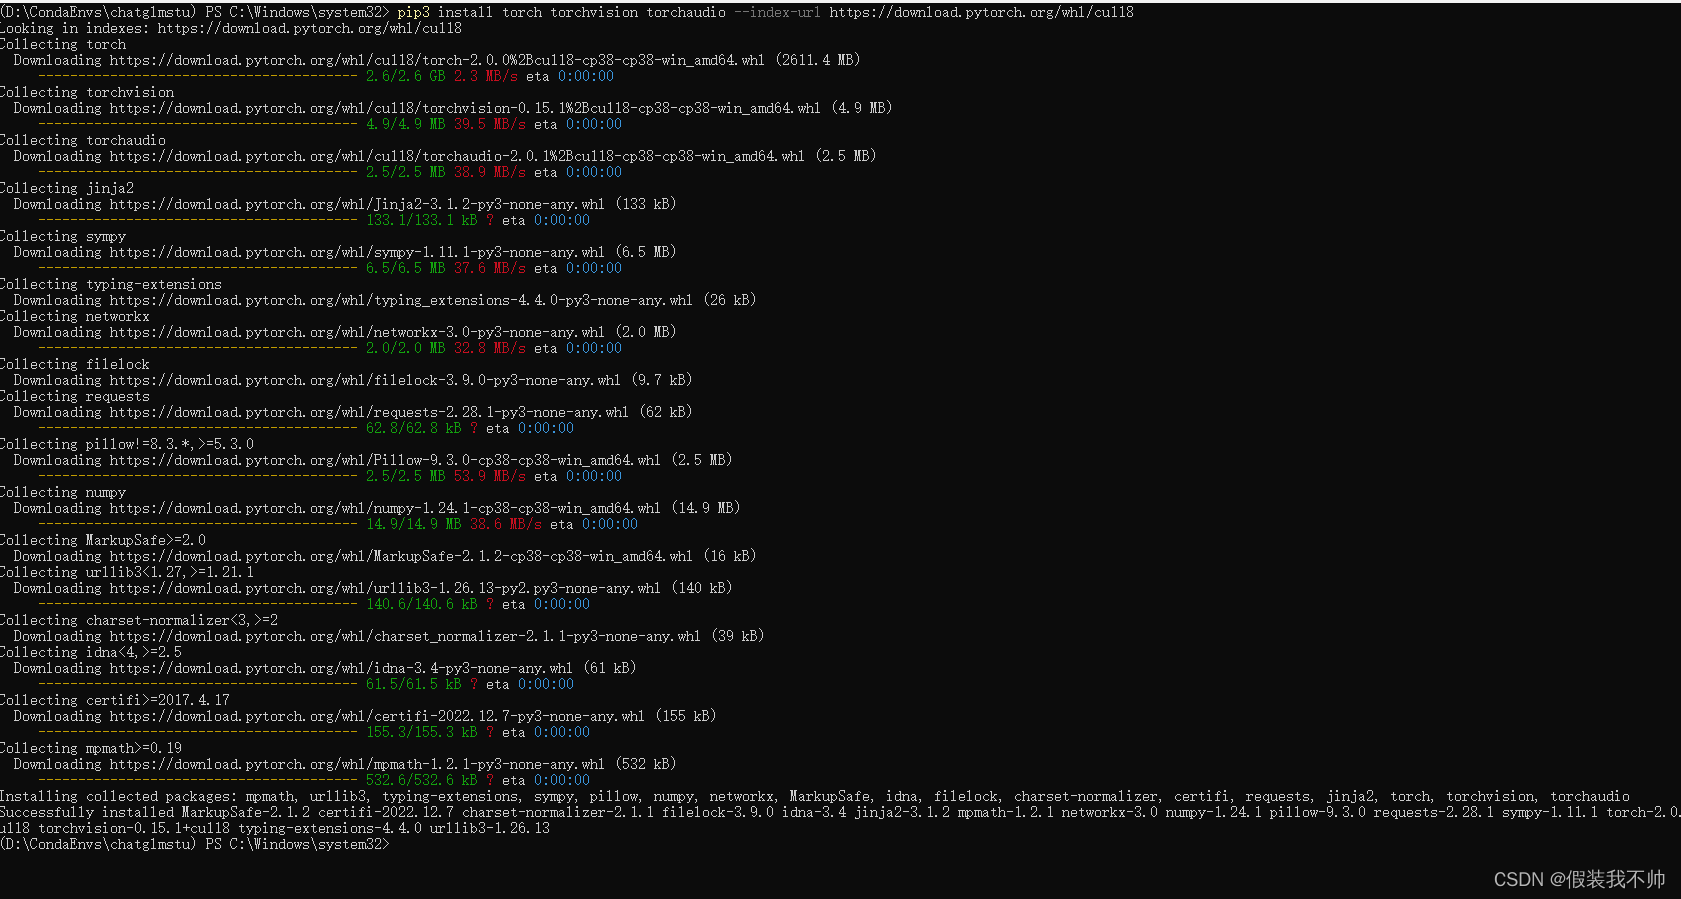
pip3 install torch torchvision torchaudio --index-url https://download.pytorch.org/whl/cu118
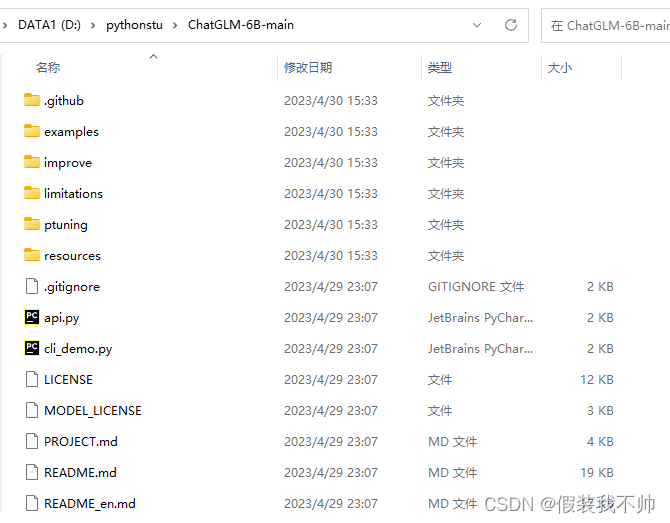
下载模型文章
https://huggingface.co/THUDM/chatglm-6b/tree/main
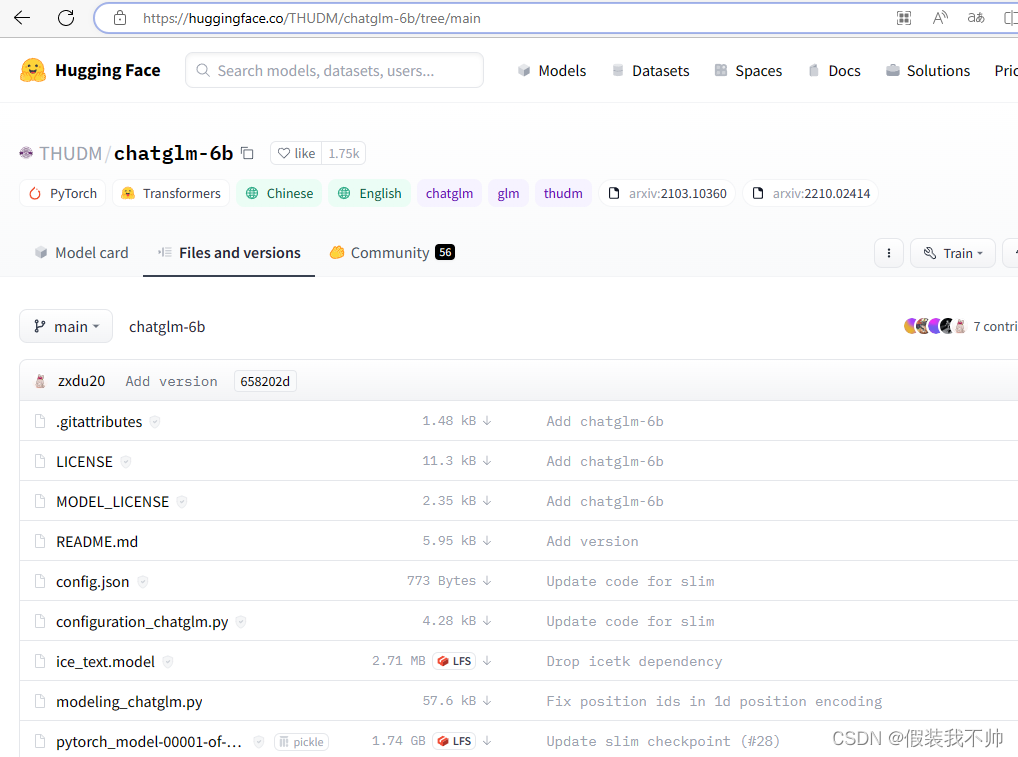
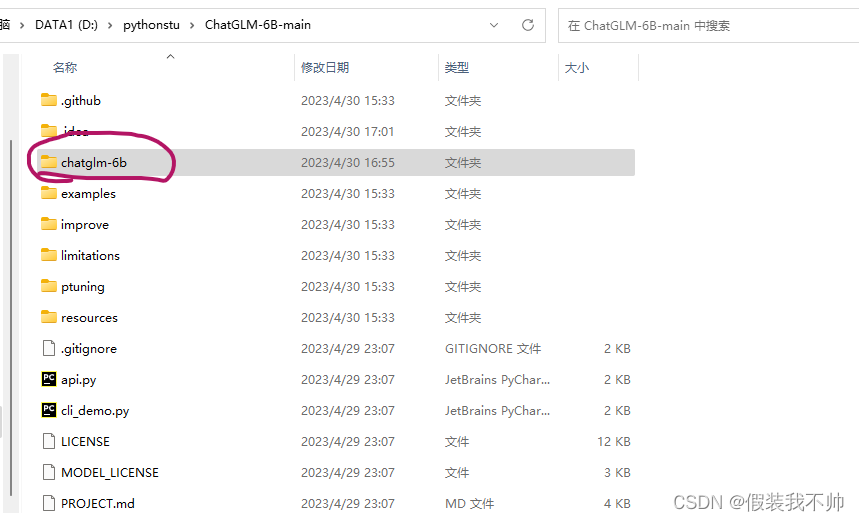
下载这个网页里的所有文件(一共20个),然后把这些文件放到一个新文件夹,文件夹命名为chatglm-6b,目前默认已经存在这个文件夹

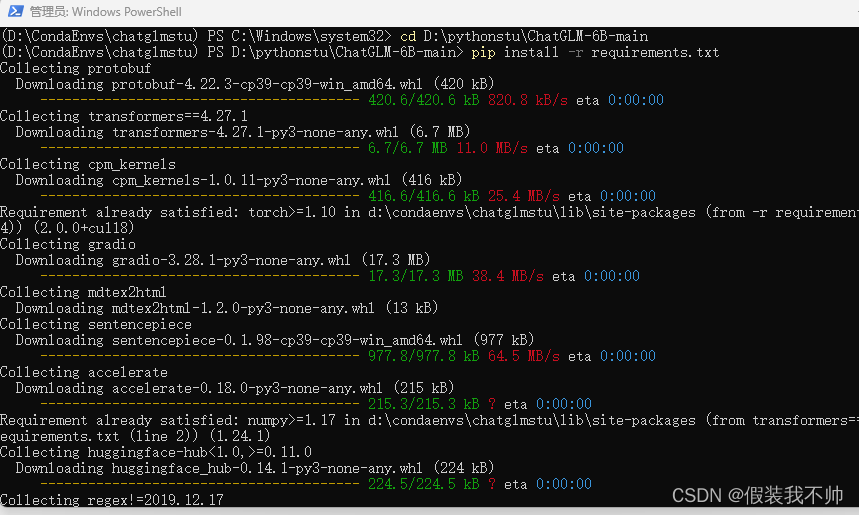
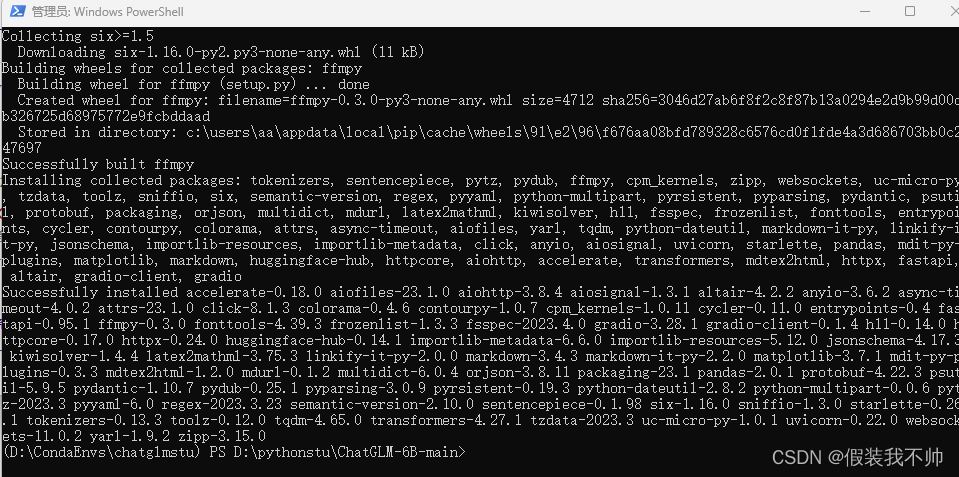
安装其他所需要的软件包
cd D:\pythonstu\ChatGLM-6B-main
pip install -r requirements.txt
修改项目参数
使用Pycharm打开项目
修改web_demo.py
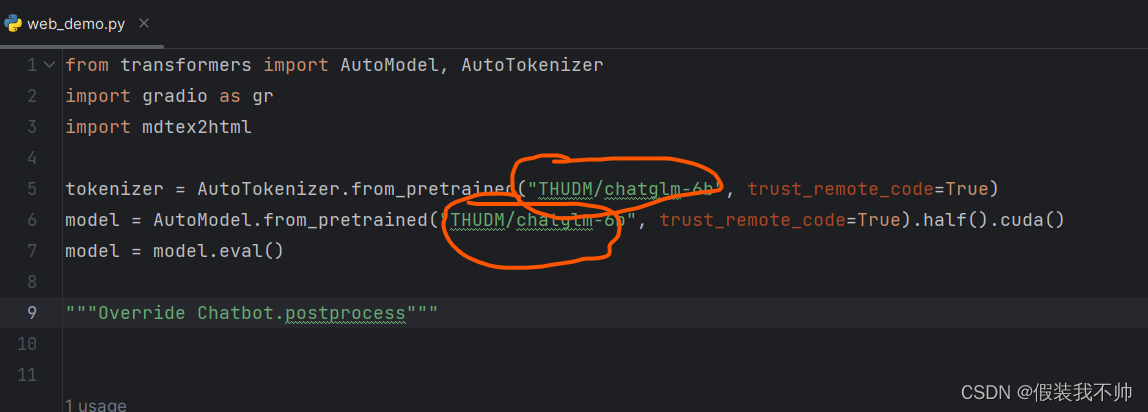
THUDM/chatglm-6b修改为chatglm-6b
同理api.py和cli_demo.py也修改
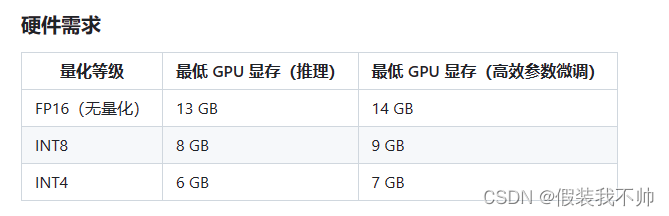
如果你的gpu14G以上不用修改,如果8G选择int8如果6G选择int4
# 4bit
model = AutoModel.from_pretrained("chatglm-6b", trust_remote_code=True).half().quantize(8).cuda()
# 8bit
model = AutoModel.from_pretrained("chatglm-6b", trust_remote_code=True).half().quantize(8).cuda()
我这里现存12G所以选择8bit
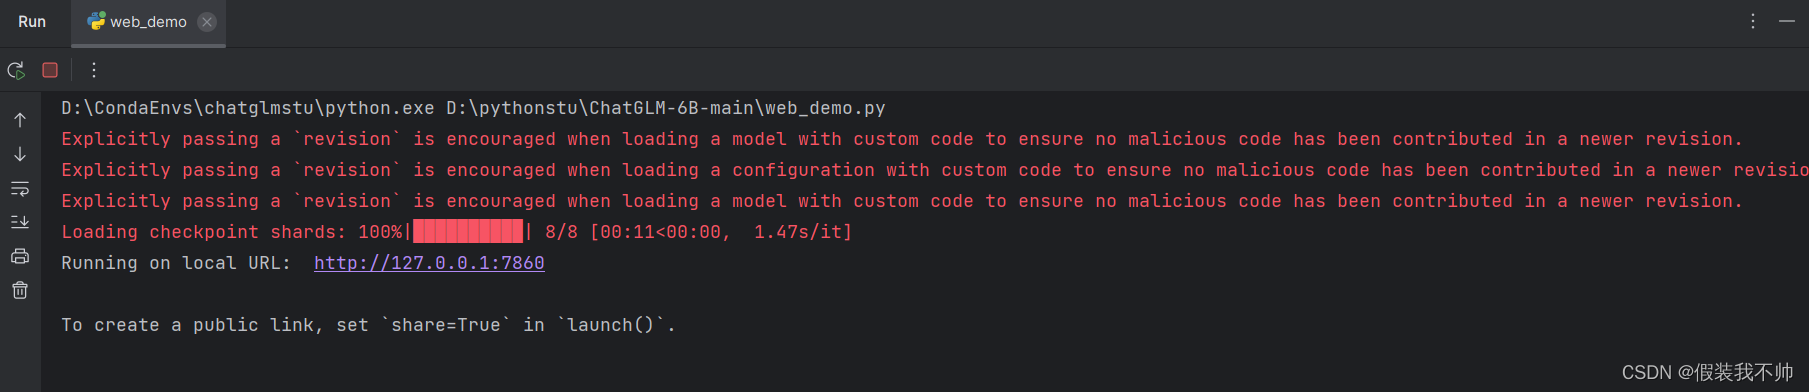
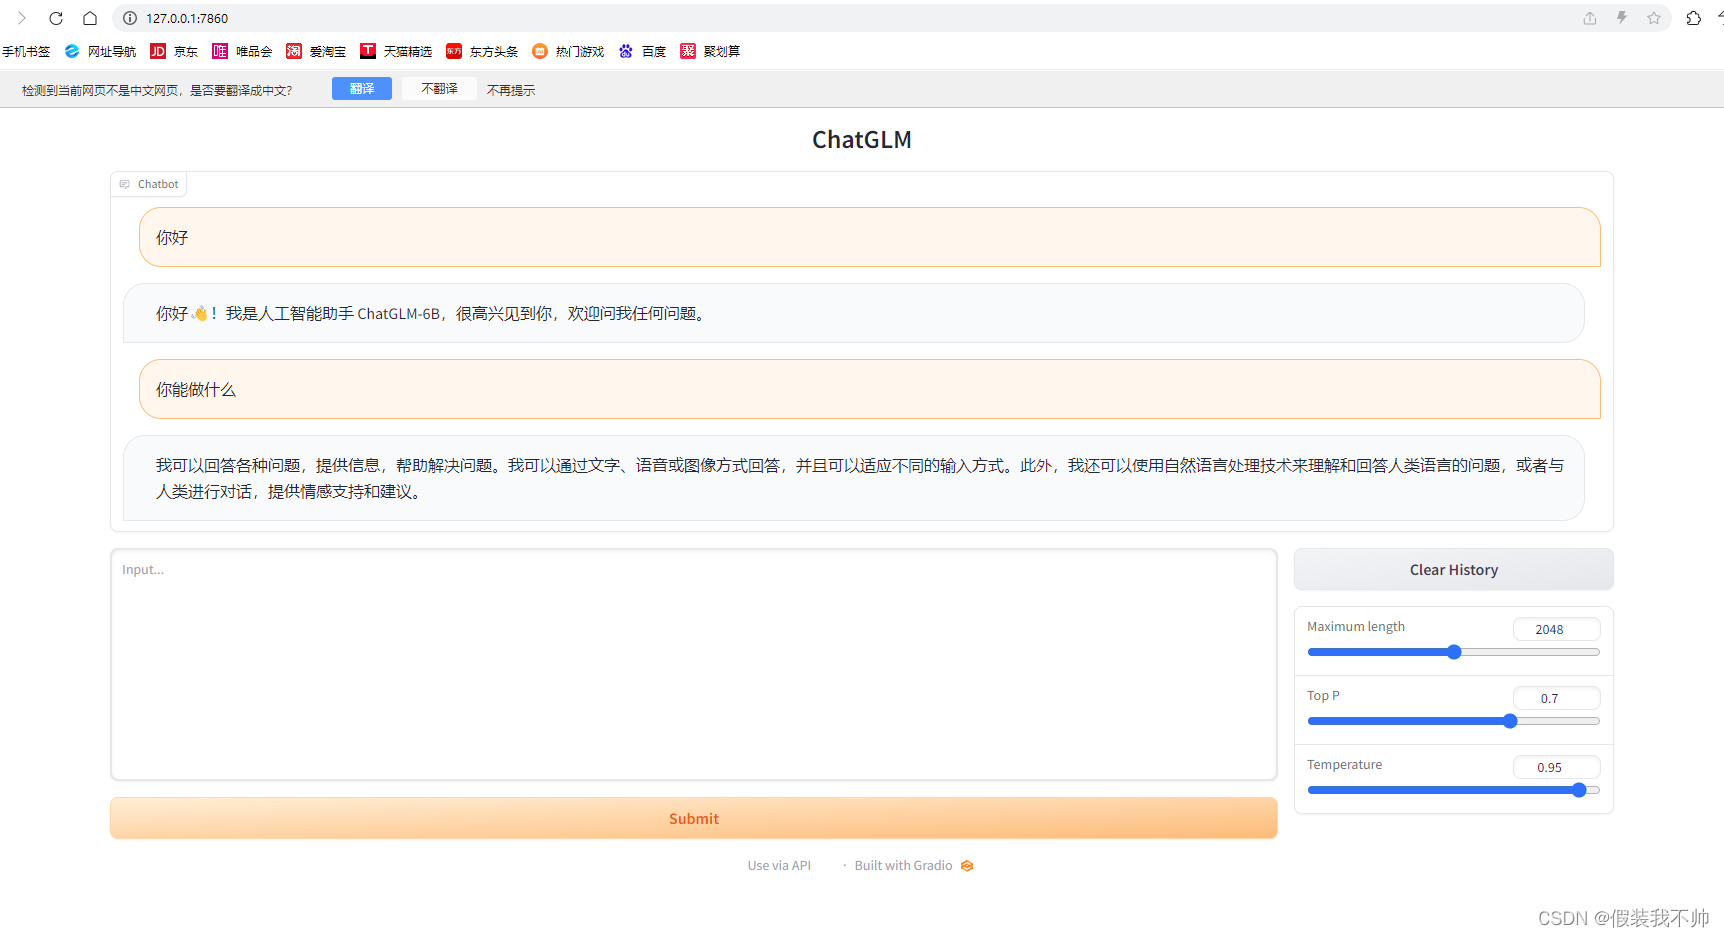
尝试启动web_demo.py