目录
- 1. 简介
- 2. 引入依赖
- 3. 自定义加解密的方式
- 4. 获取密文
- 5. 编写配置文件
- 6. 验证结果
1. 简介
在项目开发的过程中,经常会需要在配置文件中存储一些敏感的信息,如数据库的账号密码,支付相关信息,密钥等等,这些信息在开发的过程中一般是以明文的方式存储在配置文件中。这种方式的存储会存在非常大的安全隐患。jasypt能够很好的解决这一类的问题,特此记录,一遍后面学习使用。
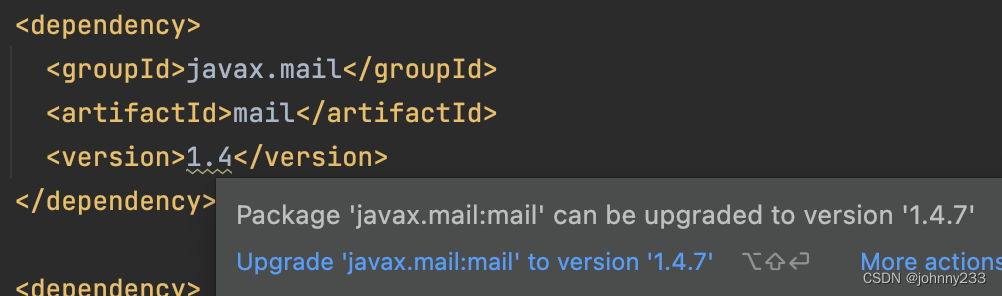
2. 引入依赖
<!--springboot整合jasypt--><dependency><groupId>com.github.ulisesbocchio</groupId><artifactId>jasypt-spring-boot-starter</artifactId><version>3.0.3</version></dependency>
3. 自定义加解密的方式
/**
* @description:
* @author: WangYX
* @create: 2022-03-09 16:00
* @Version: 1.0.0
**/
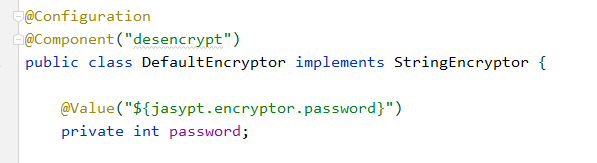
@Configuration
@Component("desencrypt")
public class DefaultEncryptor implements StringEncryptor {@Value("${jasypt.encryptor.password}")private int password;/*** 加密方法** @param s* @return*/@Overridepublic String encrypt(String s) {return s;}/*** 解密方法** @param s* @return*/@Overridepublic String decrypt(String s) {/*** 凯撒解密*/String decrypt = CaesarCipher.decrypt(s, password);return decrypt;}
}
这里说一下,这里只是重写了解密的方法,加密的方法并没有写。原因是在使用的过程中只使用了解密的功能。密文是在事先准备好的直接存放在配置文件中。
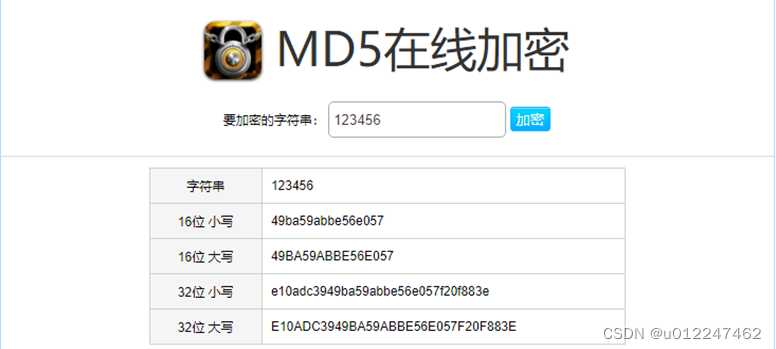
这里使用的加密方式是凯撒加密。凯撒加密的方式可以看这里 :凯撒加密
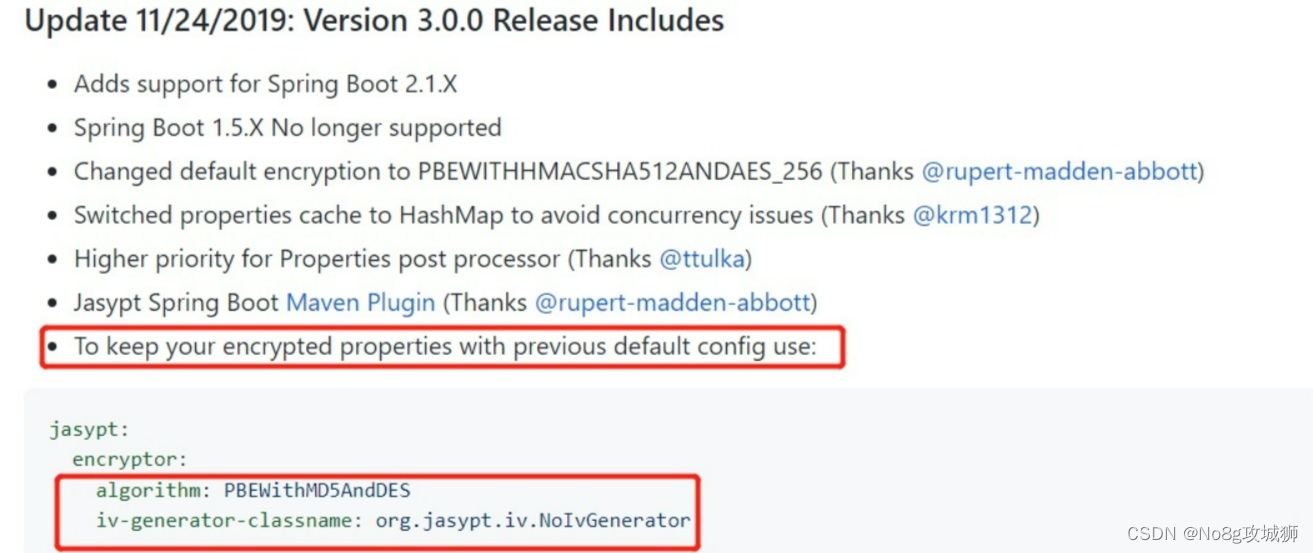
而且这里的自定义的加解密方式是完全可以不写的,jasypt中本身就提供了加解密的方法,我们完全可以忽略这块。但是自定义加解密方式可以提供安全性,即是别人拿到我们的密文,在不知道解密方法的情况下也是无用的。
4. 获取密文
public static void main(String[] args) {String account = "root";String password = "123456";String newAccount = CaesarCipher.encrypt(account, 123);String newPassword = CaesarCipher.encrypt(password, 123)System.out.println(newAccount);System.out.println(newPassword);}
这里是事先准备密文的方法,把数据库的账号密码直接使用凯撒密码加密。

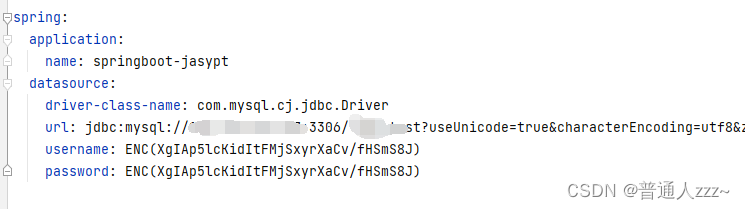
5. 编写配置文件
spring.datasource.url=jdbc:mysql://localhost:3306/operate_log
spring.datasource.driver-class-name=com.mysql.jdbc.Driver
spring.datasource.username=ENC(1..3)
spring.datasource.password=ENC(NOPQRS)jasypt.encryptor.password=123
jasypt.encryptor.bean=desencrypt
在配置文件中的数据库的账号密码均使用了jasypt的方式进行加解密。
spring.datasource.username=ENC(1..3)
spring.datasource.password=ENC(NOPQRS)
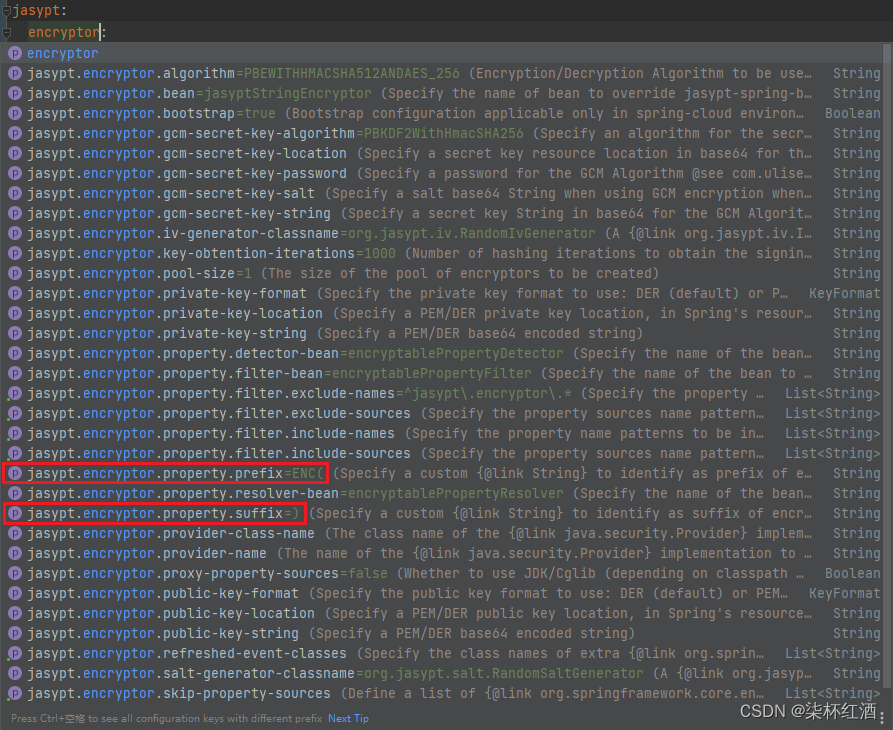
jasypt中密文需要放置在ENC()中。这里的ENC()前后缀可以自定义进行配置(这里暂时不进行叙述)。
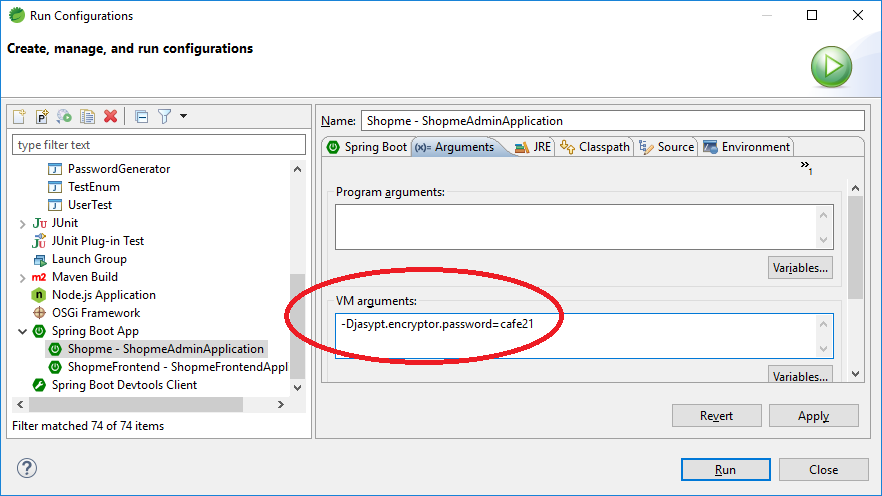
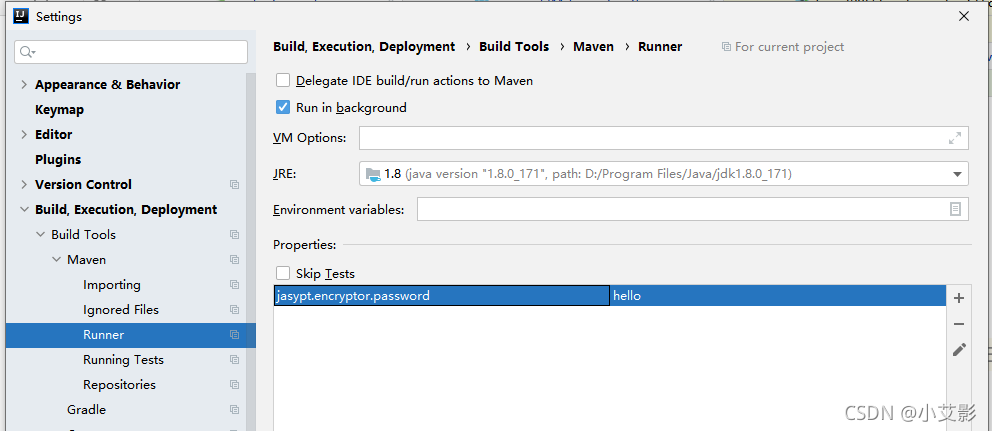
jasypt.encryptor.password=123
jasypt.encryptor.bean=desencrypt
jasypt.encryptor.password属性指明了凯撒密码的位移量。在自定义的加密类中使用。
jasypt.encryptor.bean=desencrypt该属性指明了jasypt中使用的加解密类。
6. 验证结果
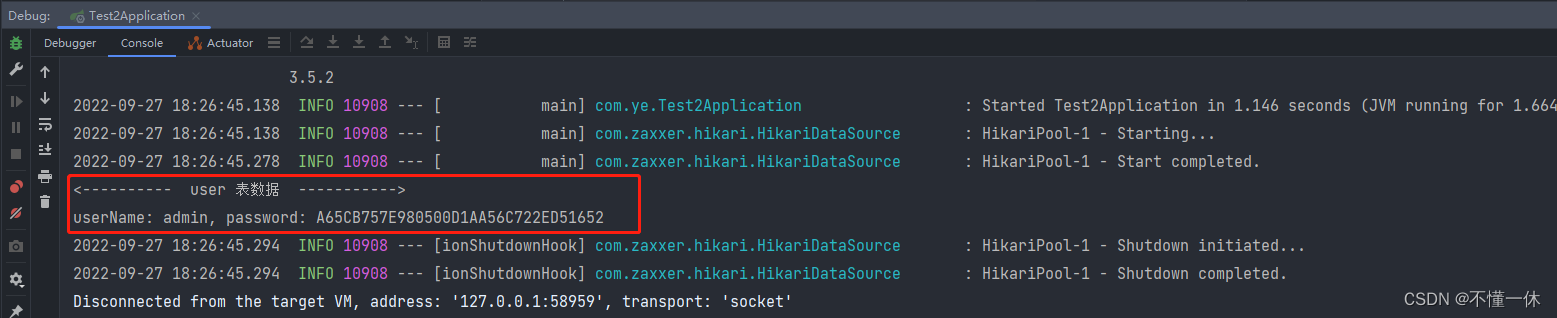
项目在开始运行之后,在读取配置文件时ENC()中的数据,会自动使用jasypt中的加解密文件进行解密替换。

成功运行。