文章目录
- 一、简介
- 二、导入依赖
- 三、加密字段工具类
- 四、application.yaml 配置
- 五、启动类测试
一、简介
在后端开发中有很多敏感信息,比如数据库用户名密码,第三方 Apikey,云服务商的 secretKey 等、如果不希望用明文在 application.yml 配置的,可以使用 jasypt 加密这些字段。
还有很重要的一点,如果你自己开源一些东西,将代码上传一些代码托管平台,肯定需要隐藏敏感信息,用 jasypt 加密可以简化每次上传下拉代码修改敏感信息。
官方文档:https://github.com/ulisesbocchio/jasypt-spring-boot, 官方文档使用方法描述得很清楚适用于各种情况,下面我简单记录一下加密 MySQL 用户名密码方法
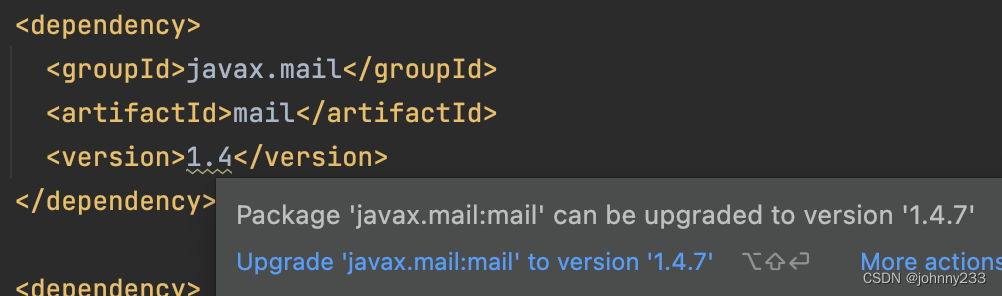
二、导入依赖
<dependencies><!-- jasypt 敏感数据加密,如:数据库密码,阿里云短信服务等--><dependency><groupId>com.github.ulisesbocchio</groupId><artifactId>jasypt-spring-boot-starter</artifactId><version>3.0.4</version></dependency><!-- mysql --><dependency><groupId>mysql</groupId><artifactId>mysql-connector-java</artifactId><version>8.0.30</version><scope>runtime</scope></dependency><!-- mybatis-plus --><dependency><groupId>com.baomidou</groupId><artifactId>mybatis-plus-boot-starter</artifactId><version>3.5.2</version></dependency><!-- springboot 启动包 --><dependency><groupId>org.springframework.boot</groupId><artifactId>spring-boot-starter</artifactId></dependency></dependencies>
三、加密字段工具类
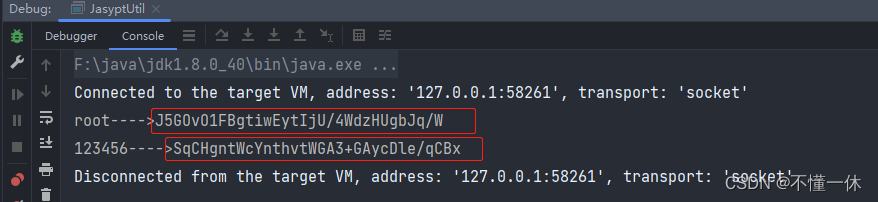
加密 mysql 用户名密码,将用户名密码传入 fields 数组,保存打印结果下面配置在 application.yaml 文件
public class JasyptUtil {private static PooledPBEStringEncryptor encryptor;static{encryptor = new PooledPBEStringEncryptor();SimpleStringPBEConfig config = new SimpleStringPBEConfig();config.setPassword("This is a secret key"); // 秘钥config.setAlgorithm("PBEWithMD5AndDES");//config.setAlgorithm("PBEWITHHMACSHA512ANDAES_256");config.setKeyObtentionIterations("1000");config.setPoolSize("1");config.setProviderName("SunJCE");config.setSaltGeneratorClassName("org.jasypt.salt.RandomSaltGenerator");config.setIvGeneratorClassName("org.jasypt.iv.RandomIvGenerator");config.setStringOutputType("base64");encryptor.setConfig(config);}public static void main(String[] args) {// 需要加密的字段String[] fields = {"root","123456"};for (String field : fields) {System.out.println(field+"---->"+encryptorField(field));}}public static String encryptorField(String field){return  encryptor.encrypt(field);}public static String decryptField(String field){return encryptor.decrypt(field);}
}
可以看到加密过后的字符串如下
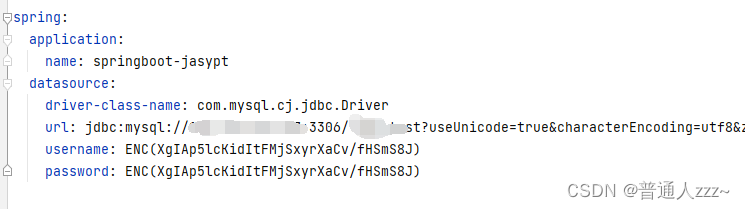
四、application.yaml 配置
数据源用户名密码使用上面生成加密字段
spring:datasource:username: ENC(J5GOvO1FBgtiwEytIjU/4WdzHUgbJq/W)password: ENC(SqCHgntWcYnthvtWGA3+GAycDle/qCBx)driver-class-name: com.mysql.cj.jdbc.Driverurl: jdbc:mysql://localhost:3306/oauth?serverTimezone=UTC&useUnicode=true&characterEncoding=utf8
# jasypt 敏感数据加密配置
# 详细用法可参考 https://github.com/ulisesbocchio/jasypt-spring-boot
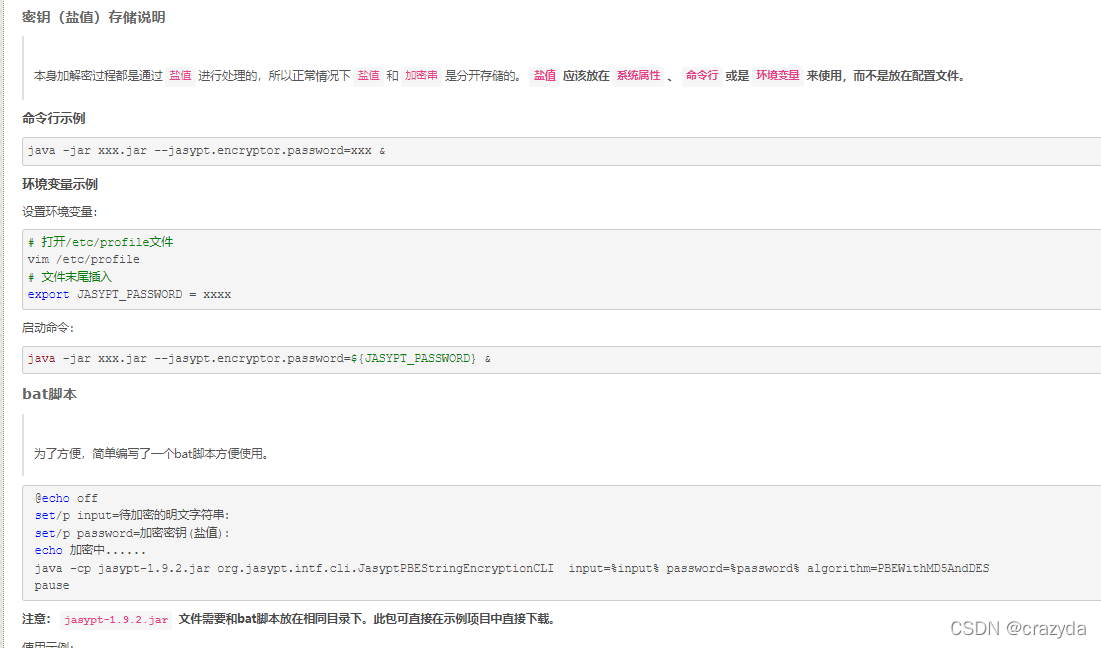
jasypt:encryptor:password: 123456 # 秘钥,除了该项,下面都是默认值,该项建议设置 JVM 启动参数,如:-Djasypt.encryptor.password=123456algorithm: PBEWithMD5AndDES # 加密算法key-obtention-iterations: 1000 # 迭代次数,值越大越复杂,相对越安全pool-size: 1provider-name: SunJCEsalt-generator-classname: org.jasypt.salt.RandomSaltGeneratoriv-generator-classname: org.jasypt.iv.RandomIvGeneratorstring-output-type: base64proxy-property-sources: falseproperty:prefix: ENC( # 默认前缀suffix: ) # 默认后缀
五、启动类测试
查询 MySQL 的 user 表打印用户名和密码
package com.ye;import org.springframework.boot.SpringApplication;
import org.springframework.boot.autoconfigure.SpringBootApplication;
import org.springframework.context.ConfigurableApplicationContext;import javax.sql.DataSource;
import java.sql.Connection;
import java.sql.PreparedStatement;
import java.sql.ResultSet;
import java.sql.SQLException;@SpringBootApplication
public class Test2Application {public static void main(String[] args) throws SQLException {ConfigurableApplicationContext context = SpringApplication.run(Test2Application.class, args);DataSource dataSource = (DataSource) context.getBean("dataSource");Connection connection = dataSource.getConnection();try {PreparedStatement ps = connection.prepareStatement("select * from user;");ResultSet rs = ps.executeQuery();System.out.println("<----------  user 表数据  ----------->");while (rs.next()) {String userName = rs.getString("user_name");String password = rs.getString("password");System.out.printf("userName: %s, password: %s%n", userName, password);}} catch (SQLException ex) {ex.printStackTrace();connection.close();}}
}
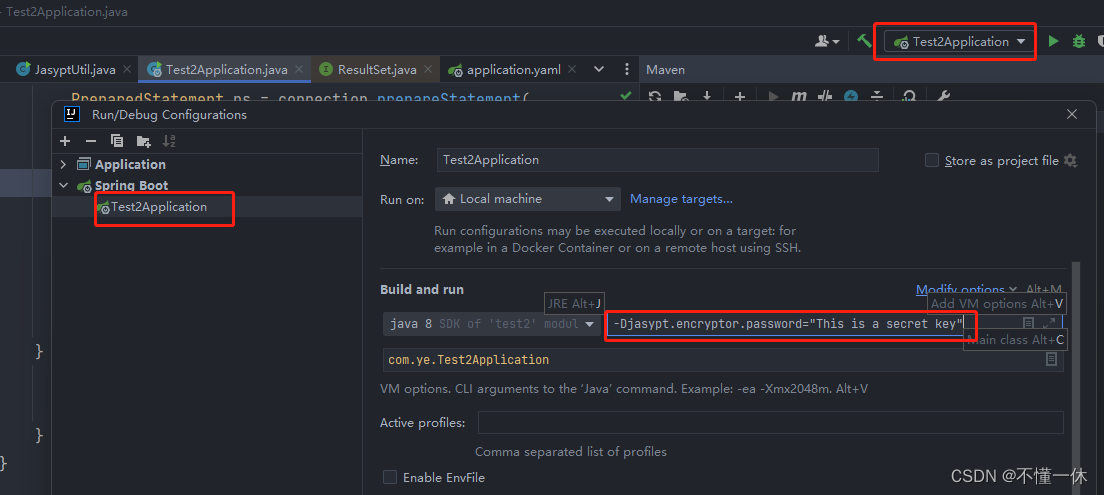
点击 Edit Configurations ,添加VM 启动参数 -Djasypt.encryptor.password="This is a secret key",这个密码和加密工具类 JasyptUtil 密码保持一致
运行成功打印结果如下
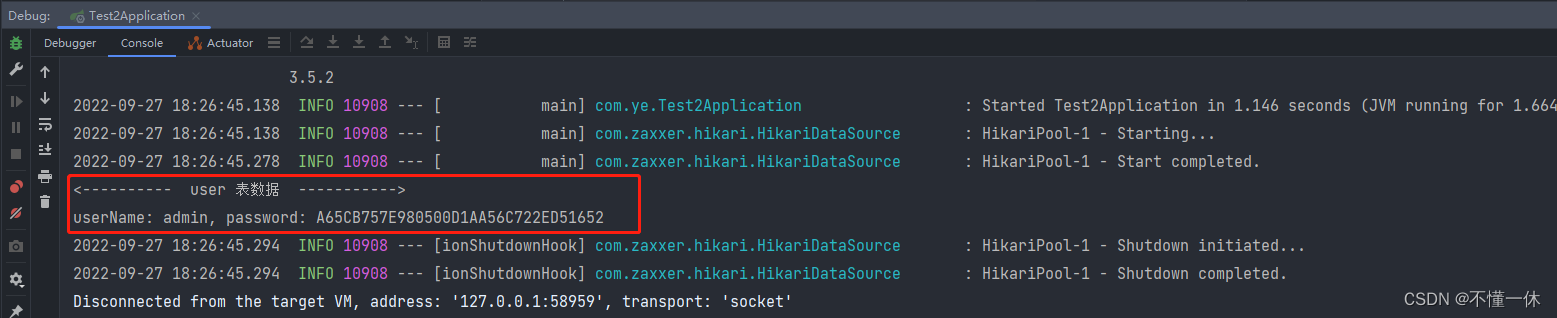
经过上面的操作,我们已经将敏感信息加密


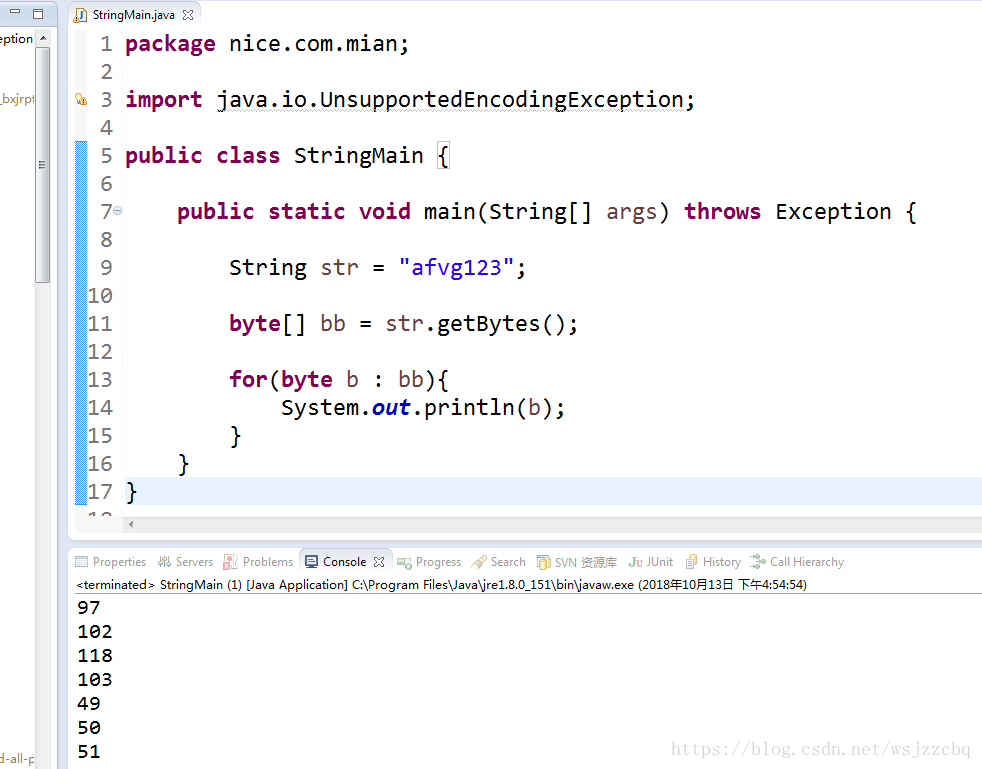
![Java byte[] 转 String的简单转换](https://upload-images.jianshu.io/upload_images/7208373-b6b96e0acc5cf05f.png)