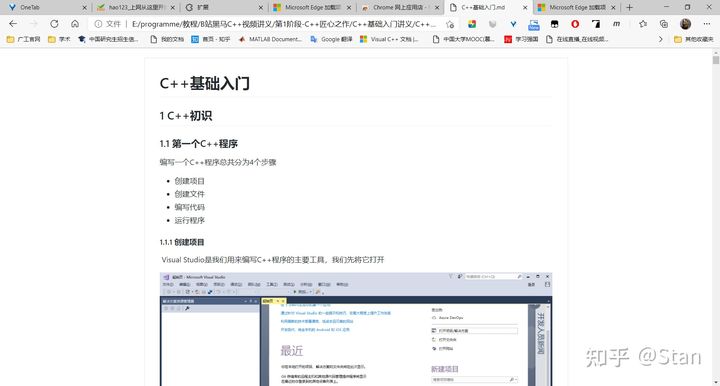
webpack是不能直接加载.md文件的,但是一些博客或者文章指导类的内容通过markdown进行编辑管理是比较常见的,这就需要我们进行一些配置,使webpack能够加载.md文件,并将文件内容展示到网页上。
1、先写一个md加载器
在这之前,我们需要先安装一下markdown-it,新建一个md-loader.js文件,编辑代码如下
// md-loader.js
const md = require('markdown-it')()module.exports = function (source) {this.cacheable()// source 是原始文件内容,html 是用 markdown-it 编译后的 html 内容const html = md.render(source)const template = (`<template><div class="markdown-body">${html}</div></template>`)return template
}
2、webpack配置
在vue.config.js中进行添加配置
const path = require('path') // 引入path模块
module.exports = {chainWebpack: (config) => {config.module.rule('markdown').test(/\.md$/).use('vue-loader').loader('vue-loader').end().use('md-loader').loader(path.resolve(__dirname, './src/loaders/md-loader.js')).end()}
}
3、.md的加载
新建md-loader.vue、test.md
<template><Test />
</template><script>
import Test from './test.md'export default {components: {Test}
}
</script>
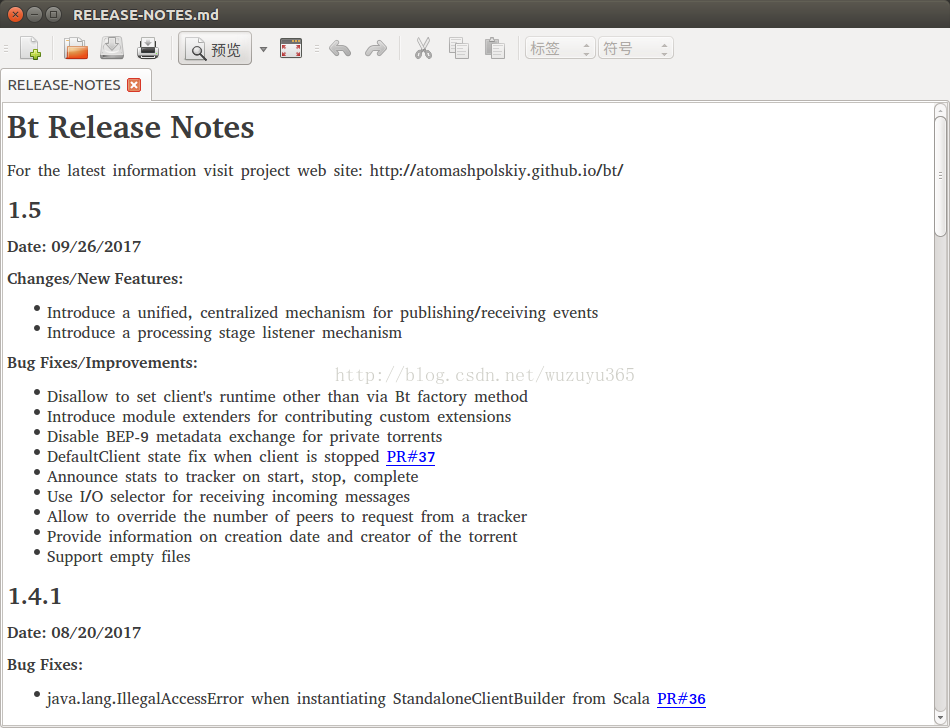
至此,.md 已经可以正常加载并展示到网页上了,但是这里的样式可能还需要进行一些调整,可以自己写也可以引用
github-markdown.css
highlight-atom-one-light.css
4、自动注册路由
这里我们每新增一个.md文件,就得手动修改代码进行引入,着实有点费事,那么我们可以给他设置自动路由,只要遍历某个文件夹下的所有.md文件,即可生成对应的路由
新增目录如下:

<!-- md-loader/index.vue -->
<template><div><router-view></router-view></div>
</template>
// router.js
const mdRoutes = []
const md = require.context('md-loader/md', false, /\w+\.(md)$/)
// 遍历 md-loader/md 目录下所有 md 文件, 并生成路由
md.keys().forEach(fileName => {const reg = /\.\/(.+).md/const name = fileName.match(reg)[1]mdRoutes.push({path: name,name: name,component: resolve => require([`md-loader/md/${name}.md`], resolve)})
})export const router = [{path: '/mdLoader',name: 'mdLoader',redirect: '/mdLoader/md1', // 重定向到第一篇文章component: resolve => require(['md-loader/index.vue'], resolve),children: mdRoutes,}
]
现在打开 https://127.0.0.1:8080/#/mdLoader,即可跳转到 https://127.0.0.1:8080/#/mdLoader/md1


![[JS9] document's bgColor改变背景颜色](http://common.cnblogs.com/images/copycode.gif)