Google Test简述
Google Test 是由 Google 推出的 C++ 测试框架,具有稳定、跨平台、快速等特点,能够为 C++ 开发人员提供有效的单元测试和集成测试工具。Google Test 支持 Linux、macOS 和 Windows 操作系统,同时支持 gcc、clang 和 MSVC 等多种编译器和构建系统。Google Test 还提供了大量的失败信息,方便开发人员排查问题。
特点
- 跨平台
- 不止单元测试
- 稳定并且可重复
- 提供足够的失败信息
- 快速
- 线程安全
支持的平台,编译器和构建系统
平台
- Linux
- macOS
- Windows
编译器
- gcc 5.0+
- clang 5.0+
- MSVC 2015+
macOS users: Xcode 9.3+ provides clang 5.0+.
构建系统
- Bazel
- CMake
1.最简单的使用方法-cmake通过联网编译
注意此方法必须要联网的,因为是cmake直接从github上面拉取了googletest项目。
我是在mac os上测试的。
首先,我们需要创建一个名为 hello_test.cc 的文件,并在其中添加以下代码:
#include <gtest/gtest.h>// Demonstrate some basic assertions.
TEST(HelloTest, BasicAssertions) {// Expect two strings not to be equal.EXPECT_STRNE("hello", "world");// Expect equality.EXPECT_EQ(7 * 6, 42);
}
然后,我们需要创建一个名为 CMakeLists.txt 的文件,并在其中添加以下代码:
cmake_minimum_required(VERSION 3.14)
project(my_project)# GoogleTest requires at least C++14
set(CMAKE_CXX_STANDARD 14)include(FetchContent)
FetchContent_Declare(googletestGIT_REPOSITORY https://github.com/google/googletest.gitGIT_TAG release-1.12.1
)
# For Windows: Prevent overriding the parent project's compiler/linker settings
set(gtest_force_shared_crt ON CACHE BOOL "" FORCE)
FetchContent_MakeAvailable(googletest)
enable_testing()add_executable(hello_testhello_test.cc
)
target_link_libraries(hello_testGTest::gtest_main
)include(GoogleTest)
gtest_discover_tests(hello_test)
然后在当前目录执行以下命令,进行 CMake 的配置:
cmake -S . -B build
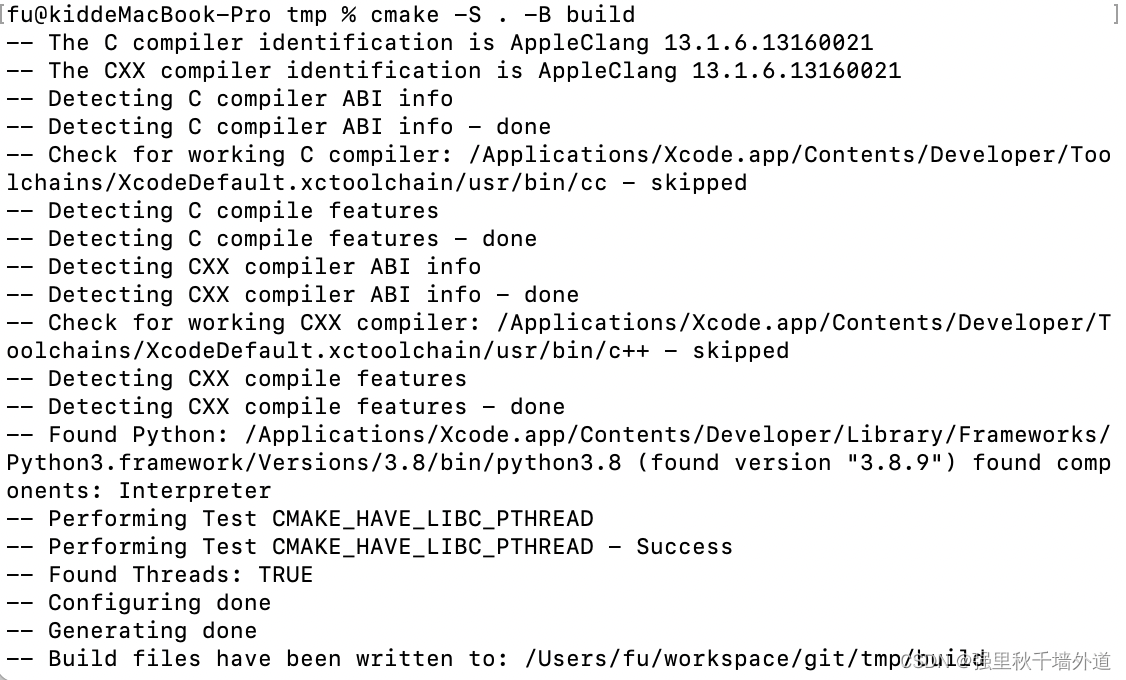
执行以上命令后,会在当前目录下创建一个名为 build 的文件夹,其中包含了 CMake 生成的 Makefile 和其他必要的文件。
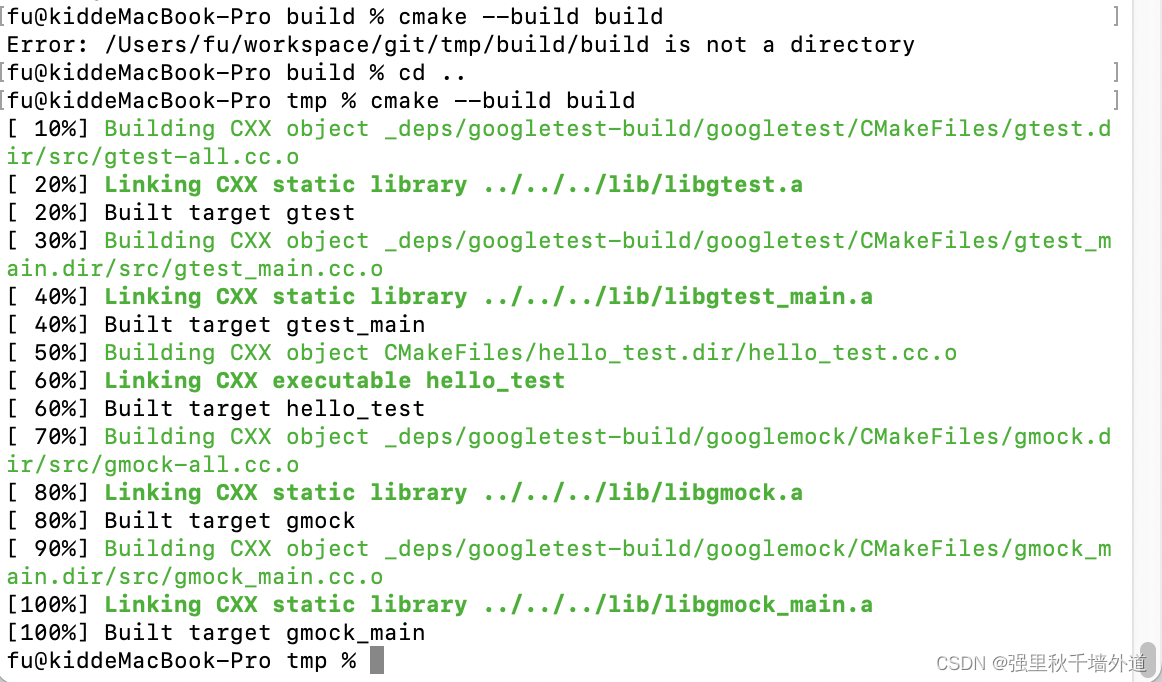
接下来,我们需要执行以下命令,进行编译和链接:
cmake --build build
这一步会生成可执行文件
最后,我们需要执行以下命令,执行测试:
cd build && ctest
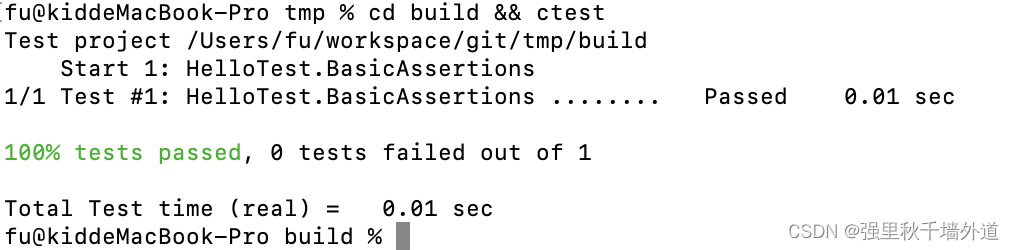
到这里已经搭建了一个很简单的googletest程序
从这里可以学会cmake的搭建一个应用的步骤
cmake -S . -B build # 搭建项目到build目录
cmake --build build # 编译链接为二进制程序
cd build #然后可以执行程序了
2.源代码编译
Google Test不是一个header-only的库,所以需要编译,同时确保头文件在包含目录中。
本文讲诉使用cmake构建Google Test,如果没有下载源代码需要下载。
Google Test使用cmake构建,cmake是现代许多C/C++项目的构建器,掌握了是很有好处的,cmake相当于对MakeFile的封装,其实底层还是调用的gcc/g++等编译器。
使用cmake编译:
git clone https://github.com/google/googletest.git -b release-1.10.0 #拉取源代码
cd googletest # 进入源代码目录
mkdir build # 创建 build 目录
cd build # 进入 build 目录
cmake .. # 生成构建文件
make # 编译生成库文件
如果接着输入如下代码,就可以直接在build目录生成库了,-S是source的缩写代表源码路径,-B是build的缩写,代表生成路径
cmake -S . -B build
如果要编译为动态库,则
cmake -DGTEST_CREATE_SHARED_LIBRARY=1 -S . -B build
或者进入build打开sln文件即可用IDE编译。
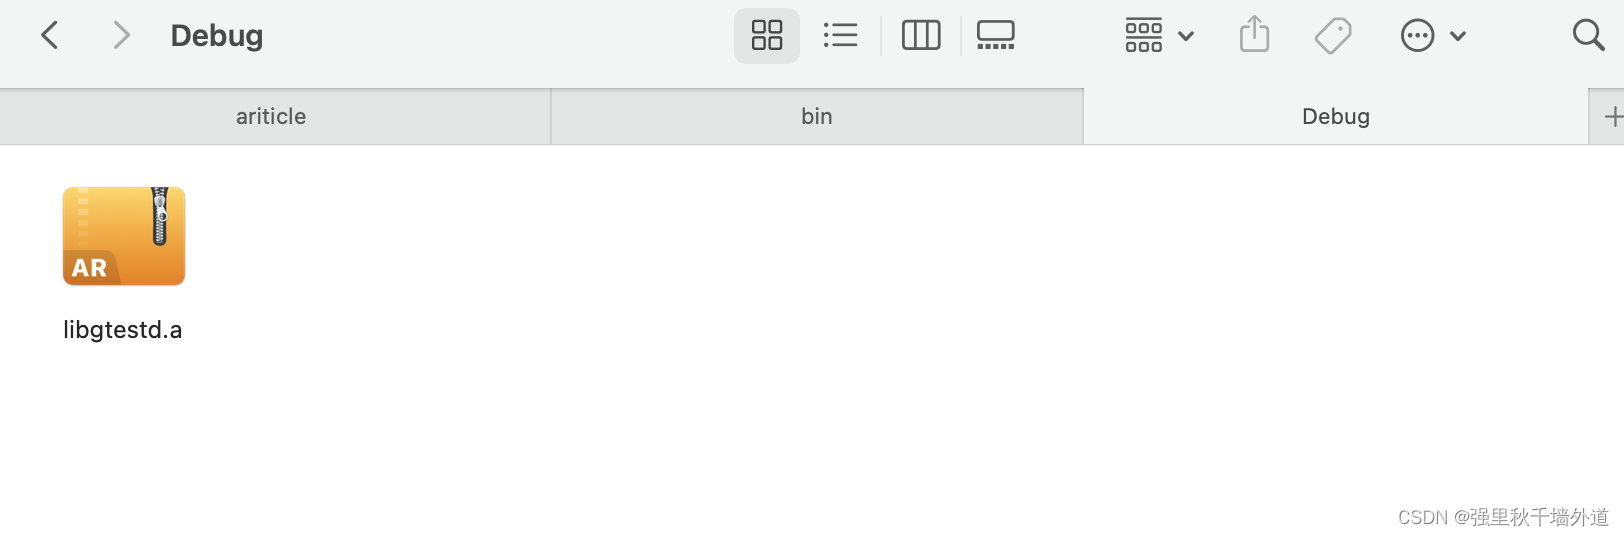
库文件生成在build/lib目录下面,默认为静态库。头文件在googletest/include目录下面。
我这里是使用Xcode打开,
点击这个按钮就生成了文件
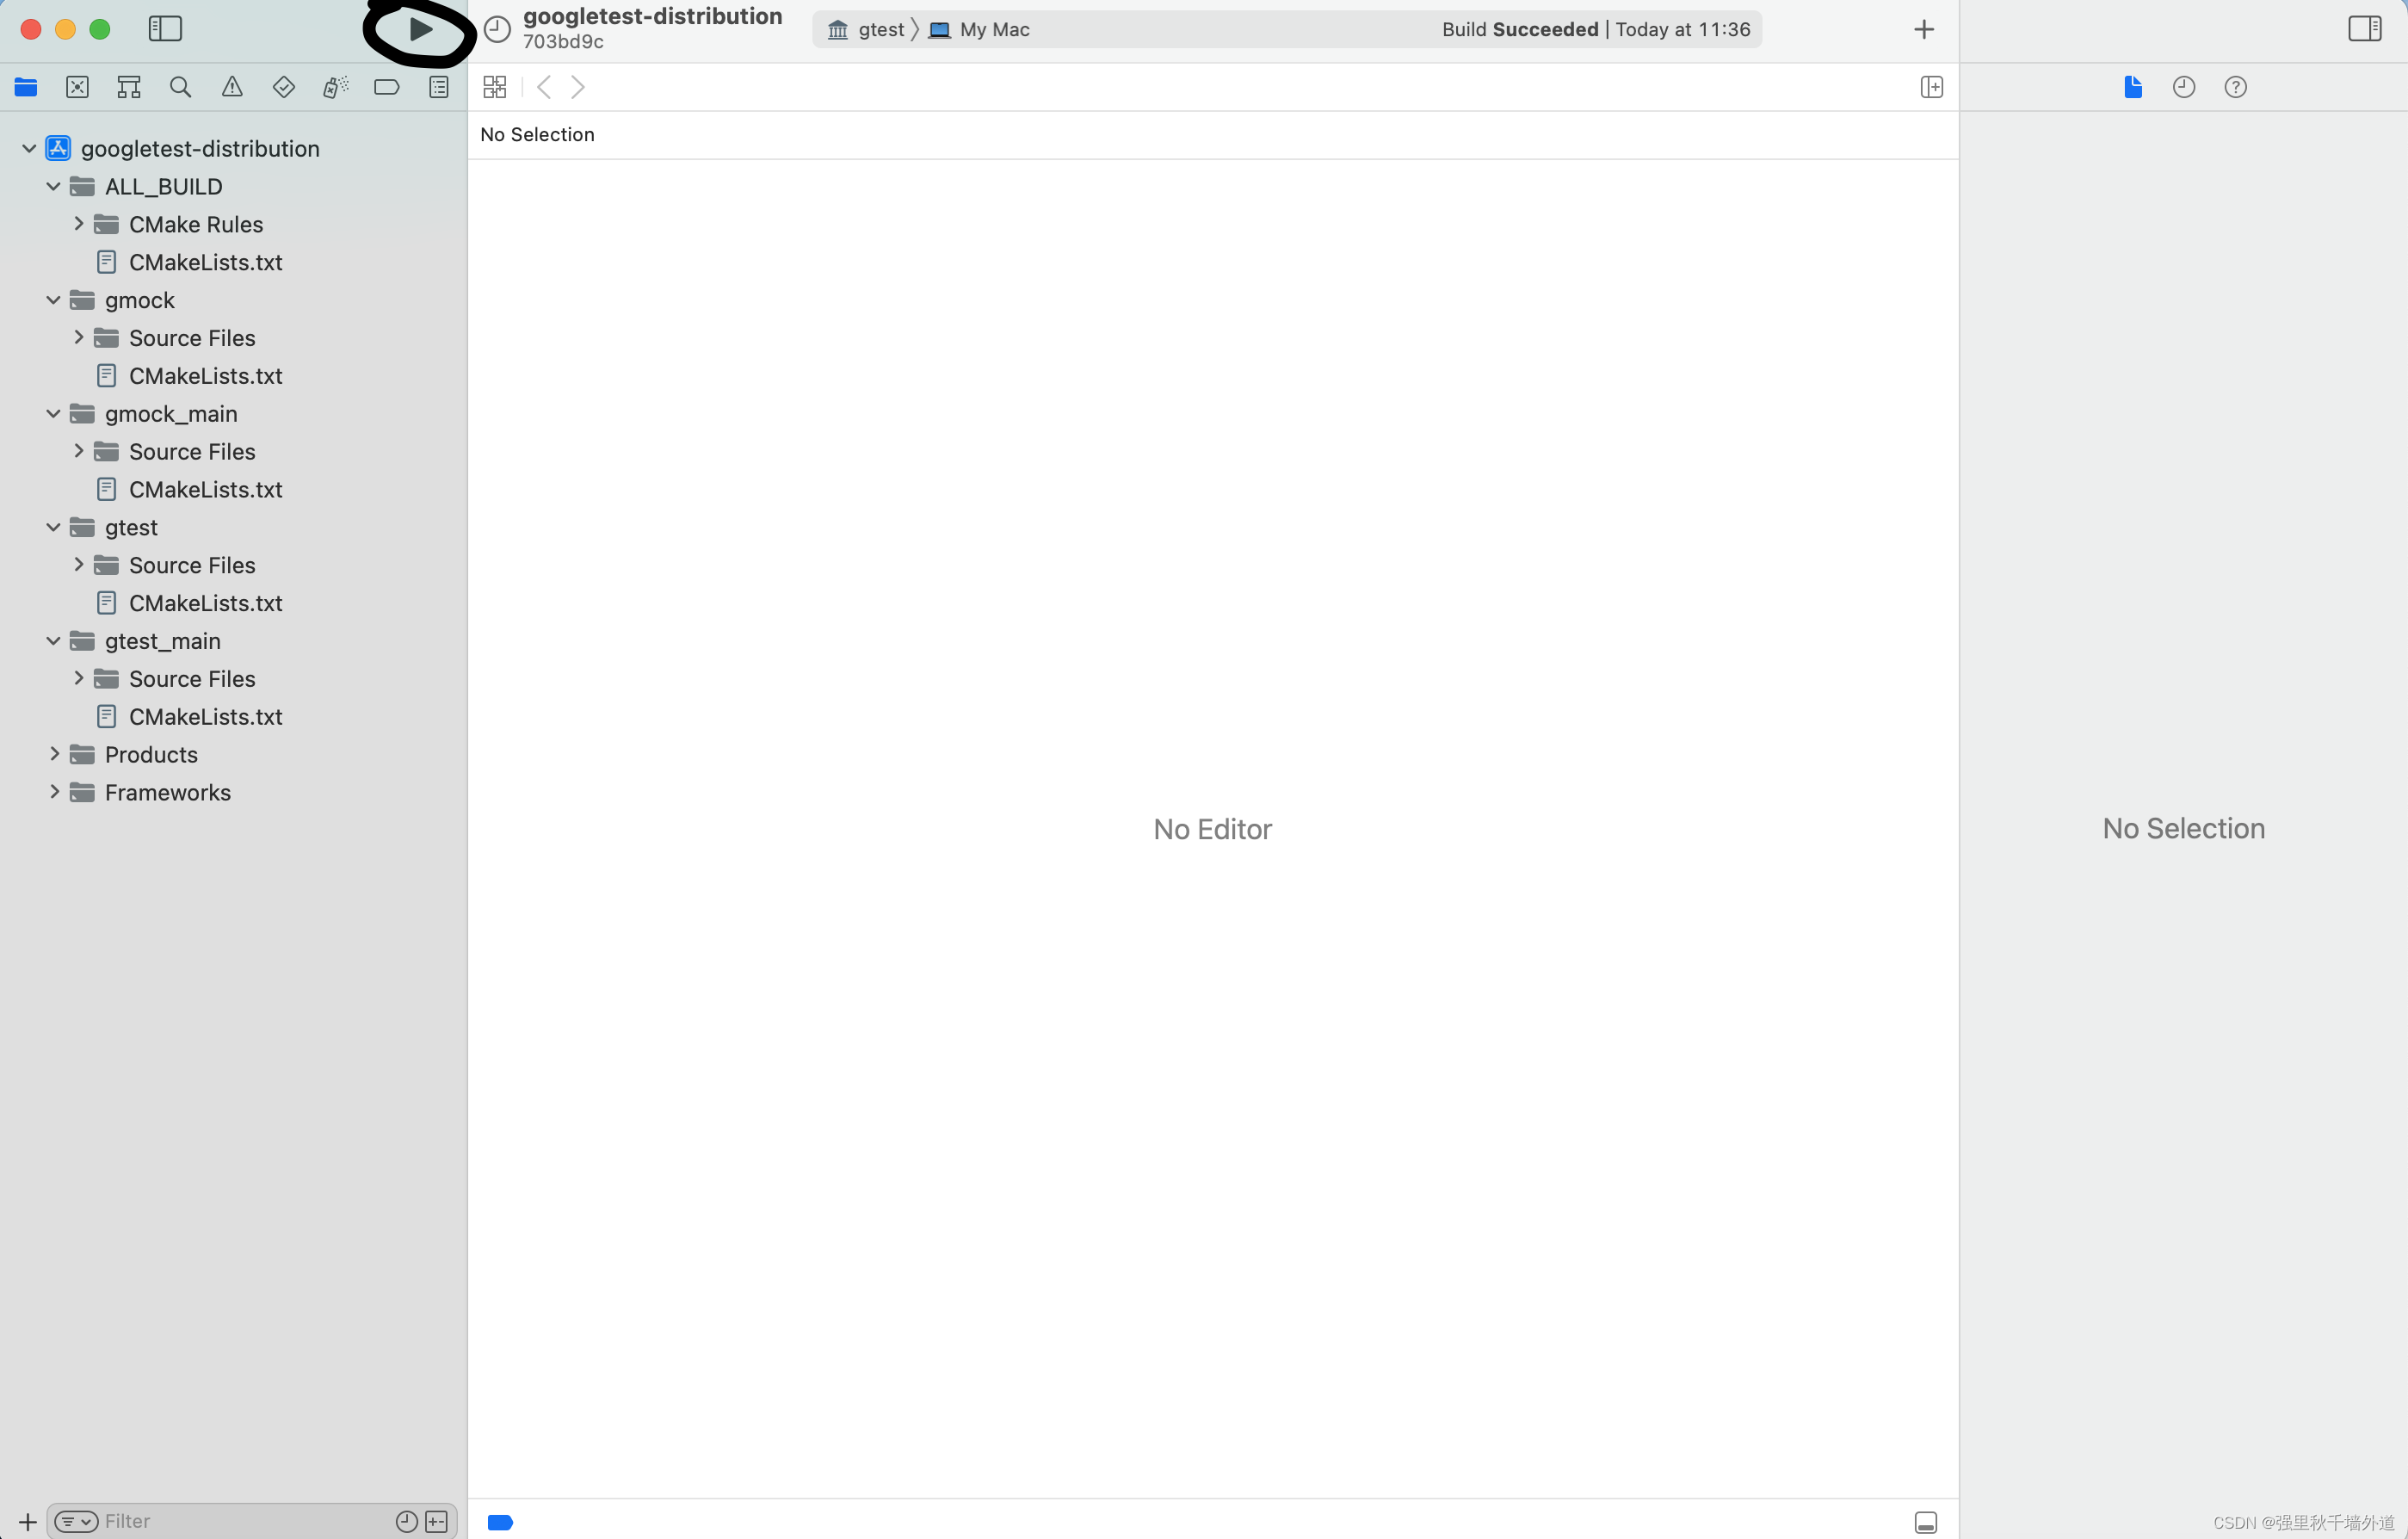
可以看到库文件已经生成
生成了库和头文件之后,就可以使用googletest了,windows平台下类似操作,使用Visual Studio生成项目文件,然后去目录中找到对应的头文件与库文件,最后将要测试的项目来编译就行了。
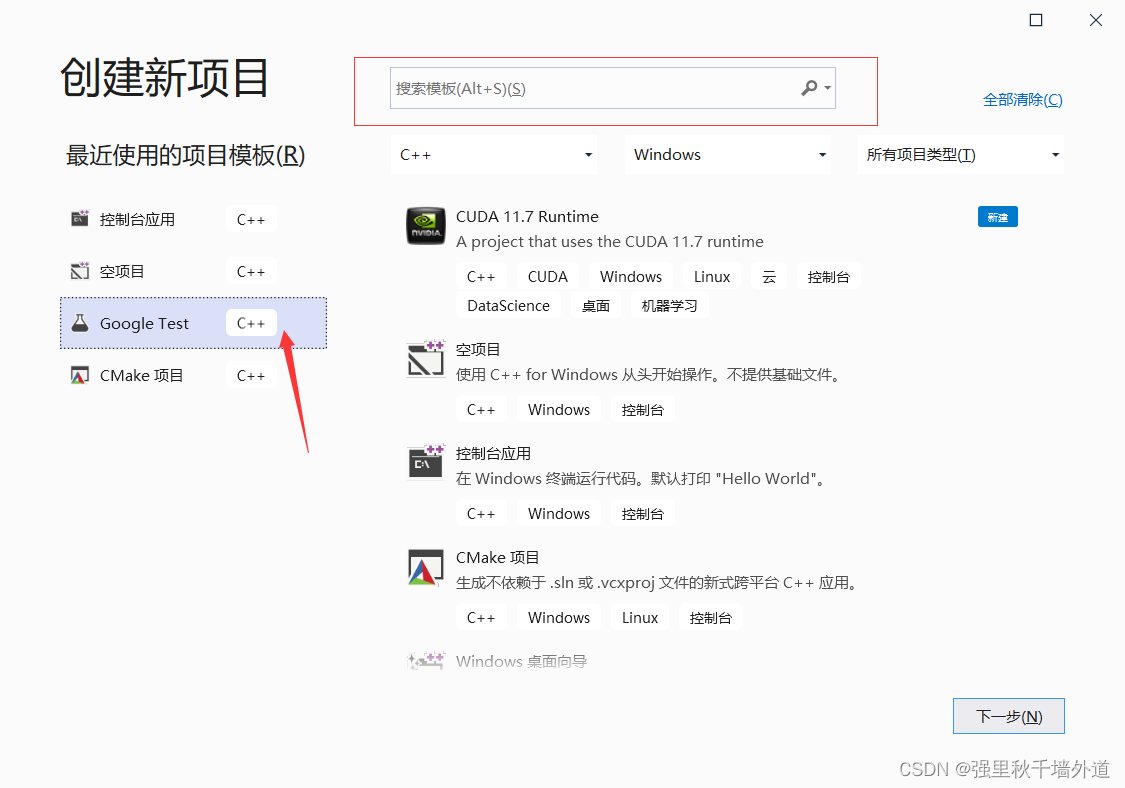
3. VS2019新建项目
还有一种windows上可以用的,在vs2019,我发现googletest是默认的项目模板之一,所以直接使用Visual Studio2019新建一个Google Test项目。如下图
测试代码示例
现有如下文件
sample1.h
#ifndef GOOGLETEST_SAMPLES_SAMPLE1_H_
#define GOOGLETEST_SAMPLES_SAMPLE1_H_// Returns n! (the factorial of n).  For negative n, n! is defined to be 1.
int Factorial(int n);
#endif  // GOOGLETEST_SAMPLES_SAMPLE1_H_
sample2.cpp
#include "sample1.h"// Returns n! (the factorial of n).  For negative n, n! is defined to be 1.
int Factorial(int n) {int result = 1;for (int i = 1; i <= n; i++) {result *= i;}return result;
}
sample1_unittest.cpp
// Step 1. Include necessary header files such that the stuff your
// test logic needs is declared.
//
// Don't forget gtest.h, which declares the testing framework.
#include <limits.h>
#include "sample1.h"
#include "gtest/gtest.h"
namespace {// Step 2. Use the TEST macro to define your tests.
//
// TEST has two parameters: the test case name and the test name.
// After using the macro, you should define your test logic between a
// pair of braces.  You can use a bunch of macros to indicate the
// success or failure of a test.  EXPECT_TRUE and EXPECT_EQ are
// examples of such macros.  For a complete list, see gtest.h.
//
// <TechnicalDetails>
//
// In Google Test, tests are grouped into test cases.  This is how we
// keep test code organized.  You should put logically related tests
// into the same test case.
//
// The test case name and the test name should both be valid C++
// identifiers.  And you should not use underscore (_) in the names.
//
// Google Test guarantees that each test you define is run exactly
// once, but it makes no guarantee on the order the tests are
// executed.  Therefore, you should write your tests in such a way
// that their results don't depend on their order.
//
// </TechnicalDetails>// Tests Factorial().// Tests factorial of negative numbers.
TEST(FactorialTest, Negative) {// This test is named "Negative", and belongs to the "FactorialTest"// test case.EXPECT_EQ(1, Factorial(-5));EXPECT_EQ(1, Factorial(-1));EXPECT_GT(Factorial(-10), 0);// <TechnicalDetails>//// EXPECT_EQ(expected, actual) is the same as////   EXPECT_TRUE((expected) == (actual))//// except that it will print both the expected value and the actual// value when the assertion fails.  This is very helpful for// debugging.  Therefore in this case EXPECT_EQ is preferred.//// On the other hand, EXPECT_TRUE accepts any Boolean expression,// and is thus more general.//// </TechnicalDetails>
}// Tests factorial of 0.
TEST(FactorialTest, Zero) {EXPECT_EQ(1, Factorial(0));
}// Tests factorial of positive numbers.
TEST(FactorialTest, Positive) {EXPECT_EQ(1, Factorial(1));EXPECT_EQ(2, Factorial(2));EXPECT_EQ(6, Factorial(3));EXPECT_EQ(40320, Factorial(8));
}// Step 3. Call RUN_ALL_TESTS() in main().
//
// We do this by linking in src/gtest_main.cc file, which consists of
// a main() function which calls RUN_ALL_TESTS() for us.
//
// This runs all the tests you've defined, prints the result, and
// returns 0 if successful, or 1 otherwise.
//
// Did you notice that we didn't register the tests?  The
// RUN_ALL_TESTS() macro magically knows about all the tests we
// defined.  Isn't this convenient?
Assertions 宏详解
Googletest 断言就是宏。通过断言测试一个函数或者类的行为。
出现错误时,googletest会打印源文件、代码行数和错误信息。
结果只有三种,分别是成功,非致命错误,致命错误,即success, nonfatal failure, fatal failure。非致命错误不会终止当前函数,致命错误会终止测试程序并且退出,也就是说接下来的测试就不会运行了。
一般使用EXPECT_*,这样可以跑完整个测试程序。
宏的格式有两种:
| 宏 | 产生效果 |
|---|---|
| ASSERT_* | 致命错误 |
| EXPECT_* | 非致命错误 |
一般来说,EXPECT_*用得更多,因为可显示的错误信息不止一个。除非某条件不成立,程序就无法运行时,就使用ASSERT__*。
使用<<运算符来打印错误信息,示例:
ASSERT_EQ(x.size(), y.size()) << "Vectors x and y are of unequal length";for (int i = 0; i < x.size(); ++i) {EXPECT_EQ(x[i], y[i]) << "Vectors x and y differ at index " << i;
}
Basic Assertions
最基础的真假条件判断
| Fatal assertion | Nonfatal assertion | Verifies |
|---|---|---|
ASSERT_TRUE(condition); | EXPECT_TRUE(condition); | condition is true |
ASSERT_FALSE(condition); | EXPECT_FALSE(condition); | condition is false |
Binary Comparison
判断两个值
| Fatal assertion | Nonfatal assertion | Verifies |
|---|---|---|
ASSERT_EQ(val1, val2); | EXPECT_EQ(val1, val2); | val1 == val2 |
ASSERT_NE(val1, val2); | EXPECT_NE(val1, val2); | val1 != val2 |
ASSERT_LT(val1, val2); | EXPECT_LT(val1, val2); | val1 < val2 |
ASSERT_LE(val1, val2); | EXPECT_LE(val1, val2); | val1 <= val2 |
ASSERT_GT(val1, val2); | EXPECT_GT(val1, val2); | val1 > val2 |
ASSERT_GE(val1, val2); | EXPECT_GE(val1, val2); | val1 >= val2 |
googletest官方文档
其实有一个更简单的方式,使用vcpkg,vcpkg是微软出的C++库管理器,非常好用。基本上流行的开源的库都有。
如何使用vcpkg在我的一篇文章中有,googletest使用vcpkg编译