CSS画圆、三角形、品字、骰子
前言:这篇文章主要是本人正在看面试题,面试题当成八股文来背,太难了。所以,通过写笔记,并自己实践来加深印象。如果这篇文章对你有帮助,请不要吝啬你的赞。
圆
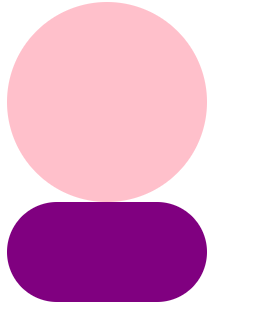
让 border-radius属性的值等于盒子高度的一半就行(当然,盒子得是正方形才能得到圆,否则便不是圆)
<style>.circle {width: 200px;height: 200px;border-radius: 50%;background-color: pink;}.box {width: 200px;height: 100px;border-radius: 50%;background-color: purple;}
</style><div class="circle"></div>
<div class="box"></div>
三角形
原理:相邻边框均分
这是什么意思呢?
看下例子
<style>div {box-sizing: border-box;}.triangle1 {display: inline-block;width: 100px;height: 100px;border-left-width: 20px;border-left-style: solid;border-left-color: blue;background-color: pink;}.triangle2 {display: inline-block;width: 100px;height: 100px;border-width: 20px;border-style: solid;border-left-color: blue;background-color: pink;}
</style><div class="triangle1"></div>
<div class="triangle2"></div>
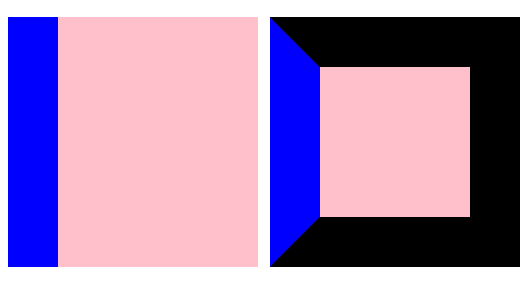
可以知道,边框实际上应该是长方形或正方形的,但是第二个例子中,出现了梯形的边框,这就是因为有左边框,同时还有上下边框,但是位置是有限的,所以它们互相体谅,最后,每人拿一半。
那么,怎样才能用纯CSS画三角形呢?
首先,中间粉色的区域是一定要去掉的,所以让盒子没有宽高
.triangle {display: inline-block;border-width: 20px;border-style: solid;border-left-color: blue;
}
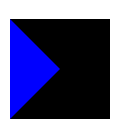
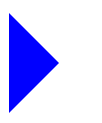
可以看到,三角形已经出来了,那么,设置边框的颜色为透明,然后,只让一边的边框有颜色,就能画出三角形
.triangle {display: inline-block;border-width: 20px;border-style: solid;border-color: transparent;border-left-color: blue;
}
满屏品字
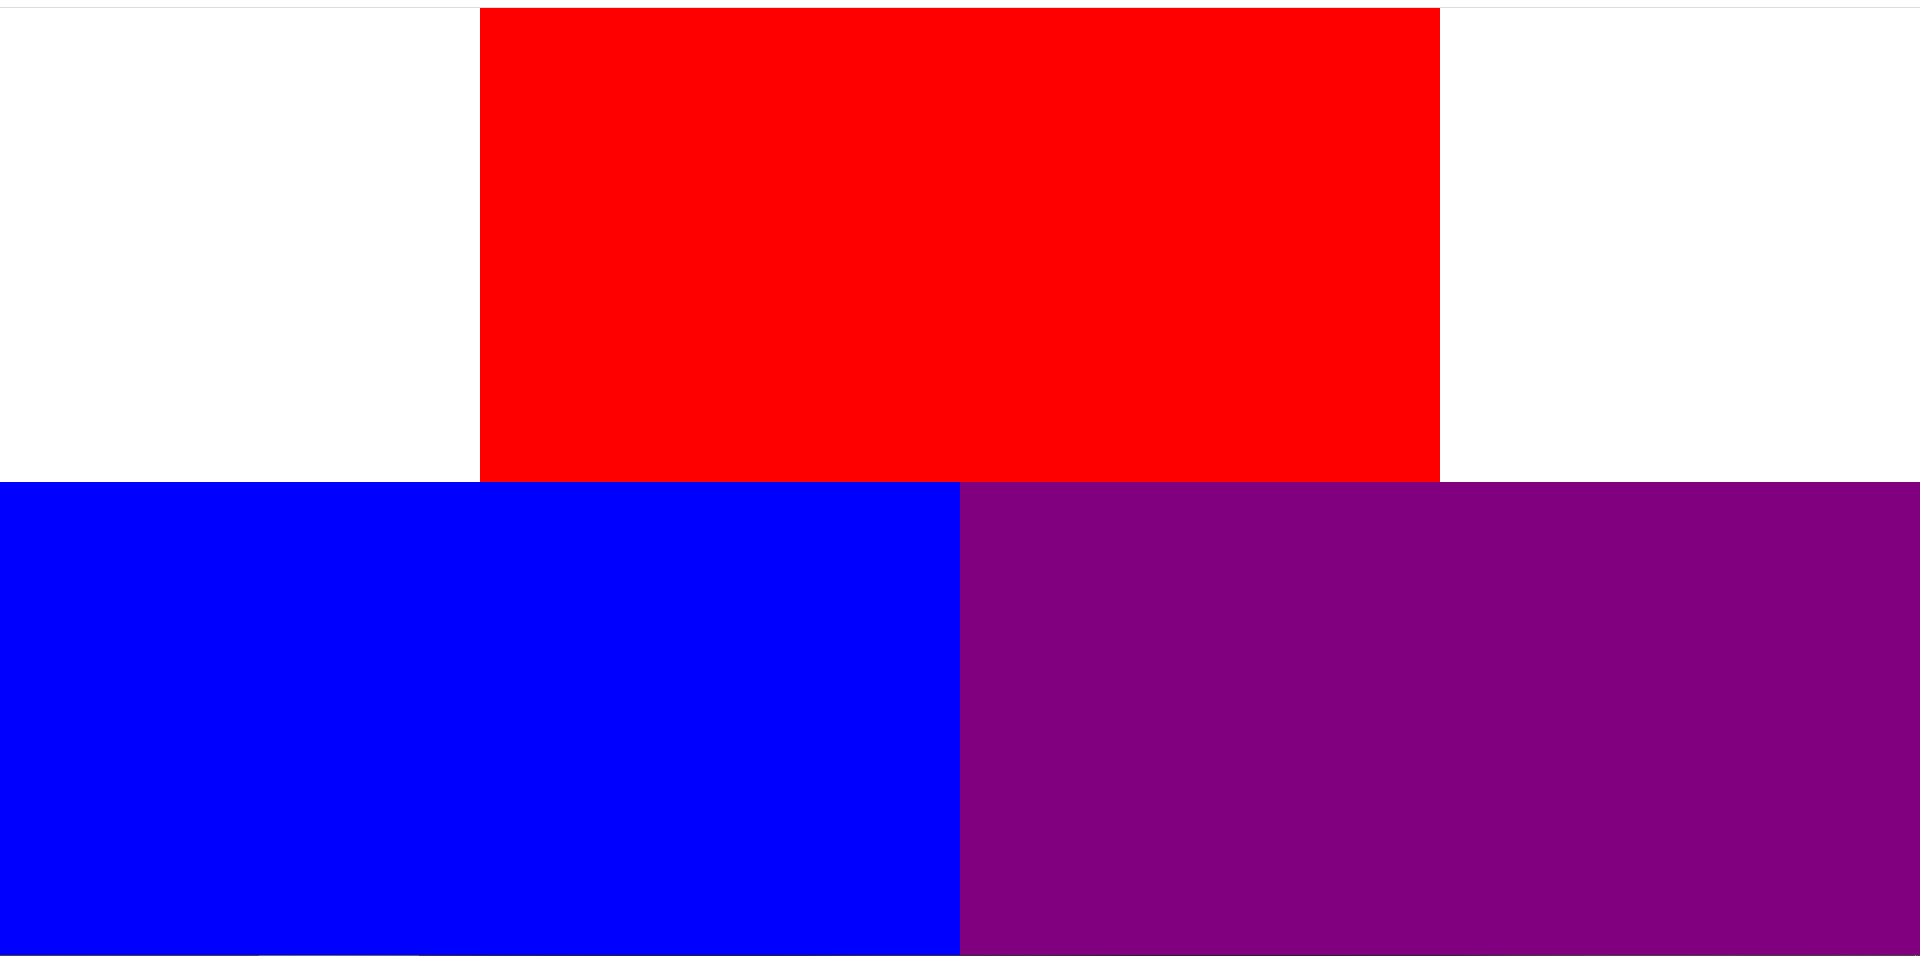
上面一块使用 margin: 0 auto居中,下面两块要用 float或 inline-block控制不换行( inline-block可能还是会导致换行,因为可能会出现滚动条)
另外,需要满屏,所以上下应该各占50%,但是呢,默认的 html和 body高度为0,所以需要设置高度为 100%
<style>html,body,div {margin: 0;padding: 0;}html,body {/* 让div盒子高度能使用百分比形式 */height: 100%;}.top {width: 50%;height: 50%;background-color: red;margin: 0 auto;}.bottom {width: 100%;height: 50%;}.left,.right {float: left;width: 50%;height: 100%;}.left {background-color: blue;}.right {background-color: purple;}
</style><div class="top"></div>
<div class="bottom"><div class="left"></div><div class="right"></div>
</div>
骰子
主要是通过flex布局实现,flex布局的主要语法可查看本人写的另一篇(原本在个人博客上的,发到掘金上了)
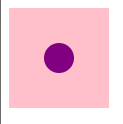
一
一的情况比较简单,设置flex布局后,同时设置水平垂直居中即可。
<style>.box {display: flex;justify-content: center;	/* 实现水平居中 */align-items: center;		/* 实现垂直居中 */width: 90px;height: 90px;padding: 5px;background-color: pink;}.item {width: 30px;height: 30px;background-color: purple;border-radius: 50%;}
</style><div class="box"><div class="item"></div>
</div>
二
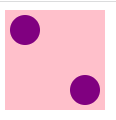
首先,通过 justify-content: space-between;,实现首元素在起点,尾元素在终点。
<style>.box {display: flex;width: 90px;height: 90px;padding: 5px;background-color: pink;/* 均匀排列每个元素。首个元素放置于起点,末尾元素放置于终点 */justify-content: space-between;}.item {width: 30%;height: 30%;background-color: purple;border-radius: 50%;}
</style><div class="box"><div class="item"></div><div class="item"></div>
</div>
然后,通过 align-self: flex-end;把尾元素单独拖下来
.item:nth-child(2) {align-self: flex-end;
}
三
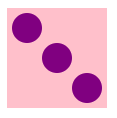
三的做法和二类似,不同的是,三需要把第三个元素拖下来,而第二个元素应该在中间
<style>.box {display: flex;width: 90px;height: 90px;padding: 5px;background-color: pink;justify-content: space-between;}.item {width: 30px;height: 30px;background-color: purple;border-radius: 50%;}.item:nth-child(2) {/* 单独控制子元素在侧轴上的排列方式 */align-self: center;}.item:nth-child(3) {align-self: flex-end;}
</style><div class="box"><div class="item"></div><div class="item"></div><div class="item"></div>
</div>
四
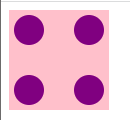
四的情况麻烦一点点。
首先,html的结构需要增加上下两个中盒子。
<div class="box"><div class="top"><div class="item"></div><div class="item"></div></div><div class="bottom"><div class="item"></div><div class="item"></div></div>
</div>
然后,上下两个中盒子,分别要在大盒子的上下,所以大盒子需要设置主轴为垂直方向,并设置 justify-content: space-between;
.box {display: flex;width: 90px;height: 90px;padding: 5px;background-color: pink;/* 设置主轴为垂直方向 */flex-direction: column;justify-content: space-between;
}
最后,两个中盒子也得设置为 flex,因为它们的子元素也需要 justify-content: space-between;来实现,一人在左,一人在右。
.top,
.bottom {display: flex;justify-content: space-between;
}
item盒子的样式直接拿上面的即可
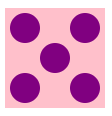
五
五和四类似,需要再来一个中盒子,然后让这个中盒子单独居中局可
<div class="box"><div class="top"><div class="item"></div><div class="item"></div></div><div class="middle"><div class="item"></div></div><div class="bottom"><div class="item"></div><div class="item"></div></div>
</div>
.middle {align-self: center;
}
六
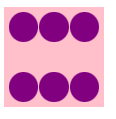
六和四一摸一样做法
<div class="box"><div class="top"><div class="item"></div><div class="item"></div><div class="item"></div></div><div class="bottom"><div class="item"></div><div class="item"></div><div class="item"></div></div>
</div>
.box {display: flex;width: 90px;height: 90px;padding: 5px;background-color: pink;flex-direction: column;justify-content: space-between;}.top,.bottom {display: flex;justify-content: space-between;}.item {width: 30px;height: 30px;background-color: purple;border-radius: 50%;}.top>.item:nth-child(2),.bottom>.item:nth-child(2) {/* 产生点间距,好看点 */margin: 0 1px;}
