目录
一、什么是Material Design
二、Toolbar
三、滑动菜单
1.DrawerLayout
四、悬浮按钮和可交互提示
1.FloatingActionButton:悬浮按钮
2.Snackbar:提示工具
3.CoordinatorLayout:加强版FrameLayout
五、卡片式布局
1.MaterialCardView
2.AppBarLayout
六、下拉刷新
七、可折叠式标题栏
1.CollapsingToorbarLayout
2.充分利用系统状态栏空间
一、什么是Material Design
一套全新的界面设计语言
二、Toolbar
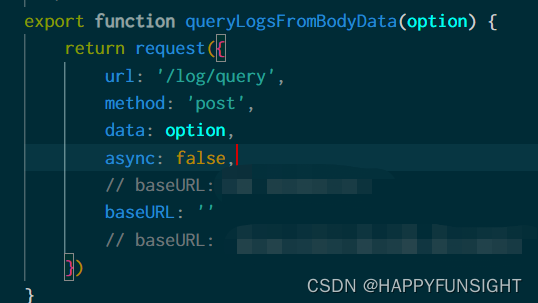
修改D:\soft\projects\MaterialTest\app\src\main\res\values\themes.xml
//界面的主体颜色设成深色,陪衬颜色设成淡色
<style name="Theme.MaterialTest" parent="Theme.MaterialComponents.NoActionBar">
//界面的主体颜色设成淡色,陪衬颜色设成深色
<style name="Theme.MaterialTest" parent="Theme.MaterialComponents.Light.NoActionBar">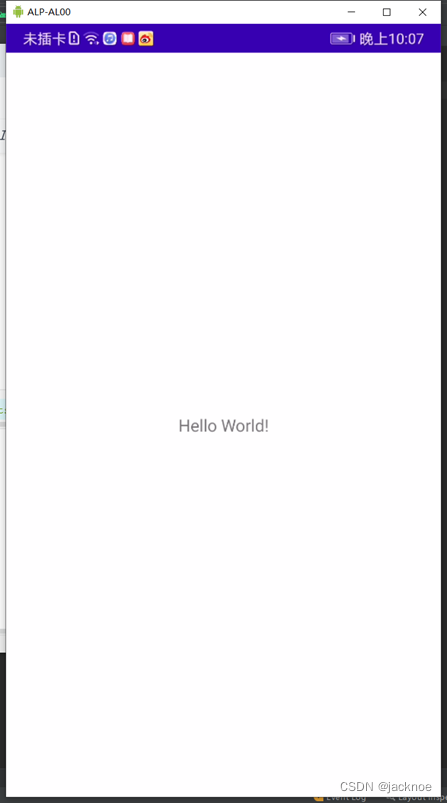
如何使用Toolbar?
首先修改themes.xml文件:
<resources xmlns:tools="http://schemas.android.com/tools"><!-- Base application theme. --><style name="Theme.MaterialTest" parent="Theme.MaterialComponents.Light.NoActionBar"><!-- Primary brand color. --><item name="colorPrimary">@color/purple_500</item><item name="colorPrimaryVariant">@color/purple_700</item><item name="colorOnPrimary">@color/white</item><!-- Secondary brand color. --><item name="colorSecondary">@color/teal_200</item><item name="colorSecondaryVariant">@color/teal_700</item><item name="colorOnSecondary">@color/black</item><!-- Status bar color. --><item name="android:statusBarColor" tools:targetApi="l">?attr/colorPrimaryVariant</item><!-- Customize your theme here. --></style>
</resources>
其次在activity_main.xml添加:
<androidx.appcompat.widget.Toolbarandroid:id="@+id/toolbar"android:layout_width="match_parent"android:layout_height="?attr/actionBarSize"android:background="@color/purple_500"tools:ignore="MissingConstraints" />最后修改MainActivity:
public class MainActivity extends AppCompatActivity {@Overrideprotected void onCreate(Bundle savedInstanceState) {super.onCreate(savedInstanceState);setContentView(R.layout.activity_main);Toolbar toolbar = findViewById(R.id.toolbar);setSupportActionBar(toolbar);}
}
效果如下图:
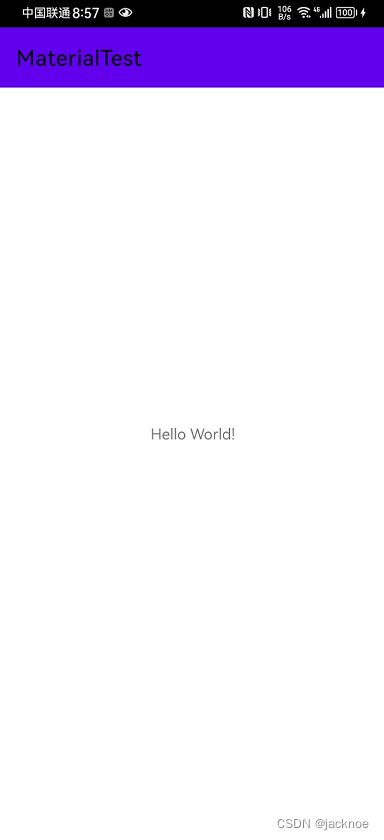
添加android:theme="@style/ThemeOverlay.AppCompat.Dark.ActionBar"让Toolbar单独使用深色主题,这样文字就会变成浅色,如下图
<androidx.appcompat.widget.Toolbarandroid:id="@+id/toolbar"android:layout_width="match_parent"android:layout_height="?attr/actionBarSize"android:background="@color/purple_500"android:theme="@style/ThemeOverlay.AppCompat.Dark.ActionBar"tools:ignore="MissingConstraints" /> 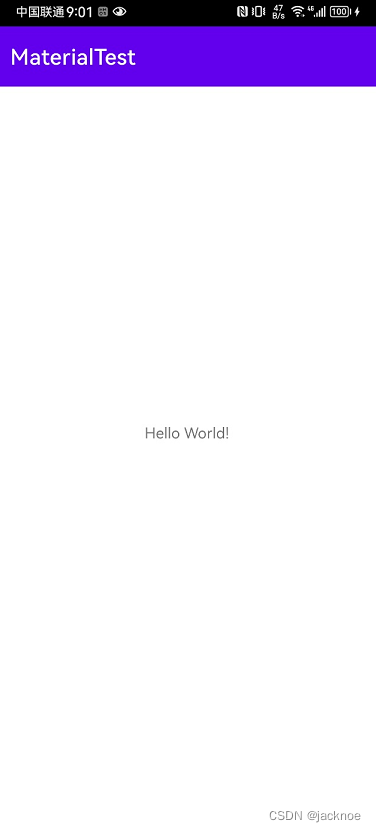
在Toolbar中添加一些按钮
<?xml version="1.0" encoding="utf-8"?>
<menu xmlns:android="http://schemas.android.com/apk/res/android"xmlns:app="http://schemas.android.com/apk/res-auto"><itemandroid:id="@+id/backup"android:title="Backup"android:icon="@drawable/ic_backup"app:showAsAction="always"/><itemandroid:id="@+id/delete"android:title="Delete"android:icon="@drawable/ic_delete"app:showAsAction="ifRoom"/><itemandroid:id="@+id/settings"android:title="Settings"android:icon="@drawable/ic_settings"app:showAsAction="never"/>
</menu>
public class MainActivity extends AppCompatActivity {@Overrideprotected void onCreate(Bundle savedInstanceState) {super.onCreate(savedInstanceState);setContentView(R.layout.activity_main);Toolbar toolbar = findViewById(R.id.toolbar);setSupportActionBar(toolbar);}@Overridepublic boolean onCreateOptionsMenu(Menu menu) {getMenuInflater().inflate(R.menu.toolbar,menu);return true;}@Overridepublic boolean onOptionsItemSelected(@NonNull MenuItem item) {switch (item.getItemId()){case R.id.backup:Toast.makeText(this, "你点击了返回", Toast.LENGTH_SHORT).show();break;case R.id.delete:Toast.makeText(this, "你点击了删除", Toast.LENGTH_SHORT).show();break;case R.id.settings:Toast.makeText(this, "你点击了设置", Toast.LENGTH_SHORT).show();break;default:}return true;}
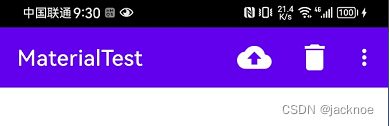
}如果不指定android:icon="@drawable/ic_backup",会用title作为按钮,如下图:

加了icon属性如下图:
当你点最右边三个点时如下图:
只需要在布局文件中的Toolbar添加如下代码就可以,如下图:
app:popupTheme="@style/Theme.AppCompat.Light" 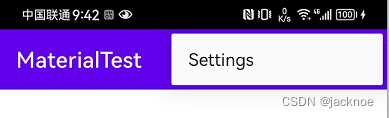
三、滑动菜单
1.DrawerLayout
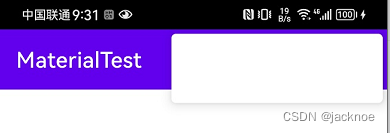
<androidx.drawerlayout.widget.DrawerLayout xmlns:android="http://schemas.android.com/apk/res/android"xmlns:app="http://schemas.android.com/apk/res-auto"android:id="@+id/drawer_layout"android:layout_height="match_parent"android:layout_width="match_parent"><FrameLayout android:layout_width="match_parent"android:layout_height="match_parent"><androidx.appcompat.widget.Toolbarandroid:id="@+id/toolbar"android:layout_width="match_parent"android:layout_height="?attr/actionBarSize"android:background="@color/colorPrimary"android:theme="@style/ThemeOverlay.AppCompat.Dark.ActionBar"app:popupTheme="@style/ThemeOverlay.AppCompat.Light" /></FrameLayout>
<!--指定start表示会根据系统语言进行判断,系统语言是从左往右的,滑动菜单在左边,系统语言从右往左的,滑动菜单在右边--><TextViewandroid:layout_width="match_parent"android:layout_height="match_parent"  android:layout_gravity="start"android:text="这是菜单"android:textSize="30sp"android:background="#FFF"/></androidx.drawerlayout.widget.DrawerLayout>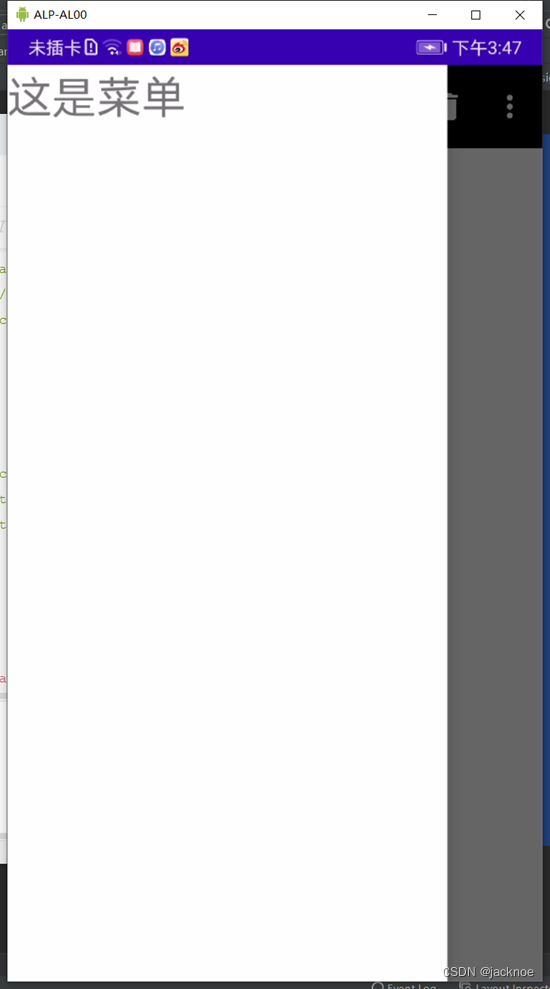
Toorbar的最左边加入一个导航按钮
public class MainActivity extends AppCompatActivity {private DrawerLayout drawerLayout;@Overrideprotected void onCreate(Bundle savedInstanceState) {super.onCreate(savedInstanceState);setContentView(R.layout.activity_main);Toolbar toolbar = findViewById(R.id.toolbar);setSupportActionBar(toolbar);drawerLayout = findViewById(R.id.drawer_layout);ActionBar actionBar = getSupportActionBar();if(actionBar!=null){//让导航按钮显示出来actionBar.setDisplayHomeAsUpEnabled(true);//设置导航按钮图标actionBar.setHomeAsUpIndicator(R.drawable.ic_menu);}}@Overridepublic boolean onCreateOptionsMenu(Menu menu) {getMenuInflater().inflate(R.menu.toolbar,menu);return true;}@Overridepublic boolean onOptionsItemSelected(@NonNull MenuItem item) {switch (item.getItemId()){//HomeAsUp按钮的id永远都是android.R.id.homecase android.R.id.home:drawerLayout.openDrawer(GravityCompat.START);break;case R.id.backup:Toast.makeText(this, "你点击了返回", Toast.LENGTH_SHORT).show();break;case R.id.delete:Toast.makeText(this, "你点击了删除", Toast.LENGTH_SHORT).show();break;case R.id.settings:Toast.makeText(this, "你点击了设置", Toast.LENGTH_SHORT).show();break;default:}return true;}
}
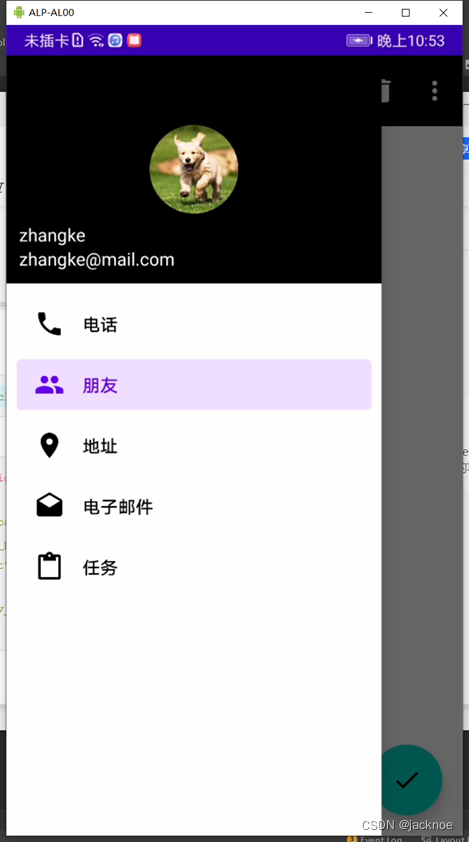
2.NavigationView
添加依赖:
//开源项目CircleImageView,可以用来轻松实现图片圆形化的功能
implementation 'de.hdodenhof:circleimageview:3.1.0'
NavigationView不用添加依赖,直接
<com.google.android.material.navigation.NavigationViewandroid:id="@+id/nav_view"android:layout_width="match_parent"android:layout_height="match_parent"android:layout_gravity="start"app:menu="@menu/nav_menu"app:headerLayout="@layout/nav_header"/>
四、悬浮按钮和可交互提示
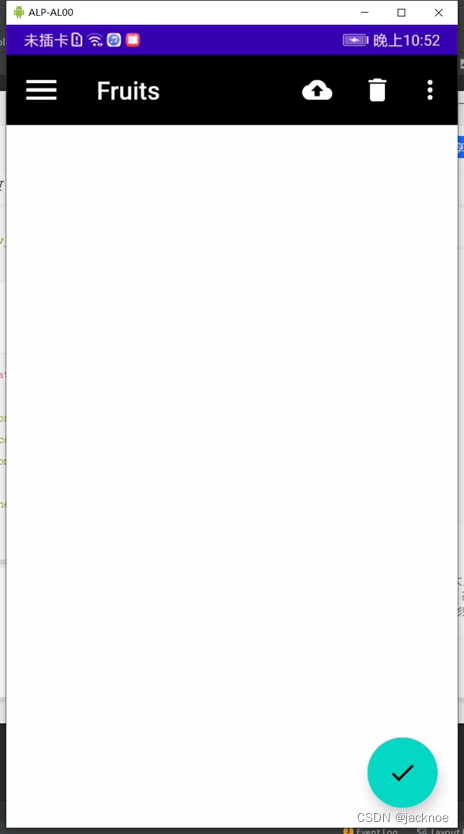
1.FloatingActionButton:悬浮按钮
<com.google.android.material.floatingactionbutton.FloatingActionButtonandroid:id="@+id/fab"android:layout_width="wrap_content"android:layout_height="wrap_content"android:layout_gravity="bottom|end"android:layout_margin="16dp"android:src="@drawable/ic_done"//指定高度值,高度值越大,投影范围也越大,投影效果越淡;高度值越小,投影范围越小,投影效果越浓app:elevation="8dp"/>
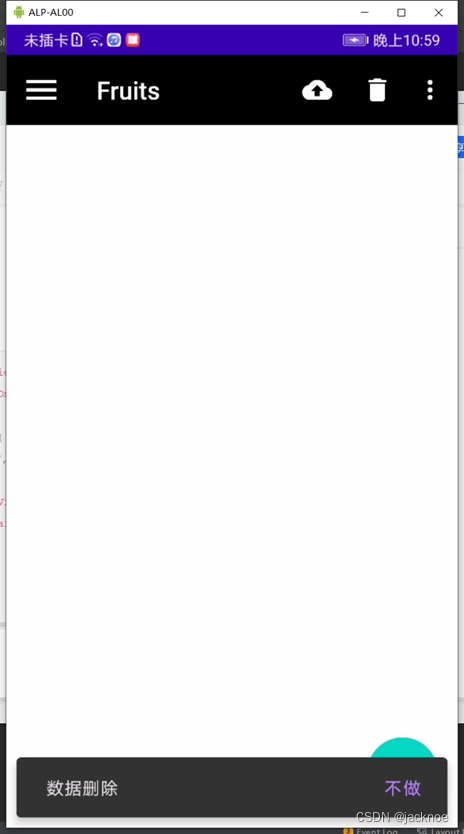
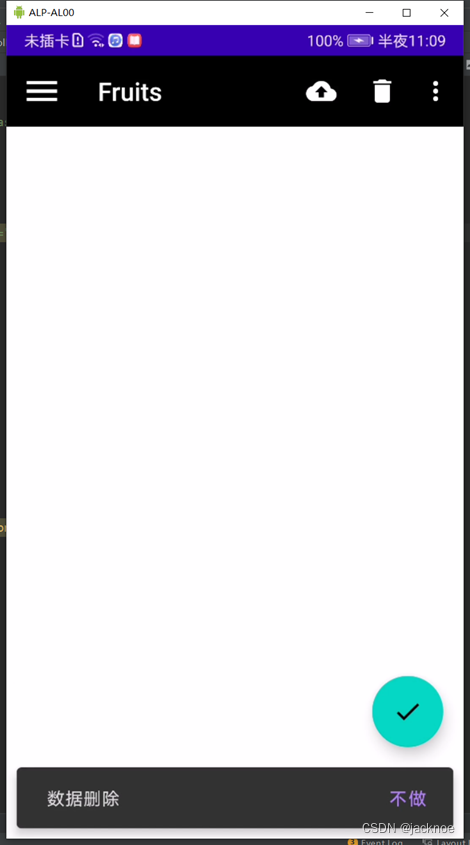
2.Snackbar:提示工具
Snackbar允许在提示中加入一个可交互按钮
FloatingActionButton fab = findViewById(R.id.fab);
fab.setOnClickListener(new View.OnClickListener() {@Overridepublic void onClick(View v) {//第一个参数需要传入一个View,当前界面布局的任意一个View都可以;第二个参数是内容;第三个参数是显示的时长Snackbar.make(v,"数据删除",Snackbar.LENGTH_SHORT).setAction("不做", new View.OnClickListener() {@Overridepublic void onClick(View v) {Toast.makeText(MainActivity.this, "数据保存", Toast.LENGTH_SHORT).show();}}).show();}
});
3.CoordinatorLayout:加强版FrameLayout
CoordinatorLayout可以监听其所有子控件的各种事件,然后自动帮助我们做出最为合理的响应。
比如可以实现提示条不会挡住悬浮按钮
<androidx.coordinatorlayout.widget.CoordinatorLayout xmlns:android="http://schemas.android.com/apk/res/android"xmlns:app="http://schemas.android.com/apk/res-auto"xmlns:tools="http://schemas.android.com/tools"android:layout_width="match_parent"android:layout_height="match_parent"tools:context=".MainActivity"><androidx.appcompat.widget.Toolbarandroid:id="@+id/toolbar"android:layout_width="match_parent"android:layout_height="?attr/actionBarSize"android:background="?attr/colorOnSecondary"android:theme="@style/ThemeToolbar"app:titleTextColor="@color/white"/><com.google.android.material.floatingactionbutton.FloatingActionButtonandroid:id="@+id/fab"android:layout_width="wrap_content"android:layout_height="wrap_content"android:layout_gravity="bottom|end"android:layout_margin="16dp"android:src="@drawable/ic_done"app:elevation="8dp"/></androidx.coordinatorlayout.widget.CoordinatorLayout>
五、卡片式布局
1.MaterialCardView
也是一个FrameView,只是额外提供了圆角和阴影等效果
添加Glide库依赖:Glide是一个超级强大的图片加载库
implementation 'com.github.bumptech.glide:glide:4.12.0'<com.google.android.material.card.MaterialCardViewandroid:layout_width="match_parent"android:layout_height="wrap_content"app:cardCornerRadius="4dp"app:elevation="5dp"><TextViewandroid:id="@+id/infoText"android:layout_width="match_parent"android:layout_height="wrap_content"/>
</com.google.android.material.card.MaterialCardView>
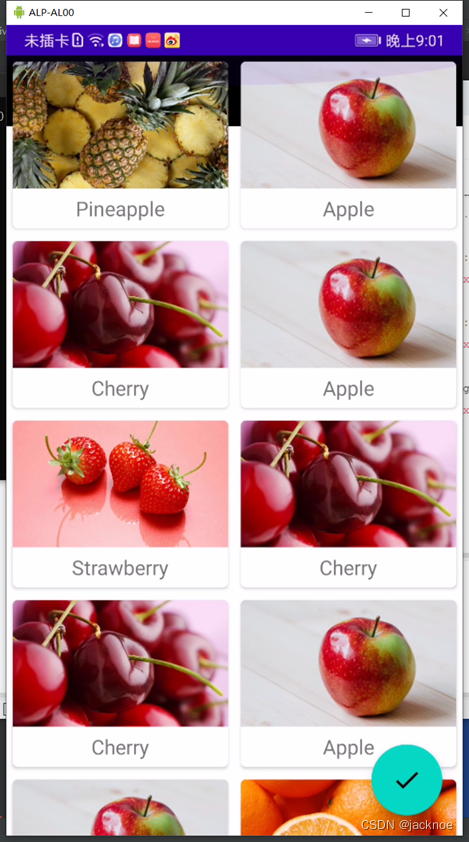
2.AppBarLayout
实际上是一个垂直方向的LinearLayout,在内部做了很多滚动事件的封装
怎么解决Toolbar被覆盖的问题?
第一步将Toolbar嵌套到AppBarLayout中,第二部给RecycleView指定一个布局行为
<com.google.android.material.appbar.AppBarLayoutandroid:layout_width="match_parent"android:layout_height="wrap_content"><androidx.appcompat.widget.Toolbarandroid:id="@+id/toolbar"android:layout_width="match_parent"android:layout_height="?attr/actionBarSize"android:background="?attr/colorOnSecondary"android:theme="@style/ThemeToolbar"app:titleTextColor="@color/white"/>
</com.google.android.material.appbar.AppBarLayout><androidx.recyclerview.widget.RecyclerViewandroid:id="@+id/recycle_view"android:layout_width="match_parent"android:layout_height="match_parent"//指定一个布局行为app:layout_behavior="@string/appbar_scrolling_view_behavior"/>
<com.google.android.material.appbar.AppBarLayoutandroid:layout_width="match_parent"android:layout_height="wrap_content"><androidx.appcompat.widget.Toolbarandroid:id="@+id/toolbar"android:layout_width="match_parent"android:layout_height="?attr/actionBarSize"android:background="?attr/colorOnSecondary"android:theme="@style/ThemeToolbar"app:titleTextColor="@color/white"//scroll表示当RecycleView向上滚动时,Toolbar会跟着一起向上滚动并隐藏;enterAlways反之;snap表示当Toolbar还没有完全隐藏或显示的时候,会根据当前的滚动距离,自动选择是隐藏还是显示app:layout_scrollFlags="scroll|enterAlways|snap"/>
</com.google.android.material.appbar.AppBarLayout><androidx.recyclerview.widget.RecyclerViewandroid:id="@+id/recycle_view"android:layout_width="match_parent"android:layout_height="match_parent"app:layout_behavior="@string/appbar_scrolling_view_behavior"/>
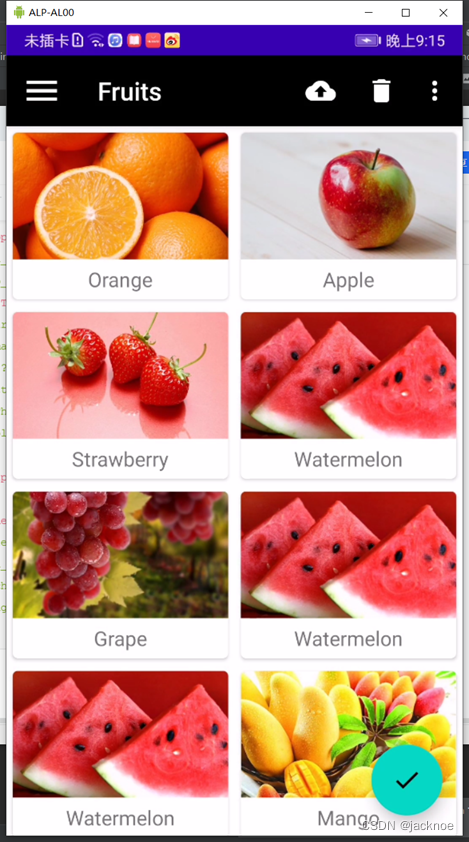
六、下拉刷新
SwipeRefreshLayout是用于实现下拉刷新功能的核心类
导入SwipeRefreshLayout依赖:
implementation 'androidx.swiperefreshlayout:swiperefreshlayout:1.1.0'在RecycleView的外面嵌套一层SwipeRefreshLayout,这样RecycleView就自动拥有下拉刷新的功能了:
<androidx.swiperefreshlayout.widget.SwipeRefreshLayoutandroid:id="@+id/swipe_refresh"android:layout_width="match_parent"android:layout_height="match_parent"app:layout_behavior="@string/appbar_scrolling_view_behavior"><androidx.recyclerview.widget.RecyclerViewandroid:id="@+id/recycle_view"android:layout_width="match_parent"android:layout_height="match_parent"app:layout_behavior="@string/appbar_scrolling_view_behavior"/>
</androidx.swiperefreshlayout.widget.SwipeRefreshLayout>
修改MainActivity:
    protected void onCreate(Bundle savedInstanceState) {......swipeRefreshLayout  = findViewById(R.id.swipe_refresh);
//        swipeRefreshLayout.setColorSchemeResources(R.color.design_default_color_primary);swipeRefreshLayout.setOnRefreshListener(new SwipeRefreshLayout.OnRefreshListener() {@Overridepublic void onRefresh() {refreshFruits();}});}private void refreshFruits(){new Thread(new Runnable() {@Overridepublic void run() {try {Thread.sleep(2000);} catch (InterruptedException e) {e.printStackTrace();}runOnUiThread(new Runnable() {@Overridepublic void run() {initFruits();//通知数据发生了变化adapter.notifyDataSetChanged();//表示刷新事件结束,并隐藏刷新进度条swipeRefreshLayout.setRefreshing(false);}});}}).start();}
七、可折叠式标题栏
1.CollapsingToorbarLayout
一个作用于Toolbar基础之上的布局,可以让Toolbar的效果变得更加丰富,展示标题栏的同时实现非常华丽的效果。CollapsingToolbarLayout只能作为AppBarLayout的直接子布局来使用,而AppBarLayout又必须是CoordinatorLayout的子布局
<?xml version="1.0" encoding="utf-8"?>
<androidx.coordinatorlayout.widget.CoordinatorLayout xmlns:android="http://schemas.android.com/apk/res/android"xmlns:app="http://schemas.android.com/apk/res-auto"xmlns:tools="http://schemas.android.com/tools"android:layout_width="match_parent"android:layout_height="match_parent"tools:context=".FruitActivity"android:fitsSystemWindows="true"><com.google.android.material.appbar.AppBarLayoutandroid:id="@+id/appBar"android:layout_width="match_parent"android:layout_height="250dp"android:fitsSystemWindows="true"><com.google.android.material.appbar.CollapsingToolbarLayoutandroid:id="@+id/collapsing_toorbar"android:layout_width="match_parent"android:layout_height="match_parent"android:theme="@style/ThemeOverlay.AppCompat.Dark.ActionBar"//指定CollapsingToolbarLayout趋于折叠状态以及折叠之后的背景色app:contentScrim="@color/black"scroll表示CollapsingToolbarLayout会对着水果内容详情的滚动一起滚动,exitUntilCollapsed表示当CollapsingToolbarLayout随着滚动完成折叠之后就保留在界面上,不再移出屏幕app:layout_scrollFlags="scroll|exitUntilCollapsed"android:fitsSystemWindows="true"><ImageViewandroid:id="@+id/fruit_image_view"android:layout_width="match_parent"android:layout_height="match_parent"android:scaleType="centerCrop"//折叠模式parallax:在折叠过程中产生一定的错位偏移app:layout_collapseMode="parallax"android:fitsSystemWindows="true"/><androidx.appcompat.widget.Toolbarandroid:id="@+id/toolbar"android:layout_width="match_parent"android:layout_height="?attr/actionBarSize"//折叠模式pin:在折叠的过程中位置始终保持不变app:layout_collapseMode="pin"/></com.google.android.material.appbar.CollapsingToolbarLayout></com.google.android.material.appbar.AppBarLayout>//允许使用滚动的方式来查看屏幕以外的数据,并增加了嵌套响应滚动事件的功能 内部只允许存在一个直接子布局,如果想要在里面放入很多东西,通常会先嵌套一个LinearLayout<androidx.core.widget.NestedScrollViewandroid:layout_width="match_parent"android:layout_height="match_parent"app:layout_behavior="@string/appbar_scrolling_view_behavior"><LinearLayoutandroid:orientation="vertical"android:layout_width="match_parent"android:layout_height="match_parent"><androidx.cardview.widget.CardViewandroid:layout_width="match_parent"android:layout_height="wrap_content"android:layout_marginTop="35dp"android:layout_marginLeft="15dp"android:layout_marginRight="15dp"android:layout_marginBottom="15dp"app:cardCornerRadius="4dp"><TextViewandroid:id="@+id/fruit_content_text"android:layout_width="wrap_content"android:layout_height="wrap_content"android:layout_margin="10dp"/></androidx.cardview.widget.CardView></LinearLayout></androidx.core.widget.NestedScrollView><com.google.android.material.floatingactionbutton.FloatingActionButtonandroid:layout_width="wrap_content"android:layout_height="wrap_content"android:layout_margin="16dp"android:src="@drawable/ic_comment"//指定了一个锚点,锚点设置为AppBarLayout,这样悬浮按钮就会出现在水果标题栏的区域内app:layout_anchor="@id/appBar"//将悬浮按钮定位在标题栏区域的右下角app:layout_anchorGravity="bottom|end"/>
</androidx.coordinatorlayout.widget.CoordinatorLayout>
2.充分利用系统状态栏空间
第一步:将ImageView和ImageView布局的所有父布局都设置上下面的属性
android:fitsSystemWindows="true"第二步:打开res/values/styles.xml文件,对主题的内容进行修改
<resources><!-- Base application theme. --><style name="AppTheme" parent="Theme.AppCompat.Light.NoActionBar"><!-- Customize your theme here. --><item name="colorPrimary">@color/colorPrimary</item><item name="colorPrimaryDark">@color/colorPrimaryDark</item><item name="colorAccent">@color/colorAccent</item></style><style name="FruitActivityTheme" parent="AppTheme"><item name="android:statusBarColor">@android:color/transparent</item></style>
</resources>
最后,还需要让FruitActivity使用这个主题才可以
<manifest xmlns:android="http://schemas.android.com/apk/res/android"package="com.example.materialtest"><applicationandroid:allowBackup="true"android:icon="@mipmap/ic_launcher"android:label="@string/app_name"android:roundIcon="@mipmap/ic_launcher_round"android:supportsRtl="true"android:theme="@style/AppTheme">...<activityandroid:name=".FruitActivity"android:theme="@style/FruitActivityTheme"></activity></application>
</manifest>