前言
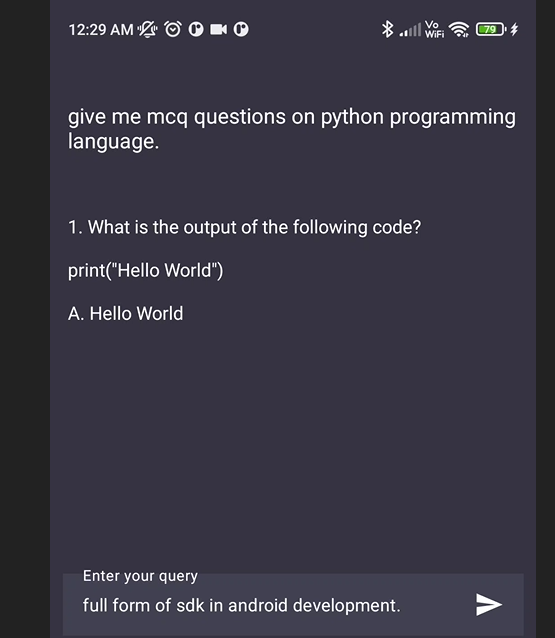
这段时间重大新闻就属ChatGPT了,这到底是个什么呢?官方解释
ChatGPT是美国人工智能研究实验室OpenAI新推出的一种人工智能技术驱动的自然语言处理工具,使用了Transformer神经网络架构,也是GPT-3.5架构,这是一种用于处理序列数据的模型,拥有语言理解和文本生成能力,尤其是它会通过连接大量的语料库来训练模型,这些语料库包含了真实世界中的对话,使得ChatGPT具备上知天文下知地理,还能根据聊天的上下文进行互动的能力,做到与真正人类几乎无异的聊天场景进行交流。ChatGPT不单是聊天机器人,还能进行撰写邮件、视频脚本、文案、翻译、代码等任务。
ChatGPT这么神?我们来试试代替写程序
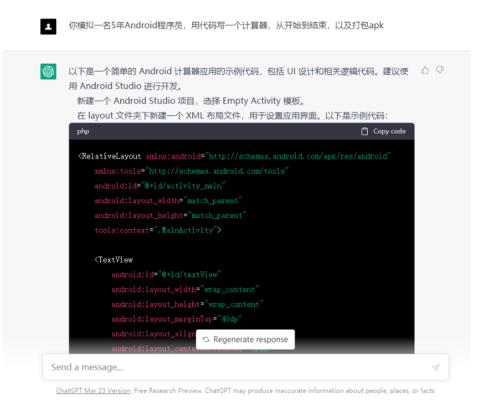
我让它模拟成为一名资深程序员,写一个简单的apk
以下是一个简单的 Android 计算器应用的示例代码,包括 UI 设计和相关逻辑代码。建议使用 Android Studio 进行开发。
- 新建一个 Android Studio 项目,选择 Empty Activity 模板。
- 在 layout 文件夹下新建一个 XML 布局文件,用于设置应用界面。以下是示例代码:
phpCopy code<RelativeLayout xmlns:android="http://schemas.android.com/apk/res/android"xmlns:tools="http://schemas.android.com/tools"android:id="@+id/activity_main"android:layout_width="match_parent"android:layout_height="match_parent"tools:context=".MainActivity">
<TextViewandroid:id="@+id/textView"android:layout_width="wrap_content"android:layout_height="wrap_content"android:layout_marginTop="40dp"android:layout_alignParentTop="true"android:layout_centerHorizontal="true"android:textSize="40sp"android:text="0"/>
<Buttonandroid:id="@+id/btn1"android:layout_width="wrap_content"android:layout_height="wrap_content"android:layout_below="@+id/textView"android:layout_marginTop="10dp"android:layout_marginLeft="10dp"android:textSize="20sp"android:text="1"/>
<Buttonandroid:id="@+id/btn2"android:layout_width="wrap_content"android:layout_height="wrap_content"android:layout_below="@+id/textView"android:layout_marginTop="10dp"android:layout_marginLeft="10dp"android:layout_toRightOf="@+id/btn1"android:textSize="20sp"android:text="2"/>
<Buttonandroid:id="@+id/btn3"android:layout_width="wrap_content"android:layout_height="wrap_content"android:layout_below="@+id/textView"android:layout_marginTop="10dp"android:layout_marginLeft="10dp"android:layout_toRightOf="@+id/btn2"android:textSize="20sp"android:text="3"/>
<Buttonandroid:id="@+id/btn4"android:layout_width="wrap_content"android:layout_height="wrap_content"android:layout_below="@+id/btn1"android:layout_marginTop="10dp"android:layout_marginLeft="10dp"android:textSize="20sp"android:text="4"/>
<Buttonandroid:id="@+id/btn5"android:layout_width="wrap_content"android:layout_height="wrap_content"android:layout_below="@+id/btn2"android:layout_marginTop="10dp"android:layout_marginLeft="10dp"android:layout_toRightOf="@+id/btn4"android:textSize="20sp"android:text="5"/>
<Buttonandroid:id="@+id/btn6"android:layout_width="wrap_content"android:layout_height="wrap_content"android:layout_below="@+id/btn3"android:layout_marginTop="10dp"android:layout_marginLeft="10dp"android:layout_toRightOf="@+id/btn5"android:textSize="20sp"android:text="6"/>
<Buttonandroid:id="@+id/btn7"android:android:layout_width="wrap_content" android:layout_height="wrap_content" android:layout_below="@+id/btn4" android:layout_marginTop="10dp" android:layout_marginLeft="10dp" android:textSize="20sp" android:text="7"/>
mathematicaCopy code<Buttonandroid:id="@+id/btn8"android:layout_width="wrap_content"android:layout_height="wrap_content"android:layout_below="@+id/btn5"android:layout_marginTop="10dp"android:layout_marginLeft="10dp"android:layout_toRightOf="@+id/btn7"android:textSize="20sp"android:text="8"/>
<Buttonandroid:id="@+id/btn9"android:layout_width="wrap_content"android:layout_height="wrap_content"android:layout_below="@+id/btn6"android:layout_marginTop="10dp"android:layout_marginLeft="10dp"android:layout_toRightOf="@+id/btn8"android:textSize="20sp"android:text="9"/>
<Buttonandroid:id="@+id/btn0"android:layout_width="wrap_content"android:layout_height="wrap_content"android:layout_below="@+id/btn7"android:layout_marginTop="10dp"android:layout_marginLeft="10dp"android:textSize="20sp"android:text="0"/>
<Buttonandroid:id="@+id/btnClear"android:layout_width="wrap_content"android:layout_height="wrap_content"android:layout_below="@+id/textView"android:layout_marginTop="10dp"android:layout_marginLeft="10dp"android:layout_toRightOf="@+id/btn3"android:textSize="20sp"android:text="C"/>
<Buttonandroid:id="@+id/btnPlus"android:layout_width="wrap_content"android:layout_height="wrap_content"android:layout_below="@+id/btn4"android:layout_marginTop="10dp"android:layout_marginLeft="10dp"android:layout_toRightOf="@+id/btn9"android:textSize="20sp"android:text="+"/>
<Buttonandroid:id="@+id/btnMinus"android:layout_width="wrap_content"android:layout_height="wrap_content"android:layout_below="@+id/btn5"android:layout_marginTop="10dp"android:layout_marginLeft="10dp"android:layout_toRightOf="@+id/btnPlus"android:textSize="20sp"android:text="-"/>
<Buttonandroid:id="@+id/btnMultiply"android:layout_width="wrap_content"android:layout_height="wrap_content"android:layout_below="@+id/btn6"android:layout_marginTop="10dp"android:layout_marginLeft="10dp"android:layout_toRightOf="@+id/btnMinus"android:textSize="20sp"android:text="*"/>
<Buttonandroid:id="@+id/btnDivide"android:layout_width="wrap_content"android:layout_height="wrap_content"android:layout_below="@+id/btn7"android:layout_marginTop="10dp"android:layout_marginLeft="10dp"android:layout_toRightOf="@+id/btn</LinearLayout>
计算器的主要逻辑实现在MainActivity.java文件中。下面是代码实现:
javaCopy codepublic class MainActivity extends AppCompatActivity {
private TextView textView;private Button btn0, btn1, btn2, btn3, btn4, btn5, btn6, btn7, btn8, btn9;private Button btnPlus, btnMinus, btnMultiply, btnDivide, btnClear;
private double num1 = 0, num2 = 0;private String operator = "";
@Overrideprotected void onCreate(Bundle savedInstanceState) {super.onCreate(savedInstanceState);setContentView(R.layout.activity_main);
textView = findViewById(R.id.textView);btn0 = findViewById(R.id.btn0);btn1 = findViewById(R.id.btn1);btn2 = findViewById(R.id.btn2);btn3 = findViewById(R.id.btn3);btn4 = findViewById(R.id.btn4);btn5 = findViewById(R.id.btn5);btn6 = findViewById(R.id.btn6);btn7 = findViewById(R.id.btn7);btn8 = findViewById(R.id.btn8);btn9 = findViewById(R.id.btn9);btnPlus = findViewById(R.id.btnPlus);btnMinus = findViewById(R.id.btnMinus);btnMultiply = findViewById(R.id.btnMultiply);btnDivide = findViewById(R.id.btnDivide);btnClear = findViewById(R.id.btnClear);
// 设置数字按钮的点击事件View.OnClickListener numberClickListener = new View.OnClickListener() {@Overridepublic void onClick(View v) {Button button = (Button) v;textView.append(button.getText());}};
btn0.setOnClickListener(numberClickListener);btn1.setOnClickListener(numberClickListener);btn2.setOnClickListener(numberClickListener);btn3.setOnClickListener(numberClickListener);btn4.setOnClickListener(numberClickListener);btn5.setOnClickListener(numberClickListener);btn6.setOnClickListener(numberClickListener);btn7.setOnClickListener(numberClickListener);btn8.setOnClickListener(numberClickListener);btn9.setOnClickListener(numberClickListener);
// 设置运算符按钮的点击事件View.OnClickListener operatorClickListener = new View.OnClickListener() {@Overridepublic void onClick(View v) {Button button = (Button) v;
if (!TextUtils.isEmpty(textView.getText().toString())) {num1 = Double.parseDouble(textView.getText().toString());}
operator = button.getText().toString();textView.setText("");}};
btnPlus.setOnClickListener(operatorClickListener);btnMinus.setOnClickListener(operatorClickListener);btnMultiply.setOnClickListener(operatorClickListener);btnDivide.setOnClickListener(operatorClickListener);
// 设置清除按钮的点击事件btnClear.setOnClickListener(new View.OnClickListener() {@Overridepublic void onClick(View v) {num1 = 0;num2 = 0;operator = "";textView.setText("");}});
// 设置等于按钮的点击事件findViewById(R.id.btnEquals).setOnClickListener(new View.OnClickListener() {@Overridepublic void onClick(View v) {if (!TextUtils.isEmpty(textView.getText().toString())) {num2 = Double.parseDouble(textView.getText().toString());}
double result = 0;switch (operator) {case "+":result = num1 + num2;break;case "-":result = num1 - num2;break;case "*":result = num1 * num2;break;case "/":result = num1 / num2;break;}
textView.setText(String.valueOf(result));num1 = result;num2 = 0;operator = "";}});}
}
最后一步是打包APK文件。要打包APK文件,我们需要进行以下步骤:
- 生成签名密钥
- 配置build.gradle文件
- 执行构建任务,生成APK文件
第一步是生成签名密钥。签名密钥是为了确保APK文件的完整性和安全性,它用于验证APK文件是否被篡改过。我们可以使用以下命令生成签名密钥:
keytool -genkey -v -keystore myapp.keystore -alias myapp -keyalg RSA -keysize 2048 -validity 10000
这条命令将生成一个名为myapp.keystore的签名密钥文件。在生成签名密钥时,我们需要设置别名、密码和有效期等信息。
第二步是配置build.gradle文件。我们需要在build.gradle文件中配置签名密钥信息和其他构建选项。以下是一个示例build.gradle文件的内容:
javaCopy codeandroid {compileSdkVersion 30buildToolsVersion "30.0.2"
defaultConfig {applicationId "com.example.calculator"minSdkVersion 21targetSdkVersion 30versionCode 1versionName "1.0"}
signingConfigs {release {storeFile file("myapp.keystore")storePassword "mystorepass"keyAlias "myapp"keyPassword "mykeypass"}}
buildTypes {release {minifyEnabled falseproguardFiles getDefaultProguardFile('proguard-android-optimize.txt'), 'proguard-rules.pro'signingConfig signingConfigs.release}}
}
dependencies {implementation 'androidx.appcompat:appcompat:1.2.0'
}
在这个build.gradle文件中,我们定义了应用程序的一些基本属性,例如应用程序ID、最小SDK版本和目标SDK版本等。我们还定义了签名密钥的信息和构建类型(例如debug或release)等。
第三步是执行构建任务,生成APK文件。我们可以使用以下命令执行构建任务:
./gradlew assembleRelease
这个命令将会执行一个名为assembleRelease的Gradle任务,这个任务将会生成一个名为app-release.apk的APK文件。这个APK文件就是我们要发布的应用程序文件。
以上是Android计算器的代码实现和APK打包流程。如果您按照上述步骤实现了一个计算器应用程序并成功打包了APK文件,那么恭喜您,您已经掌握了基本的Android开发技能!
APK文件签名
最后,我们还需要对生成的APK文件进行签名,以确保APK文件在用户设备上运行时可以被认可和信任。
要对APK文件进行签名,我们可以使用以下命令:
jarsigner -verbose -sigalg SHA1withRSA -digestalg SHA1 -keystore myapp.keystore app-release-unsigned.apk myapp
这个命令将使用myapp.keystore签名密钥文件对app-release-unsigned.apk文件进行签名,签名后的APK文件将会被命名为app-release.apk。在签名过程中,我们需要输入签名密钥的密码。
现在,我们已经成功生成了一个已经签名的APK文件,可以将其上传到Google Play或其他应用商店上进行发布。不过,在发布之前,我们还需要进行一些测试和优化,以确保应用程序的质量和性能。

小结
总的来说,编写一个Android应用程序并将其打包成APK文件需要多个步骤,包括创建项目、编写代码、布局界面、调试、构建和打包。这些步骤可能会涉及到多个工具和技术,例如Android Studio、Gradle、XML、Java、布局文件、调试工具等。学习和掌握这些技能需要时间和精力,但是一旦掌握了这些技能,您就可以开发出高质量、优秀的Android应用程序,为用户带来更好的体验和价值。
既然ai能写程序员,我们Android程序员是不是要退出历史的舞台了?
答案:否
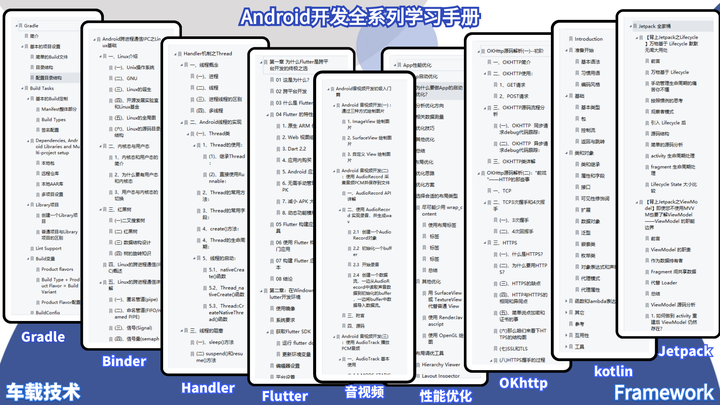
往下看,就明白了。ai不可能代替程序员岗位只能做到辅助的程度,这里程序员还是要加速进阶自己的技术,这里推荐一份Android程序员的核心笔记《Android核心技术手册》点击参考获取想领取的技术类目。
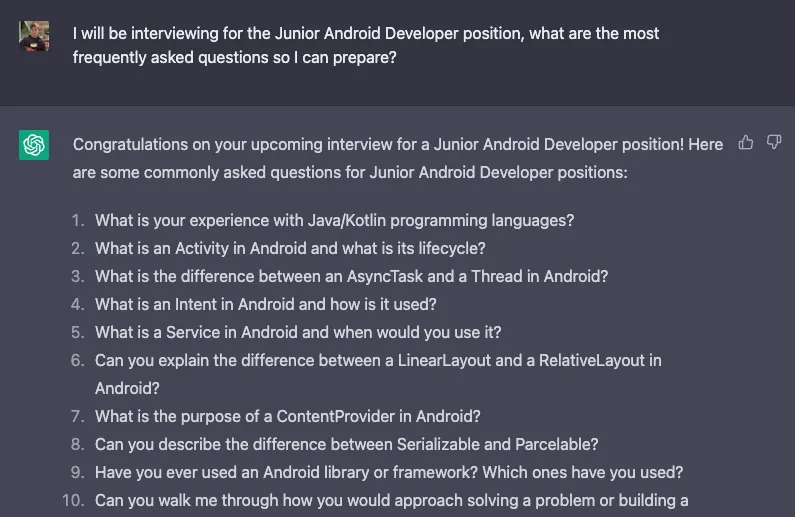
用AI写Android程序代码能行吗 ?
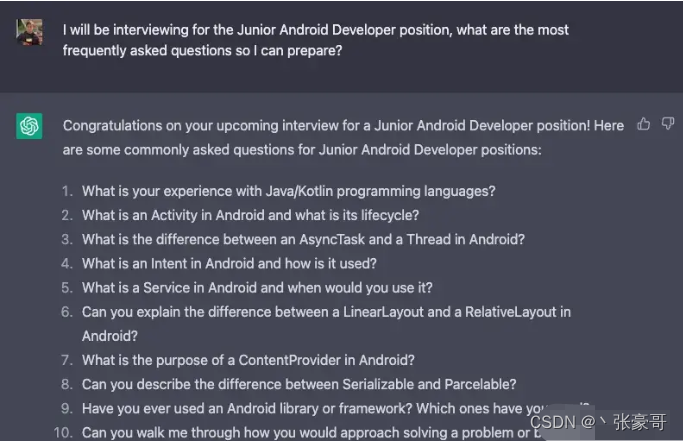
当前AI技术已经在一定程度上可以辅助编写Android程序代码,但是完全由AI来编写整个应用程序还不太可行。虽然现在已经有一些AI代码生成工具,如OpenAI的Codex和GitHub的Copilot,它们可以通过学习大量的代码库和算法模型来辅助开发人员编写代码,但是它们的能力还远远不足以取代人类程序员。
这是因为,AI的代码生成能力还有很多限制和缺陷,例如AI只能根据已有的模式和规则来生成代码,无法进行创造性的思考和判断,无法理解复杂的业务逻辑和用户需求,无法保证生成的代码的质量和可维护性等。此外,由于AI的代码生成过程是基于已有的代码库和算法模型,所以它们也容易受到数据偏差和隐私泄露等问题的影响。
因此,虽然AI技术在某些方面可以辅助编写Android程序代码,但是在目前的技术水平下,它还不能完全取代人类程序员。程序员仍然需要具备一定的编程技能和经验,才能够开发出高质量的Android应用程序。