Flyway 是一款开源的数据库版本管理工具。管理数据库变更的版本。
flyway工作流程如下:
- 项目启动,应用程序完成数据库连接池的建立后,Flyway自动运行。
- 初次使用时,flyway会创建一个
flyway_schema_history表,用于记录sql执行记录。 - flyway会扫描项目指定路径下(默认是classpath:db/migration )的所有sql脚本,与
flyway_schema_history表脚本记录进行比对。如果数据库记录执行过的脚本记录,与项目中的sql脚本不一致,flyway会报错并停止项目执行。 - 如果校验通过,则根据表中的sql记录最大版本号,忽略所有版本号不大于该版本的脚本。再按照版本号从小到大,逐个执行其余脚本。
使用:
pom.xml引入依赖:
<dependencies><dependency><groupId>org.flywaydb</groupId><artifactId>flyway-core</artifactId><version>7.7.3</version></dependency><dependency><groupId>org.springframework.boot</groupId><artifactId>spring-boot-starter-jdbc</artifactId></dependency><dependency><groupId>mysql</groupId><artifactId>mysql-connector-java</artifactId></dependency>
</dependencies>
application.yml
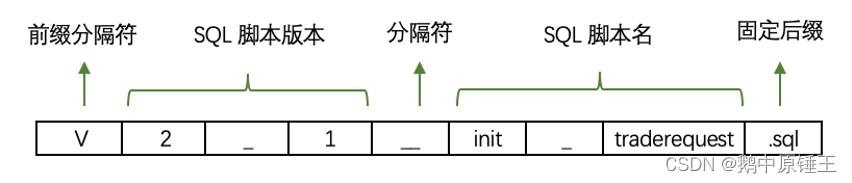
server:port: 80spring:datasource:driver-class-name: com.mysql.cj.jdbc.Driverurl: jdbc:mysql://127.0.0.1:3306/flyway?useUnicode=true&characterEncoding=UTF8&zeroDateTimeBehavior=convertToNull&useSSL=false # MySQL在高版本需要指明是否进行SSL连接 解决则加上 &useSSL=falseusername: rootpassword: 123456# flyway配置 可参考:https://flywaydb.org/documentation/usage/commandline/migrateflyway:# 是否启用 默认启用enabled: true# sql迁移 https://flywaydb.org/documentation/concepts/migrations.html#versioned-migrationslocations:- classpath:db/cong# 版本更新历史记录表table: flyway_schema_history# 到新的环境中,数据库中有数据,且没有t_db_version表时,是否执行迁移操作# false:在启动时会报错,并停止迁移;# true: 生成history表并完成所有迁移;baseline-on-migrate: true# 在迁移时,是否校验旧脚本有变更validate-on-migrate: true# 检测迁移脚本的路径是否存在,若不存在则抛出异常check-location: false# 禁用Flyway所有drop相关逻辑clean-disabled: true# 验证错误时是否自动清除数据库clean-on-validation-error: falsesql-migration-prefix: Vsql-migration-separator: __sql-migration-suffixes: .sql#生产上的配置
#spring.flyway.sql-migration-prefix=V
#spring.flyway.sql-migration-separator=__
#spring.flyway.sql-migration-suffixes=.sql
#spring.flyway.baseline-on-migrate=true
#spring.flyway.encoding=UTF-8
#spring.datasource.driver-class-name=com.mysql.cj.jdbc.Driver
#spring.datasource.url=jdbc:mysql://${DB_HOSTNAME_0}:${DB_PORT_0}/${DB_NAME_0}?useUnicode=true&characterEncoding=utf-8&useSSL=false&serverTimezone=Asia/Shanghai
#spring.datasource.username=${DB_USERNAME_0}
#spring.datasource.password=${DB_PASSWORD_0}
#spring.flyway.locations=classpath:db/dev
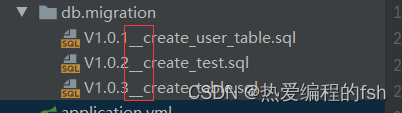
然后在resources下新建db/cong,再新建V1.0.1__create_user.sql
------------------------- flyway脚本文件命名格式 ---------------------------------
改表结构:V1.0.1__alter_表名.sql
删表:V1.0.1__drop_表名.sql
加表:V1.0.1_create_表名.sql
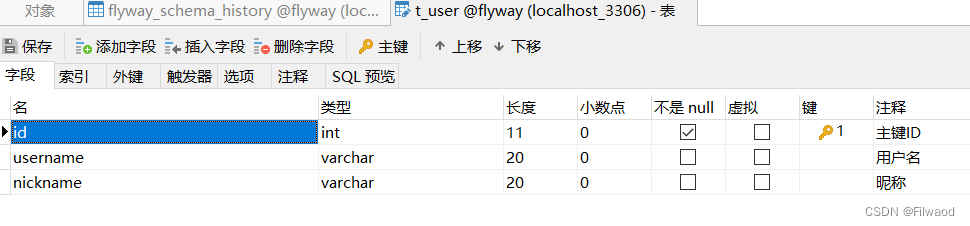
CREATE TABLE `t_user`
(`id`       int(11) NOT NULL AUTO_INCREMENT COMMENT '主键ID',`username` varchar(20) DEFAULT NULL COMMENT '用户名',`nickname` varchar(20) DEFAULT NULL COMMENT '昵称',PRIMARY KEY (`id`)
) ENGINE=InnoDB AUTO_INCREMENT=9 DEFAULT CHARSET=utf8 COMMENT='测试表';insert into t_user
values (1, 'admin', '管理员'),(2, 'test', '测试员');
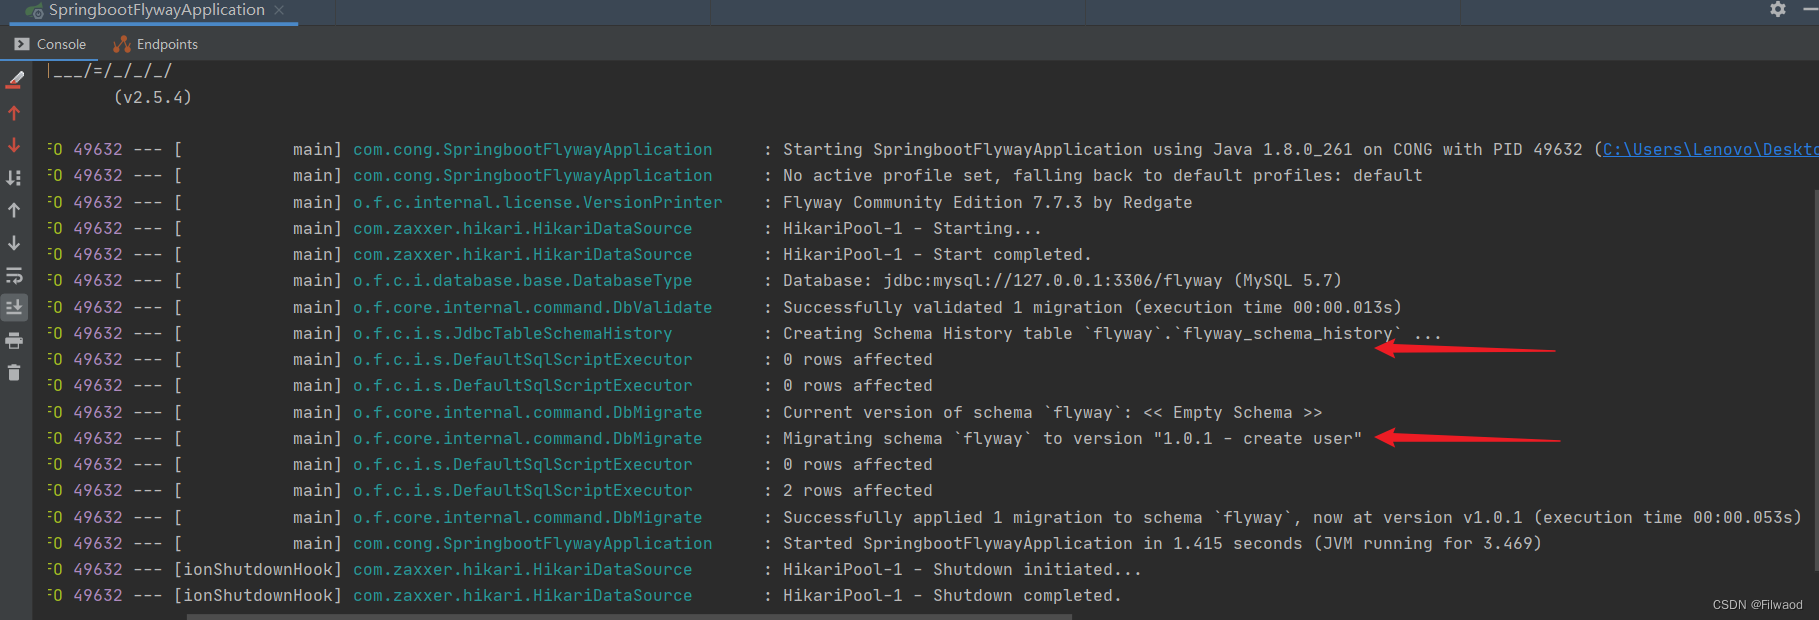
启动项目
测试修改表结构
先在Navicat上操作,然后查看sql预览,拿到修改表结构的sql,避免因为sql报错
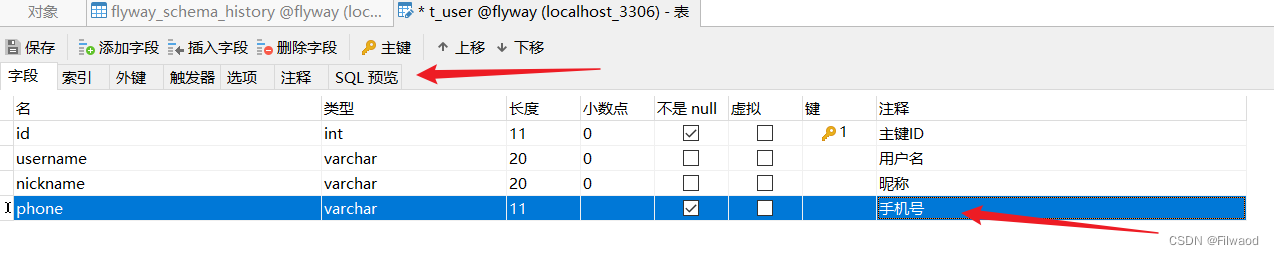

新建V1.0.2__alter_user.sql
ALTER TABLE `flyway`.`t_user`
ADD COLUMN `phone` varchar(11) NOT NULL DEFAULT '' COMMENT '手机号' AFTER `nickname`;
注意最好去掉库名(flyway.),如存在分库分表可能会出问题
ALTER TABLE `t_user`
ADD COLUMN `phone` varchar(11) NOT NULL DEFAULT '' COMMENT '手机号' AFTER `nickname`;
启动项目
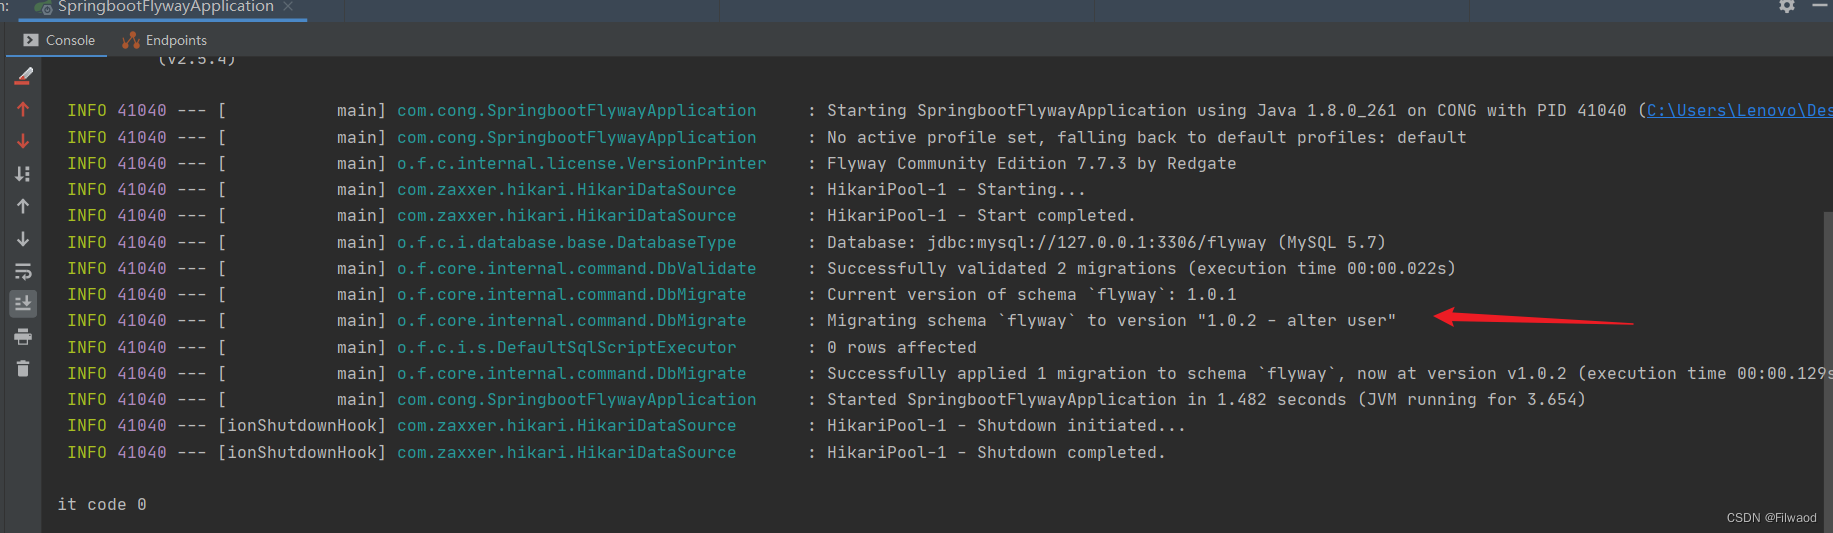
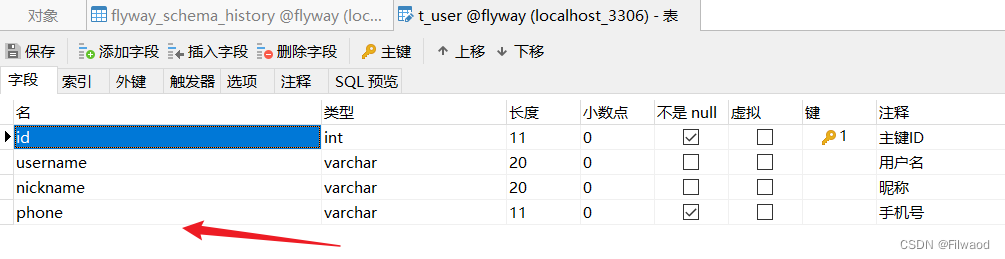
查看flyway_schema_history表,发现执行成功或失败是success字段标识的

生产上遇到flyway报错的话,那条记录的success会为0,你需要先查看sql是否有错误,修改后,然后删除失败的这条记录,重新启动项目,让flyway重新加载并重新执行sql