数据库连接
- 概述
- 一、jdbc
- 实验环境搭建
- 二、Druid连接数据库
- 实验环境搭建
- 三、Maven连接数据库
- 实验环境搭建
- 四、mybatis连接数据库
- 实验环境搭建
- 五、Spring连接数据库
- 六、SSM
概述
什么是JDBC:Java连接数据库
原子性 (Atomicity)、 一致性(Consistency)、隔离性(Isolation) 和 持久性(Durability)
一、jdbc
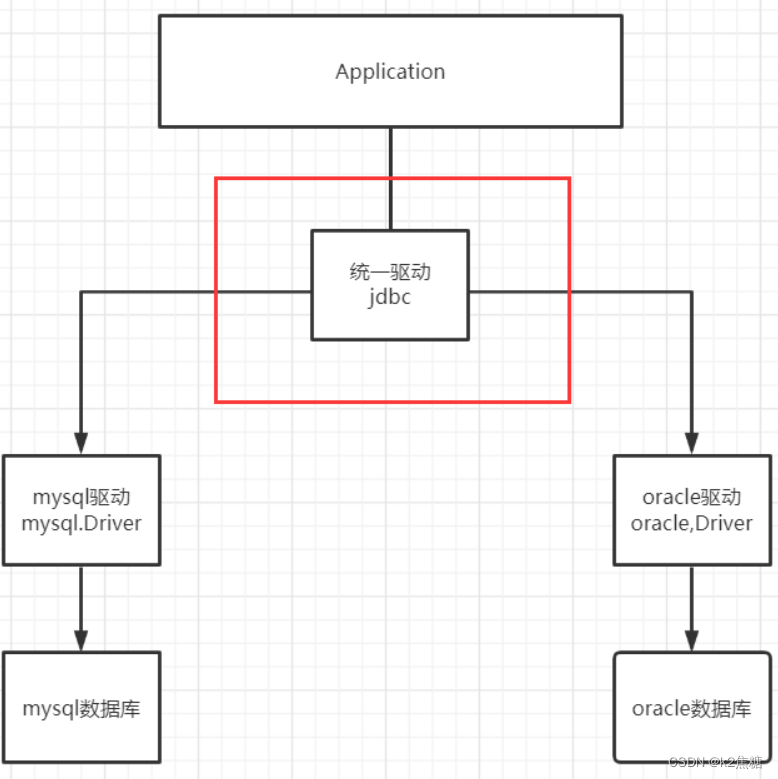
需要jar包的支持
- java.sql
- javax.sql
- mysql-connection-java
实验环境搭建
导入数据库依赖
<dependency><groupId>mysql</groupId><artifactId>mysql-connector-java</artifactId><version>5.1.47</version></dependency>
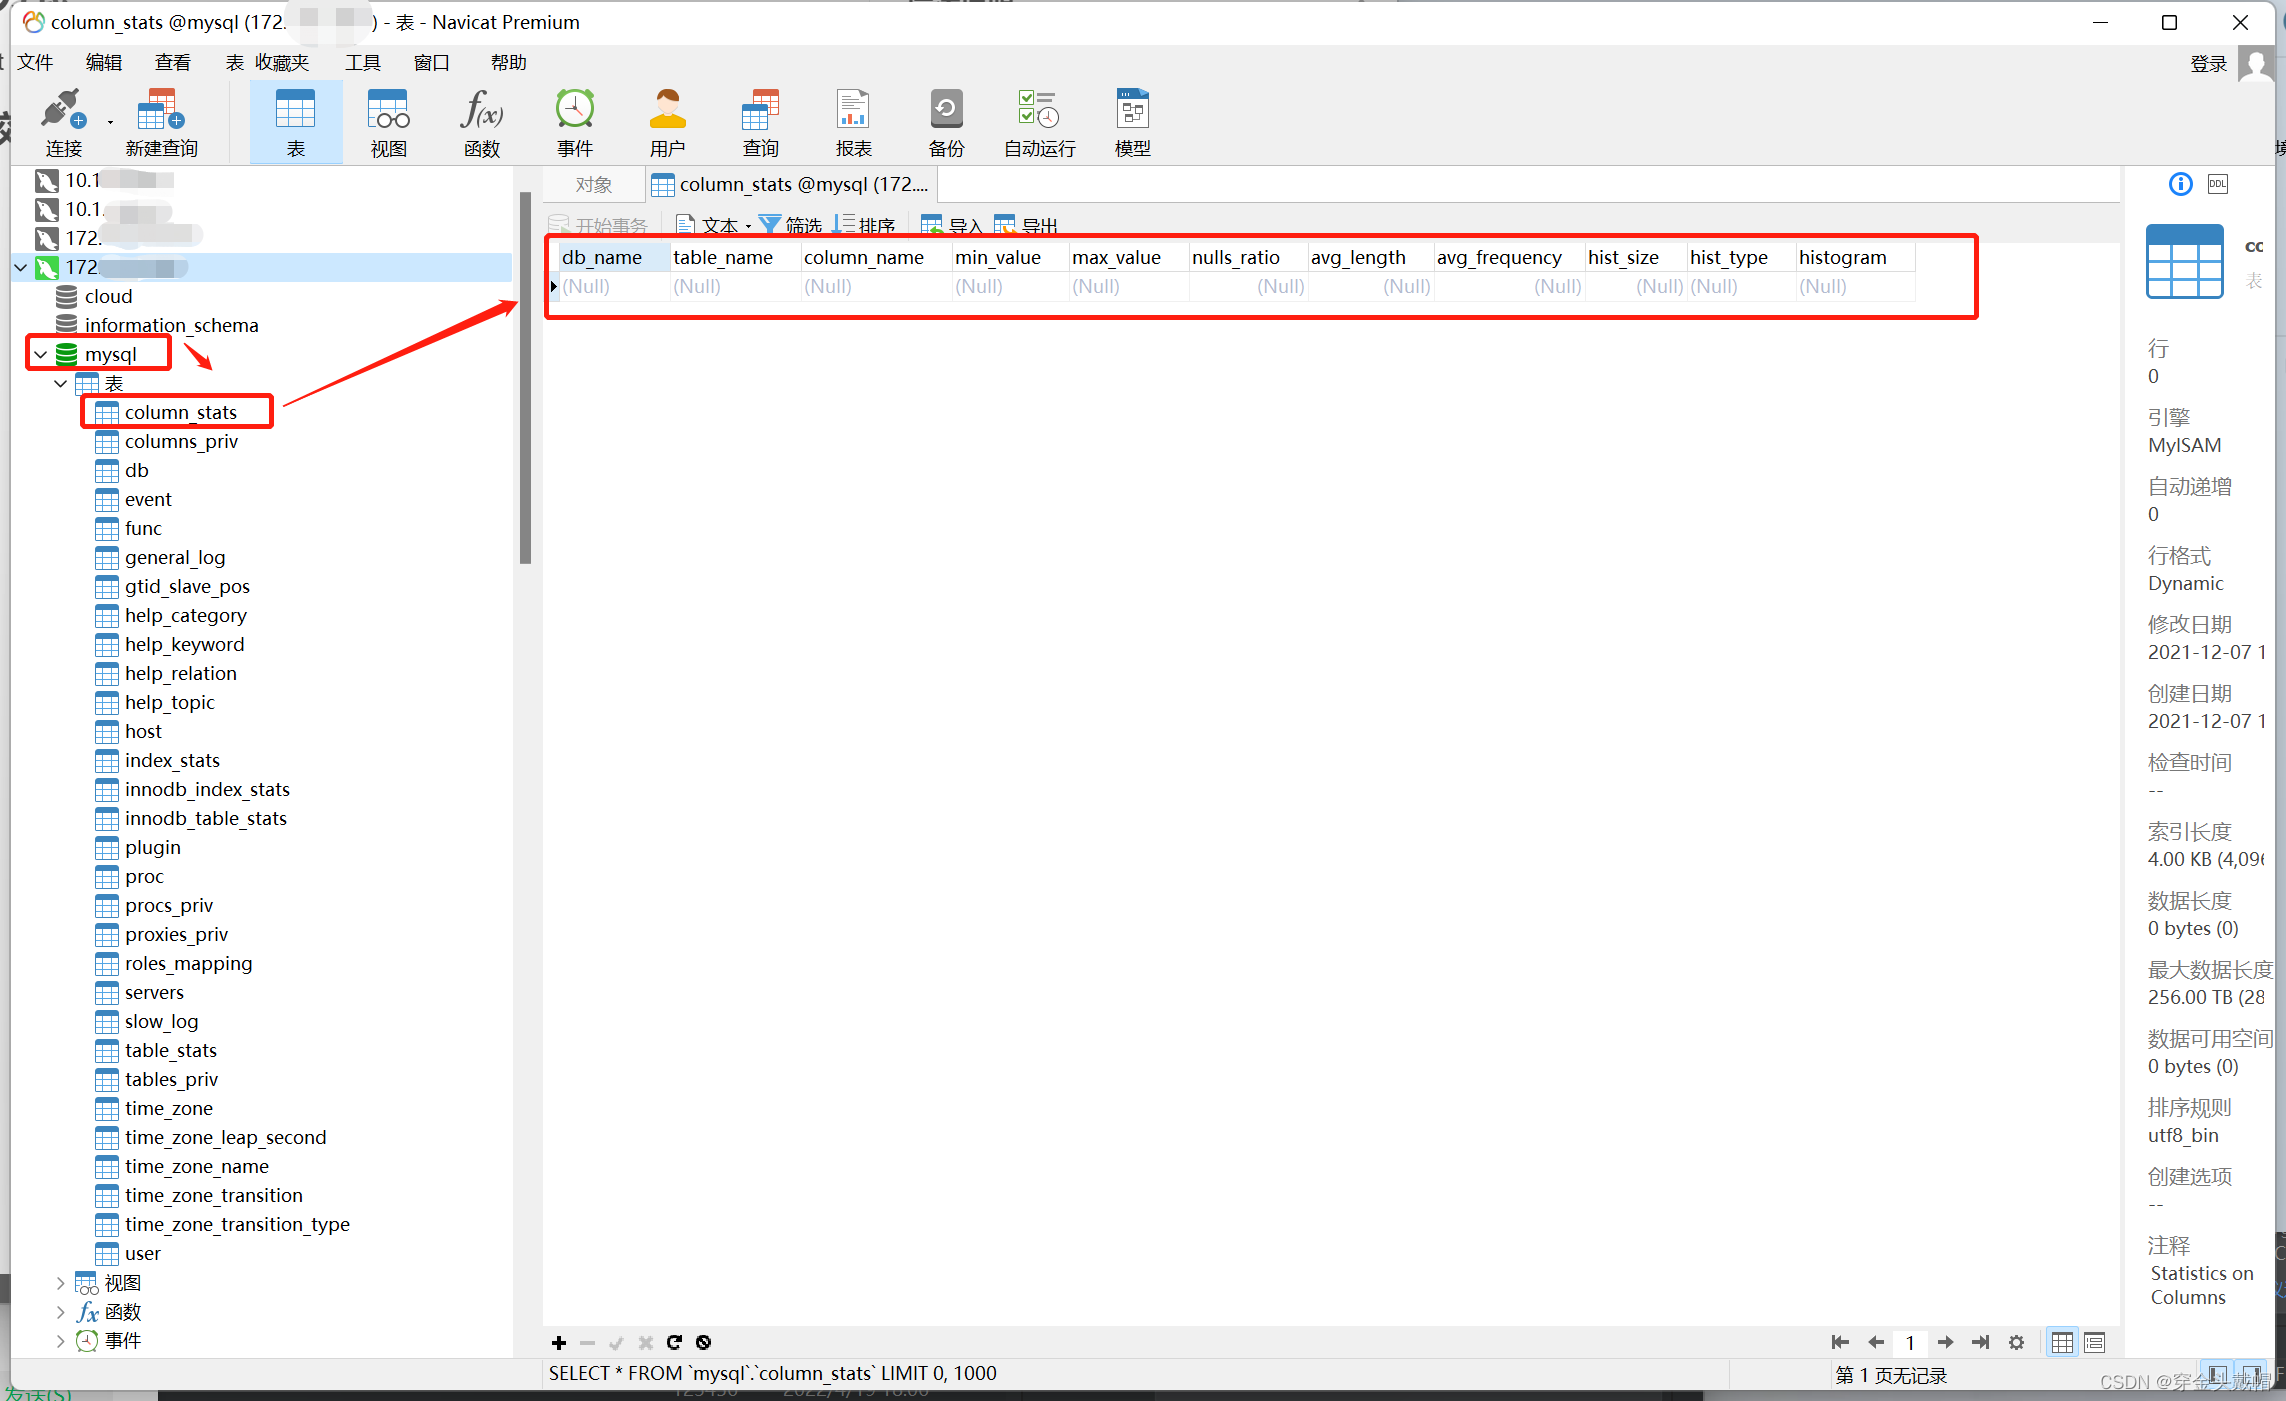
idea中连接数据库
工具类DBHelper
public class DbHelper {static Connection conn;//为了getConn()方法中返回,公用的//static块仅执行一次static {//1.加载数据库驱动try {Class.forName("com.mysql.jdbc.Driver");//加载数据库驱动类的名称} catch (ClassNotFoundException e) {// TODO Auto-generated catch blocke.printStackTrace();}//2.获取数据库的连接对象try {conn = DriverManager.getConnection("jdbc:mysql://localhost:3306/nightout", "root", "");//return conn;static里面不能return} catch (SQLException e) {// TODO Auto-generated catch blocke.printStackTrace();//堆栈???}}//返回Connection中的connpublic static Connection getConn() {return conn;}
}
调用
PreparedStatement st = DbHelper.getConn().prepareStatement(sql);
二、Druid连接数据库
需要jar包支持
- druid-1.1.22.jar
- mysql-connector-java-5.1.2.jar
实验环境搭建
druid.properties文件
url=jdbc:mysql://localhost:3306/school?rewriteBatchedStatements=true
username=root
password=
driverClassName=com.mysql.jdbc.Driver
initialSize=10
maxActive=20
maxWait=1000
filters=wall
DBHelperDruid
import static com.alibaba.druid.pool.DruidDataSourceFactory.createDataSource;
public class DbDruid {static Connection conn;static {// 生成属性对象pro,获取链接对象Properties pro = new Properties();try {// 往属性对象里面放属性文件,数据库信息通过属性文件交给属性对象pro.load(new FileInputStream("testtwo/src/druid.properties"));// 根据属性对象的提供信息创建数据库,由数据源提供链接对象DataSource dataSource = createDataSource(pro);conn = dataSource.getConnection();} catch (Exception e) {e.printStackTrace();}}public static Connection getConn(){return conn;}
}
调用
PreparedStatement st = DbDruid.getConn().prepareStatement(sql);
三、Maven连接数据库
需要jar包支持
- druid-1.1.22.jar
- mysql-connector-java-5.1.2.jar
实验环境搭建
druid.properties文件
url=jdbc:mysql://localhost:3306/school?rewriteBatchedStatements=true
username=root
password=
driverClassName=com.mysql.jdbc.Driver
initialSize=10
maxActive=20
maxWait=1000
filters=wall
DBHelperDruid
public class DbHelper {static Connection conn;static {// 生成属性对象pro,获取链接对象,Properties pro = new Properties();try {// 往属性对象里面放属性文件,数据库信息通过属性文件交给属性对象
//            pro.load(new FileInputStream("src\\main\\resources\\druid.properties"));// maven 常用获取文件方式,不带路径// DbDruid.class:反射、.getClassLoader():获得类的装载方法、.getResourceAsStream():把资源转为输入流,给isInputStream is = DbHelper.class.getClassLoader().getResourceAsStream("druid.properties");pro.load(is);// 根据属性对象的提供信息创建数据库,由数据源提供链接对象DataSource dataSource = createDataSource(pro);conn = dataSource.getConnection();} catch (Exception e) {e.printStackTrace();}}public static Connection getConn() {return conn;}
}
四、mybatis连接数据库
需要jar包支持
- mysql-connector-java-5.1.2.jar
- mybatis-3.5.5.jar
- junit-4.13.2.jar
实验环境搭建
DbHelper
public class DbhelperMybatis {
static SqlSessionFactory sqlSessionFactory = null;static {
try {
// 1、读取 resource配置文件资源
String resource = "mybatis-config.xml";
InputStream inputStream = Resources.getResourceAsStream(resource);
// 2、根据配置文件构建SQLSessionFactory工厂
sqlSessionFactory = new SqlSessionFactoryBuilder().build(inputStream);
}catch(Exception e){
e.printStackTrace();
}
}//获取SQLSession对象的静态方法
public static SqlSessionFactory getSqlSessionFactory() {
return sqlSessionFactory;
}
}
调用
SqlSession sqlSession = 打开session
五、Spring连接数据库
<!-- 1、配置数据源 -->
<bean id="dataSource" class="org.springframework.jdbc.datasource.DriverManagerDataSource"><!-- 数据库驱动 --><property name="driverClassName" value="com.mysql.jdbc.Driver"></property><!-- 连接数据库的url --><property name="url" value="jdbc:mysql://localhost:3306/spring"></property><!-- 连接数据库的用户名 --><property name="username" value="root"></property><!-- 连接数据库的密码 --><property name="password" value=""></property>
</bean><!--数据源注入到jdbcTemplate对象中-->
<!-- 配置JDBC模板jdbcTemplate --><!-- 在core中核心 -->
<bean id="jdbcTemplate" class="org.springframework.jdbc.core.JdbcTemplate"><!-- 默认必须使用数据源 --><property name="dataSource" ref="dataSource"></property>
</bean><!--jdbcTemplate注入到普通类中-->
<bean id="userDaoImpl" class="com.k2.jdbc.test.UserDaoImpl"><property name="jdbcTemplate" ref="jdbcTemplate"></property>
</bean>
<bean id="accountDao" class="com.k2.jdbc.dao.Impl.AccountDaoImpl"><property name="jdbcTemplate" ref="jdbcTemplate"></property>
</bean>
六、SSM
整合Mybatis、Spring、SpringMVC
jdbc.properties
jdbc.driver=com.mysql.jdbc.Driver
jdbc.url=jdbc:mysql://localhost:3306/ssm?useUnicode=true&characterEncoding=utf8&useSSL=false
jdbc.username=root
jdbc.password=
application-dao.xml
<!-- 读取jdbc.properties --><context:property-placeholder location="classpath:jdbc.properties"></context:property-placeholder><!-- 1、配置数据源 --><bean id="dataSource"class="org.springframework.jdbc.datasource.DriverManagerDataSource"><!-- 数据库驱动 --><property name="driverClassName" value="${jdbc.driver}"></property><!-- 连接数据库的url --><property name="url" value="${jdbc.url}"></property><!-- 连接数据库的用户名 --><property name="username" value="${jdbc.username}"></property><!-- 连接数据库的密码 --><property name="password" value="${jdbc.password}"></property></bean><!--sqlSessionFactory--><!--SqlSessionFactoryBean实现了Spring的FactoryBean的接口Spring创建的bean并不是SqlSessionFactoryBean本身,而是工厂类的getObject()方法返回的结果--><bean id="sqlSessionFactory" class="org.mybatis.spring.SqlSessionFactoryBean"><!-- 注入数据源 --><property name="dataSource" ref="dataSource"></property><!--指定包扫描--><property name="typeAliasesPackage" value="com.k2.pojo"></property></bean>
