目录
安装sysbench0.4.12
安装sysbench1.0
CPU加密运算性能
CPU浮点运算性能
JAVA程序运行时延(s)
Web程序系统平均响应时延/系统吞吐量
CPU(EPS)-CPU每秒执行事件数
内存读取性能(MB/s)-每秒读取内存数据大小
内存写入性能(MB/s)-每秒写入内存数据大小
存储吞吐性能(IOPS)/存储吞吐量(MB/s)
磁盘每秒读入和写出数据的大小
PING时延(ms)/丢包率(%)
上行带宽(Mb/s)/下行带宽(Mb/s)
MySQL每秒SQL数(QPS)/MySQL每秒事务数(TPS)/MySQL平均SQL时延(ms
安装sysbench0.4.12
get https://github.com/akopytov/sysbench/archive/refs/tags/0.4.12.tar.gz -O sysbench-0.4.12.tar.gz
- 从
sysbench的 GitHub 仓库下载源代码包并解压缩。- 进入解压后的目录,运行
./autogen.sh。- 运行
./configure。- 运行
make -j。- 运行
make install安装sysbench。
如果遇到
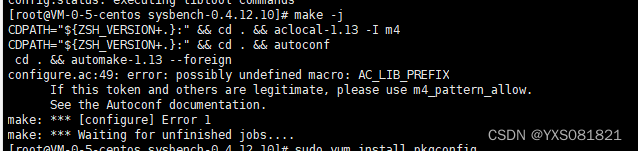
在configure.ac 文件中添加以下内容:
m4_pattern_allow([AC_LIB_PREFIX])再次autoconf 和 make
make insatll
使用方式
/usr/local/bin/sysbench --help安装sysbench1.0
换yum源
1、进入yum源配置文件  cd /etc/yum.repos.d
2、备份一下当前的源,以防出错后可以还原回来mv ./CentOS-Base.repo ./CentOS-Base-repo.bak
3、下载网易163的源wget http://mirrors.163.com/.help/CentOS7-Base-163.repo
4、清理一下旧包yum clean all
5、把下载下来文件CentOS7-Base-163.repo设置成为默认源mv CentOS7-Base-163.repo CentOS-Base.repo
6、生成缓存即可用163源了yum makecache
下载安装包
wget https://github.com/akopytov/sysbench/archive/1.0.zip -O "sysbench-1.0.zip"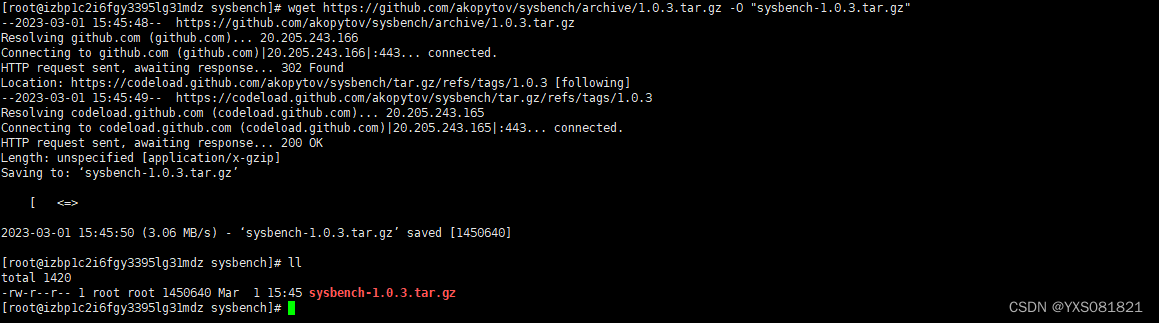
解压
unzip sysbench-1.0.zip 进入解压的目录
cd sysbench-1.0安装依赖
yum install automake libtool -y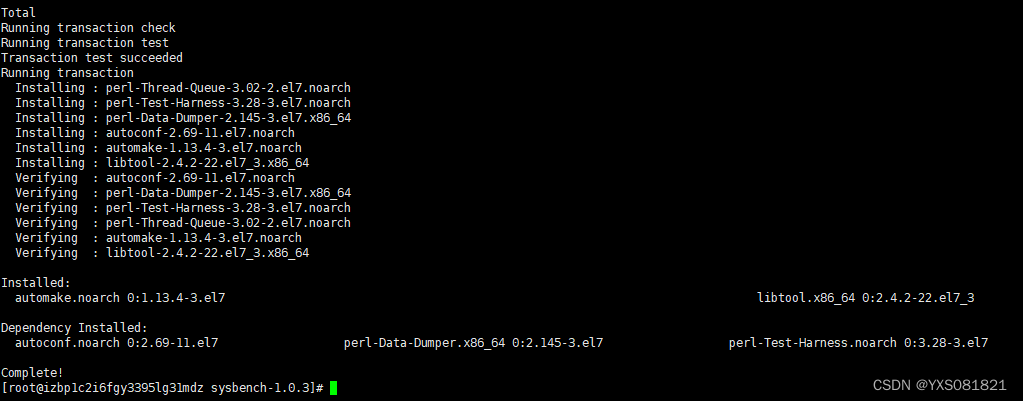
./autogen.sh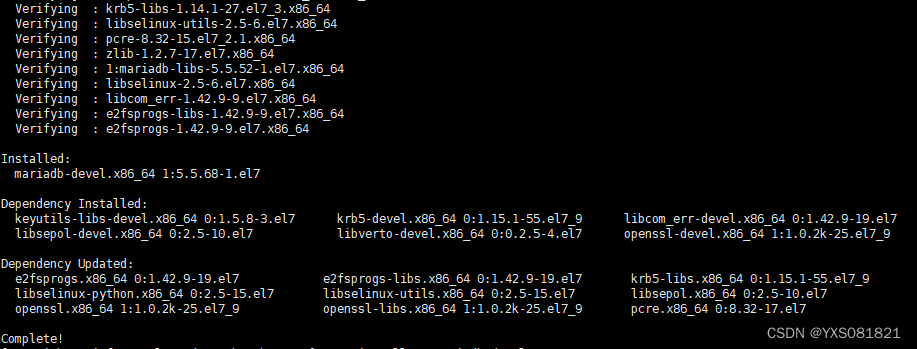
yum install -y mariadb-devel
./configure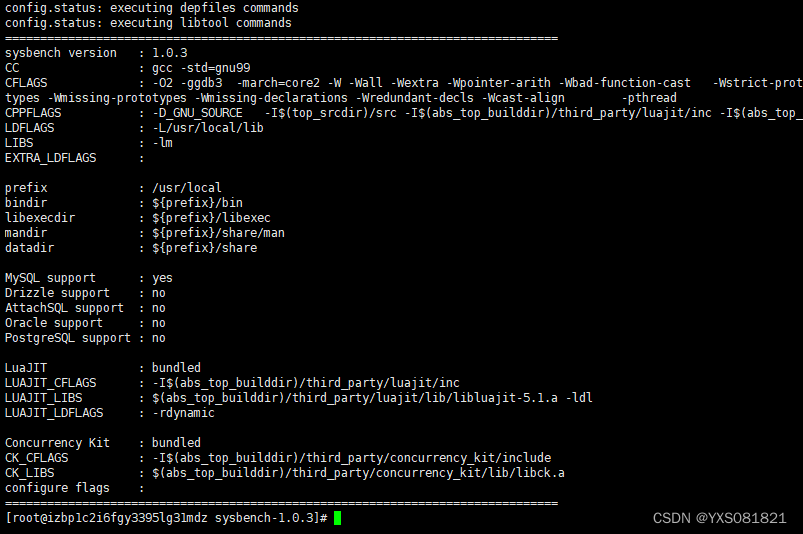
如果出现下面错误
#ERROR: cannot find MySQL libraries. If you want to compile with MySQL support 没找到mysql库 需要用参数指定下 --with-mysql-includes和--with-mysql-libs
指定mysql
./configure --with-mysql-includes=/app/teledb/mysql/include/ --with-mysql-libs=/app/teledb/mysql/lib/make 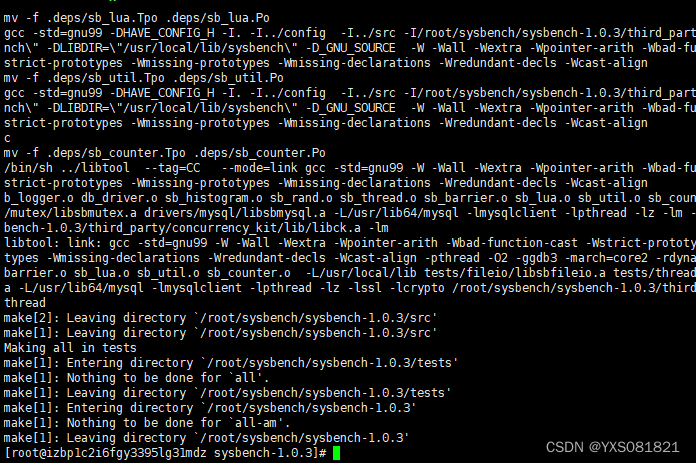
make install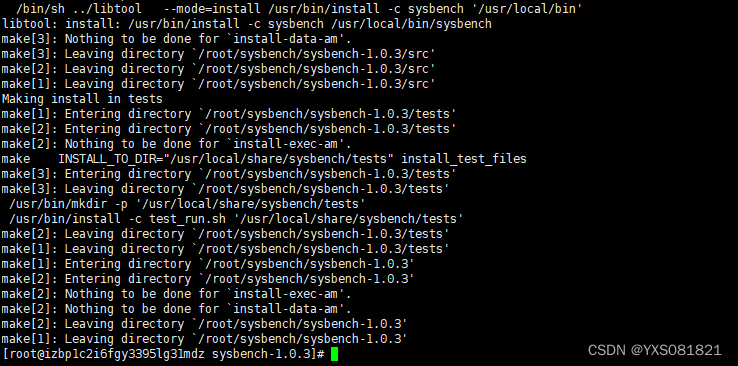
验证是否安装完成
sysbench --help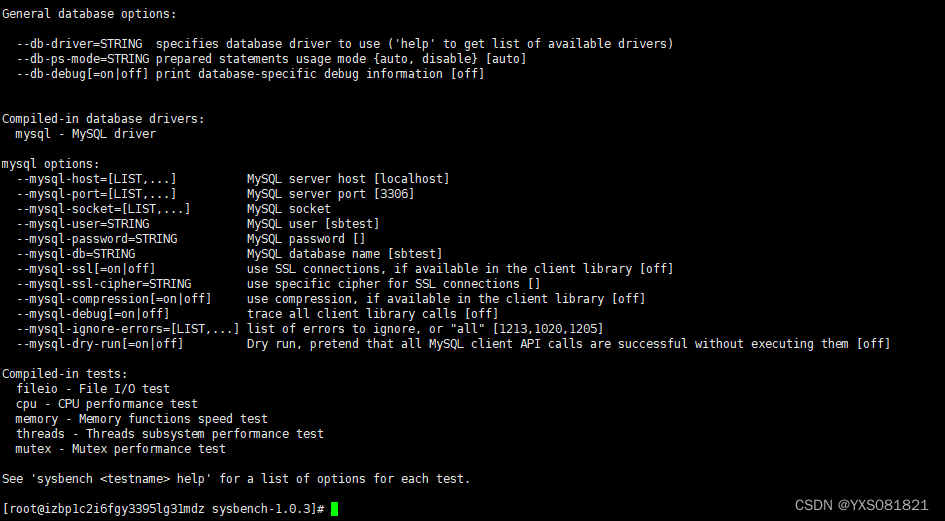 安装成功!!!
通用参数
--test=<test_name>:指定要进行测试的模块,test_name可以是CPU、内存、磁盘和数据库等。--num-threads=<threads>:指定测试时使用的线程数。--max-time=<time>:指定测试的最长运行时间。--max-requests=<requests>:指定测试的最大请求数。--oltp-range-size=<size>:指定OLTP测试使用的ID范围大小。--oltp-table-size=<size>:指定OLTP测试使用的表大小。--oltp-tables-count=<count>:指定OLTP测试使用的表的数量。数据库测试参数
--db-driver=<driver>:指定要测试的数据库类型,如mysql、pgsql等。--mysql-host=<host>:指定MySQL服务器的主机名。--mysql-port=<port>:指定MySQL服务器的端口号。--mysql-user=<user>:指定连接MySQL服务器使用的用户名。--mysql-password=<password>:指定连接MySQL服务器使用的密码。--mysql-db=<database>:指定要测试的MySQL数据库。--mysql-table-engine=<engine>:指定MySQL表的存储引擎。
CPU加密运算性能
执行命令
openssl speed -multi 2 rsa4096 #-multi后面数字一般是cpu核数*2 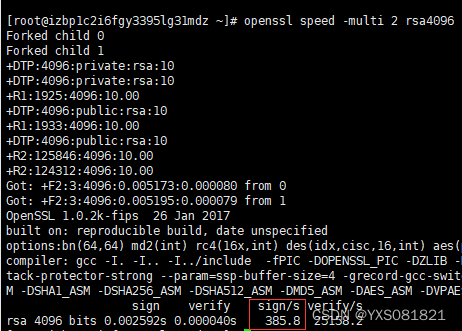
CPU浮点运算性能
1、安装c-ray
链接 提取码:1234
2、在解压目录下make、make install
unzip c-ray-1.1.zip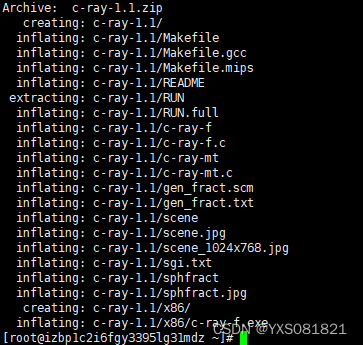
cd c-ray-1.1 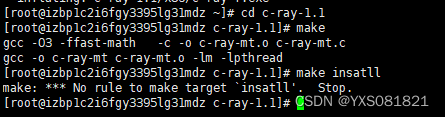
3、执行./c-ray-mt -t CPU核数*16 -s 3840x2160 -r 16 -i sphfract -o output.ppm
./c-ray-mt -t 16 -s 3840x2160 -r 16 -i sphfract -o output.ppm![]()
JAVA程序运行时延(s)
上传jar包
链接 提取码:1234
执行java -jar "jar包
java -jar YunyewubuJava_jar.jar 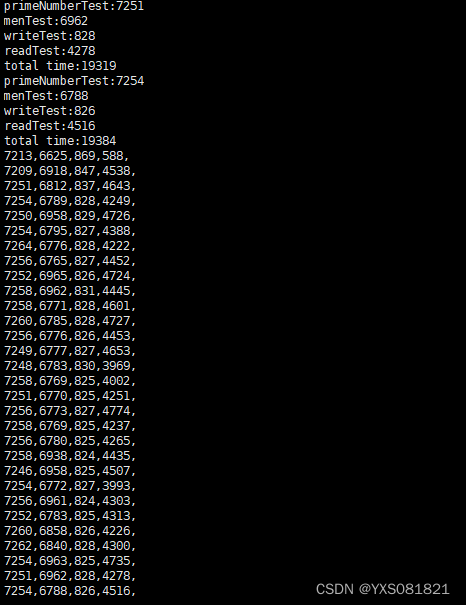
Web程序系统平均响应时延/系统吞吐量
1、安装nginx
2、在另外主机布置jmeter压测
CPU(EPS)-CPU每秒执行事件数
sysbench --threads=8 --time=30 cpu run #--threads=CPU核数*2 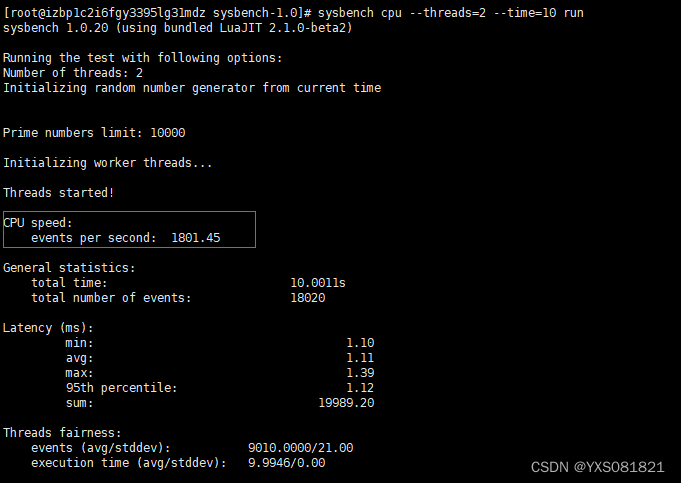
内存读取性能(MB/s)-每秒读取内存数据大小
sysbench --threads=8 --time=30 --memory-oper=read --memory-total-size=1T memory run 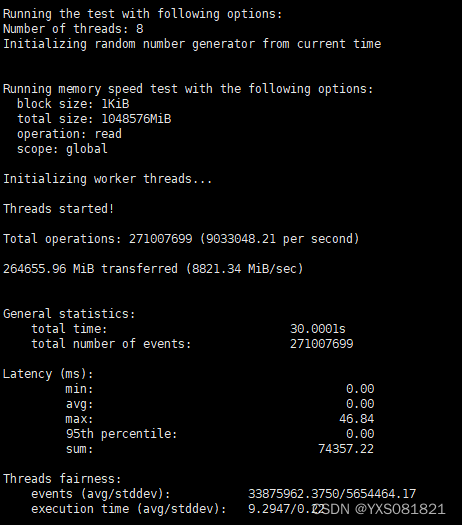
内存写入性能(MB/s)-每秒写入内存数据大小
sysbench --threads=8 --time=30 --memory-oper=write --memory-total-size=1T memory run 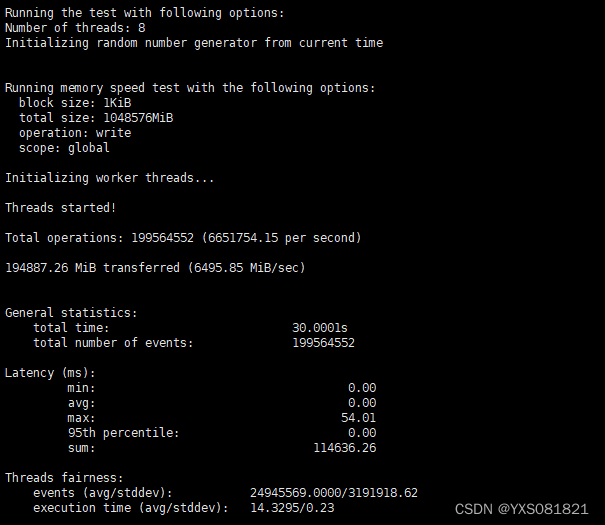
存储吞吐性能(IOPS)/存储吞吐量(MB/s)(裸盘测试)
查看云硬盘是否已经4KB对齐
fdisk -lu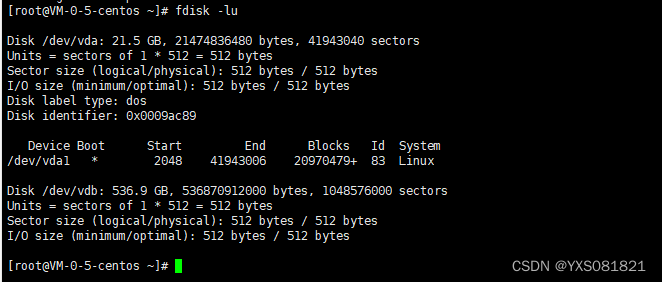
Start值能被8整除则是4KB对齐。否则,请完成4KB对齐后再继续性能测试
安装fio
yum install libaio -y
yum install libaio-devel -y
yum install fio -y
执行测试
随机写IOPS
fio -direct=1 -iodepth=128 -rw=randwrite -ioengine=libaio -bs=4k -size=1G -numjobs=1 -runtime=1000 -group_reporting -filename=/dev/vdb -name=Rand_Write_IOPS_Test
随机读IOPSfio -direct=1 -iodepth=128 -rw=randread -ioengine=libaio -bs=4k -size=1G -numjobs=1 -runtime=1000 -group_reporting -filename=/dev/vdb -name=Rand_Read_IOPS_Test
顺序写吞吐量fio -direct=1 -iodepth=64 -rw=write -ioengine=libaio -bs=1024k -size=1G -numjobs=1 -runtime=1000 -group_reporting -filename=/dev/vdb -name=Write_BW_Test
顺序读吞吐量fio -direct=1 -iodepth=64 -rw=read -ioengine=libaio -bs=1024k -size=1G -numjobs=1 -runtime=1000 -group_reporting -filename=/dev/vdb -name=Read_BW_Test
磁盘每秒读入和写出数据的大小
PING时延(ms)/丢包率(%)
ping www.baidu.com -c 10 # -c 为指定次数 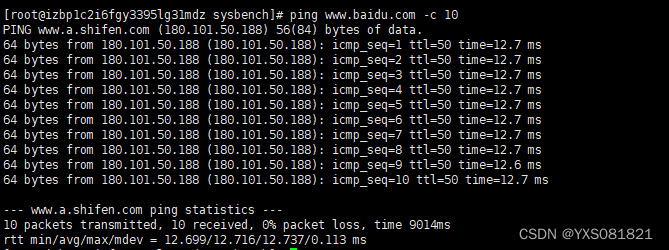
上行带宽(Mb/s)/下行带宽(Mb/s)
分为主机和陪跑机
这里把linux设为主机,windows为陪跑机
linux安装Iperf3
yum install -y iperf3 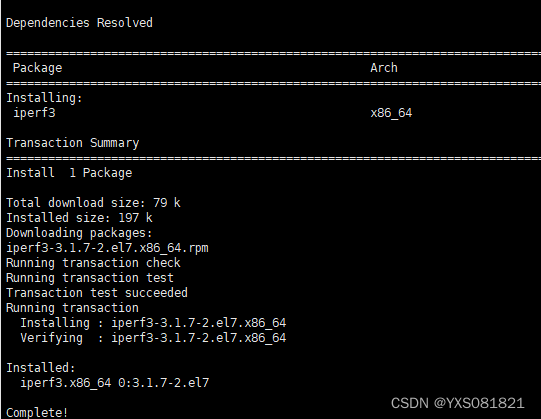
windows安装Iperf3
网上下载解压
都安装完成后
linux上输入
iperf3 -s
windows上输入
iperf3 -c 47.99.35.37 #-c 后面为主机ip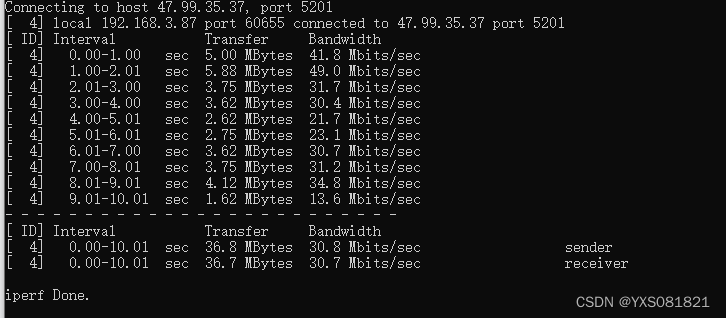
Bandwidth下面为发送/接收速率
MySQL每秒SQL数(QPS)/MySQL每秒事务数(TPS)/MySQL平均SQL时延(ms)
进入mysql创建sbtest数据库(有的mysql自带sbtest)
create database sbtest;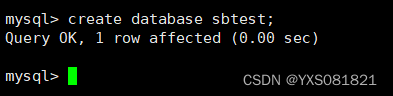
创建测试数据
sysbench sysbench-1.0/tests/include/oltp_legacy/oltp.lua --mysql-host=172.27.0.17 --mysql-port=3306 --mysql-user=ceshi --mysql-password=Qw123456 --oltp-test-mode=complex --oltp-tables-count=10 --oltp-table-size=100000 --threads=8 --time=120 --report-interval=10 prepare参数说明:
oltp.lua                  #测试模块
--mysql-host=127.0.0.1    #mysql的ip
--mysql-port=3306         #mysql的端口
--mysql-user=root         #mysql用户账号
--mysql-password=123456   #mysql用户密码
--oltp-test-mode=complex  #测试类型:simple(简单select测试),complex(事务测试),nontrx(非事务测试),sp(存储过程)
--oltp-tables-count=10    #创建测试表数量
--oltp-table-size=100000  #创建测试表大小
--threads=cpu核数*2       #测试线程数
--time=120                #运行时间
--report-interval=10      #每10s就输出一次数据
prepare/run/cleanup       #准备/运行/清理
如果出现下列报错
sysbench: error while loading shared libraries: libmysqlclient.so.18: cannot open shared object file: No such file or directory
重新安装依赖
yum install automake libtool -y再次准备测试数据
sysbench sysbench-1.0/tests/include/oltp_legacy/oltp.lua --mysql-host=172.27.0.17 --mysql-port=3306 --mysql-user=ceshi --mysql-password=Qw123456 --oltp-test-mode=complex --oltp-tables-count=10 --oltp-table-size=100000 --threads=8 --time=120 --report-interval=10 prepare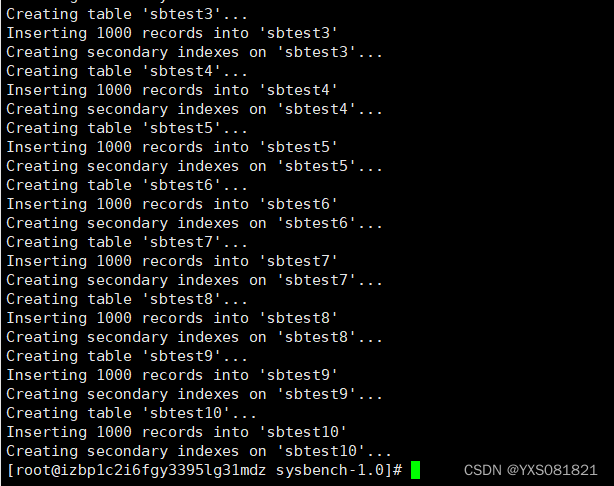
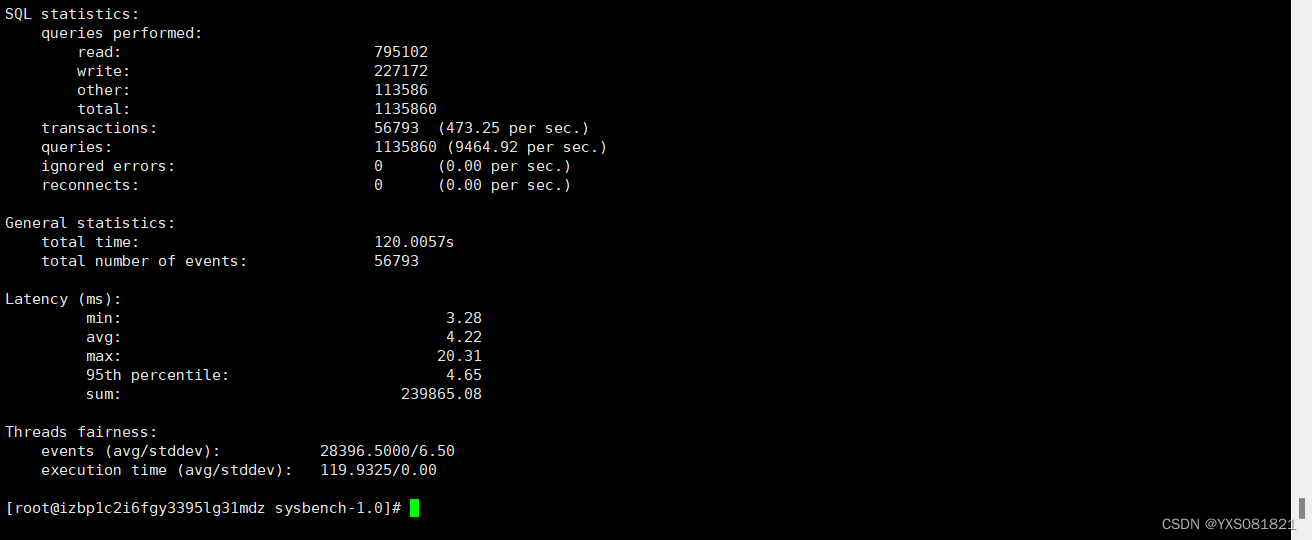
执行测试
sysbench sysbench-1.0/tests/include/oltp_legacy/oltp.lua --mysql-host=172.27.0.17 --mysql-port=3306 --mysql-user=ceshi --mysql-password=Qw123456 --oltp-test-mode=complex --oltp-tables-count=10 --oltp-table-size=100000 --threads=8 --time=120 --report-interval=10 run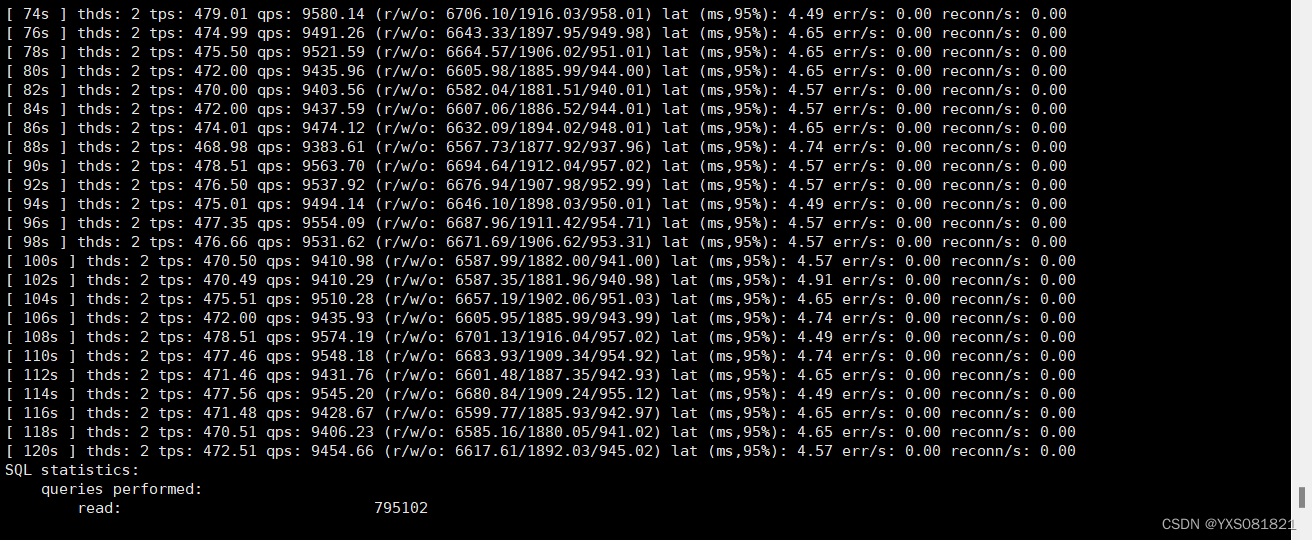
测试数据的清理
sysbench ./tests/include/oltp_legacy/oltp.lua --mysql-host=127.0.0.1 --mysql-port=3306 --mysql-user=root --mysql-password=123456 --oltp-test-mode=complex --oltp-tables-count=10 --oltp-table-size=1000 --threads=2 --time=120 --report-interval=2 cleanup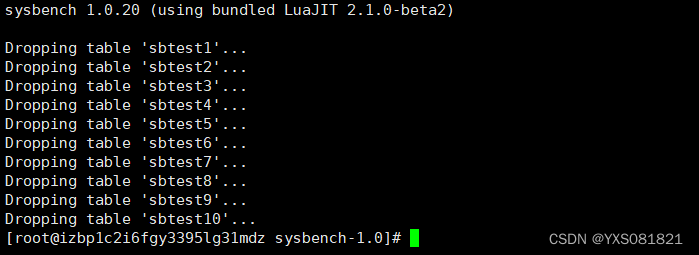
shell脚本运行
#/bin/bash
#sudo rm -r ~/results/*
#cd ~
for a in {1..30}
dosysbench --test=oltp.lua --mysql-host=192.168.0.21 --mysql-port=3306 --mysql-user=root --mysql-password=123456 --oltp-test-mode=complex --oltp-tables-count=10 --oltp-table-size=100000 --threads=8 --time=120 --report-interval=10 run   >> ~/results_sql.csvsleep 15
done