Kong Customize Python Plugin
前情提要:由于公司业务需求,需要针对 Kong 自定义插件,而 Kong 的插件主要是 Lua 语言,公司的技术栈是 Python,所以升级了 Kong 版本到 3.1。Kong3.1支持使用 Python 语言的插件,从此走上了踏坑填坑之路。(因为官方文档写的模棱两可,给的示例也不是很全面,所以升级版本和写插件过程很曲折)
该文档中的流程前提是 Kong 通过容器启动,详情请仔细阅读官方文档,或者查看我的快速初始化网关,想要了解我在使用网关中碰到各种各种的坑,也可以查看记录升级 KONG3.1 网关遇到的坑.
首先先上一波官方文档,同志们想要尝鲜,就得阅读官方文档,因为没有最新版本的中文文档,所以只能硬着头皮读官方文档,不懂得地方要去看 Kong 的源码,希望大家一起去踏坑填坑。
需求介绍
客户端发送的数据中含有加密数据,需要结合后端的密钥去验证客户端的请求是否合法,不合法则拦截请求。
官方介绍
Write plugin in Python
开始踏坑
根据文档我们可以知道,要想使用插件,依赖于 Kong 本身支持的插件服务也就是PDK,名称是 kong-pdk
下载命令为:pip3 install kong-pdk
根据要求,插件的书写要求是 Kong 规定好的,虽然不是那么pythonic,但是必须按照他的要求去书写,不然后边 Kong 不干活。
正式开发
Kong Gateway Python 插件实现具有以下属性:
Schema = ({ "message": { "type": "string" } },
)
version = '0.1.0'
priority = 0
class Plugin(object):pass
- 名为
Plugin的类定义实现此插件的类。 Schema定义插件的预期值和数据类型的字典。- 变量
version和priority分别定义了版本号和执行优先级。
根据我们的需求,代码如下:
#!/usr/bin/env python3import kong_pdk.pdk.kong as kongSchema = ({"message": {"type": "string"}},)
version = "1.0.0"
priority = 9class Plugin(object):pass# add below section to allow this plugin optionally be running in a dedicated process
if __name__ == "__main__":# 启动服务from kong_pdk.cli import start_dedicated_serverstart_dedicated_server("customer_verification", Plugin, version, priority, Schema)
自定义处理程序
我们可以实现要在请求处理生命周期的各个点执行的自定义逻辑。要在访问阶段执行自定义代码,请定义一个名为的函数access:
class Plugin(object):def __init__(self, config):self.config = configdef access(self, kong):pass根据我们的需求,代码如下:
#!/usr/bin/env python3import os
import hashlib
import kong_pdk.pdk.kong as kongSchema = ({"message": {"type": "string"}},)
version = "1.0.0"
priority = 9# This is an example plugin that add a header to the responseclass Plugin(object):def __init__(self, config):self.config = configdef access(self, kong: kong.kong):try:headers = kong.request.get_headers()client_certificate_id = headers.get("client-certificate-id")client_request_signature = headers.get("client-request-signature")client_request_time = headers.get("client-request-time")# 如果 header中缺少我们验证需要数据,返回 400if not client_certificate_id or not client_request_signature or not client_request_time:kong.response.error(400, "Invalid Headers")client_certificate_key = "xxx"customer_uuid = "xxx"old_hash_data = f"{client_certificate_id}|{client_certificate_key}|{client_request_time}"new_hash_data = hashlib.sha256(old_hash_data.encode("utf-8")).hexdigest()if new_hash_data != client_request_signature:# 未通过验证时返回 403kong.response.error(403, "Access Forbidden")# 此处注意,是 kong.service.requestkong.service.request.add_header(f"X-Customer-Id", f"{customer_uuid}")# 出现其他错误,一律按照 403 处理except Exception as ex:kong.response.error(403, "Access Forbidden")# add below section to allow this plugin optionally be running in a dedicated process
if __name__ == "__main__":from kong_pdk.cli import start_dedicated_serverstart_dedicated_server("customer_verification", Plugin, version, priority, Schema)
另外可以使用相同的函数签名在以下阶段实现自定义逻辑:
certificate:请求协议为:https,grpcs,wss,在 SSL 握手的 SSL 证书服务阶段执行。rewrite:请求协议为:*,作为重写阶段处理程序从客户端接收到每个请求时执行。
在此阶段,Service和Consumer都未被识别,因此只有当插件被配置为全局插件时才会执行此处理程序。access:请求协议为:http(s),grpc(s),ws(s),针对来自客户端的每个请求以及在将其代理到上游服务之前执行。response:请求协议为:http(s),grpc(s),替换header_filter()和body_filter()。在从上游服务接收到整个响应之后,但在将响应的任何部分发送到客户端之前执行。preread:每个连接执行一次。log:每个连接关闭后执行一次。
创建连接外部数据库
因为需要从后端数据库获取验证的密钥,所以插件需要连接外部数据库。
根据我们的需求,代码如下:
#!/usr/bin/env python3import os
import hashlib
import psycopg2
import kong_pdk.pdk.kong as kong
from dotenv import find_dotenv, load_dotenv# 此处注意需要从外部加载配置文件(位置可以自定义)
load_dotenv(find_dotenv("/usr/local/kong/kong.env"))Schema = ({"message": {"type": "string"}},)version = "1.0.0"
priority = 9# This is an example plugin that add a header to the responseclass Plugin(object):def __init__(self, config):self.config = configdef access(self, kong: kong.kong):try:headers = kong.request.get_headers()client_certificate_id = headers.get("client-certificate-id")client_request_signature = headers.get("client-request-signature")client_request_time = headers.get("client-request-time")if not client_certificate_id or not client_request_signature or not client_request_time:kong.response.error(400, "Invalid Headers")client_certificate_key = ""customer_uuid = ""conn = psycopg2.connect(database=os.environ.get("SERVER_DB_DATABASE"),user=os.environ.get("SERVER_DB_USER"),password=os.environ.get("SERVER_DB_PASSWORD"),host=os.environ.get("SERVER_DB_HOST"),port=os.environ.get("SERVER_DB_PORT"),)cur = conn.cursor()# 执行查询命令cur.execute(f"select uuid, authentication from customer where certificate = '{client_certificate_id}'")rows = cur.fetchall()for row in rows:customer_uuid = row[0]customer_authentication = row[1]client_certificate_key = customer_authentication["client_key"]old_hash_data = f"{client_certificate_id}|{client_certificate_key}|{client_request_time}"new_hash_data = hashlib.sha256(old_hash_data.encode("utf-8")).hexdigest()if new_hash_data != client_request_signature:kong.response.error(403, "Access Forbidden")kong.service.request.add_header(f"X-Customer-Id", f"{customer_uuid}")except Exception as ex:kong.response.error(403, "Access Forbidden")# add below section to allow this plugin optionally be running in a dedicated process
if __name__ == "__main__":from kong_pdk.cli import start_dedicated_serverstart_dedicated_server("customer_verification", Plugin, version, priority, Schema)
到此为止,我们的插件基础逻辑已经结束, 接下来就是怎么让 Kong 能识别到这个插件并加载插件供我们使用!
加载插件(容器使用插件)
因为前期使用网关时是通过 Docker 启动的,所以此处插件也需要通过容器加载。
要使用需要外部插件服务器的插件,插件服务器和插件本身都需要安装在 Kong Gateway 容器内,将插件的源代码复制或挂载到 Kong Gateway 容器中。
- 修改Dockerfile-Kong文件
FROM kong
USER root
# Example for GO:
# COPY your-go-plugin /usr/local/bin/your-go-plugin
# Example for JavaScript:
# RUN apk update && apk add nodejs npm && npm install -g kong-pdk
# COPY your-js-plugin /path/to/your/js-plugins/your-js-plugin
# Example for Python
# PYTHONWARNINGS=ignore is needed to build gevent on Python 3.9
# RUN apk update && \
#     apk add python3 py3-pip python3-dev musl-dev libffi-dev gcc g++ file make && \
#    PYTHONWARNINGS=ignore pip3 install kong-pdk
# 由于我们需要连接数据库和加载配置文件,所以需要改写 dockerfile
# 安装Python3和第三方库
RUN apk update && \apk add python3 py3-pip python3-dev musl-dev libffi-dev gcc g++ file make && \PYTHONWARNINGS=ignore pip3 install kong-pdk==0.32 python-dotenv==0.21.0 psycopg2-binary==2.9.5# 将源代码复制到容器中
COPY plugins/customer-verification/customer_verification.py /usr/local/bin/customer_verification.py  # 注意这个位置,后期修改kong 的配置文件时需要保持一下
# 赋权给文件,必须赋权不然会出现无权限无法执行文件,从而无法启动插件的情况
RUN chmod 777 /usr/local/bin/customer_verification.py## reset back the defaults
#USER kong
#ENTRYPOINT ["/docker-entrypoint.sh"]
#EXPOSE 8000 8443 8001 8444
#STOPSIGNAL SIGQUIT
#HEALTHCHECK --interval=10s --timeout=10s --retries=10 CMD kong health
#CMD ["kong", "docker-start"]
修改 kong 配置文件
# 修改日志级别为 debug,方便排查问题
log_level = debug# 新增配置
pluginserver_names = customer_verification  #名称自定义,需要与 Python 文件启动时的名称一样
pluginserver_customer_verification_socket = /usr/local/kong/customer_verification.sock  # 可自定义,也可以直接放在kong 默认路径/usr/local/kong下
pluginserver_customer_verification_start_cmd = /usr/local/bin/customer_verification.py -v  # 可自定义,也可以直接放在kong 默认路径/usr/local/bin下, -v 是可以输出更多信息
pluginserver_customer_verification_query_cmd = /usr/local/bin/customer_verification.py --dump#pluginserver_names =            # Comma-separated list of names for pluginserver# processes.  The actual names are used for# log messages and to relate the actual settings.#pluginserver_XXX_socket = <prefix>/<XXX>.socket            # Path to the unix socket# used by the <XXX> pluginserver.
#pluginserver_XXX_start_cmd = /usr/local/bin/<XXX>          # Full command (including# any needed arguments) to# start the <XXX> pluginserver
#pluginserver_XXX_query_cmd = /usr/local/bin/query_<XXX>    # Full command to "query" the# <XXX> pluginserver.  Should# produce a JSON with the# dump info of all plugins it# manages
根据上边的配置,查看源码为:
# /kong/kong/runloop/plugin_servers/process.lua
local function get_server_defs()local config = kong.configurationif not _servers then_servers = {}for i, name in ipairs(config.pluginserver_names) doname = name:lower()kong.log.debug("search config for pluginserver named: ", name)local env_prefix = "pluginserver_" .. name:gsub("-", "_")_servers[i] = {name = name,socket = config[env_prefix .. "_socket"] or "/usr/local/kong/" .. name .. ".socket",start_command = config[env_prefix .. "_start_cmd"] or ifexists("/usr/local/bin/"..name),query_command = config[env_prefix .. "_query_cmd"] or ifexists("/usr/local/bin/query_"..name),}endendreturn _servers
end
- 修改 docker-compose 文件为
kong:image: kong:3.1container_name: kongbuild:context: ../kongdockerfile: Dockerfile-Kongrestart: alwaysnetworks:- networkenv_file:- kong.envports:- 48000:8000 # 接收处理 http 流量- 48443:8443 # 接收处理 https 流量#- 8001:8001 # http 管理 API#- 8444:8444 # https 管理 APIvolumes:- './plugins/soc-log:/usr/local/share/lua/5.1/kong/plugins/soc-log' # 挂载路径不可变,需要是/usr/local/share/lua/5.1/kong/plugins/- './plugins/constants.lua:/usr/local/share/lua/5.1/kong/constants.lua' ## 必须挂载,因为需要修改文件后使用自定义文件- './plugins/kong.conf.default:/etc/kong/kong.conf' ## 挂载自定义的 kong 配置文件- './kong.env:/usr/local/kong/kong.env' ## 挂载数据库配置文件
修改 constants.lua文件
需要再次修改constants.lua文件,因为 Kong 会从该文件根据名字加载插件。
如何确定你的插件已经启动了呢
查看下边日志:
kong   | 2023/02/06 16:40:11 [debug] 1#0: [kong] process.lua:66 search config for pluginserver named: customer_verification  # 代表已经从配置文件中获取到插件配置
kong   | 2023/02/06 16:40:11 [debug] 1#0: [kong] mp_rpc.lua:33 mp_rpc.new: /usr/local/kong/customer_verification.sock  # 该文件可自定义,或者由 kong 自己在默认路径中生成
kong   | 2023/02/06 16:40:11 [debug] 1#0: [lua] plugins.lua:284: load_plugin(): Loading plugin: customer_verification  # 代表创建已经被 kong 识别到并加载
kong   | 2023/02/06 16:40:12 [info] 1129#0: *602 [customer_verification:1133] WARN - [16:40:12] lua-style return values are used, this will be deprecated in the future; instead of returning (data, err) tuple, only data will be returned and err will be thrown as PDKException; please adjust your plugin to use the new python-style PDK API., context: ngx.timer
kong   | 2023/02/06 16:40:12 [info] 1129#0: *602 [customer_verification:1133] INFO - [16:40:12] server started at path /usr/local/kong/customer_verification.sock, context: ngx.timer  # 代表插件服务器已经启动
当你的日志也出现上边的输出,恭喜你,你的日志已经可以开始正常使用了。
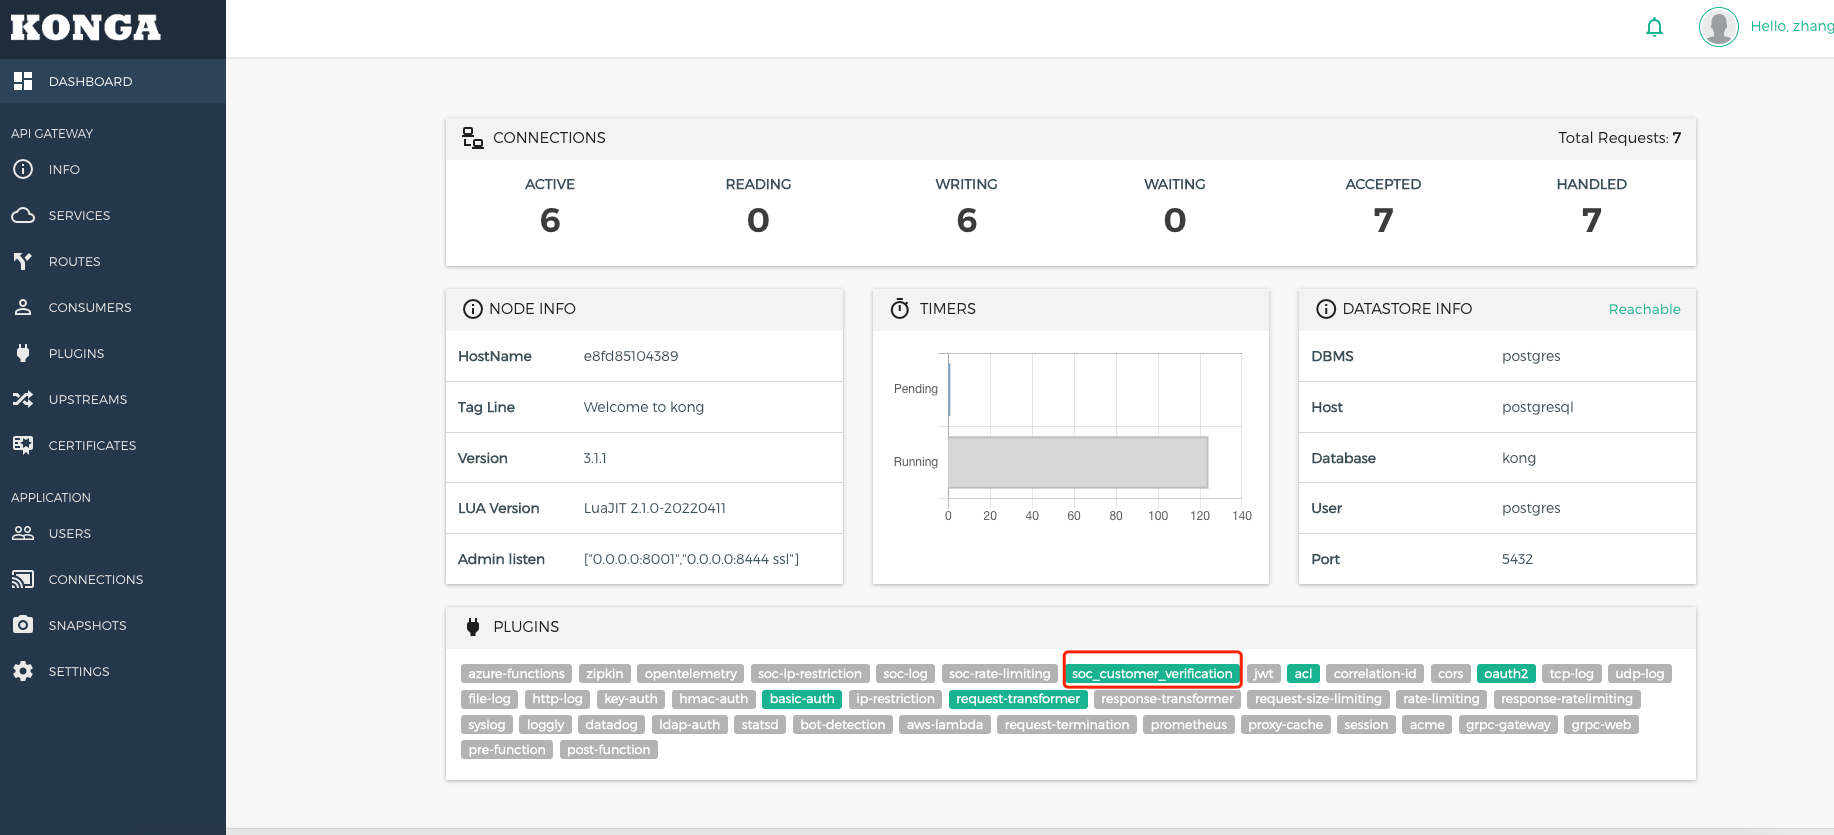
如果你还不相信,可以去 konga 中查看
同志们,只要按照上述步骤去执行,你也可以开始开心的使用 Python 插件了!✿✿ヽ(°▽°)ノ✿✿✿ヽ(°▽°)ノ✿✿✿ヽ(°▽°)ノ✿