前言
公司最近项目需要一个手机验证码的功能,任务确定后,倍感亚历山大,以为和第三方对接的都好麻烦,查阿里的API、网上大神写的博客,各种查之后才发现,简单的一塌糊涂,这里想说个问题,不知道其他的攻城狮们是不是和我一样的心里,刚接触个没做过的任务时,会一脸懵里的着急,无从下手的感觉,后来会了,就觉得简单的一*,在这里我说一下自己的体会,遇到任何难点,先理思路、任务拆分、逐个查资料,其实一套下来,就不会那种一脸懵逼的干着急。。。
所需条件
1、阿里云账户
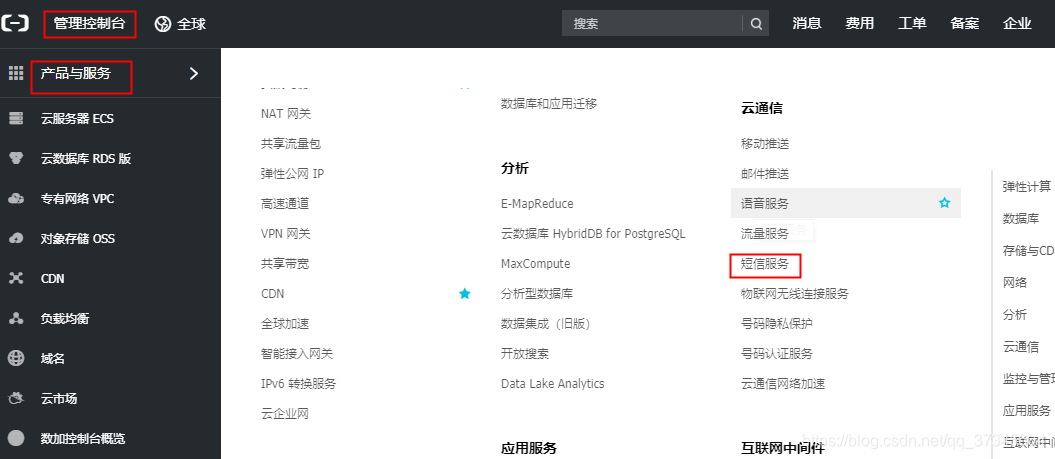
2、开通云通讯中的短信服务
3、申请短信签名和模板
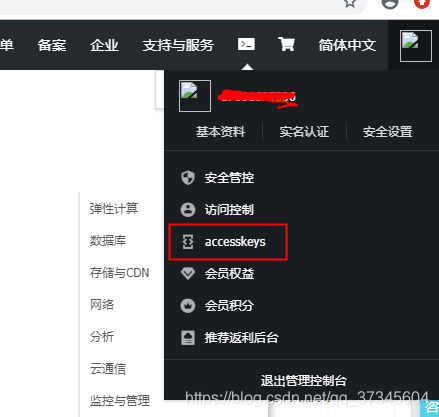
4、创建access_key和access_secret
5、然后就是代码编写
话不啰嗦,直接开始开发步骤
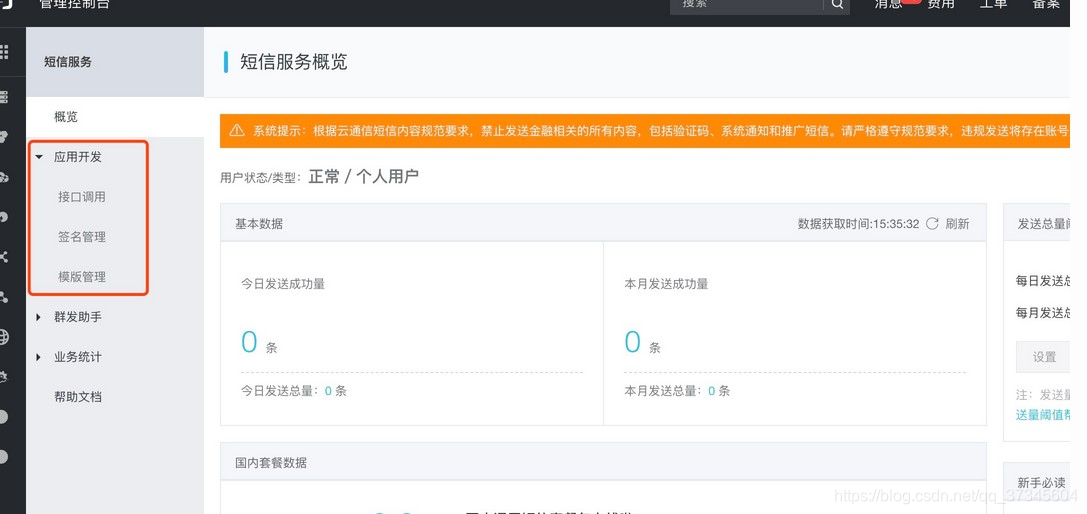
开通短信服务
创建创建access_key和access_secret
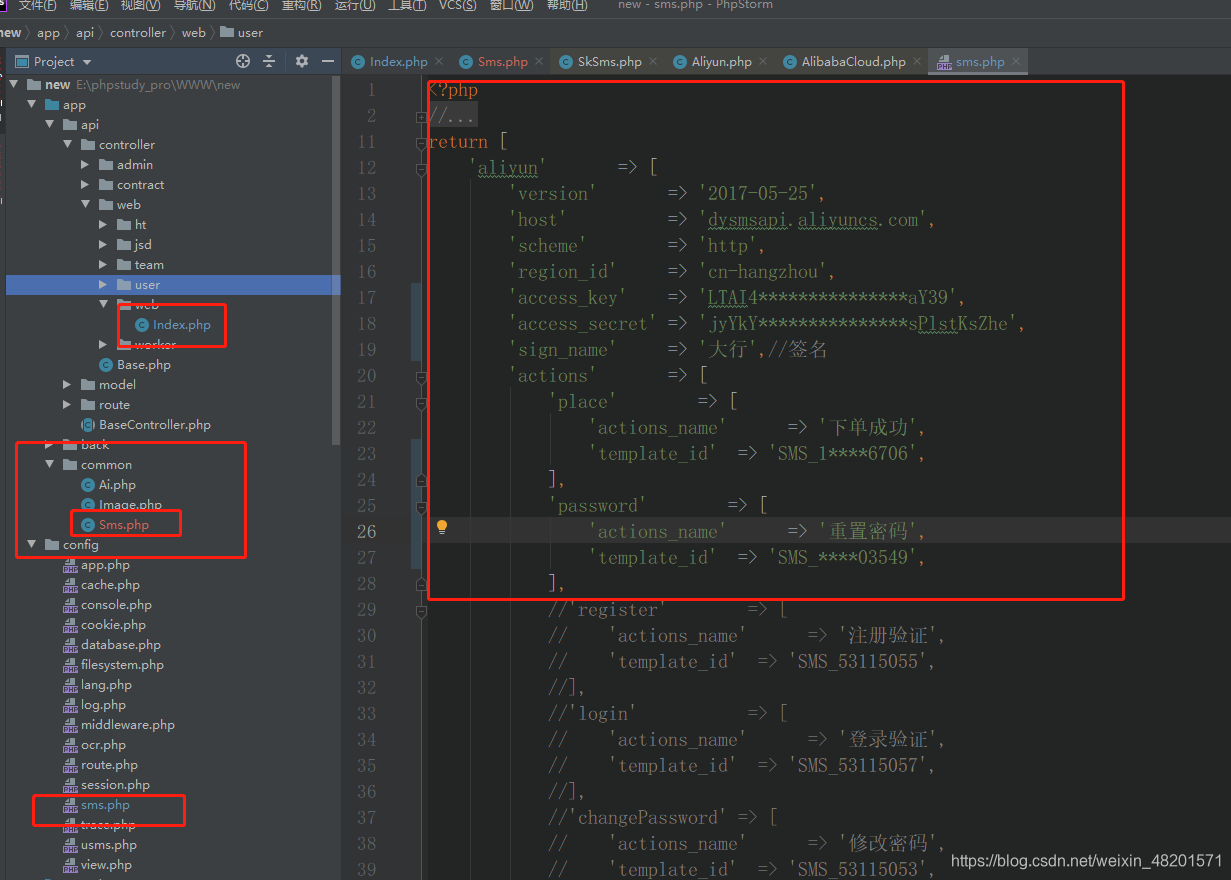
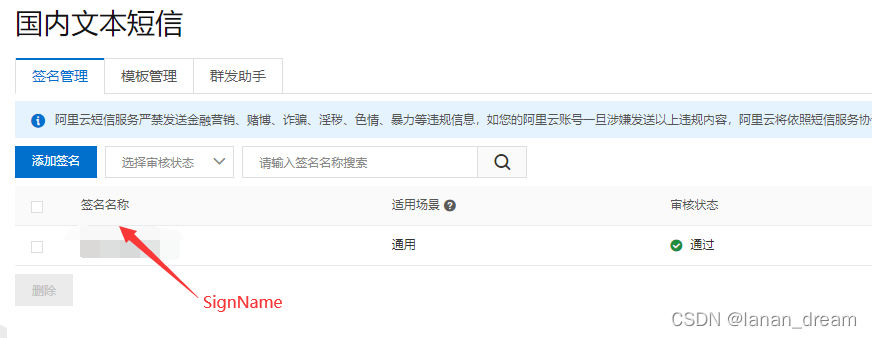
申请短信模板和签名
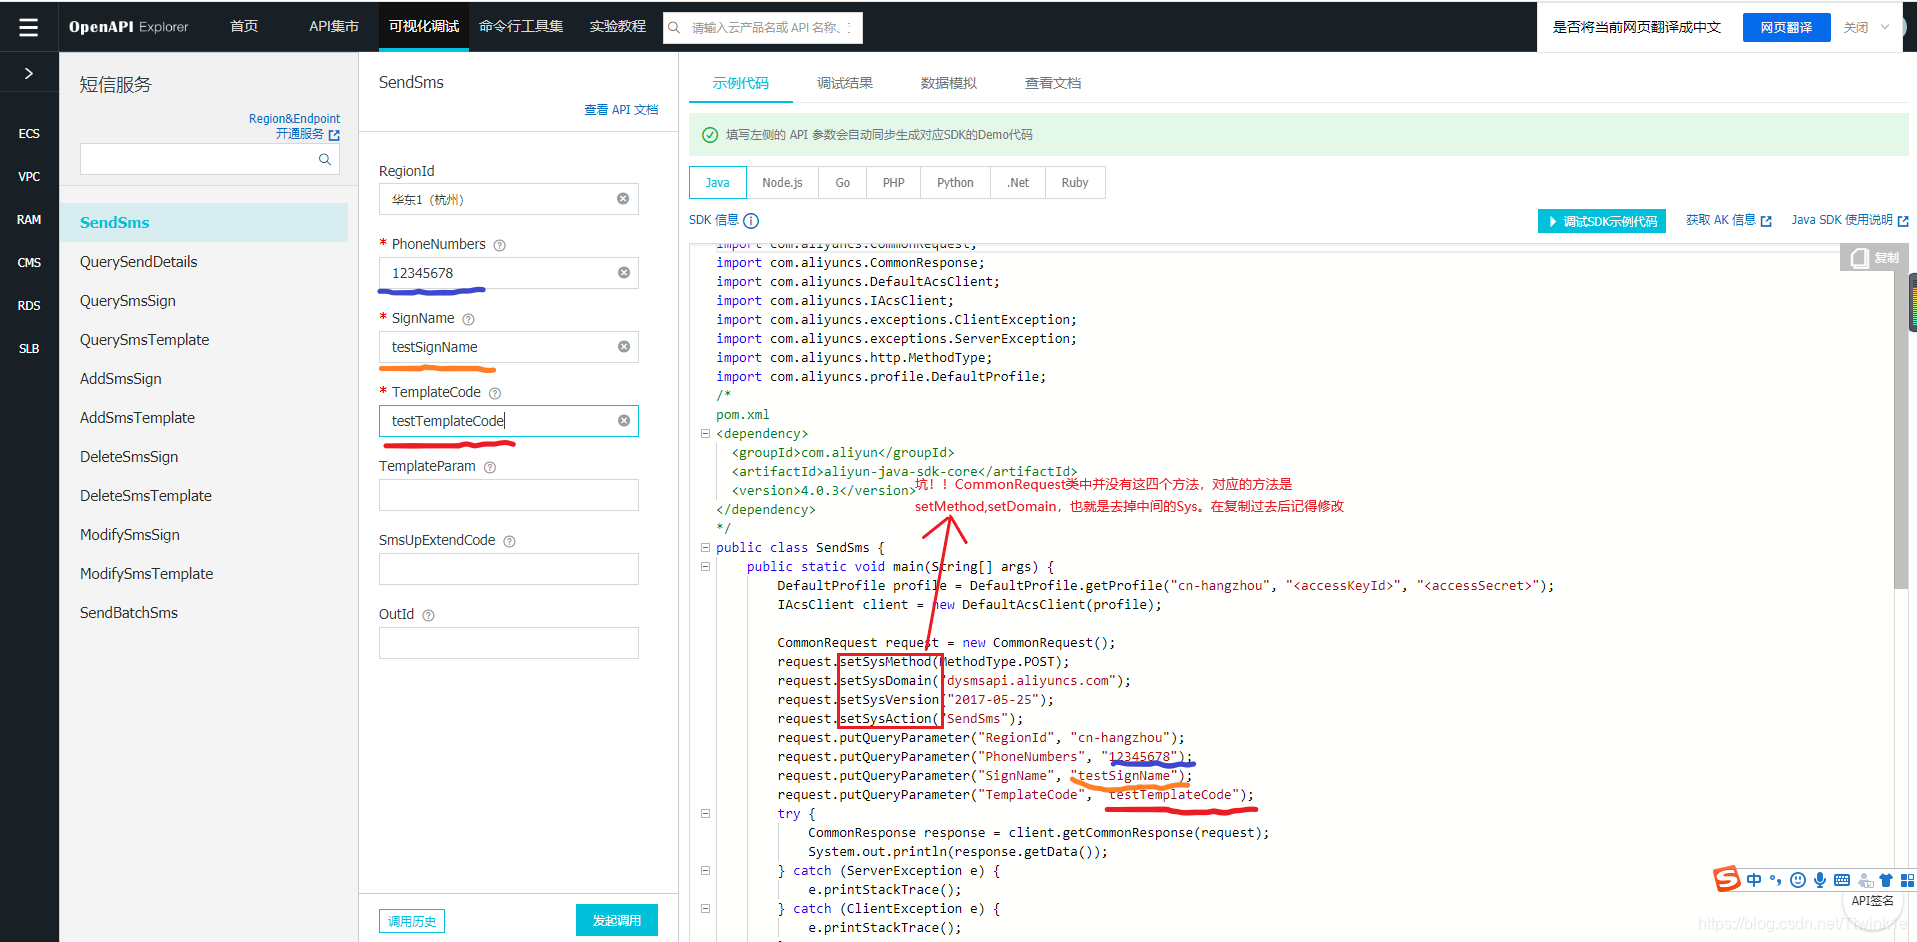
开发步骤
1、创建AliyunConfig类
package com.preread.user.config;import com.aliyuncs.DefaultAcsClient;
import com.aliyuncs.IAcsClient;
import com.aliyuncs.dysmsapi.model.v20170525.SendSmsRequest;
import com.aliyuncs.dysmsapi.model.v20170525.SendSmsResponse;
import com.aliyuncs.exceptions.ClientException;
import com.aliyuncs.profile.DefaultProfile;
import com.aliyuncs.profile.IClientProfile;import java.util.Random;/*** @Description: 阿里云短信接口配置类* @author: yangxf* @date: 2019/4/11 15:01*/
public class AliyunConfig {/* 短信API产品名称(短信产品名固定,无需修改) */private static final String product = "Dysmsapi";/* 短信API产品域名,接口地址固定,无需修改 */private static final String domain = "dysmsapi.aliyuncs.com";/* 此处需要替换成开发者自己的accessKeyId和accessKeySecret(在阿里云访问控制台寻找) */private static final String accessKeyId = "你的accessKeyId"; //TODO: 这里要写成你自己生成的private static final String accessKeySecret = "你的accessKeySecret";//TODO: 这里要写成你自己生成的/* 短信发送 */public static SendSmsResponse sendSms(String phone) throws ClientException {/* 超时时间,可自主调整 */System.setProperty("sun.net.client.defaultConnectTimeout", "10000");System.setProperty("sun.net.client.defaultReadTimeout", "10000");/* 初始化acsClient,暂不支持region化 */IClientProfile profile = DefaultProfile.getProfile("cn-hangzhou", accessKeyId, accessKeySecret);DefaultProfile.addEndpoint("cn-hangzhou", "cn-hangzhou", product, domain);IAcsClient acsClient = new DefaultAcsClient(profile);/* 组装请求对象-具体描述见控制台-文档部分内容 */SendSmsRequest request = new SendSmsRequest();/* 必填:待发送手机号 */request.setPhoneNumbers(phone);/* 必填:短信签名-可在短信控制台中找到 */request.setSignName("提前看"); //TODO: 这里是你短信签名/* 必填:短信模板code-可在短信控制台中找到 */request.setTemplateCode("你的模板code"); //TODO: 这里是你的模板code/* 可选:模板中的变量替换JSON串,如模板内容为"亲爱的用户,您的验证码为${code}"时,此处的值为 */request.setTemplateParam("{\"code\":\"" + getMsgCode() + "\"}");// hint 此处可能会抛出异常,注意catchSendSmsResponse sendSmsResponse = acsClient.getAcsResponse(request);if(sendSmsResponse.getCode()!= null && sendSmsResponse.getCode().equals("OK")){System.out.println("短信发送成功!验证码:" + getMsgCode());}else {System.out.println("短信发送失败!");}return sendSmsResponse;}/*** @Function: 生成验证码* @author:   yangxf* @Date:     2019/4/11 15:30*/private static String getMsgCode() {int n = 6;StringBuilder code = new StringBuilder();Random ran = new Random();for (int i = 0; i < n; i++) {code.append(Integer.valueOf(ran.nextInt(10)).toString());}return code.toString();}
}
2、controller层调用
/*** @Function: 短信验证接口* @author:   Yangxf* @Date:     2019/4/11 15:39*/
@RequestMapping("/smsverification")
public Object SmsVerification(@Param("phone") String phone) {return userViewService.SmsVerification(phone);
}
3、service层代码
/*** @Function: 短信验证* @author:   Yangxf* @Date:     2019/4/11 15:56* @param:    phone 手机号*/
@Override
public Map<String, Object> SmsVerification(String phone) {Map<String, Object> map = new HashMap<>();try {AliyunConfig.sendSms(phone);map.put("code", 200);map.put("msg", "短信验证发送成功");return map;} catch (ClientException e) {map.put("code", 300);map.put("msg", e.getMessage());return map;}
}
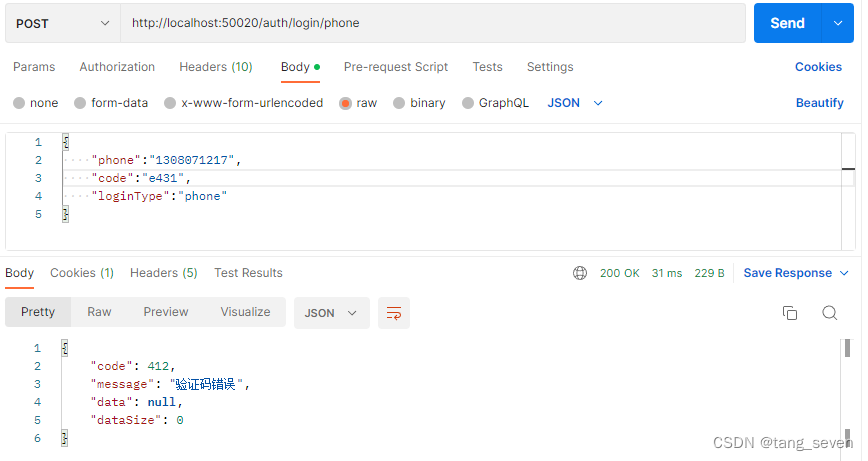
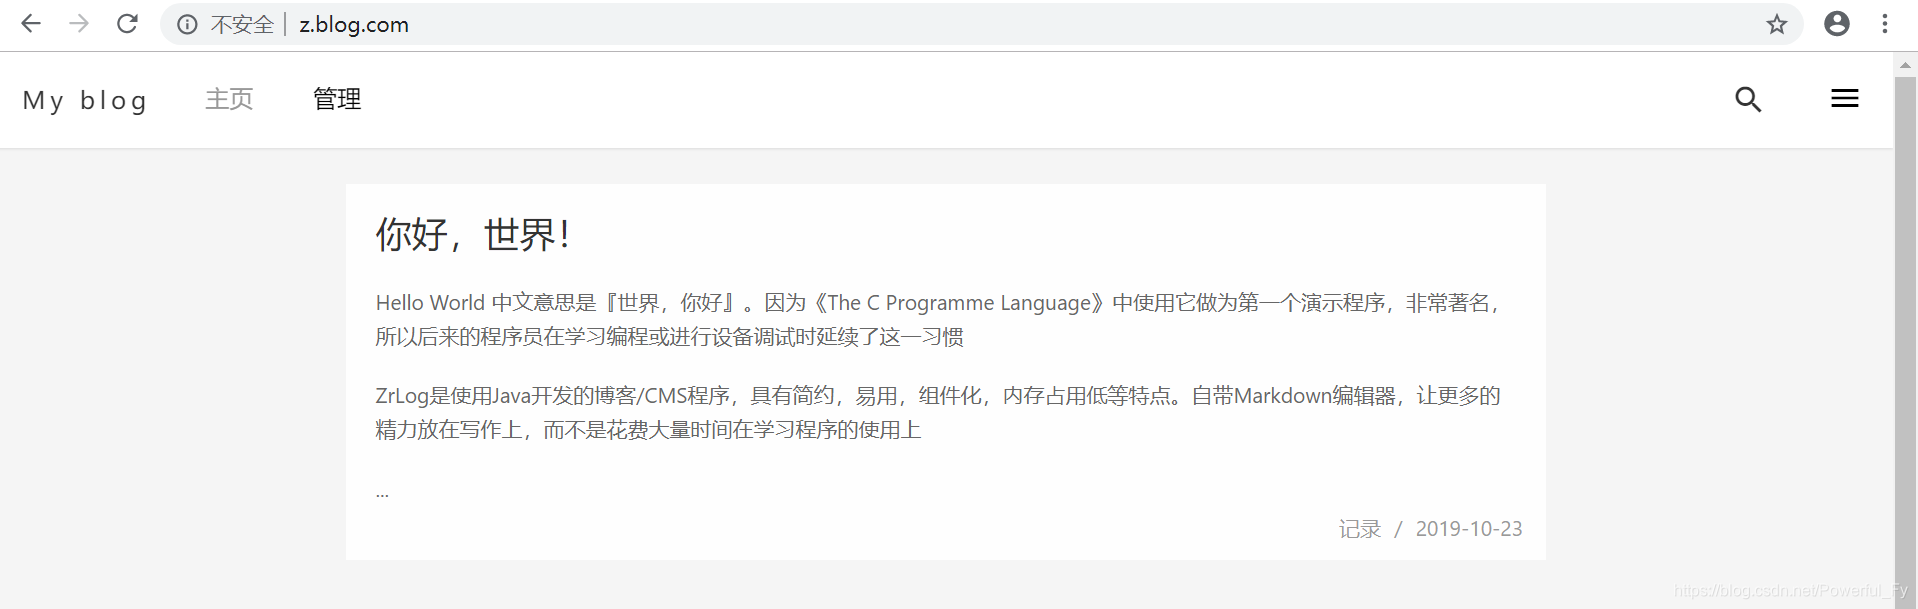
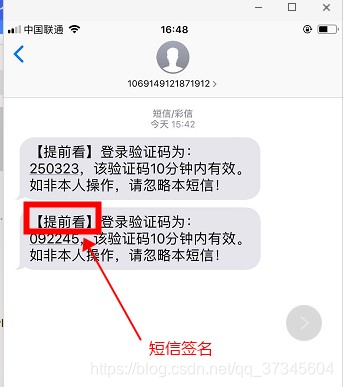
至此代码阶段OK,可以测试了
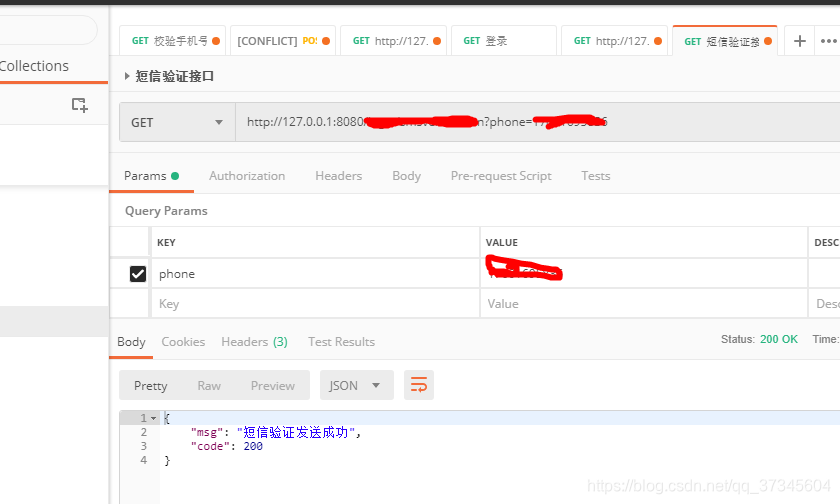
效果如下:
觉得有收获的小伙伴留下一脚印—_—!