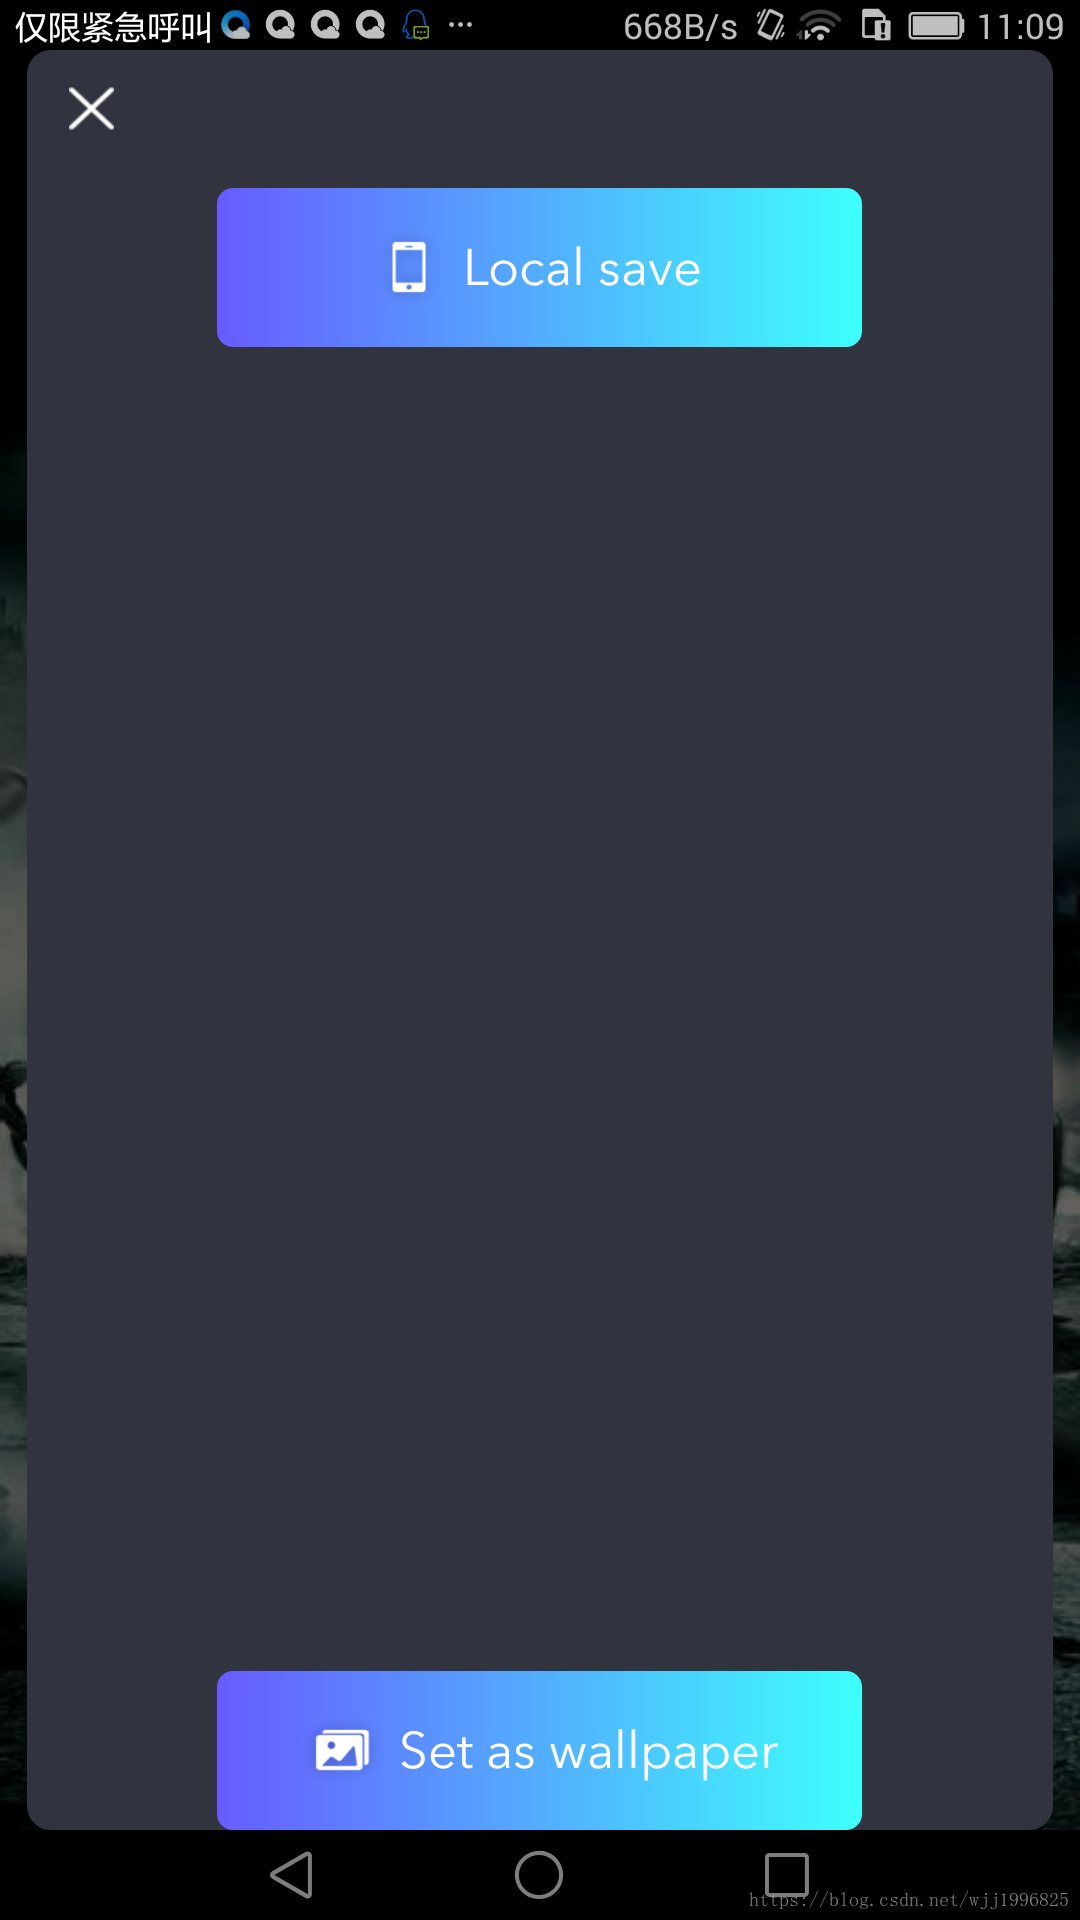
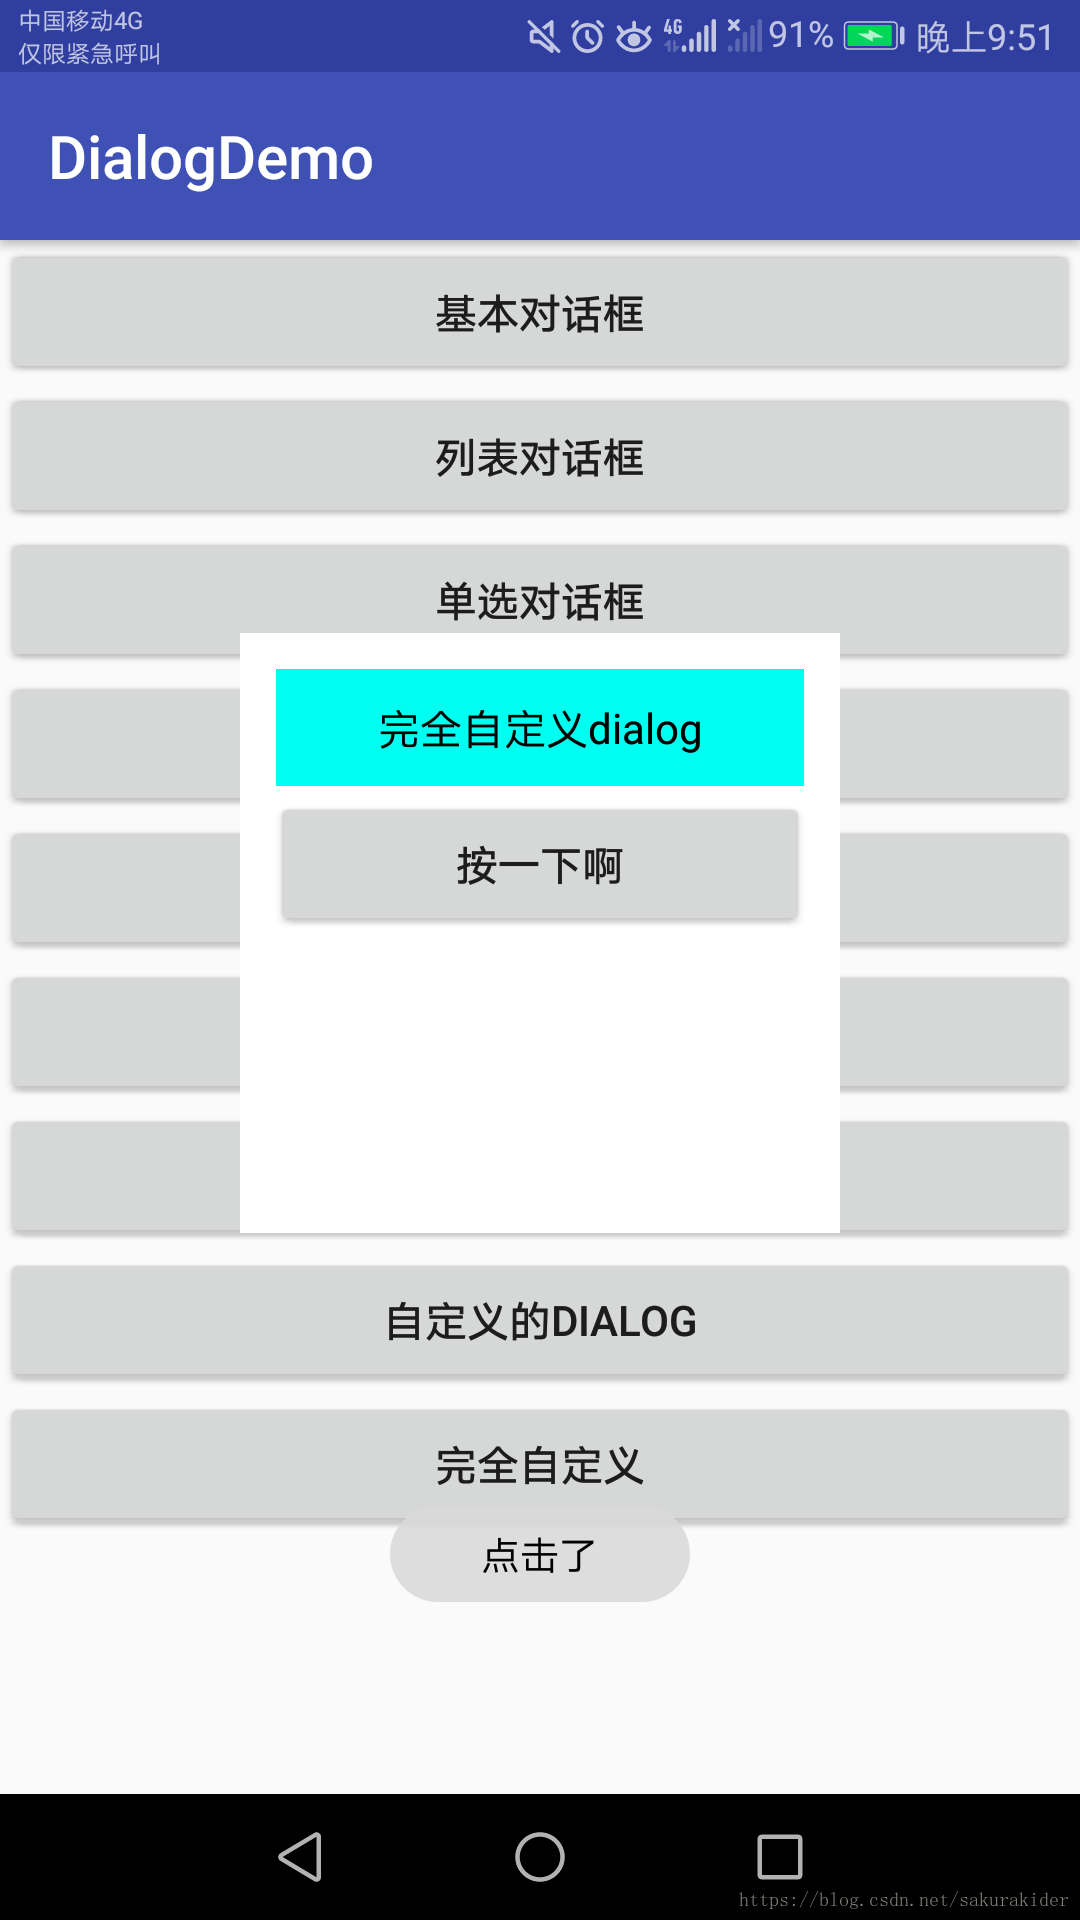
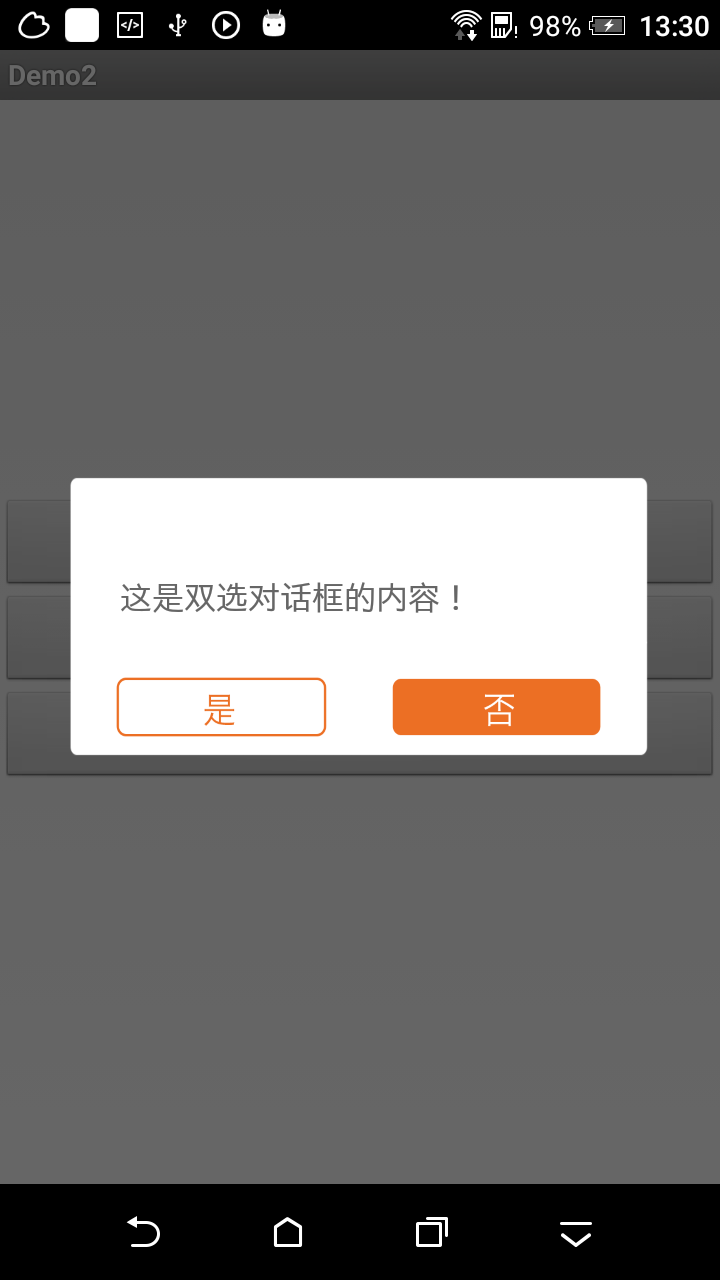
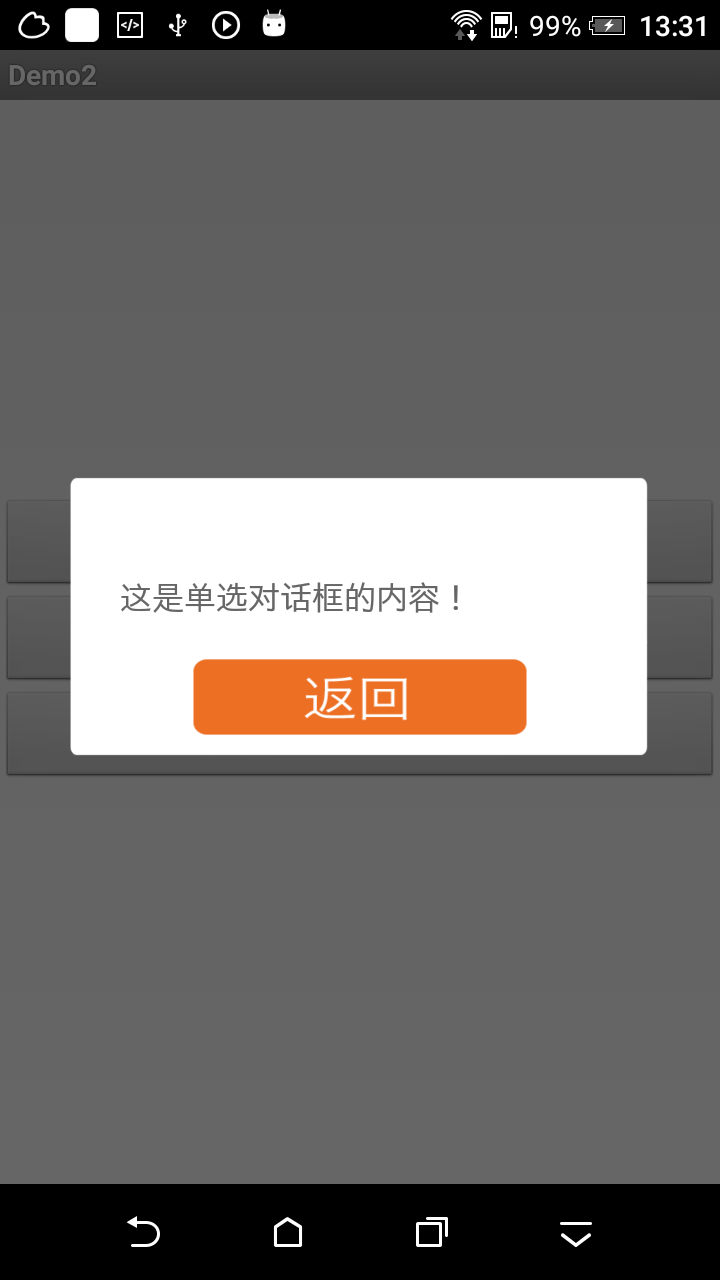
最新实现了一个自定义Dialog的需求,先看看效果图:
下面说说如何实现:
首先需要自定义一个Dialog类,继承自android.app.Dialog类。这个Dialog类就是要显示的对话框,包含双选按钮和单选按钮两种效果。本例中自定义CustomDialog类的代码先贴上:
package example.lwc.com.demo2;import android.app.Dialog;
import android.content.Context;
import android.view.LayoutInflater;
import android.view.View;
import android.view.ViewGroup;
import android.widget.Button;
import android.widget.LinearLayout;
import android.widget.TextView;public class CustomDialog extends Dialog {public CustomDialog(Context context) {super(context);}public CustomDialog(Context context, int theme) {super(context, theme);}public static class Builder {private String message;private View contentView;private String positiveButtonText;private String negativeButtonText;private String singleButtonText;private View.OnClickListener positiveButtonClickListener;private View.OnClickListener negativeButtonClickListener;private View.OnClickListener singleButtonClickListener;private View layout;private CustomDialog dialog;public Builder(Context context) {//这里传入自定义的style,直接影响此Dialog的显示效果。style具体实现见style.xmldialog = new CustomDialog(context, R.style.Dialog);     LayoutInflater inflater = (LayoutInflater) context.getSystemService(Context.LAYOUT_INFLATER_SERVICE);layout = inflater.inflate(R.layout.dialog_layout, null);dialog.addContentView(layout, new ViewGroup.LayoutParams(ViewGroup.LayoutParams.MATCH_PARENT, ViewGroup.LayoutParams.WRAP_CONTENT));}public Builder setMessage(String message) {this.message = message;return this;}public Builder setContentView(View v) {this.contentView = v;return this;}public Builder setPositiveButton(String positiveButtonText, View.OnClickListener listener) {this.positiveButtonText = positiveButtonText;this.positiveButtonClickListener = listener;return this;}public Builder setNegativeButton(String negativeButtonText, View.OnClickListener listener) {this.negativeButtonText = negativeButtonText;this.negativeButtonClickListener = listener;return this;}public Builder setSingleButton(String singleButtonText, View.OnClickListener listener) {this.singleButtonText = singleButtonText;this.singleButtonClickListener = listener;return this;}/*** 创建单按钮对话框* @return*/public CustomDialog createSingleButtonDialog() {showSingleButton();layout.findViewById(R.id.singleButton).setOnClickListener(singleButtonClickListener);//如果传入的按钮文字为空,则使用默认的“返回”if (singleButtonText != null) {((Button) layout.findViewById(R.id.singleButton)).setText(singleButtonText);} else {((Button) layout.findViewById(R.id.singleButton)).setText("返回");}create();return dialog;}/*** 创建双按钮对话框* @return*/public CustomDialog createTwoButtonDialog() {showTwoButton();layout.findViewById(R.id.positiveButton).setOnClickListener(positiveButtonClickListener);layout.findViewById(R.id.negativeButton).setOnClickListener(negativeButtonClickListener);//如果传入的按钮文字为空,则使用默认的“是”和“否”if (positiveButtonText != null) {((Button) layout.findViewById(R.id.positiveButton)).setText(positiveButtonText);} else {((Button) layout.findViewById(R.id.positiveButton)).setText("是");}if (negativeButtonText != null) {((Button) layout.findViewById(R.id.negativeButton)).setText(negativeButtonText);} else {((Button) layout.findViewById(R.id.negativeButton)).setText("否");}create();return dialog;}/*** 单按钮对话框和双按钮对话框的公共部分在这里设置*/private void create() {if (message != null) {      //设置提示内容((TextView) layout.findViewById(R.id.message)).setText(message);} else if (contentView != null) {       //如果使用Builder的setContentview()方法传入了布局,则使用传入的布局((LinearLayout) layout.findViewById(R.id.content)).removeAllViews();((LinearLayout) layout.findViewById(R.id.content)).addView(contentView, new ViewGroup.LayoutParams(ViewGroup.LayoutParams.MATCH_PARENT, ViewGroup.LayoutParams.MATCH_PARENT));}dialog.setContentView(layout);dialog.setCancelable(true);     //用户可以点击手机Back键取消对话框显示dialog.setCanceledOnTouchOutside(false);        //用户不能通过点击对话框之外的地方取消对话框显示}/*** 显示双按钮布局,隐藏单按钮*/private void showTwoButton() {layout.findViewById(R.id.singleButtonLayout).setVisibility(View.GONE);layout.findViewById(R.id.twoButtonLayout).setVisibility(View.VISIBLE);}/*** 显示单按钮布局,隐藏双按钮*/private void showSingleButton() {layout.findViewById(R.id.singleButtonLayout).setVisibility(View.VISIBLE);layout.findViewById(R.id.twoButtonLayout).setVisibility(View.GONE);}}
}
Dialog所用的布局文件dialog_layout.xml:
<?xml version="1.0" encoding="utf-8"?>
<FrameLayout xmlns:android="http://schemas.android.com/apk/res/android"android:layout_width="match_parent"android:layout_height="match_parent"android:clickable="true"android:orientation="vertical"android:paddingTop="120dp"android:paddingBottom="120dp" ><LinearLayout
        android:layout_width="match_parent"android:layout_height="230dp"android:layout_gravity="center"android:background="@drawable/dialog_bg_biggg"android:padding="40dp"android:orientation="vertical" ><LinearLayout
            android:id="@+id/content"android:layout_width="match_parent"android:layout_height="wrap_content"android:paddingTop="40dp"android:gravity="center" ><TextView
                android:id="@+id/message"style="@style/text_16_666666"android:text="提示信息在这里"android:layout_width="match_parent"android:layout_height="wrap_content"android:gravity="left|center"android:lineSpacingMultiplier="1.5"android:minHeight="50dp"android:paddingLeft="20dp"android:paddingRight="20dp" /></LinearLayout><FrameLayout
            android:layout_width="match_parent"android:layout_height="wrap_content"><LinearLayout
                android:id="@+id/twoButtonLayout"android:visibility="visible"android:layout_width="match_parent"android:layout_height="60dp"android:layout_gravity="bottom"android:gravity="center"android:orientation="horizontal" ><Button
                    android:id="@+id/positiveButton"style="@style/text_15_ffffff_sdw"android:layout_width="0dp"android:layout_weight="1"android:layout_height="45dp"android:background="@drawable/dialog_ok"android:gravity="center" /><Button
                    android:id="@+id/negativeButton"style="@style/text_15_666666_sdw"android:layout_width="0dp"android:layout_weight="1"android:layout_height="45dp"android:background="@drawable/dialog_cancel"android:gravity="center" /></LinearLayout><LinearLayout
                android:id="@+id/singleButtonLayout"android:visibility="visible"android:layout_width="match_parent"android:layout_height="60dp"android:layout_gravity="bottom"android:paddingLeft="50dp"android:paddingRight="50dp"android:paddingBottom="10dp"android:gravity="center"><Button
                    android:id="@+id/singleButton"style="@style/text_15_ffffff_sdw"android:layout_width="wrap_content"android:layout_height="40dp"android:background="@drawable/dialog_back"android:gravity="center" /></LinearLayout></FrameLayout></LinearLayout></FrameLayout>
以及style.xml:
<resources><style name="AppBaseTheme" parent="android:Theme.Light"></style><style name="AppTheme" parent="AppBaseTheme"></style><style name="text_18_ffffff"><item name="android:textSize">18.0dip</item><item name="android:textColor">#777733</item></style><style name="text_16_666666"><item name="android:textSize">16.0dip</item><item name="android:textColor">#ff666666</item></style><style name="sdw_white"><item name="android:shadowColor">#7fffffff</item><item name="android:shadowDx">0.0</item><item name="android:shadowDy">0.65</item><item name="android:shadowRadius">1.0</item></style><style name="sdw_79351b"><item name="android:shadowColor">#ff79351b</item><item name="android:shadowDx">0.0</item><item name="android:shadowDy">1.0</item><item name="android:shadowRadius">1.0</item></style><style name="text_15_ffffff_sdw" parent="@style/sdw_79351b"><item name="android:textSize">15.0dip</item><item name="android:textColor">#ffffffff</item></style><style name="text_15_666666_sdw" parent="@style/sdw_white"><item name="android:textSize">15.0dip</item><item name="android:textColor">#ff666666</item></style><style name="Dialog" parent="android:style/Theme.Dialog"><item name="android:background">#00000000</item><item name="android:windowBackground">@android:color/transparent</item><item name="android:windowNoTitle">true</item><item name="android:windowIsFloating">true</item></style>
</resources>
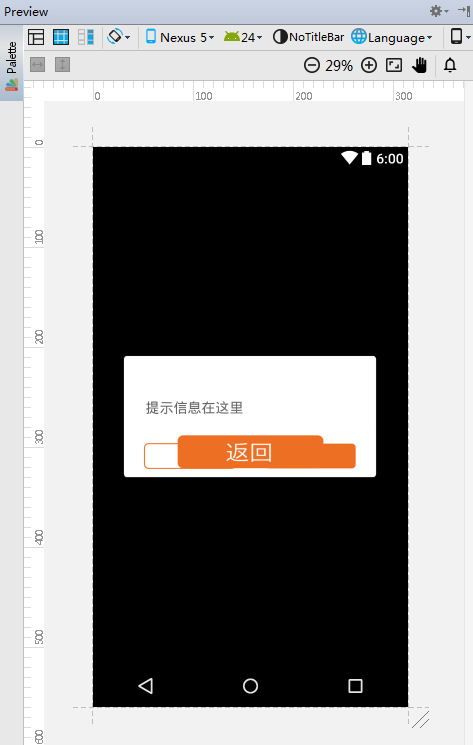
在Android studio中,预览效果如下:
最后看看在Activity中如何调用:
1.先在Activity中定义一个Builder和一个CustomDialog实例:
private CustomDialog.Builder builder;private CustomDialog mDialog;在onCreate()中初始化builder:
builder = new CustomDialog.Builder(this);2.在MainActivity中定义两个方法,分别用于显示单按钮对话框和双按钮对话框:
private void showSingleButtonDialog(String alertText, String btnText, View.OnClickListener onClickListener) {mDialog = builder.setMessage(alertText).setSingleButton(btnText, onClickListener).createSingleButtonDialog();mDialog.show();
}
private void showTwoButtonDialog(String alertText, String confirmText, String cancelText, View.OnClickListener conFirmListener, View.OnClickListener cancelListener) {mDialog = builder.setMessage(alertText).setPositiveButton(confirmText, conFirmListener).setNegativeButton(cancelText, cancelListener).createTwoButtonDialog();mDialog.show();
}3.在需要用到的地方调用上面的两个方法即可,比如弹出双选按钮对话框,可以像下面这样调用:
showTwoButtonDialog("这是双选对话框的内容!", null, null, new View.OnClickListener() {@Overridepublic void onClick(View v) {mDialog.dismiss();//这里写自定义处理XXX}}, new View.OnClickListener() {@Overridepublic void onClick(View v) {mDialog.dismiss();//这里写自定义处理XXX}});弹出单选按钮对话框,可以这样调用:
showSingleButtonDialog("这是单选对话框的内容!", null, new View.OnClickListener() {@Overridepublic void onClick(View v) {mDialog.dismiss();//这里写自定义处理XXX}});这里传入的按钮文字都为null,所以显示默认文字,结果就如开头的图所示。
另外谈一下自己的心得:
在自定义的CustomDialog类中,为什么要用一个静态内部类Builder呢?
因为对话框要设置的属性太多,包括各个按钮的文字,对话框内容,标题(本例中未实现标题),点击效果listener等。如果不用Builder,要创建一个自定义的Dialog,这些属性一般是要作为构造方法的参数传入的。但麻烦的是参数不固定,有些参数可传可不传,比如我们想new 一个单按钮对话框,那么双按钮的文字和Listener是不需要传入的。这样的话我们需要实现多个不同参数的构造方法,或者调用多次set方法设置属性。比起那样,像本例中这样用Builder就方便得多了,直观简洁:
mDialog = builder.setMessage(alertText).setPositiveButton(confirmText, conFirmListener).setNegativeButton(cancelText, cancelListener).createTwoButtonDialog();