junit的runwith是给单元测试中增加一些附属特性,今天在看flink源码的时候,发现其使用了一个注解
@RunWith(Parameterized.class),有点好奇,于是研究了一下这个注解的使用。
这个注解产生的背景是这样的:flink中的每个功能要保证在单机模式和集群模式下都能使用,因此如果编写常规的junit test函数,对于每个要测试的功能A,我们需要写两个测试函数AOnSingleMode()和AOnClusterMode,这无疑是一种折磨。因此,我们只需要使用注解@RunWith(Parameterized.class),然后在参数@Parameterized.Parameters()定义两种模式:单机模式和集群模式,junit就会默认使用这两种参数去初始化测试类进行测试(因此在测试类中需要一个接收参数的构造函数)。
下面给个实例
import org.junit.Test;
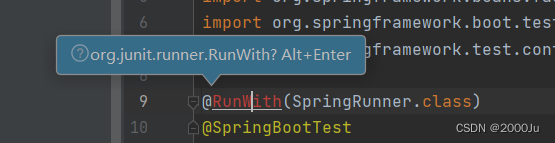
import org.junit.runner.RunWith;
import org.junit.runners.Parameterized;import java.util.Arrays;
import java.util.Collection;@RunWith(Parameterized.class)
public class ParameterizedTest {public String mode;public ParameterizedTest(String mode) {this.mode = mode;}@Testpublic void testParameterized(){System.out.println(String.format("当前所属模式:%s", mode));}@Parameterized.Parameters(name = "execute mode = {0}") // 给这个测试一个名字public static Collection<String> executionModes(){return Arrays.asList("集群模式","单例模式");}
}
测试结果:

如上面所写,每个测试类需要自己实现public static Collection<String> executionModes()方法,有点烦,为了进一步简化,我们可以构造一个测试类的公共父类,在父类中实现这个方法,然后在每个测试类中继承父类就好了(实际上flink就使用的这种方式):
import org.junit.runners.Parameterized;import java.util.Arrays;
import java.util.Collection;// 父类
public class CommonTest {@Parameterized.Parameters()public static Collection<String> executionModes(){return Arrays.asList("集群模式","单例模式");}
}
import org.junit.Test;
import org.junit.runner.RunWith;
import org.junit.runners.Parameterized;// 子类
@RunWith(Parameterized.class)
public class ParameterizedTest extends CommonTest{public String mode;public ParameterizedTest(String mode) {this.mode = mode;}@Testpublic void testParameterized(){System.out.println(String.format("当前所属模式:%s", mode));}
}