前言
有了前面几篇博客的介绍,我们就可以很容易的搭建并编辑我们的博客了,不过既然是属于自己的博客网站,自然也就想让其更加美观,更有意思,所以呢我下面介绍一下Hexo博客的主题美化操作。
1. Next主题
Hexo博客支持很多主题风格,其中Next主题是Github上Star最多的主题,其一直在更新维护,支持非常多的外部插件和功能选项。我目前使用的是Next6.0版本,下面我会介绍基于Next6主题的界面美化手法。
1.1 Next主题的安装配置
Next主题的安装方式很简单,只需要在博客主目录下执行:
git clone https://github.com/theme-next/hexo-theme-next themes/next
然后设置站点配置文件_config.yml:
theme: next
即可将我们的Hexo博客主题替换为Next主题。
1.2 主题简单配置
Next主题提供很多方便的功能,我们来一一介绍:
-
Next主题风格:
Next提供了四中主题风格scheme,可以在主题配置文件blog/themes/next/_config.yml文件中进行选择,分别是Muse、Mist、Pisces、Gemini:
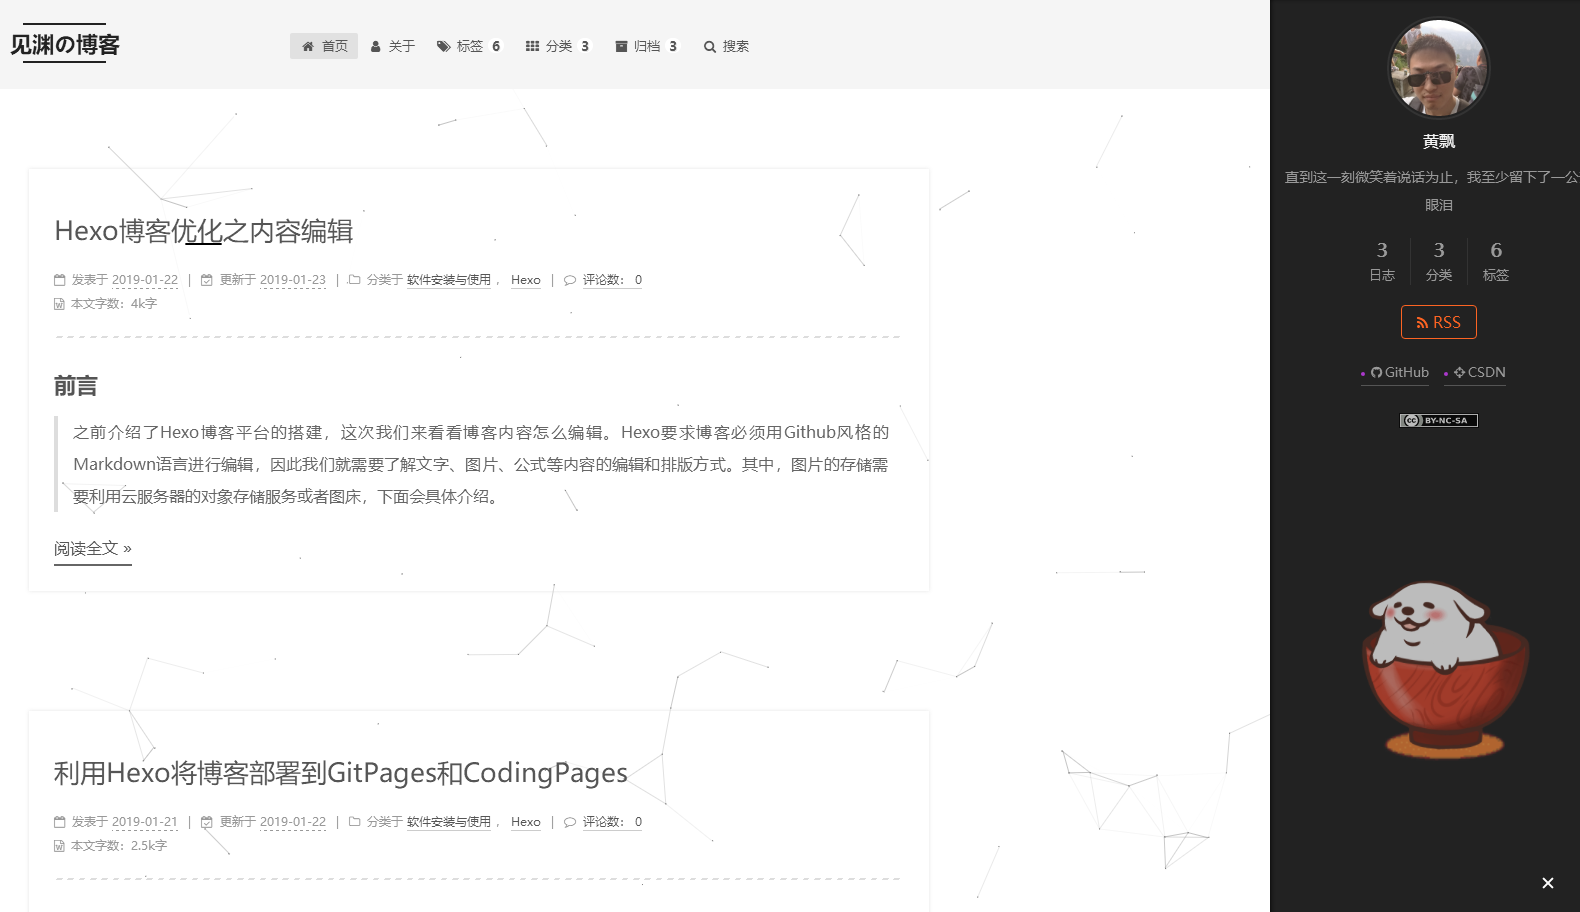
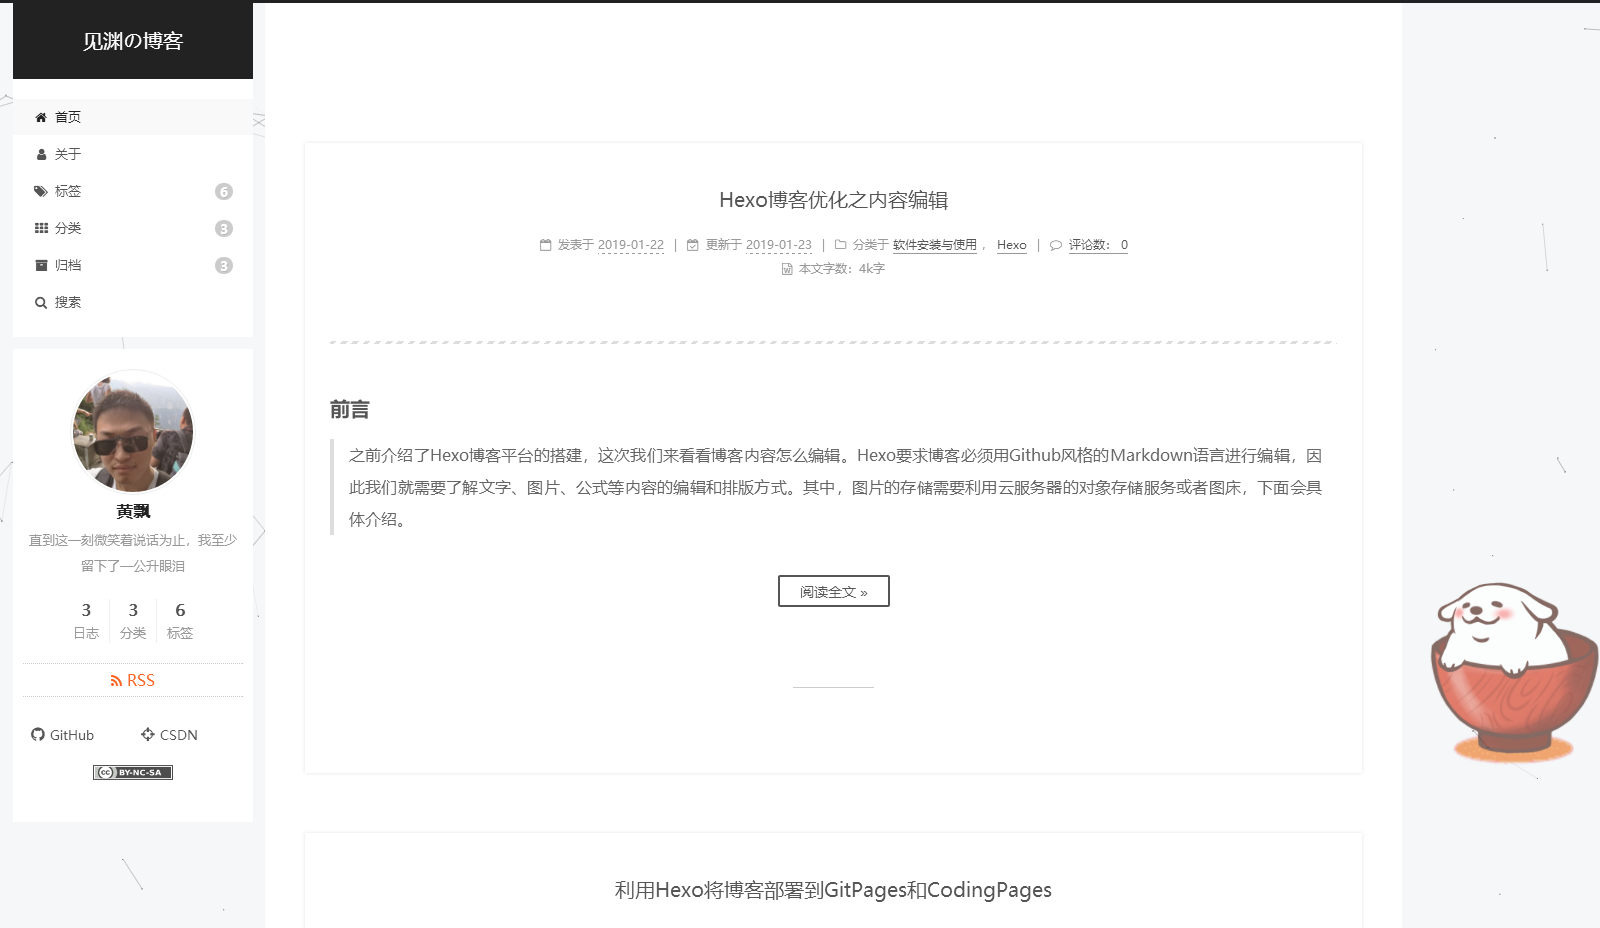

这里我选择的是Gemini主题,也就是最后一种样式;
-
Next主题一般配置:
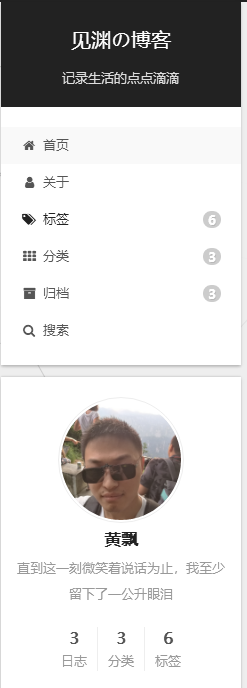
override:false #表示是否将主题置为默认样式
cache:enable:true #表示添加缓存功能,这样浏览器后续打开我们的博客网站会更快
menu: #设置博客各个页面的相对路径,默认根路径是blog/sourcehome: / || homeabout: /about/ || usertags: /tags/ || tagscategories: /categories/ || tharchives: /archives/ || archive#schedule: /schedule/ || calendar #日历#sitemap: /sitemap.xml || sitemap #站点地图,供搜索引擎爬取#commonweal: /404/ || heartbeat # 腾讯公益404# Enable/Disable menu icons / item badges.
menu_settings:icons: true # 是否显示各个页面的图标badges: true # 是否显示分类/标签/归档页的内容量
# Schemes
scheme: Gemini
以上是Next最常规的配置,而相应的站点配置blog/_config.yml文件的基本配置为:
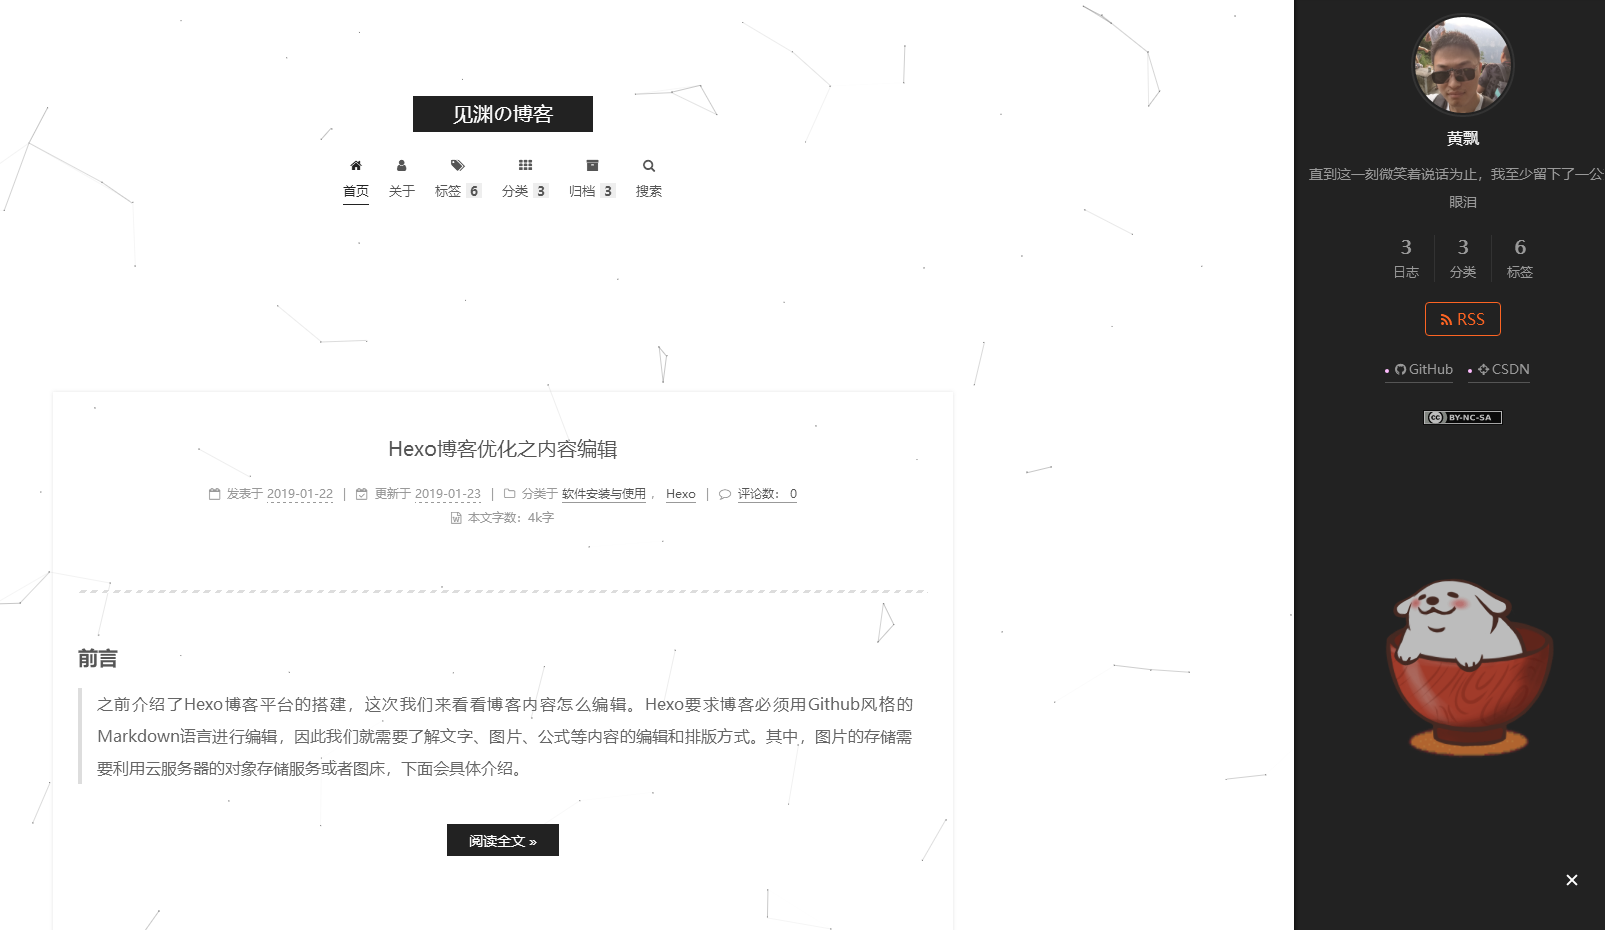
title: 见渊の博客
subtitle: 记录生活中的点点滴滴
description: 直到这一刻微笑着说话为止,我至少留下了一公升眼泪
keywords:
author: 黄飘
language: zh-CN # 主题语言
timezone: Asia/Shanghai #中国的时区,不要乱改城市# URL
## If your site is put in a subdirectory, set url as 'http://yoursite.com/child' and root as '/child/'
url: https://huangpiao.tech #绑定域名
root: /  #默认根路径,指向实际的source
permalink: :year/:month/:day/:title/
permalink_defaults:# Directory
source_dir: source
public_dir: public
tag_dir: tags
archive_dir: archives
category_dir: categories
code_dir: downloads/code
i18n_dir: :lang
skip_render: README.md # 部署的时候不包含的文件# Writing
new_post_name: :title.md # 默认的新博文名称
default_layout: post # 默认布局
titlecase: false # Transform title into titlecase
external_link: true # Open external links in new tab
filename_case: 0 #把博客名称改成小写/大写(1,2)
render_drafts: false # 是否显示草稿
post_asset_folder: false #是否启用资源文件夹(用来存放相对路径图片或文件)
relative_link: false # 把链接改为与根目录的相对位址
future: true
highlight:enable: true #是否开启代码高亮line_number: true #是否增加代码行号auto_detect: true #自动判断代码语言tab_replace:# Home page setting
# path: Root path for your blogs index page. (default = '')
# per_page: Posts displayed per page. (0 = disable pagination)
# order_by: Posts order. (Order by date descending by default)
index_generator: #首页博客分布path: '' #博客的默认路径per_page: 10 #每页博客数量上限order_by: -date #博客排序# Date / Time format
## Hexo uses Moment.js to parse and display date
## You can customize the date format as defined in
## http://momentjs.com/docs/#/displaying/format/
date_format: YYYY-MM-DD #博客日期格式
time_format: HH:mm:ss #博客时间格式# Pagination
## Set per_page to 0 to disable pagination
per_page: 10 #同上#归档页的分页设置
archive_generator: #归档页的配置per_page: 30 #归档页每页博客数yearly: true #按年归档monthly: true #按月归档
#标签页的分页设置
tag_generator:per_page: 20 #标签页每页博客数theme: next6 #选择博客主题,名字为themes中选择的主题文件夹名称# Deployment
## Docs: https://hexo.io/docs/deployment.html
deploy: #博客部署type: gitrepo: github: https://github.com/nightmaredimple/nightmaredimple.github.io.gitcoding: https://git.coding.net/nightmaredimple/nightmaredimple.gitbranch: master
以上的效果如下:
2.添加博客自定义图标
我们博客的默认图标是H,不过Next支持修改图标,下面是我的图标:

博客网站的图标可以在easyicon、bitbug、iconfont等网站选择和制作,然后选择或者创建相应大小的图标文件,放置在blog/themes/next/sources/images目录下,并在主题配置文件中进行如下配置,只需要设置small和medium两个就可以:
favicon:small: /images/16x16.pngmedium: /images/32x32.pngapple_touch_icon: /images/128x128.pngsafari_pinned_tab: /images/logo2.svg
3. 鼠标点击特效
鼠标的点击红心特效如下:
具体步骤如下:
在/themes/next/source/js/src下新建文件 clicklove.js ,接着把下面的代码拷贝粘贴到 clicklove.js 文件中:
!function(e,t,a){function n(){c(".heart{width: 10px;height: 10px;position: fixed;background: #f00;transform: rotate(45deg);-webkit-transform: rotate(45deg);-moz-transform: rotate(45deg);}.he