VUE条形码及二维码的生成及输出到打印机
文章目录
- VUE条形码及二维码的生成及输出到打印机
- 1. 条形码的生成
- 2. 二维码的生成
- 3. 输出打印
- 4. 将代码提取一下
1. 条形码的生成
-
安装插件
npm install jsbarcode --save
github地址: https://github.com/lindell/JsBarcode
-
接口说明
JsBarcode(selector, data, options)
selector: css选择器
data: 条形码的内容
options: 配置
options的可选项:
Option Default value Type format “auto” (CODE128) String width 2 Number height 100 Number displayValue true Boolean text undefined String fontOptions “” String font “monospace” String textAlign “center” String textPosition “bottom” String textMargin 2 Number fontSize 20 Number background “#ffffff” String (CSS color) lineColor “#000000” String (CSS color) margin 10 Number marginTop undefined Number marginBottom undefined Number marginLeft undefined Number marginRight undefined Number valid function(valid){} Function -
使用
<canvas id="barCode"></canvas>import JsBarcode from 'jsbarcode'
bindBarCode(selector, data = '1129867908') {JsBarcode(selector, data, {background: '#eee',displayValue: false,// width: 1,height: 80, // 一维码的高度margin: 10  // 一维码与容器的margin})
}mounted() {this.bindBarCode('#barCode')
}
这里不能在created中调用,因为created钩子执行的时候页面还没有进行渲染,会找不到页面元素报错
-
执行结果

2. 二维码的生成
-
安装插件
npm install qrcode -S
https://www.npmjs.com/package/qrcode#qr-code-options
-
接口说明(这里只介绍toCanvas)
QRCode.toCanvas(element, data, options)element: 元素名字 data: 二维码的数据 options: 配置选项 -
使用
<canvas id="qrCode"></canvas>import QRCode from 'qrcode' bindQRCode(ele = 'qrCode') {QRCode.toCanvas(document.getElementById(ele), '你是猪吗,乱扫什么码', {// version: 1,errorCorrectionLevel: 'L', //low, medium, quartile, high or L, M, Q, HmaskPattern: 7, // 0, 1, 2, 3, 4, 5, 6, 7margin: 5, // Define how much wide the quiet zone should bescale: 4,width: 100, //宽度color: {light: '#eee', // 背景色dark: '#ff0000' // 二维码颜色}}, (error) => {if (error) {console.error(error)}console.log('success!');}) } mounted() {this.bindQRCode() } -
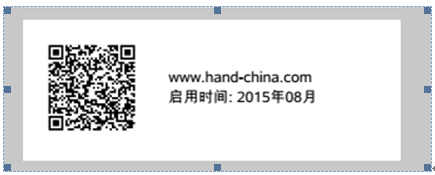
执行结果

3. 输出打印
打印其实是一样的,因为条形码和二维码都在canvas上,所以我们只要将canvas放到img中,调用window的print方法即可,下面打印十个二维码为例
-
给出二维码的容器
<!--十个二维码的容器--> <canvas v-for="i in 10" :id="'qrCode' + i"></canvas> <!--打印按钮--> <el-button @click="printQRCode">打印</el-button> -
为容器填充二维码
// 在mounted钩子中调用刚刚定义好的方法 // 打印条形码只需更改一下调用的方法即可 mounted() {for (let i = 1; i < 11; i++) {this.bindQRCode('qrCode' + i)} } -
效果

-
编写打印方法
printQRCode() {// 打开一个容纳打印内容的窗口const newWin = window.open("")for (let i = 1; i < 11; i++) {// 获取画布const canvas = document.getElementById('qrCode' + i)// 将画布转成url地址放到img上const url = canvas.toDataURL()const img = document.createElement('img')img.style = "width: 100px;height:100px"img.src = url// 将img放到newWin中newWin.document.body.append(img)}newWin.document.close(); //在IE浏览器中使用必须添加这一句newWin.focus(); //在IE浏览器中使用必须添加这一句// 我想此处延迟100ms是为了等新窗口渲染// 不延迟的话有时候img中会为空白,也就是还没有渲染完成就已经开始打印setTimeout(function() {newWin.print() //打印newWin.close() //关闭窗口}, 100) } -
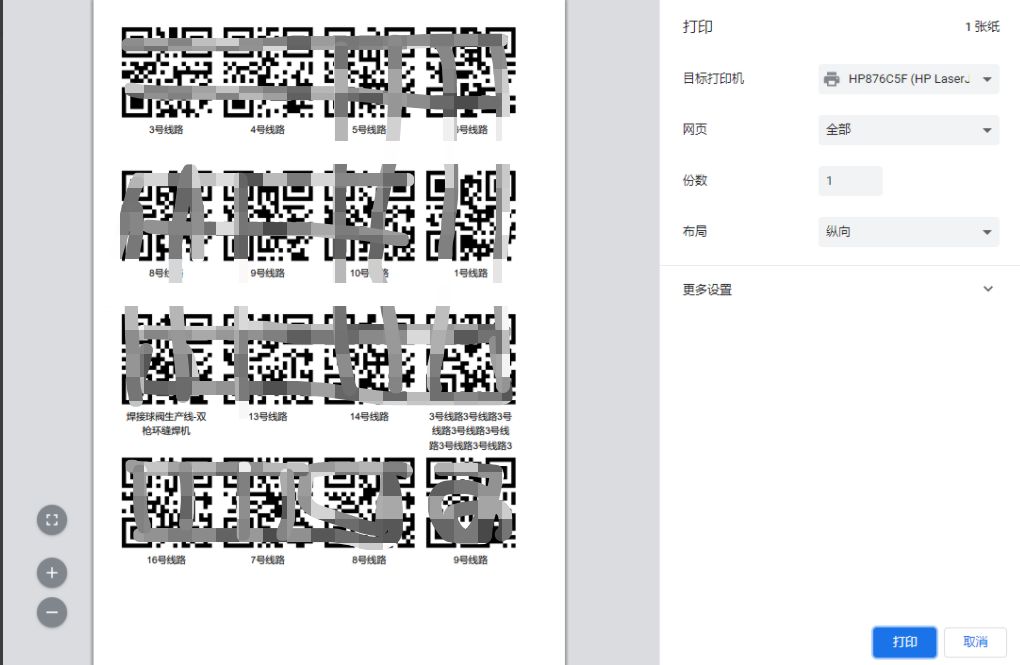
点击打印查看结果

4. 将代码提取一下
import QRCode from "qrcode"
import JsBarcode from "jsbarcode";
import Quagga from "quagga";/*** 打印canvas画布* @param list canvas画布的id选择器* @param imgStyle 打印出来的每一张img的css*/
export function printCanvas(list, imgStyle = "height:100px") {// 打开一个容纳打印内容的窗口const newWin = window.open("")for (let selector of list) {console.log(selector)// 获取画布const canvas = document.querySelector(selector)// 将画布转成url地址放到img上const url = canvas.toDataURL()const img = document.createElement('img')img.style = imgStyleimg.src = url// 将img放到newWin中newWin.document.body.append(img)}newWin.document.close(); //在IE浏览器中使用必须添加这一句newWin.focus(); //在IE浏览器中使用必须添加这一句setTimeout(function() {newWin.print(); //打印newWin.close(); //关闭窗口}, 100);
}/*** 扫描一维码* @param selector 容器的css选择器* @param success 成功回调,参数为扫描到的内容* @param errorCall 失败回调*/
export function initQuagga(selector, success = (data) => {}, errorCall = (err) => {}) {Quagga.init({inputStream : {name : "Live",type : "LiveStream",target: selector, // Or '#yourElement' (optional)constraints: {width: 640,height: 480,facingMode: "environment",deviceId: "7832475934759384534"},},decoder : {readers : ["code_128_reader"]}}, function(err) {if (err) {errorCall(err)return}Quagga.start();});Quagga.onDetected(data => {success(data)Quagga.stop()document.querySelector(selector).innerHTML = ''})
}/*** 生成条形码* @param selector css选择器* @param data 条形码的数据*/
export function bindBarCode(selector, data) {JsBarcode(selector, data, {background: '#eee',displayValue: false,width: 1.5,height: 80, // 一维码的高度margin: 10  // 一维码与容器的margin})
}/*** 生成二维码函数* @param element 二维码容器 需要canvas元素* @param data 二维码的数据* @param success 成功回调* @param errorCall 失败回调*/
export function bindQRCode(element, data, success = () => {}, errorCall = (err) => {}) {QRCode.toCanvas(element, data, {// version: 1,errorCorrectionLevel: 'L', //low, medium, quartile, high or L, M, Q, HmaskPattern: 7, // 0, 1, 2, 3, 4, 5, 6, 7margin: 5, // Define how much wide the quiet zone should bescale: 4,width: 100, //宽度color: {light: '#eee', // 背景色dark: '#000000' // 二维码颜色}}, (error) => {if (error) {errorCall(error)}// 回调成功函数success()})
}
<template><qrcode-stream @decode="onDecode" @init="onInit"></qrcode-stream>
</template><script>
import {QrcodeStream} from 'vue-qrcode-reader'
export default {name: "QRCodeScanner",components: {QrcodeStream},methods: {onDecode (result) {this.$emit('decode', result)},async onInit (promise) {try {await promise} catch (error) {if (error.name === 'NotAllowedError') {this.error = "ERROR: 您需要授予相机访问权限"} else if (error.name === 'NotFoundError') {this.error = "ERROR: 这个设备上没有摄像头"} else if (error.name === 'NotSupportedError') {this.error = "ERROR: 所需的安全上下文(HTTPS、本地主机)"} else if (error.name === 'NotReadableError') {this.error = "ERROR: 相机被占用"} else if (error.name === 'OverconstrainedError') {this.error = "ERROR: 安装摄像头不合适"} else if (error.name === 'StreamApiNotSupportedError') {this.error = "ERROR: 此浏览器不支持流API"}}}}
}
</script><style scoped></style>
到此就完成了,感谢您的阅读!