热门系列:
-
程序人生,精彩抢先看
目录
1、前言
2、正文
2.1 开发环境介绍
2.2 实现代码
2.3 实现流程说明
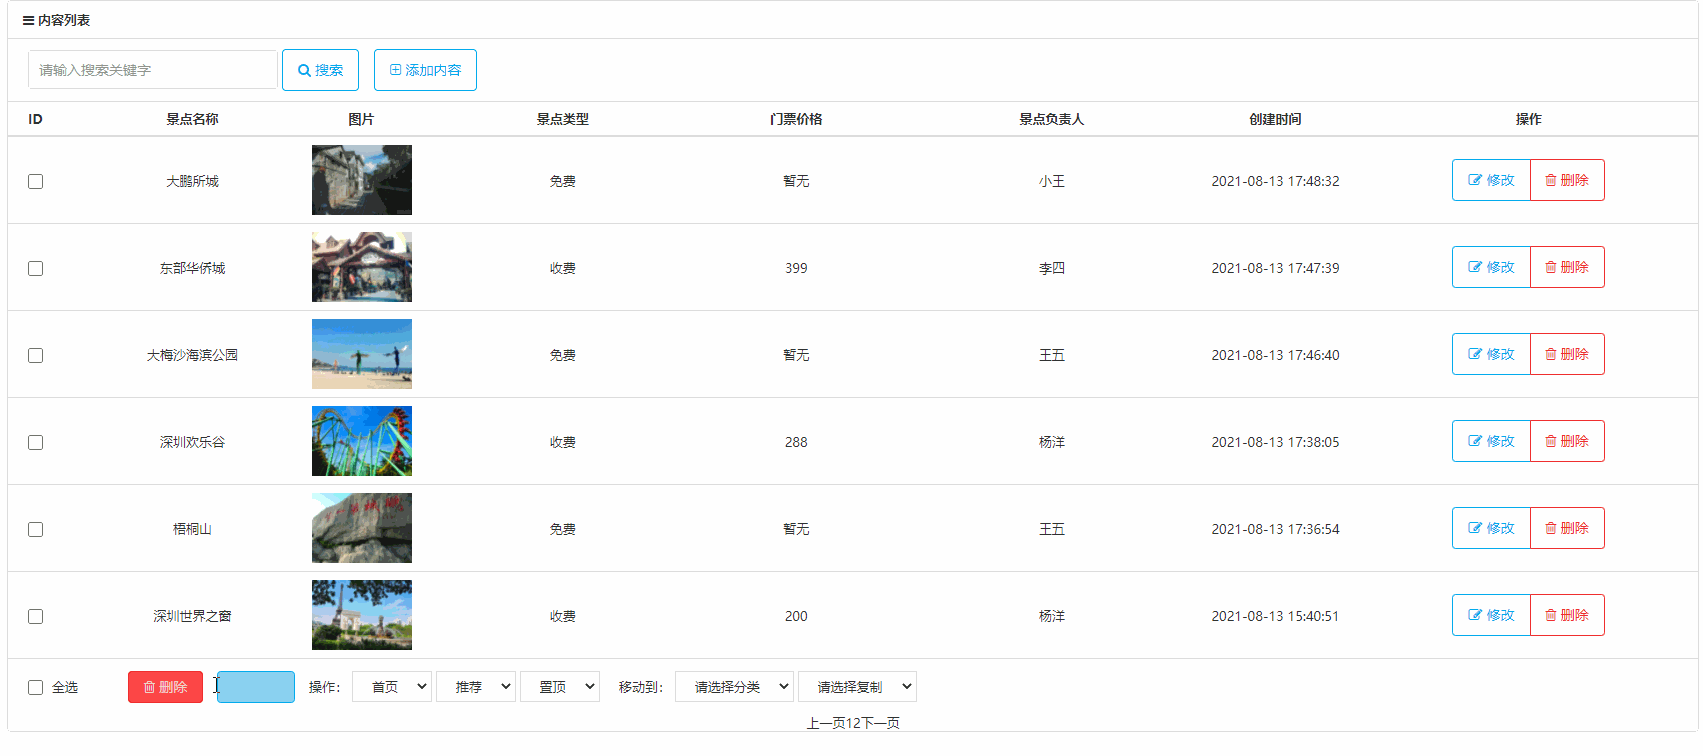
2.4 实现效果
程序人生,精彩抢先看
1、前言
最近个人在做开发的时候,需要实现前端的Html页面分页。由于好一段时间没写前端的代码了,有些生疏了。现就实践成果,做下记录与分享!
2、正文
2.1 开发环境介绍
后端:SpringBoot、Thymeleaf
前端:Html、Jquery、Layui插件
2.2 实现代码
html页面代码:
<html lang="zh-cn" xmlns:th="http://www.thymeleaf.org" xmlns:shiro="http://www.thymeleaf.org/thymeleaf-extras-shiro">...<table class="table table-hover text-center" id="refreshList" th:fragment="refreshList"><tr><th width="100" style="text-align:left; padding-left:20px;">ID</th><th width="10%">景点名称</th><th width="10%">图片</th><th>景点类型</th><th>门票价格</th><th>景点负责人</th><th width="10%">创建时间</th><th width="20%">操作</th></tr><tr th:each="view : ${viewList}" ><td style="text-align:left; padding-left:20px;"><input type="checkbox" name="id" value="" /></td><td th:text="${view.viewTitle}"></td><td ><img th:src="${'/upload/img/'+view.pictureUrl}"  alt="" width="100" height="70" /></td><td th:switch="${view.type}"><span th:case="1">收费</span><span th:case="2">免费</span></td><td th:text="${view.price == null or view.price == '' ? '暂无' : view.price}" ></td><td th:text="${view.manager}"></td><td th:text="${#dates.format(view.createTime,'yyyy-MM-dd HH:mm:ss')}"></td><td><div class="button-group"> <a class="button border-main" th:href="${'/view/edit.do?viewId='+view.id}"><span class="icon-edit"></span> 修改</a> <a class="button border-red" href="javascript:void(0)" th:onclick="del([[${view.id}]])"><span class="icon-trash-o"></span> 删除</a> </div></td>  </tr>
</table>
Js代码:
<script src="/js/jquery.js"></script>
<script type="text/javascript" src="/layui/layui.js"></script>
<script type="text/javascript" src="/layui/layui.all.js"></script>
...//分页
layui.use('laypage', function () {var laypage = layui.laypage;var total = 0;var limit = 6;//获取列表总数量$.ajax({url: '/view/count.do',type: 'POST',dataType: 'json',async: false,success: function (data) {if(data != null){total = data;}}});//执行一个laypage实例laypage.render({elem: 'pageDiv', //注意,这里的 pageDiv 是 ID,不用加 # 号count: total, //数据总数,从服务端得到limit: limit,//页面展示数据条数theme: '33ccff',//主题样式jump: function (obj, first) {if (!first) {$.ajax({url: '/view/list.do',type: 'POST',data: {'pageSize': obj.limit, 'pageIndex': obj.curr},success: function (data) {if (data != null) {$("#refreshList").html(data);}}});}}});
});
后端接口:
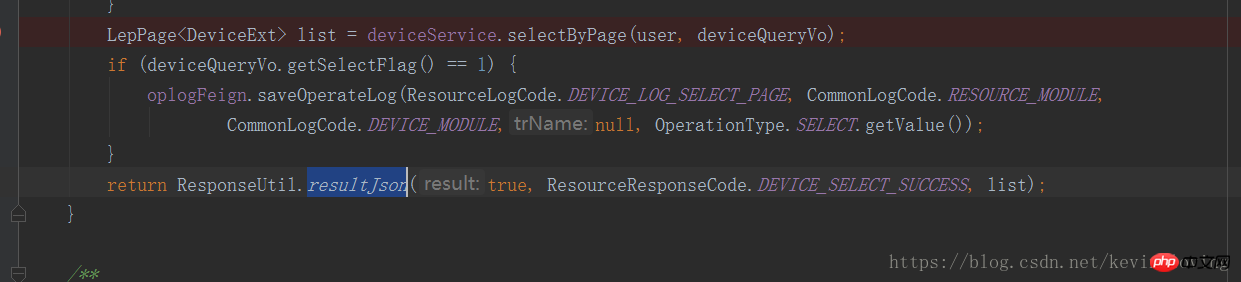
@PostMapping("/list.do")
public String getList(PageBean pageBean, Model model){if(Objects.isNull(pageBean)) pageBean = new PageBean();pageBean.setPageIndex((pageBean.getPageIndex()-1)*pageBean.getPageSize());List<View> viewList = viewService.getList(pageBean);model.addAttribute("viewList",viewList);//viewList是html页面名称,refreshList是html页面内定义的元素名称,在html页面内可以看到return "viewList::refreshList";
}
这里说明一下,初次进入页面的时候,我这边使用的是另外一个GET类型的请求获取的数据,跟上面的POST请求接口几乎一样。
2.3 实现流程说明
通过Layui的分页插件代码,点击上下页的时候,调用上面JS中的代码。并获取Layui当前的分页的参数,请求后端列表接口。然后通过thymeleaf的
th:fragment="refreshList"将后端返回的数据,局部刷新到Html指定元素中。。。从而实现局部刷新的分页实现!!!
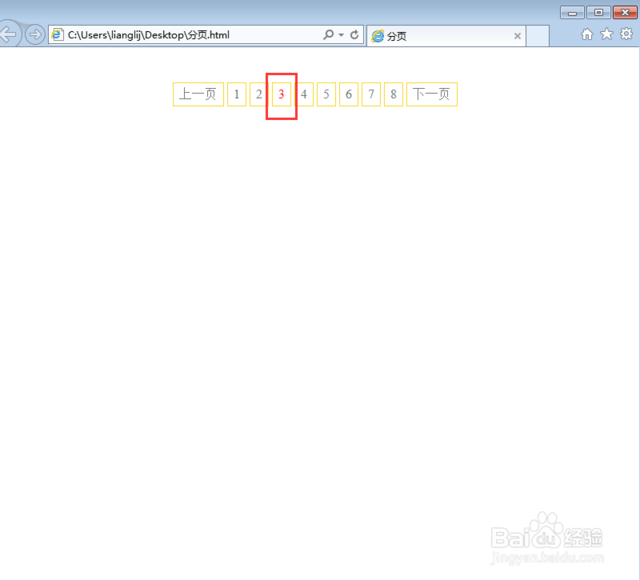
2.4 实现效果
3、总结
简单实用,感兴趣的可以一键三连~~~~!有任何疑问,也欢迎留言探讨!!!