tomcat
文章目录
- 1.tomcat简介
- 2.tomcat历史
- 3.tomcat官网
- 4.部署tomcat
- 5.登录到Host Manager,Manager App,Server Status
1.tomcat简介
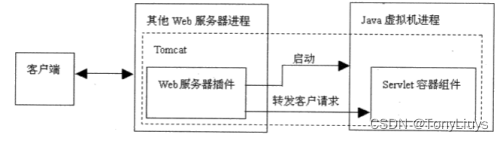
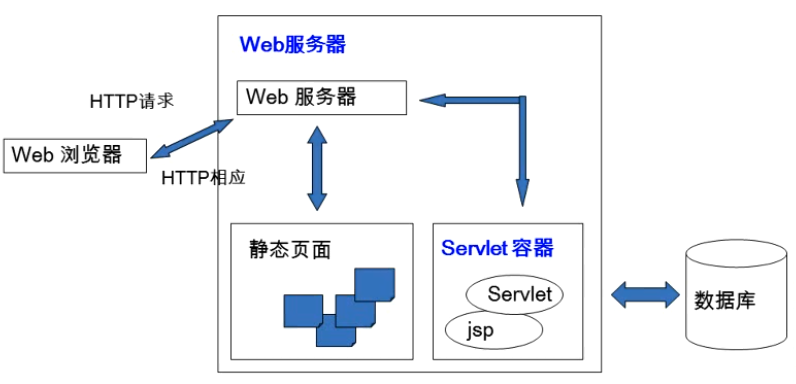
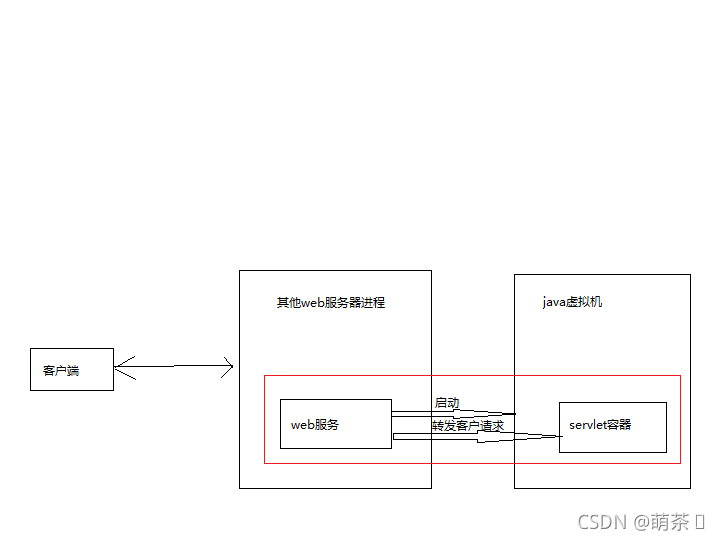
Tomcat 服务器是一个免费的开放源代码的Web 应用服务器,属于轻量级应用服务器,在中小型系统和并发访问用户不是很多的场合下被普遍使用,是开发和调试JSP 程序的首选。对于一个初学者来说,可以这样认为,当在一台机器上配置好Apache 服务器,可利用它响应HTML(标准通用标记语言下的一个应用)页面的访问请求。实际上Tomcat是Apache 服务器的扩展,但运行时它是独立运行的,所以当你运行tomcat 时,它实际上作为一个与Apache 独立的进程单独运行的。
Tomcat是一个免费的开源的Serlvet容器,用来运行java程序的容器
是开发和调试Servlet(Server Applet)、JSP(Java Server Pages) 程序的首选;
Tomcat就是传说中的中间件之一,tomcat本身是一个容器,专门用来运行java程序,java语言开发的网页.jsp就应该运行于tomcat中,而tomcat本身的运行也依赖于jdk环境。
2.tomcat历史
1.Tomcat 最初由Sun公司的软件架构师 James Duncan Davidson 开发,名称为“JavaWebServer”。
2.1999年,在 Davidson 的帮助下,该项目于1999年于apache软件基金会旗下的JServ项目合并,并发布第一个版本(3.x),即是现在的Tomcat,该版本实现了Servlet2.2和JSP 1.1规范 。
3.2001年,Tomcat 发布了4.0版本, 作为里程碑式的版本,Tomcat 完全重新设计了其架构,并实现了Servlet 2.3和JSP 1.2规范。
4.目前 Tomcat 已经更新到 10.0.x版本,但是目前企业中的Tomcat服务器,主流版本还是7.x 和 8.x,所以本课程是基于 8.5 版本进行讲解。
3.tomcat官网
http://tomcat.apache.org/
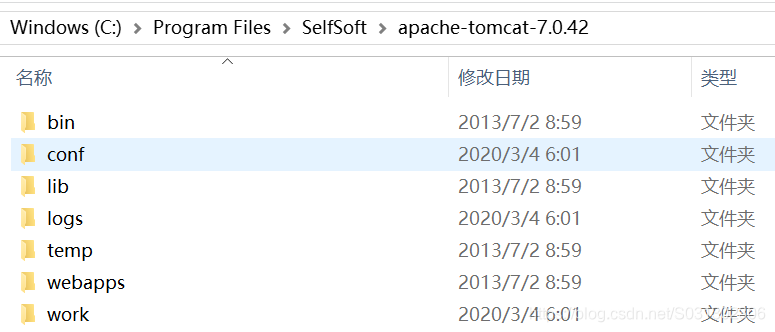
4.部署tomcat
//下载tomcat安装包
[root@hwf ~]# ls //我是将事先下载好的tomcat压缩包拉取进来的
anaconda-ks.cfg apache-tomcat-10.0.23.tar.gz pubic
//关闭防火墙与selinux
[root@hwf ~]# systemctl status firewalld.service
● firewalld.service - firewalld - dynamic firewall daemonLoaded: loaded (/usr/lib/systemd/system/firewalld.service; disabled>Active: inactive (dead)Docs: man:firewalld(1)
[root@hwf ~]# getenforce
Disabled//安装java
[root@hwf ~]# dnf -y install java-11-openjdk//解压tomcat,然后改名字
[root@hwf ~]# tar -xf apache-tomcat-10.0.23.tar.gz -C /usr/local/
[root@hwf ~]# cd /usr/local/
[root@hwf local]# ls
apache-tomcat-10.0.23 games include libexec src
bin haproxy lib sbin
etc haproxy-2.6.6 lib64 share
[root@hwf local]# ln -s apache-tomcat-10.0.23/ tomcat
[root@hwf local]# ls
apache-tomcat-10.0.23 games include libexec src
bin haproxy lib sbin tomcat
etc haproxy-2.6.6 lib64 share//自定义一个Hello World的 java的测试网页
[root@hwf local]# cd tomcat/
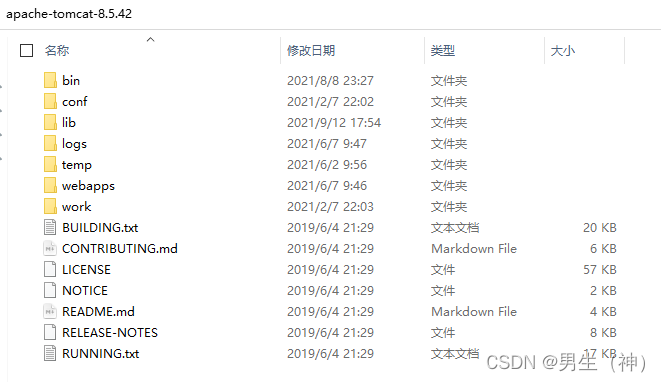
[root@hwf tomcat]# ls
bin CONTRIBUTING.md logs RELEASE-NOTES webapps
BUILDING.txt lib NOTICE RUNNING.txt work
conf LICENSE README.md temp
[root@hwf tomcat]# cd webapps/
[root@hwf webapps]# ls
docs examples host-manager manager ROOT
[root@hwf webapps]# mkdir test
[root@hwf webapps]# cd test/
[root@hwf test]# ls
[root@hwf test]# vim index.jsp
[root@hwf test]# cat index.jsp
<html>
<head><title>test page</title>
</head>
<body><%out.println("Hello World");%>
</body>
</html>//启动tomcat
[root@hwf tomcat]# bin/startup.sh tomcat
Using CATALINA_BASE: /usr/local/tomcat
Using CATALINA_HOME: /usr/local/tomcat
Using CATALINA_TMPDIR: /usr/local/tomcat/temp
Using JRE_HOME: /usr
Using CLASSPATH: /usr/local/tomcat/bin/bootstrap.jar:/usr/local/tomcat/bin/tomcat-juli.jar
Using CATALINA_OPTS:
Tomcat started.//tomcat端口为8080,8005是关闭端口
[root@hwf tomcat]# ss -anlt
State Recv-Q Send-Q Local Address:Port Peer Address:Port Process
LISTEN 0 128 0.0.0.0:111 0.0.0.0:*
LISTEN 0 128 0.0.0.0:22 0.0.0.0:*
LISTEN 0 128 [::]:111 [::]:*
LISTEN 0 100 *:8080 *:*
LISTEN 0 128 [::]:22 [::]:*
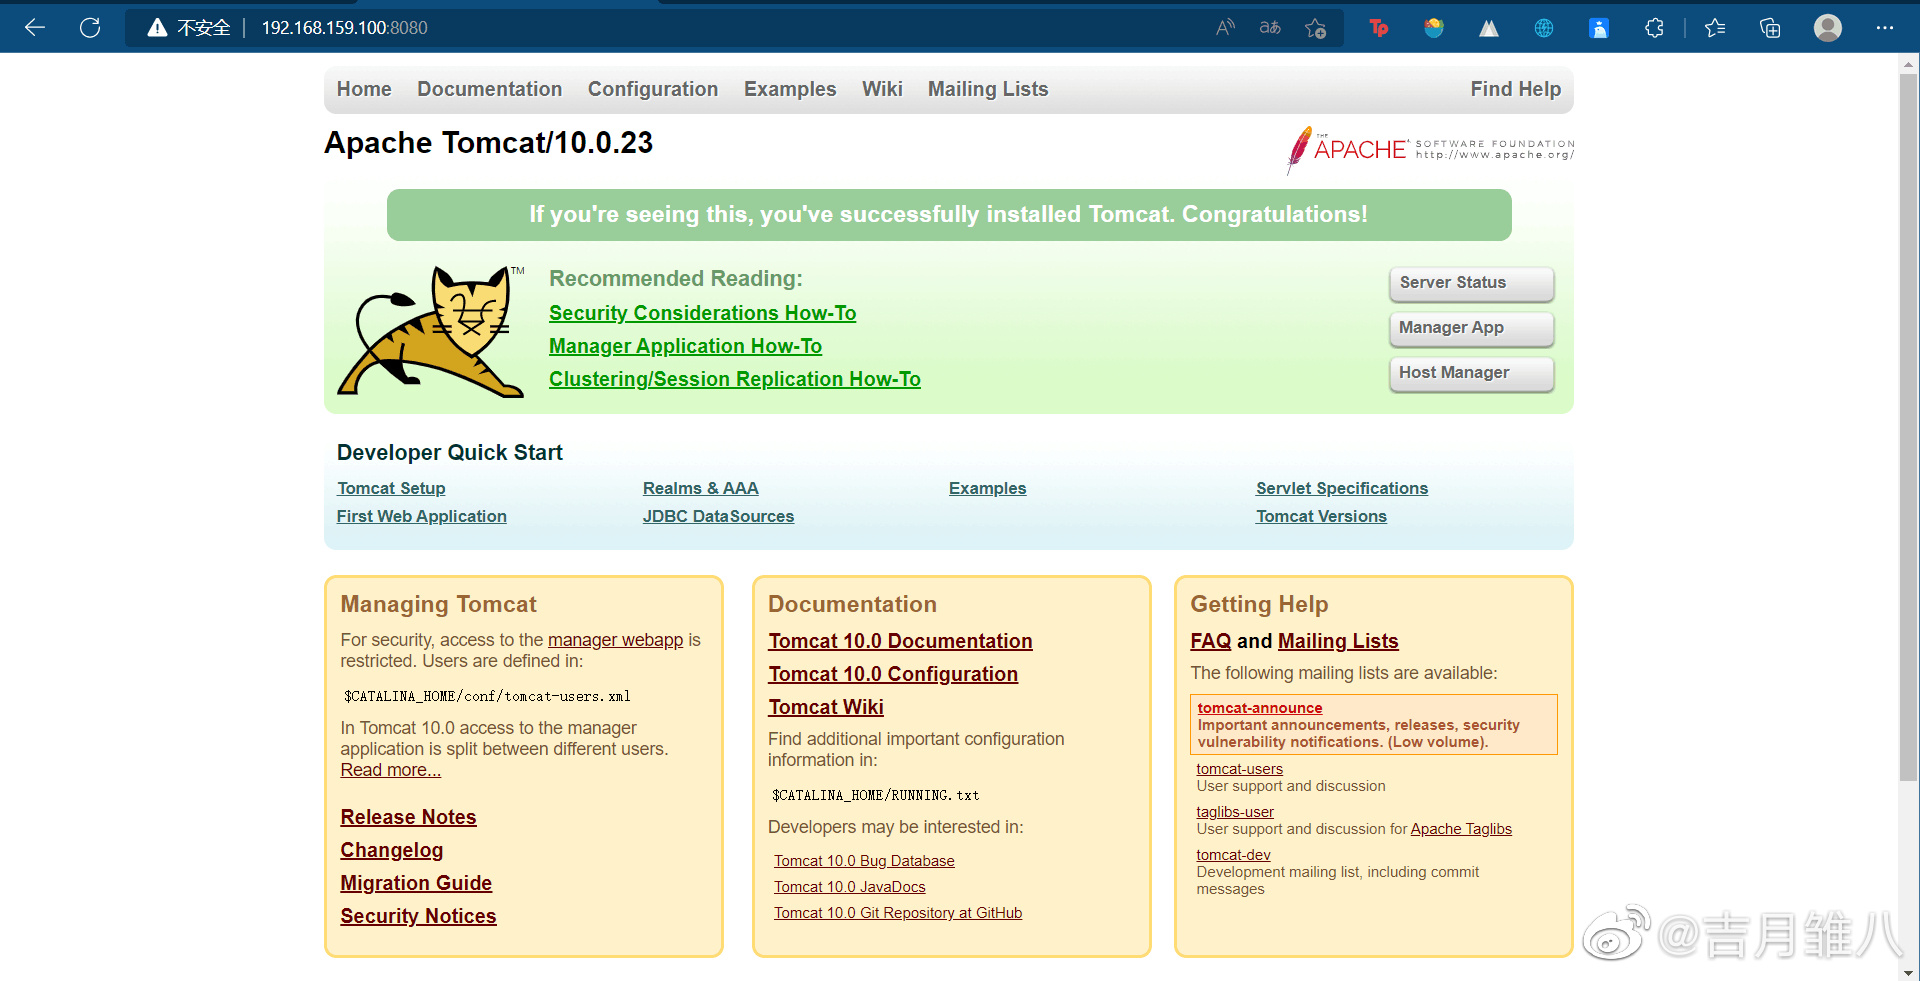
LISTEN 0 1 [::ffff:127.0.0.1]:8005 *:*//访问tomcat首页
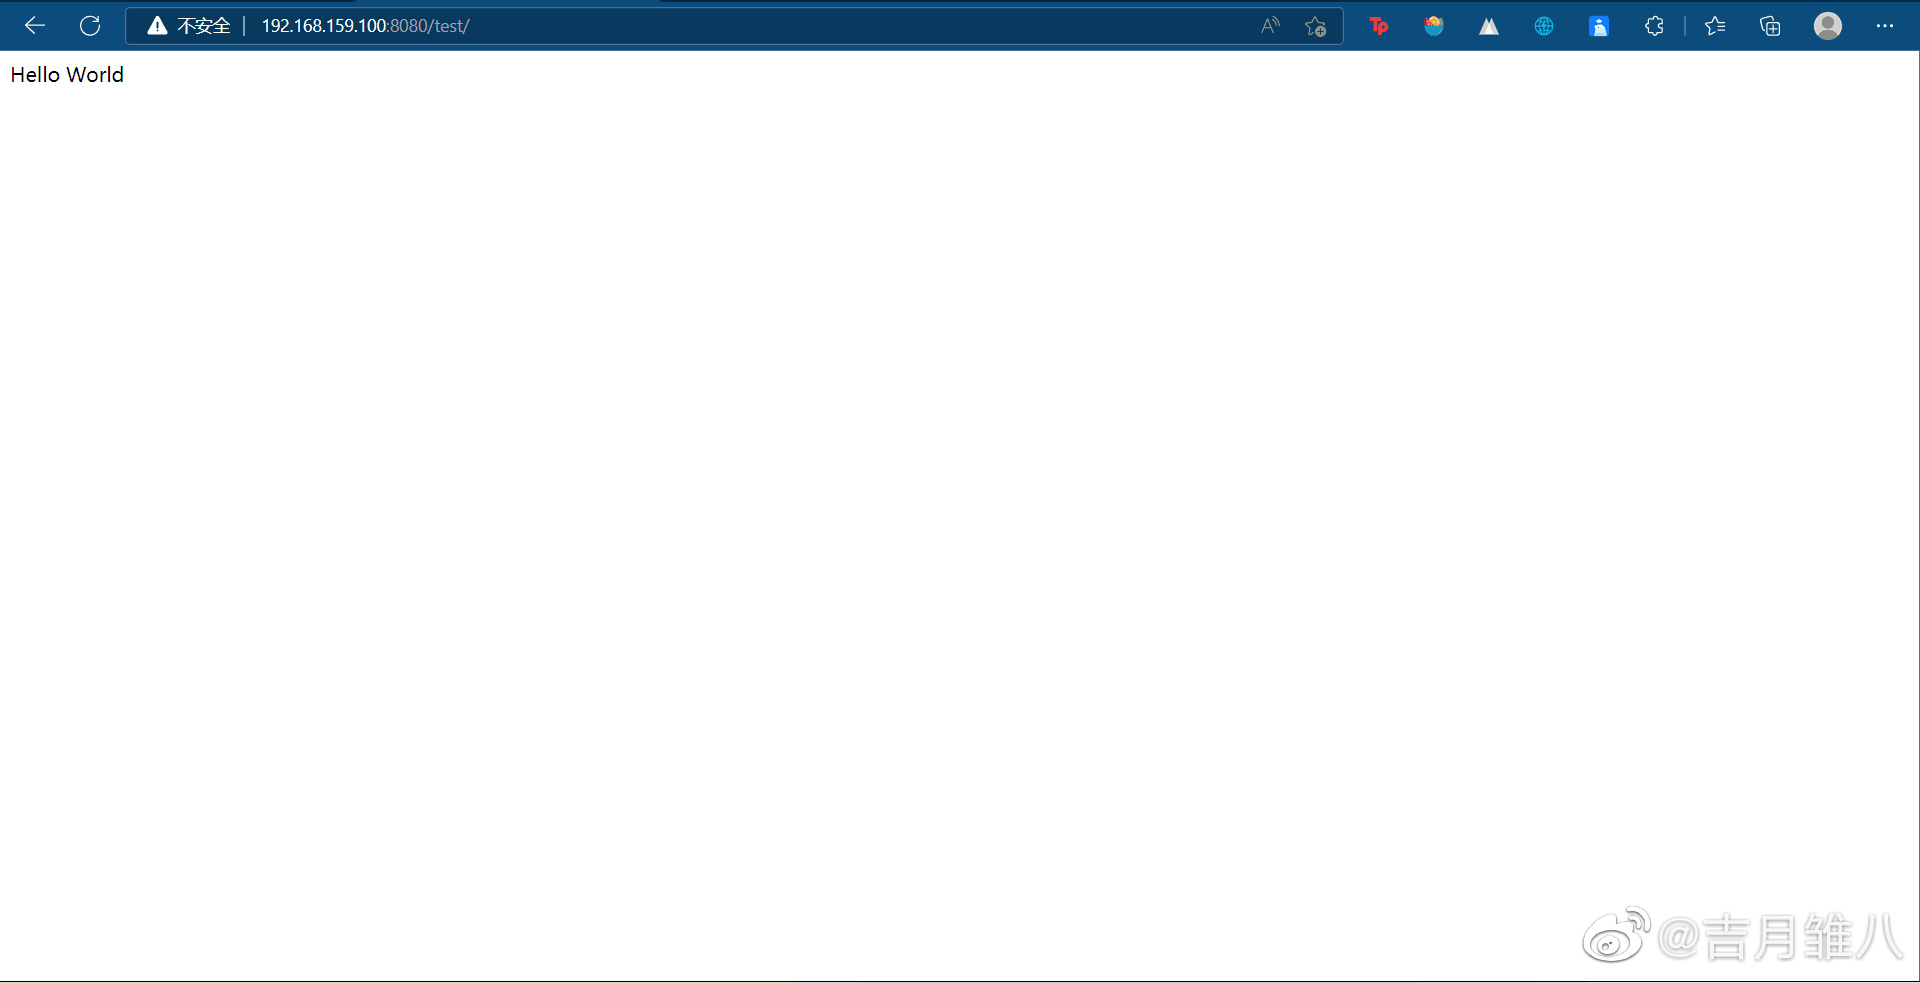
//访问test测试页
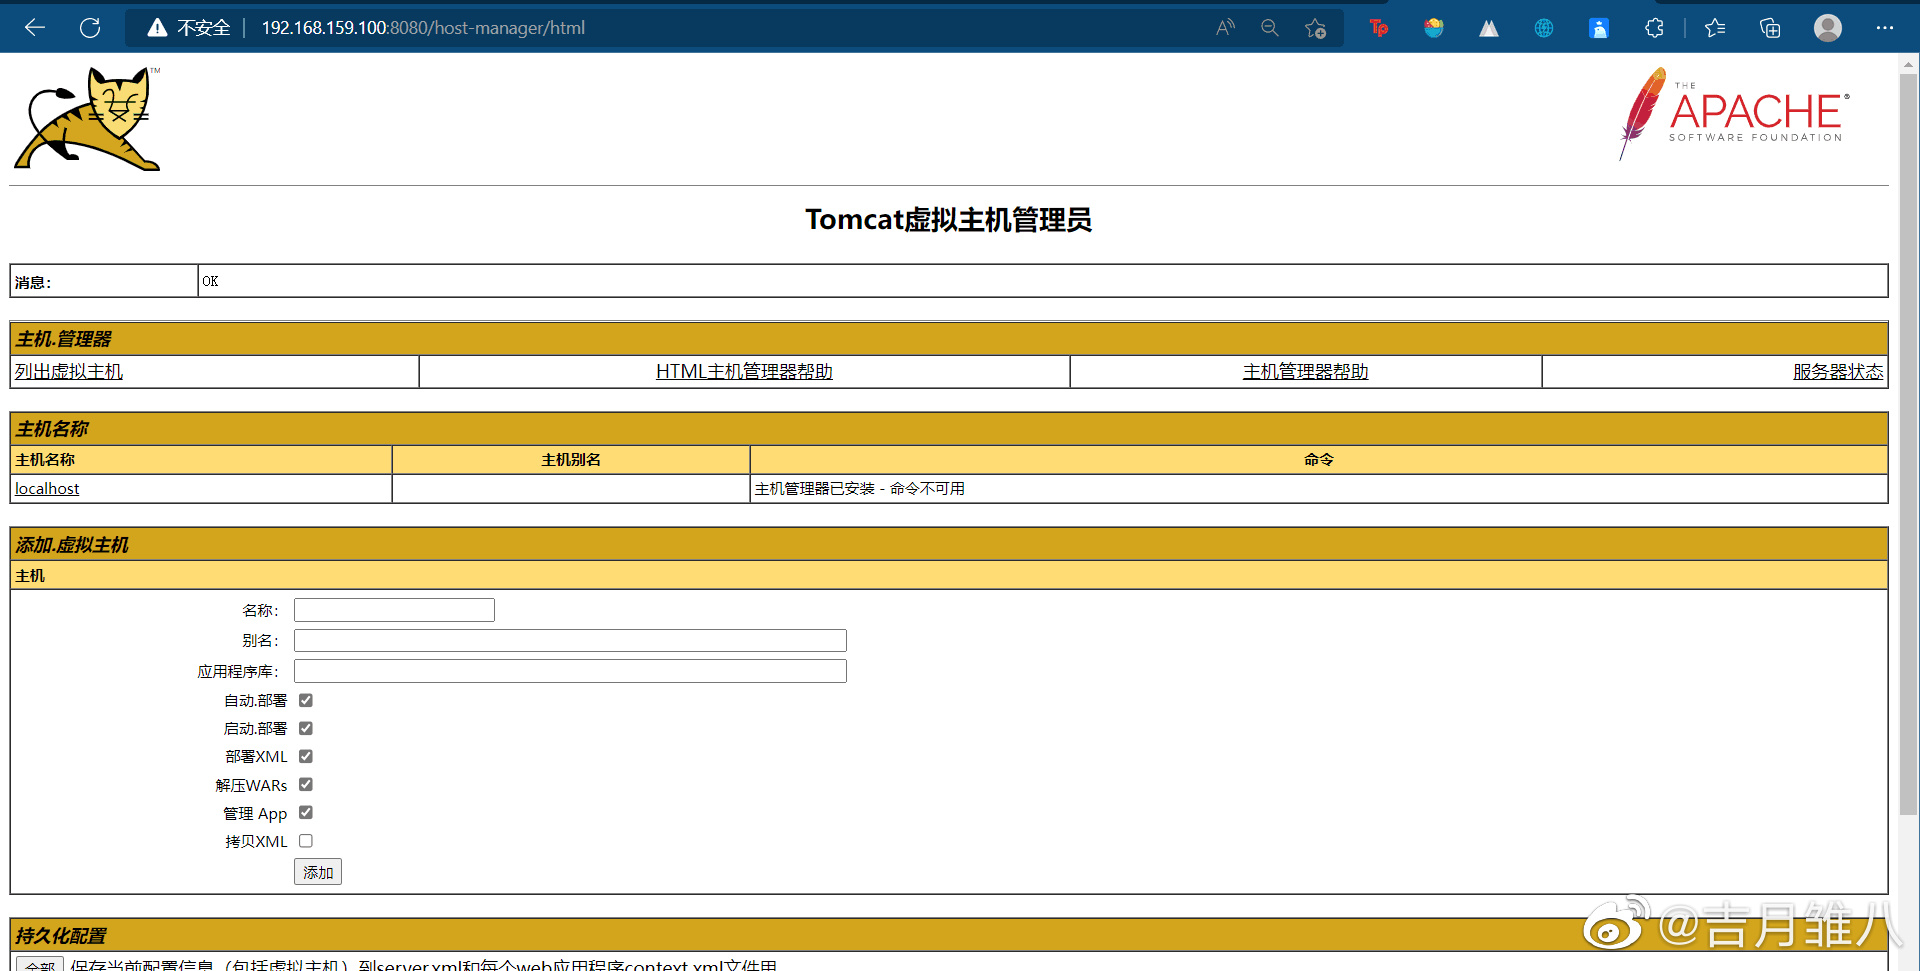
5.登录到Host Manager,Manager App,Server Status
//配置登录Host Manager界面,在</tomcat-users>上面添加下面两行
[root@hwf ~]# vim /usr/local/tomcat/conf/tomcat-users.xml
<role rolename="admin-gui"/>
<user username="tomcat" password="123" roles="admin-gui"/>
//配置host-manager/META-INF/context.xml文件,允许192.168.159.0/24网段访问,在allow字段后添加
[root@hwf ~]# vim /usr/local/tomcat/webapps/host-manager/META-INF/context.xml
<?xml version="1.0" encoding="UTF-8"?>
<!--Licensed to the Apache Software Foundation (ASF) under one or morecontributor license agreements.  See the NOTICE file distributed withthis work for additional information regarding copyright ownership.The ASF licenses this file to You under the Apache License, Version 2.0(the "License"); you may not use this file except in compliance withthe License.  You may obtain a copy of the License athttp://www.apache.org/licenses/LICENSE-2.0Unless required by applicable law or agreed to in writing, softwaredistributed under the License is distributed on an "AS IS" BASIS,WITHOUT WARRANTIES OR CONDITIONS OF ANY KIND, either express or implied.See the License for the specific language governing permissions andlimitations under the License.
-->
<Context antiResourceLocking="false" privileged="true" ><CookieProcessor className="org.apache.tomcat.util.http.Rfc6265CookieProcessor"sameSiteCookies="strict" /><Valve className="org.apache.catalina.valves.RemoteAddrValve"allow="+127\.\d+\.\d+\.\d+|::1|0:0:0:0:0:0:0:1|192\.168\.159\.\d+" /><Manager sessionAttributeValueClassNameFilter="java\.lang\.(?:Boolean|Integer|Long|Number|String)|org\.apache\.catalina\.filters\.CsrfPreventionFilter\$LruCache(?:\$1)?|java\.util\.(?:Linked)?HashMap"/>
</Context>//重启服务
[root@hwf tomcat]# bin/startup.sh stop
[root@hwf tomcat]# bin/startup.sh start
//登录网页测试登录Host Manager 输入对应的用户名和密码
//登录网页测试登录Server Status
[root@hwf tomcat]# vim /usr/local/tomcat/conf/tomcat-users.xml
<role rolename="admin-gui"/>
<user username="tomcat" password="123" roles="admin-gui"/>
<role rolename="manager-gui"/>	//添加这两行
<user username="tomcat" password="123" roles="manager-gui"/>
[root@hwf tomcat]# vim /usr/local/tomcat/webapps/manager/META-INF/context.xml
<Context antiResourceLocking="false" privileged="true" ><CookieProcessor className="org.apache.tomcat.util.http.Rfc6265CookieProcessor"sameSiteCookies="strict" /><Valve className="org.apache.catalina.valves.RemoteAddrValve"allow="192\.168\.159\.\d+|127\.\d+\.\d+\.\d+|::1|0:0:0:0:0:0:0:1" /><Manager sessionAttributeValueClassNameFilter="java\.lang\.(?:Boolean|Integer|Long|Number|String)|org\.apache\.catalina\.filters\.CsrfPreventionFilter\$LruCache(?:\$1)?|java\.util\.(?:Linked)?HashMap"/>
</Context>//然后重启服务
[root@hwf tomcat]# bin/catalina.sh stop
[root@hwf tomcat]# bin/catalina.sh start
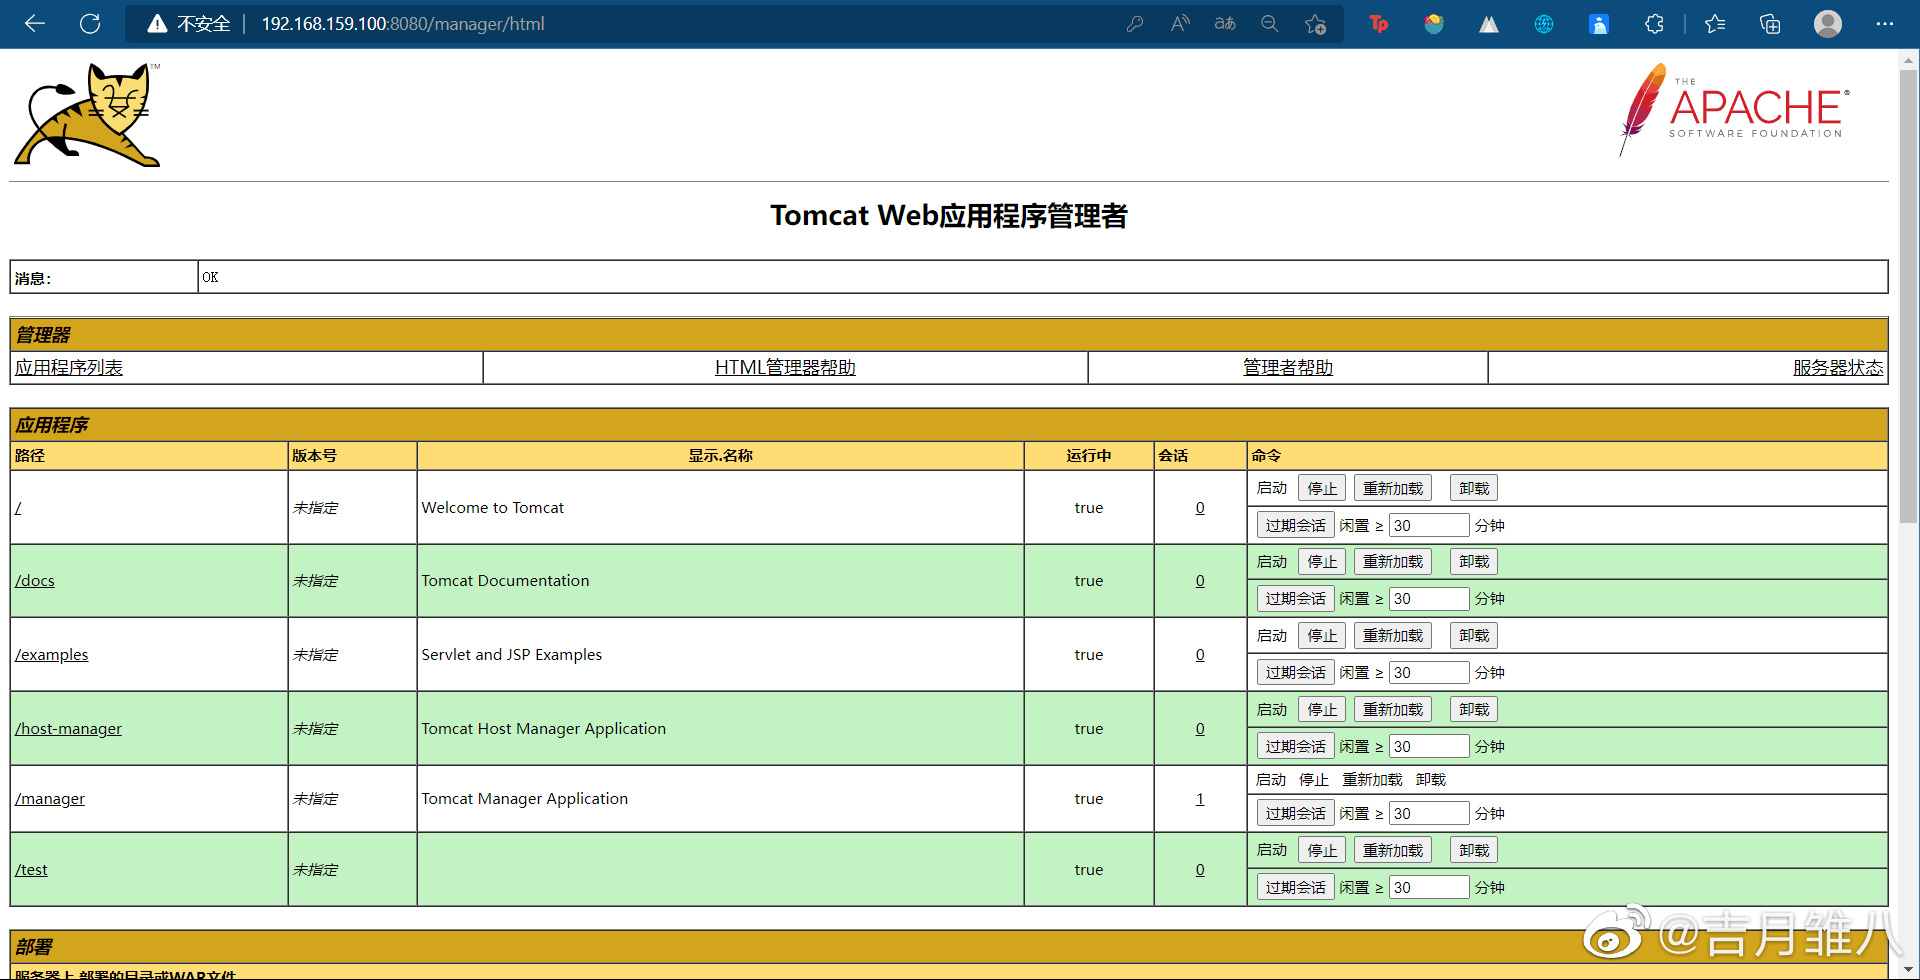
//访问Manager App的时候就不需要密码了,因为访问了Server Status界面,所以不用输入密码