前端打印
一、Vue打印插件
第一种方法:通过npm 安装插件
1,安装 npm install vue-print-nb --save
2,引入 安装好以后在main.js文件中引入
import Print from 'vue-print-nb'Vue.use(Print); //注册
3,现在就可以使用了
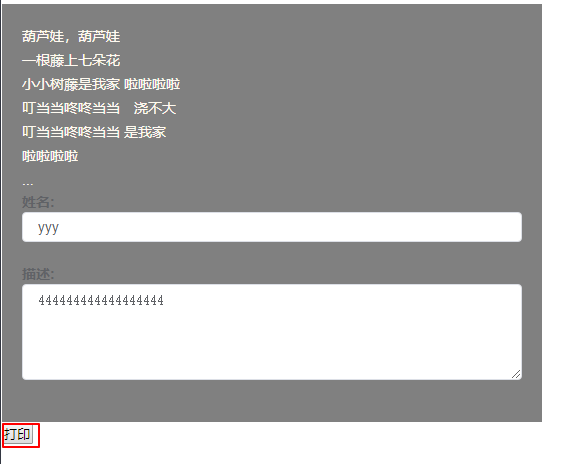
<div id="printMe" style="background:red;"><p>葫芦娃,葫芦娃</p><p>一根藤上七朵花 </p><p>小小树藤是我家 啦啦啦啦 </p><p>叮当当咚咚当当 浇不大</p><p> 叮当当咚咚当当 是我家</p><p> 啦啦啦啦</p><p>...</p><div class="describle"><el-form :model="form" :rules="rules" ref="from" class="demo-ruleForm"><el-form-item label="姓名:" prop="name"><el-input v-model="form.name"></el-input></el-form-item><el-form-item label="描述:" prop="describle"><el-input:disabled="detail"type="textarea":rows="4":maxlength="2000"placeholder=""v-model="form.describle"></el-input></el-form-item></el-form></div></div><button v-print="'#printMe'">Print local range</button>
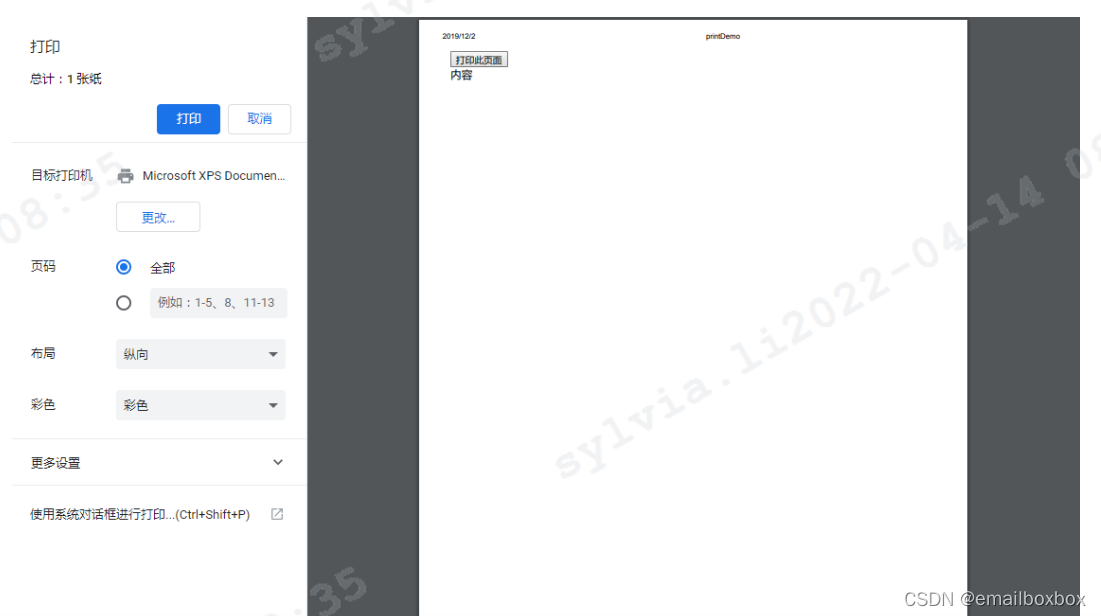
页面预览:
如果内容打印不全,在打印操作时点击更多设置,然后设置缩放
[外链图片转存失败,源站可能有防盗链机制,建议将图片保存下来直接上传(img-3bRZIRbx-1648461578097)(C:\Users\huawei\AppData\Roaming\Typora\typora-user-images\image-20220307152833055.png)]
第二种方法:手动下载插件到本地
在src下新建文件夹plugs,将下载好的print.js放入plugs文件夹下,然后操作如下:
import Print from '@/plugs/print'
Vue.use(Print) // 注册
<template>
<section ref="print">打印内容<div class="no-print">不要打印我</div>
</section>
</template>
this.$print(this.$refs.print) // 使用
注意:
需使用ref获取dom节点,若直接通过id或class获取则webpack打包部署后打印内容为空
指定不打印区域
方法1: 添加no-print样式类
<div class="no-print">不要打印我</div>
方法2:自定义类名
<div class="do-not-print-me-xxx">不要打印我</div>
this.$print(this.$refs.print,{'no-print':'.do-not-print-me-xxx'}) // 使用
提示
github上有一个错误如下,避免踩坑,($ref 会报错,print undefind ; 改为 $refs 就好了)
[外链图片转存失败,源站可能有防盗链机制,建议将图片保存下来直接上传(img-uGXPow6E-1648461578098)(C:\Users\huawei\AppData\Roaming\Typora\typora-user-images\image-20220307164243986.png)]
二、原生写法
onPrint() {let iframe = document.createElement('iframe');// 修改dom属性iframe.setAttribute("style", "textAlign: center; visibility:hidden;");// 给body 添加子节点iframedocument.body.appendChild(iframe);// 通过contentWindow得到iframe包含页面的window对象,然后,可以正常访问页面元素let doc = iframe.contentWindow.document;// printMe 打印区域的Idlet wrap = document.getElementById('printMe').innerHTML;doc.write("<div>" + wrap + "<div>");doc.close();iframe.contentWindow.focus();// 取消打印页面后可以完整保留当前访问页面的内容iframe.contentWindow.print();setTimeout(() => {document.body.removeChild(iframe);}, 500);}
三、利用html2canvas 生成截图
// 打印账单printCanvas () {this.printDisabled = true // 点击打印按钮禁止重复点击setTimeout(_ => { // 按钮显示为禁止了再去执行截图功能html2canvas(this.$refs.reconciliationWrapper, {backgroundColor: null,scale: 1.3}).then((canvas) => {let dataURL = canvas.toDataURL('image/png')this.$refs.iframe.contentWindow.document.body.innerHTML = '' // 清空上一次打印的内容this.$refs.iframe.contentWindow.document.write('<html><head><style media="print">@page { margin: 0mm 10mm; }body{margin-top: 50px; text-align: center;}</style></head><body><img src=' + dataURL + '></body></html>')setTimeout(_ => {this.$refs.iframe.contentWindow.print()}, 0)this.printDisabled = false})}, 100)}