设置页面标题
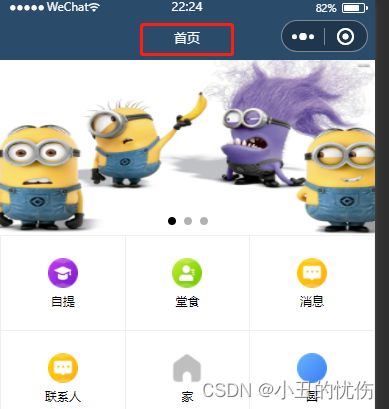
首页可以使用:
app.json中window对象的"navigationBarTitleText"参数进行标题设置,
每个页面也可以在对应json文件中使用"navigationBarTitleText"参数进行标题设置
也可以在js文件的onRead函数中使用:js中的会覆盖掉json文件中的参数
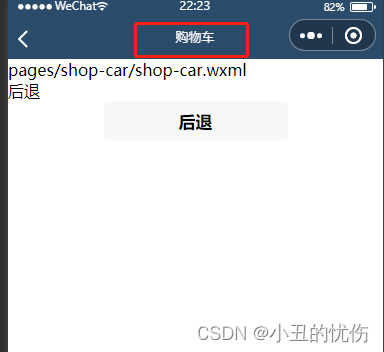
onReady() {
wx.setNavigationBarTitle({
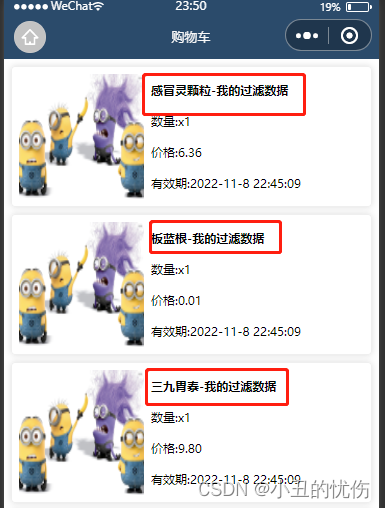
title: '购物车',
})
},
数据列表
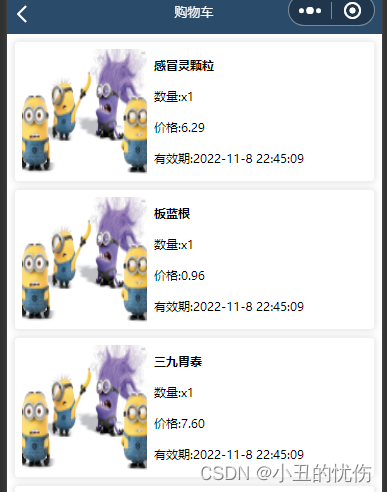
<view class="goods-item" wx:for="{{goodsList}}" wx:key="id" ><view class="goods-img"><image src="{{item.coverImg}}"></image></view><view class="goods-info"><text class="goods-name">{{item.name}}</text><text>数量:x{{item.num}}</text><text>价格:{{item.price}}</text><text>有效期:{{item.endTime}}</text></view>
</view>
代码说明,每个商品独立展示(view),左右布局
.goods-item{
display: flex; // 弹性布局,使得图片和文字左右布局
padding: 15rpx; // 距离边框(外边距)
border: 1rpx solid #efefef; // 添加边框并设置颜色
margin: 15rpx; // 内边距,距离边框的间隙
border-radius: 8rpx; // 设置圆角
box-shadow: 1rpx 1rpx 15rpx #dddddd; // 设置偏移量及阴影颜色
}
.goods-img image{
height: 250rpx; // 设置图片固定宽高
width: 250rpx;
display: block;
margin-right: 15rpx; // 设置距离右侧内容间隙
}
.goods-info{
display: flex; // 弹性布局
flex-direction: column; // 设置纵向对齐
justify-content: space-around; // 设置横向对齐
font-size: 24rpx; // 字体颜色
}
.goods-name{
font-weight: bold; // 标题加粗
}
wxs脚本使用
创建wxs结尾的文件,创建函数并共享
function filterName(str){
// do some thing
return str+"-我的过滤数据"
}
// 将函数共享出去
module.exports={
filterName:filterName
}
页面调用:
// 创建wxs标签,并命名
<wxs src="../../utils/tools.wxs" module="tools"></wxs>
// 过滤设置数据
<text class="goods-name">{{tools.filterName(item.name)}}</text>