这里选用codeigniter做为web框架,因为它安装方便(独立压缩包解压即可)、自身集成了migration,query-builder(对数据库的封装,不用关心数据库选型),虽然CI官方说明PHP版本只要求5.2,但是CI的第三方库ci-restserver要求5.4以上,另外PHP5.4以后加入了一个功能Built-in web server,我们可以脱离apache,直接在命令行通过php -S指令启动PHP测试服务器,本文的PHP版本将使用5.6
我们先搭建基础环境
- 软件环境:
PHP5.6
Codeigniter3.0.3
codeigniter-restserver
安装PHP
> rpm -Uvh http://repo.webtatic.com/yum/el6/latest.rpm
> yum install -y php56w php56w-pdo
纠正PHP的时区
# /etc/php.ini
...
date.timezone = 'Asia/Shanghai'
安装CodeIgniter
> wget https://github.com/bcit-ci/CodeIgniter/archive/3.0.3.zip
> unzip 3.0.3.zip
> cd CodeIgniter-3.0.3/
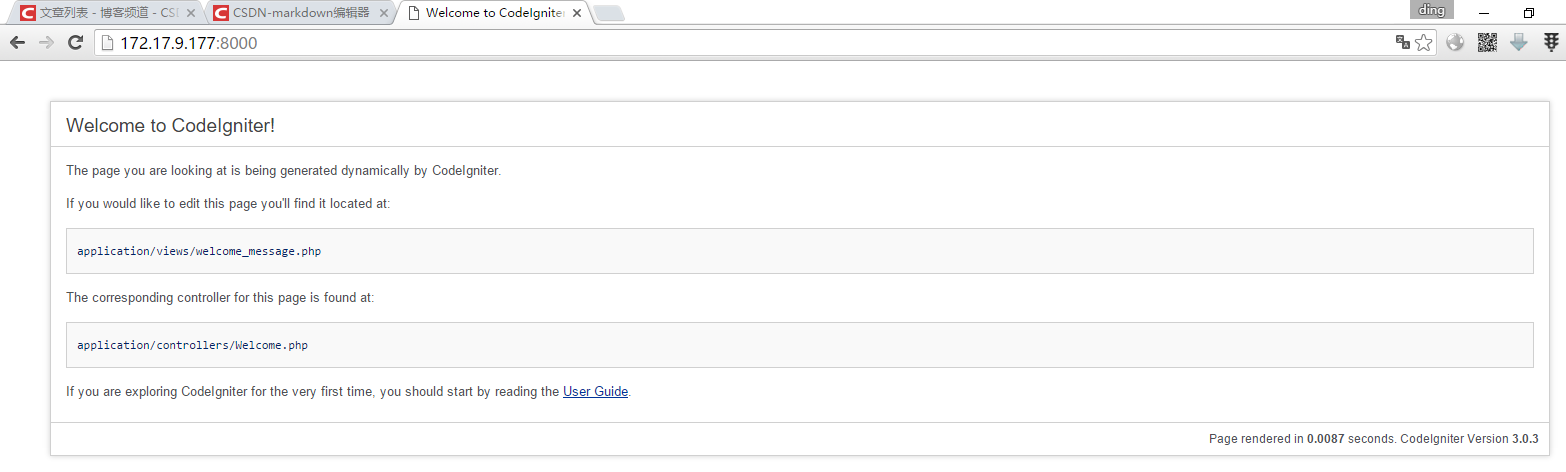
> php -S 0.0.0.0:8000访问该后台,顺利的话应该出现如下界面
数据库建模
1)配置数据库连接,并配置自动加载数据库模块
// application/config/database.php
$db['default'] = array(...'hostname' => 'sqlite:'.APPPATH.'db.sqlite3','dbdriver' => 'pdo',...
);
// application/config/autoload.php
...
$autoload['libraries'] = array("database");
...
2)启动migration,默认CI使用时间戳规定版本号,简单起见我们使用序列号sequential模式
// application/config/migration.php
$config['migration_enabled'] = TRUE;
$config['migration_type'] = 'sequential';
3)编写News表的migration
// application/migrations/001_add_news.php
<?phpdefined('BASEPATH') OR exit('No direct script access allowed');class Migration_Add_News extends CI_Migration {public function up(){$this->dbforge->add_field(array('id' => array('type' => 'INT','constraint' => 5,'unsigned' => TRUE,'auto_increment' => TRUE),'title' => array('type' => 'VARCHAR','constraint' => '100',),'content' => array('type' => 'TEXT','null' => TRUE,),'create_time' => array('type' => 'DATETIME',),));$this->dbforge->add_key('id', TRUE);$this->dbforge->create_table('news');}public function down(){$this->dbforge->drop_table('news');}
}
4)创建migrate入口
// application/controllers/Migrate.php
<?phpclass Migrate extends CI_Controller
{public function index(){$this->load->library('migration');if (!$this->migration->latest()){show_error($this->migration->error_string());}}}
5)CLI执行migrate
> php index.php migrate用codeigniter-restserver搭建最简单的CRUD
首先我们从https://github.com/chriskacerguis/codeigniter-restserver下载并解压源码包(假设已经解压到了/tmp/),复制相关文件到对应目录
> cp /tmp/codeigniter-restserver-master/application/libraries/Format.php application/libraries/
> cp /tmp/codeigniter-restserver-master/application/libraries/REST_Controller.php application/libraries/
> cp /tmp/codeigniter-restserver-master/application/config/rest.php application/config/
> cp /tmp/codeigniter-restserver-master/application/language/english/rest_controller_lang.php application/language/english/
编写CRUD的controller
// application/controllers/News.php
<?php
require APPPATH . '/libraries/REST_Controller.php';
class News extends REST_Controller{public function index_post(){$this->db->set("title",$this->post("title"));$this->db->set("content",$this->post("content"));$this->db->set("create_time",date('Y-m-d H:i:s'));$this->db->insert("news");$this->set_response(['id'=>$this->db->insert_id()], REST_Controller::HTTP_CREATED);}public function index_get(){$id = $this->get("id");if($id!=null){$this->response($this->db->get_where("news",array('id'=>$id))->result()[0]);}else{$this->response($this->db->get("news")->result());}}public function index_put(){$this->db->set("title",$this->put("title"));$this->db->set("content",$this->put("content"));$this->db->where("id",$this->get("id"));$this->db->update("news");$this->set_response('', REST_Controller::HTTP_NO_CONTENT);}public function index_delete(){$this->db->where("id",$this->get("id"));$this->db->delete("news");$this->set_response('', REST_Controller::HTTP_NO_CONTENT);}
}
// application/config/routes.php
...
$route['news/(:num)'] = 'news/index/id/$1'; 接下来我们需要用postman来测试接口(如何使用postman工具测试不在本文范畴),伪测试代码如下
> curl POST /news/       #Create
> curl GET /news/        #Read list
> curl GET /news/:id/    #Read item
> curl PUT /news/:id/    #Update
> curl DELETE /news/:id/ #Delete
接下来我们来整合BasicAuth验证功能
// application/config/rest.php
...
$config['rest_auth'] = 'basic';
$config['auth_source'] = '';
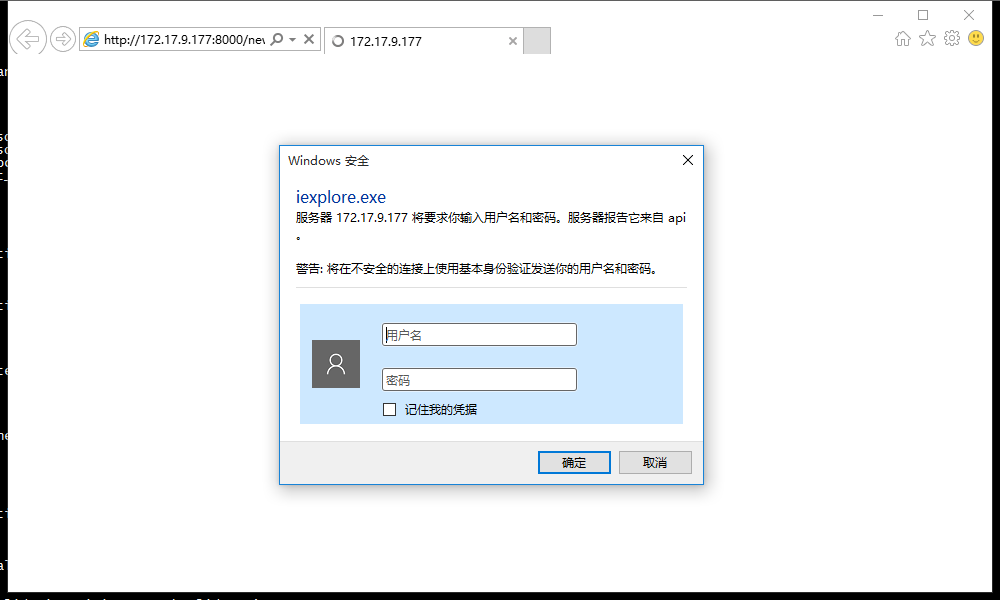
...仅为演示,我们在rest.php里面配置了默认的帐号admin,密码是默认的1234。
我们再访问一下接口,服务器将返回401错误,浏览器根据该错误将弹出认证界面
按照制定的接口文档,我们再补全一个认证接口给客户端登录使用
// application/controllers/Auth.php
<?php
require APPPATH . '/libraries/REST_Controller.php';
class Auth extends REST_Controller{public function info_get(){$this->response(['name' => 'admin',]);}
}
书写扩展的协议-批量删除
// application/controllers/News.php
...
class News extends REST_Controller{...public function deletes_delete(){$ids = split(",",$this->input->get("ids"));foreach($ids as $id){$this->db->where("id",$id);$this->db->delete("news");}$this->set_response('', REST_Controller::HTTP_NO_CONTENT);}
}
书写扩展协议-搜索+分页
// application/controllers/News.php
...
class News extends REST_Controller{public $PAGE_SIZE = 50;...public function index_get(){$id = $this->get("id");if($id!=null){$this->response($this->db->get_where("news",array('id'=>$id))->result()[0]);}else{$search = $this->get("search");$page = $this->get("page");if($page==null)$page="1";$page = intval($page);$this->db->like('title',$search);$total_count = $this->db->count_all_results("news");$page_count = floor($total_count/$this->PAGE_SIZE);if($total_count%$this->PAGE_SIZE>0)$page_count++;$this->db->like('title',$search);$this->db->order_by("create_time",'DESC');$offset = $this->PAGE_SIZE*($page-1);$this->db->limit($this->PAGE_SIZE,$offset);$results = $this->db->get("news")->result();$data = ["total_count" => $total_count,"page_count" => $page_count,"next" => $page<$page_count,"previous" => $page>1,"results" => $results,];$this->response($data);}}
}
后端基本完成了,还剩下最后一个问题CORS,我们在本地写一个简单的jquery
<script src="http://libs.baidu.com/jquery/2.1.4/jquery.min.js"></script>
<script>
$.get("http://172.17.9.177:8000/news/");
</script>
在chrome里面调试一下会出现如下错误
XMLHttpRequest cannot load http://172.17.9.177:8000/news/. No 'Access-Control-Allow-Origin' header is present on the requested resource. Origin 'null' is therefore not allowed access. The response had HTTP status code 401.我们改造构造函数来加入CORS处理
// application/controllers/News.php
class News extends REST_Controller{...function __construct() {header('Access-Control-Allow-Origin: *');header("Access-Control-Allow-Headers: Authorization,Content-Type");header("Access-Control-Allow-Methods: GET, POST, OPTIONS, PUT, DELETE");$method = $_SERVER['REQUEST_METHOD'];if($method == "OPTIONS") {die();}parent::__construct();}}
同样方法处理Auth.php,再次用jquery测试,之前那个错误将不再出现。
此文数据库模型、协议的定义参见用Angular搭建管理后台